Kimberly Sac Sew-Along

Kimberly Sac Title

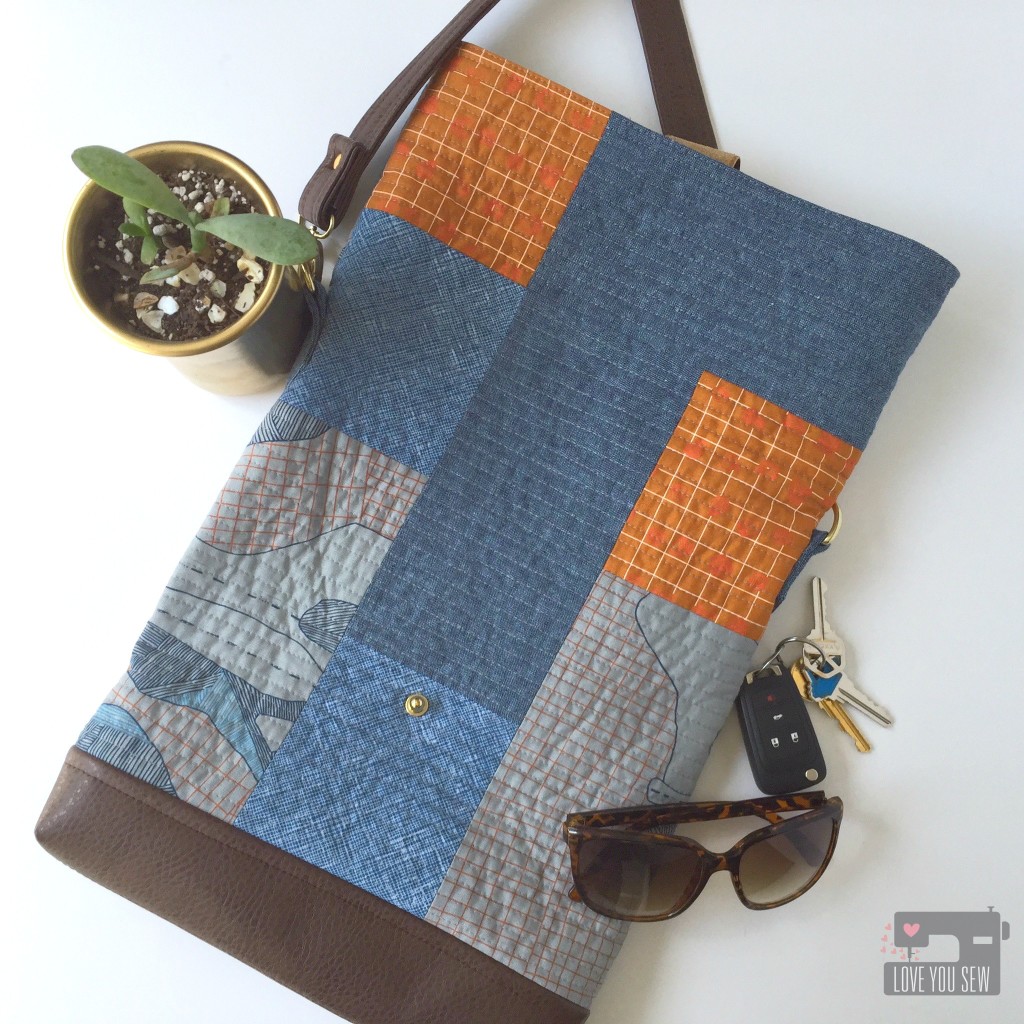
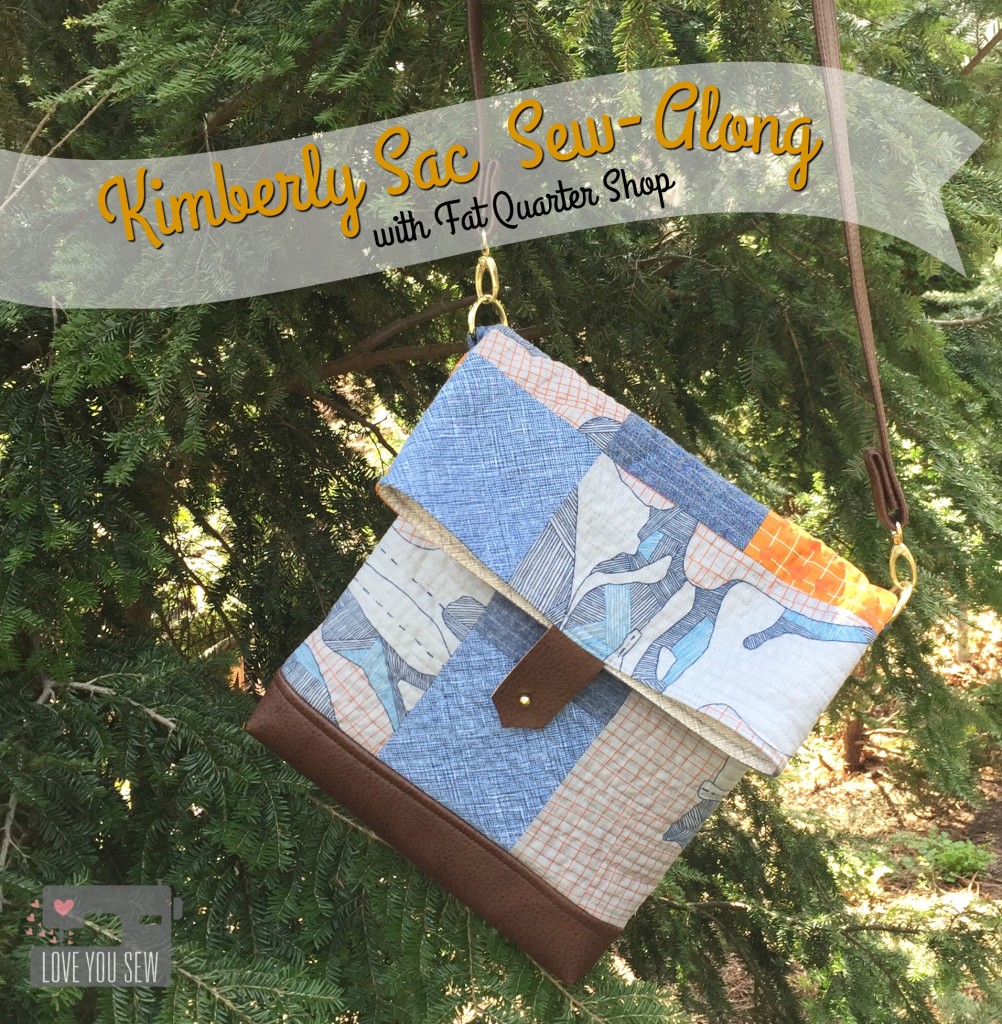
Fat Quarter Shop has another great pattern….and it’s for a bag!  When I was asked to join this sew-along, I could not say “no.”  I love making bags just as much as I do quilting.  With the Kimberly Sac by Fig Tree Studios, you get both!  It is a great cross-body design with some simple patchwork.  I’m so excited to show you my version along with all of Fat Quarter Shops versions found here.

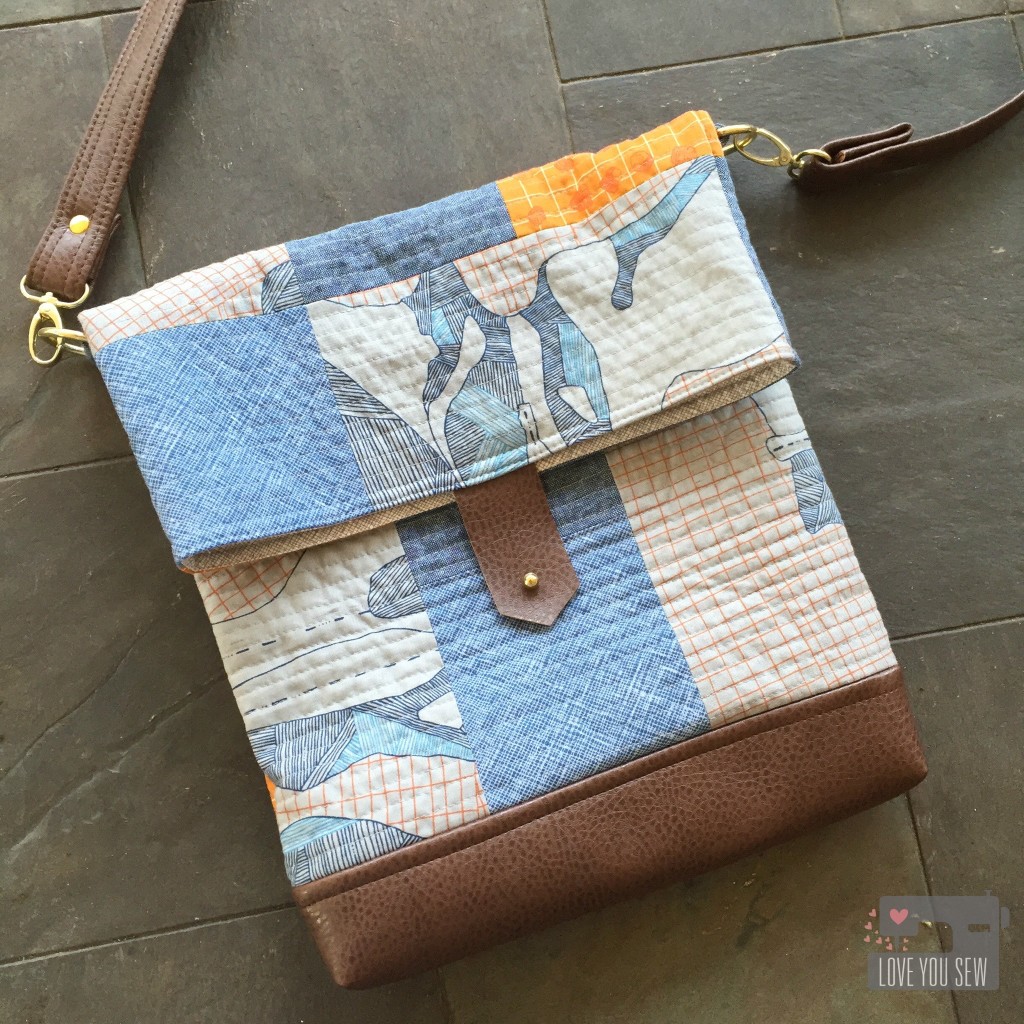
Kimberly Sac Fully Open

I like having different looks and feels to all of my bags.  After making my Indigo Sky Quilt, I fell in love with the Essex Yarn-Dyed Linen in nautical, so I wanted to incorporate it into the Kimberly Sac.  It really helps complement Carolyn Friedlander’s fabrics.  There is a mix of Carkai and Architextures Crosshatch in more earthly tones.

Kimberly Sac Quilting Close Up

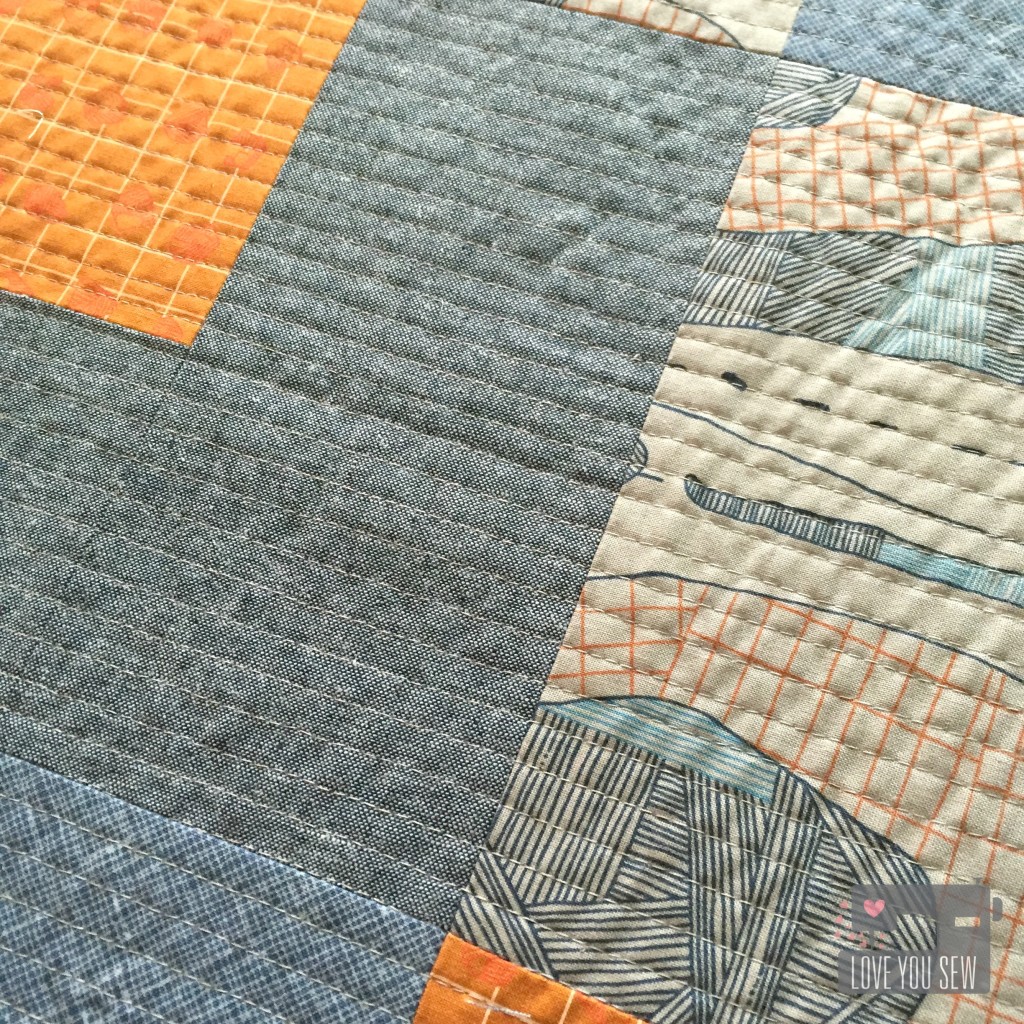
The bag came together very quickly, especially without having to deal with a zipper.  I did use 1/4″ straight-line quilting, but you can opt for a more simple design.  If you decide on more heavier quilting like I did, I would suggest cutting the batting about 1″ larger all around and then trim it back.

Kimberly Sac Vinyl Strap

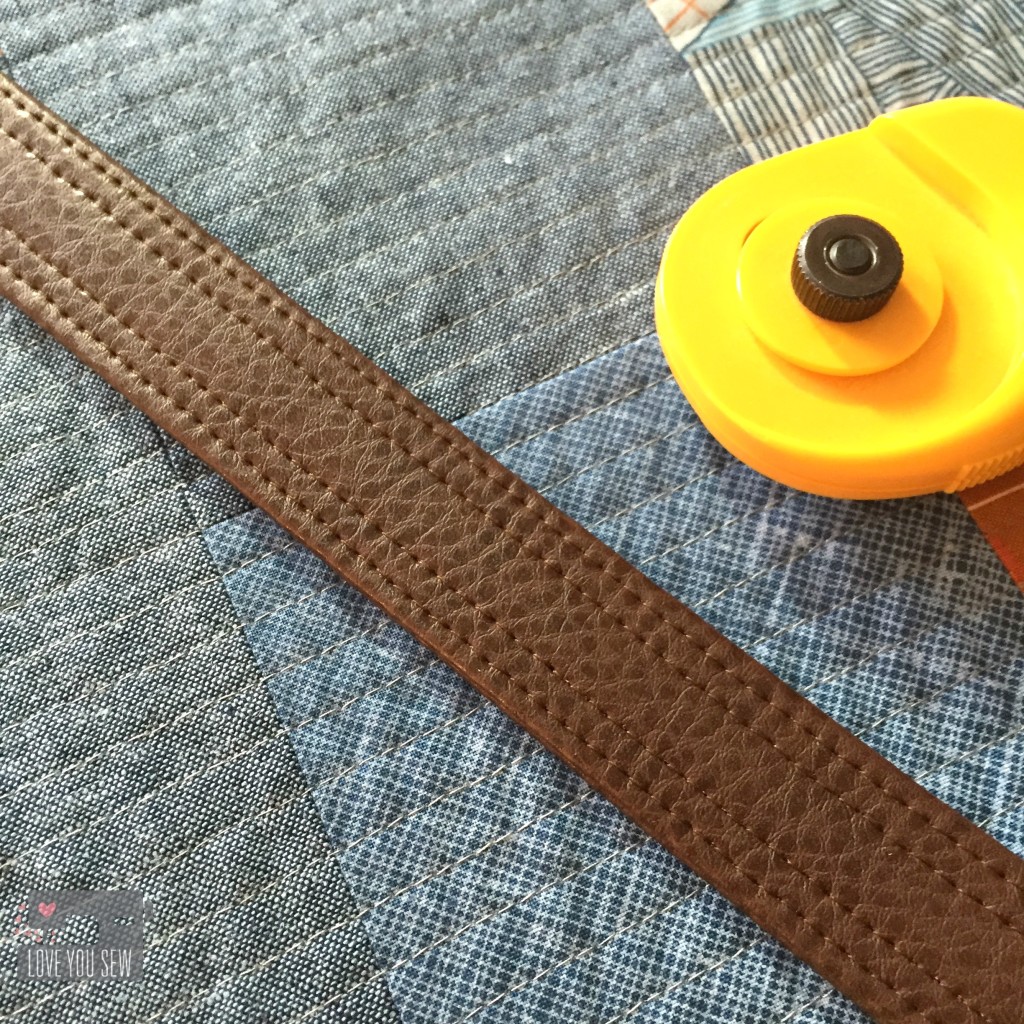
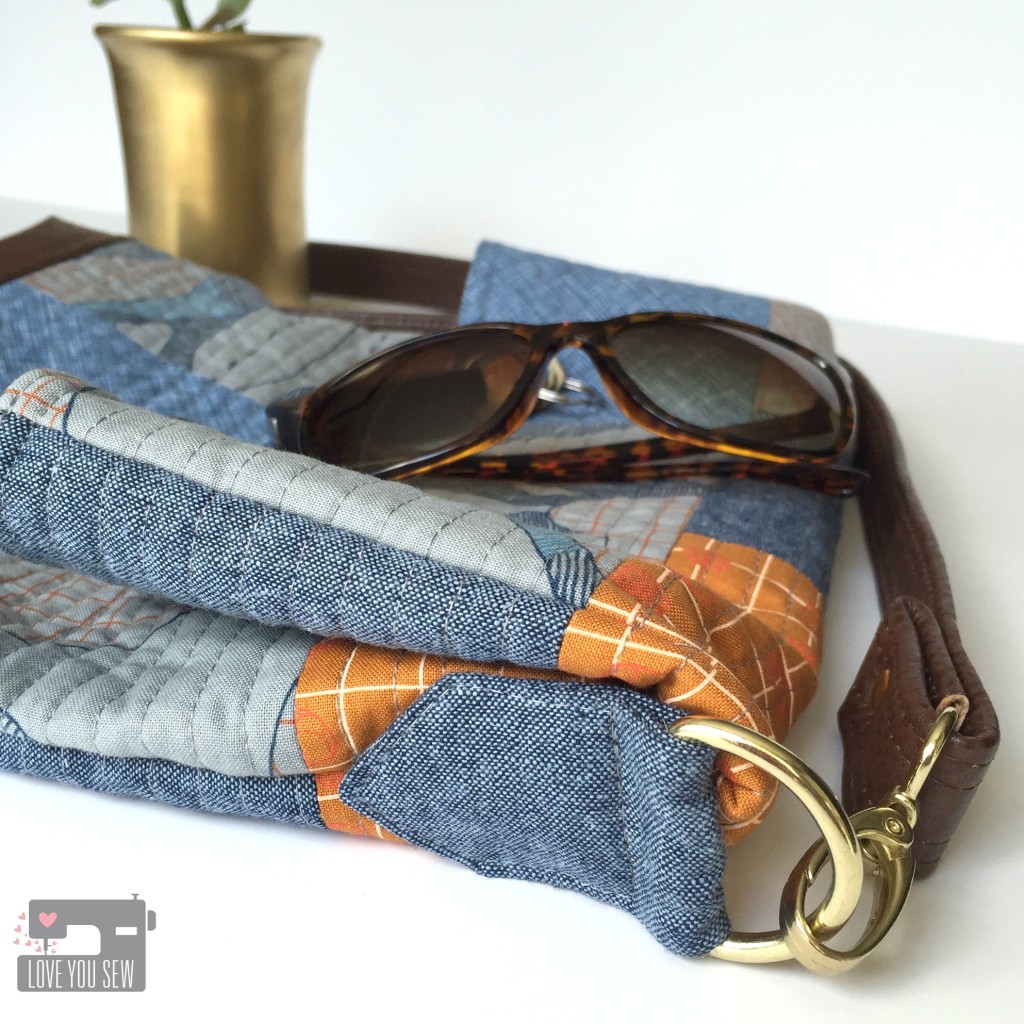
One of the most noticeable changes I made was to use vinyl for the straps and bottom of the Kimberly Sac.  The brown vinyl gives any bag an extra level of sophistication and structure.  Make sure to test the vinyl with your machine before committing though!

Button Stud Close Up

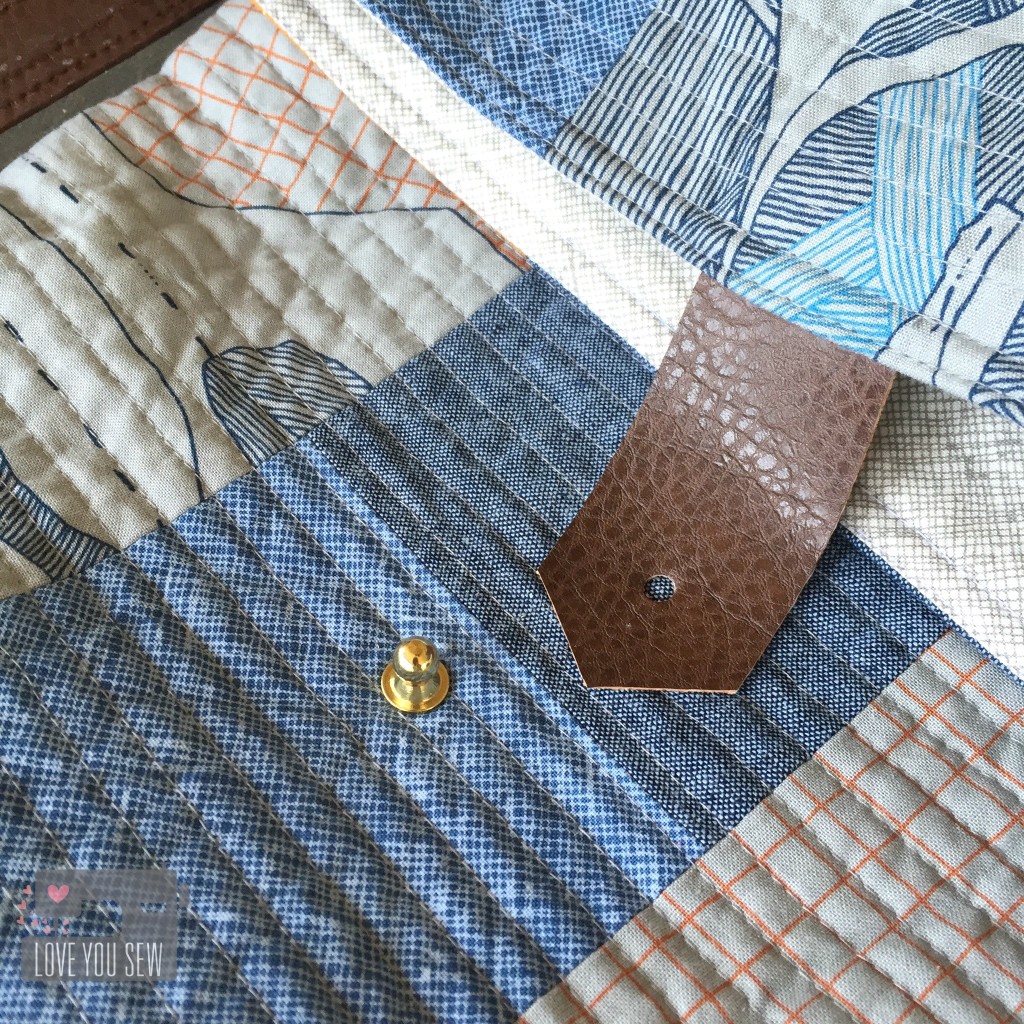
When I have to break out a hammer on a project, it’s a good day 🙂  I love playing with hardware and saw the opportunity to use this button stud when the pattern called for a traditional sew-on button.  The loop was replaced by a strip of vinyl I hand-punched.  This closure adds a fun edgy detail to the bag.

Kimberly Sac Side Close Up

A tip to keep these tags straight and in place, is to use some Sewline Glue. It allows you to place the pieces on the bag before top-stitching.  With so many layers, pins were distorting the tabs shape, so the glue helps them lay nice and flat for straight stitches.

Kimberly Sac Fully Profile

The Kimberly Sac was a nice easy sew and the lack of zippers makes it very beginner friendly!  I love the relaxed slouchy design and who doesn’t love the ease of a cross-body strap?  The Carkai and vinyl make this a great everyday bag for running errands and is large enough to handle everyday life.  What is the strangest thing you have to carry in your purse or bag?

  • Need the Full Kit with hardware and Strawberry Fields Revisited fabric?  You can find it here.
  • If you would like just the pattern, you can find that here.
  • Let’s make all of this even easier by watching full video tutorial with Fat Quarter Shop and Fig Tree Studio.


For more inspiration, visit all my Kimberly Sac Sew-Along  bag-mates below:

Fat Quarter Shop

Emily Ann’s Kloset
Seasoned Homemaker
Jedi Craft Girl
Sharon Holland Designs
Why Not Sew
She Can Quilt
Love You Sew (you are here)
Sweet Little Pretties


Have fun stitchin’!

Cristy


As part of the Fat Quartershop Kimberly Sac Sew-Along, I have been compensated for my time and materials.  However, all opinions are all my very own. 
 

Chalk and Paint Fabrics Blog Tour {Crimson and Clover Traincase}


Traincase Full Profile A

Welcome to the kick-off for the Chalk and Paint Fabrics Blog Tour!  I am so happy to share my project with these new Art Gallery fabrics with you.  Sew Caroline has quite an amazing line-up ahead for the next few weeks and I know each blogger will have something amazing with Chalk and Paint.

Logo-PNG2

I have been a long-time admirer of Sew Caroline‘s garment patterns (umm..hello, Kimono Jacket..here and here…)   It is no exception when it comes to her fabrics.  All of her collections are youthful and so fun.  But this newest line has a more muted pastel palette, which I just adore!

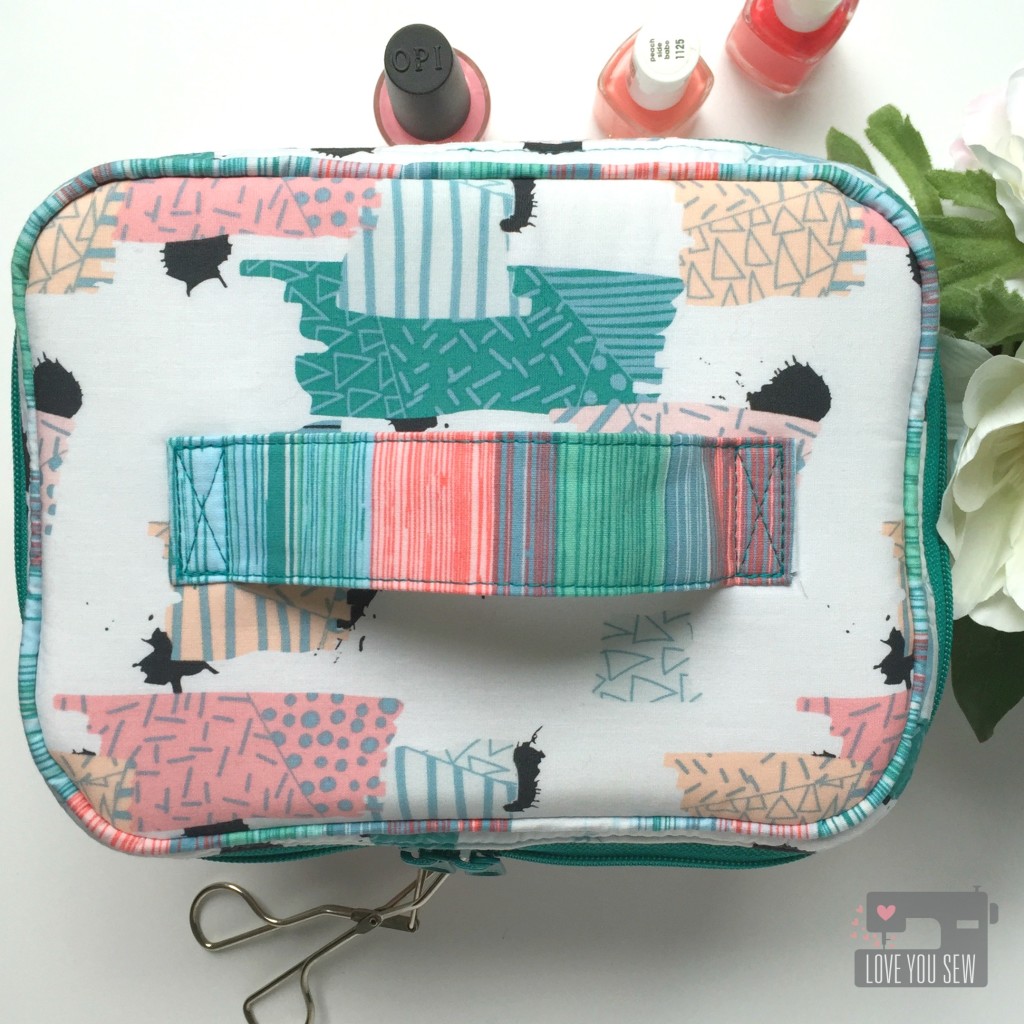
Traincase Top

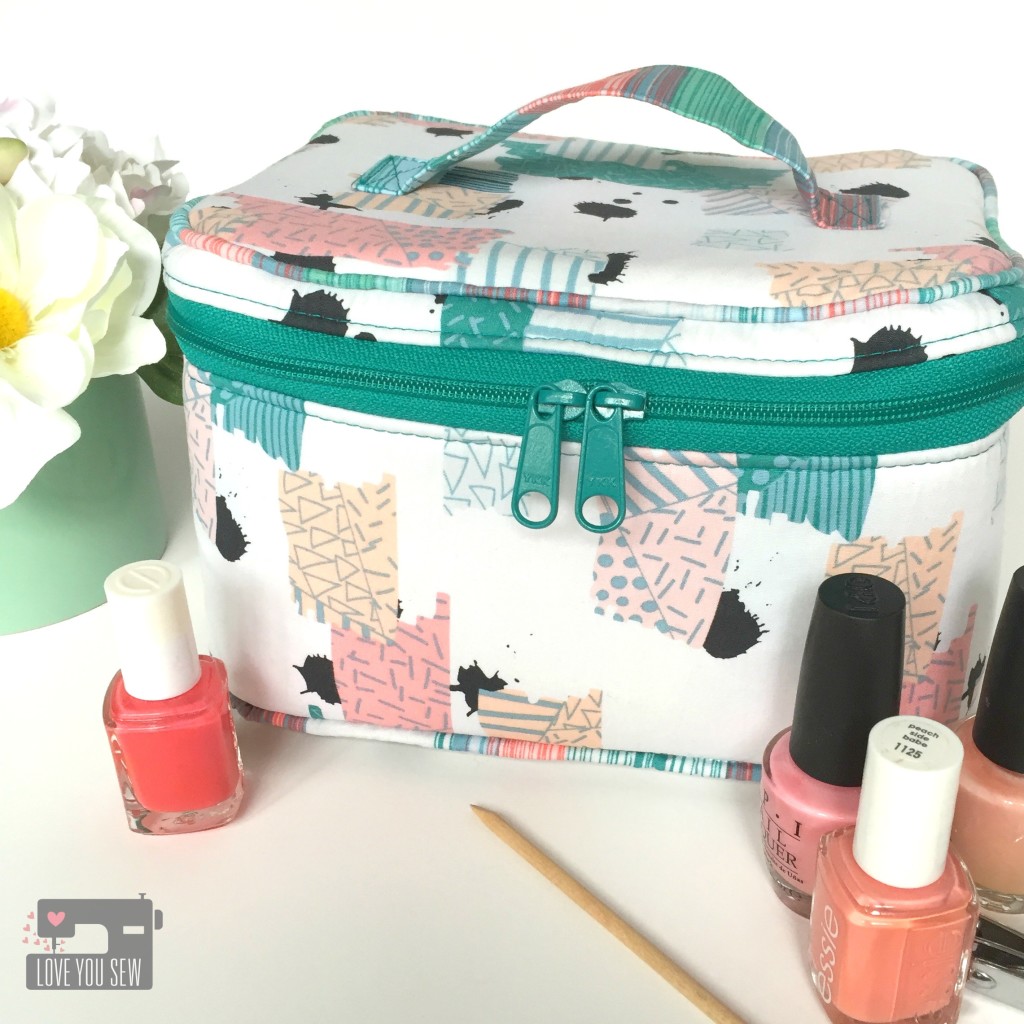
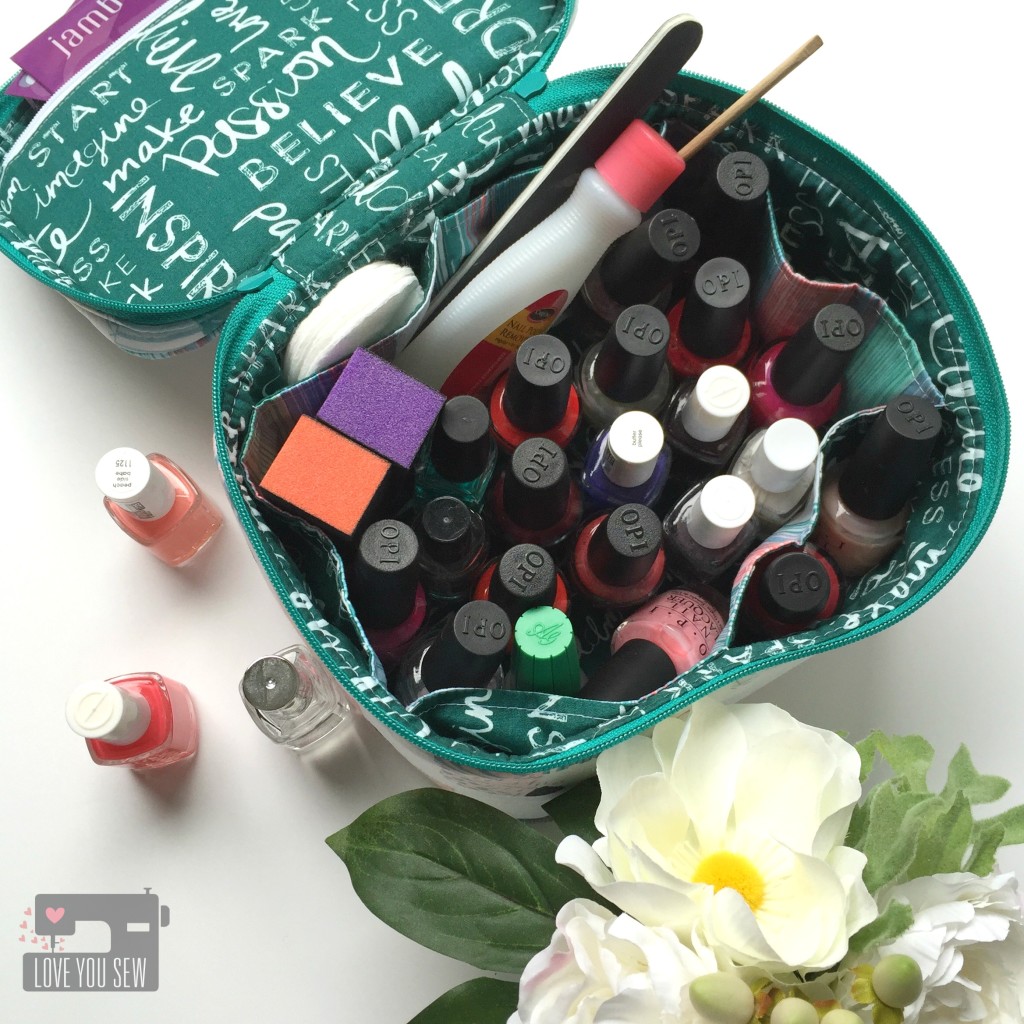
When I saw Untaped Splatter Frost, I knew it was going to be my next Crimson and Clover Travelcase (pattern by Sew Sweetness.)  I love this case because it holds everything…and it’s not even the larger size.  The interior side pockets are so nice for organization and lord knows I need all the help I can get!

Traincase Open Full Polishes

As I was sewing this bag, I realized why I put the two together….it was my sewn version of a Caboodle!  This exterior fabric has an 80’s vibe and being the child of immigrant parents, I never had one.  “What..a shoebox wasn’t good enough to hold your junk?”  They never understood the need for adolescent acceptance…haha.

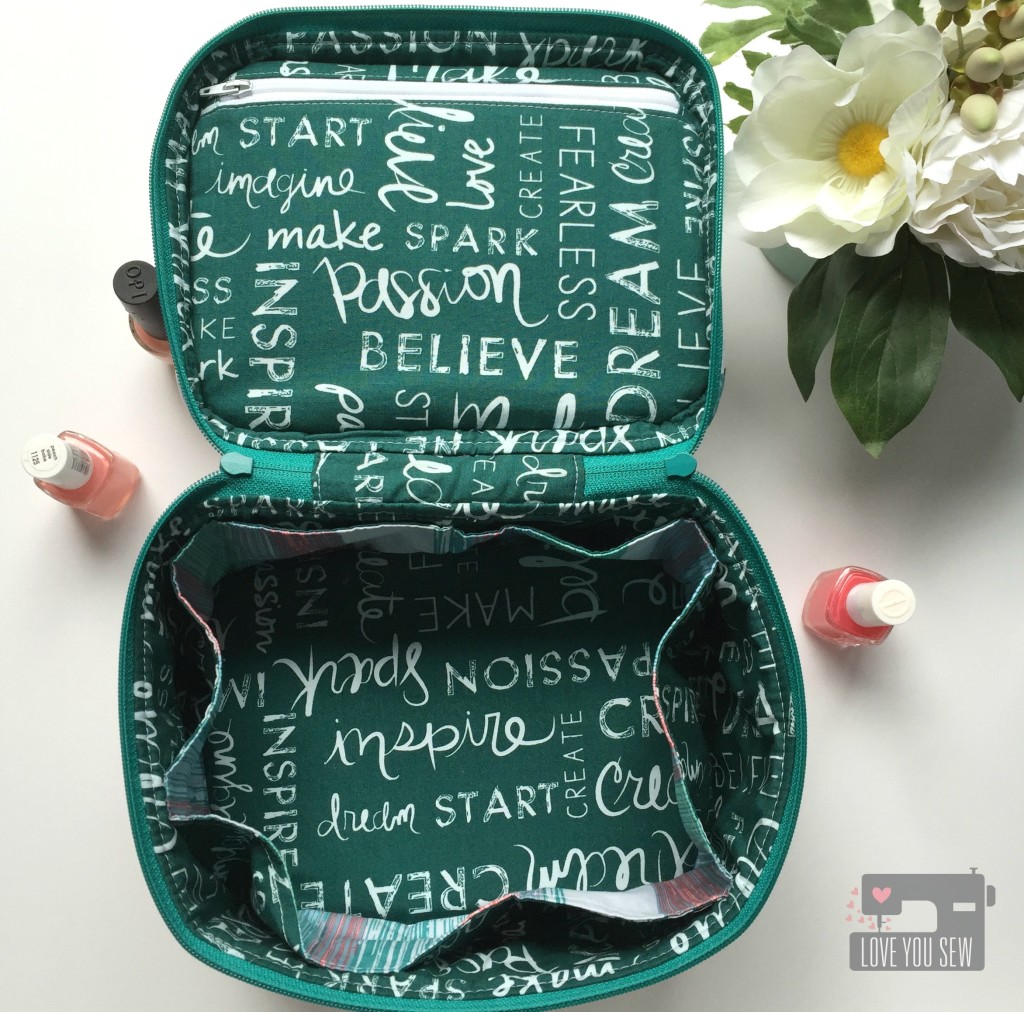
Traincase Open Empty

For the interior, I used Writings on Boards as a darker complement to hide any spills or smudges which may occur (yes, I know myself well.)  How cute is this text fabric, right?  I love the inspirational words to welcome me every time I open this bag.

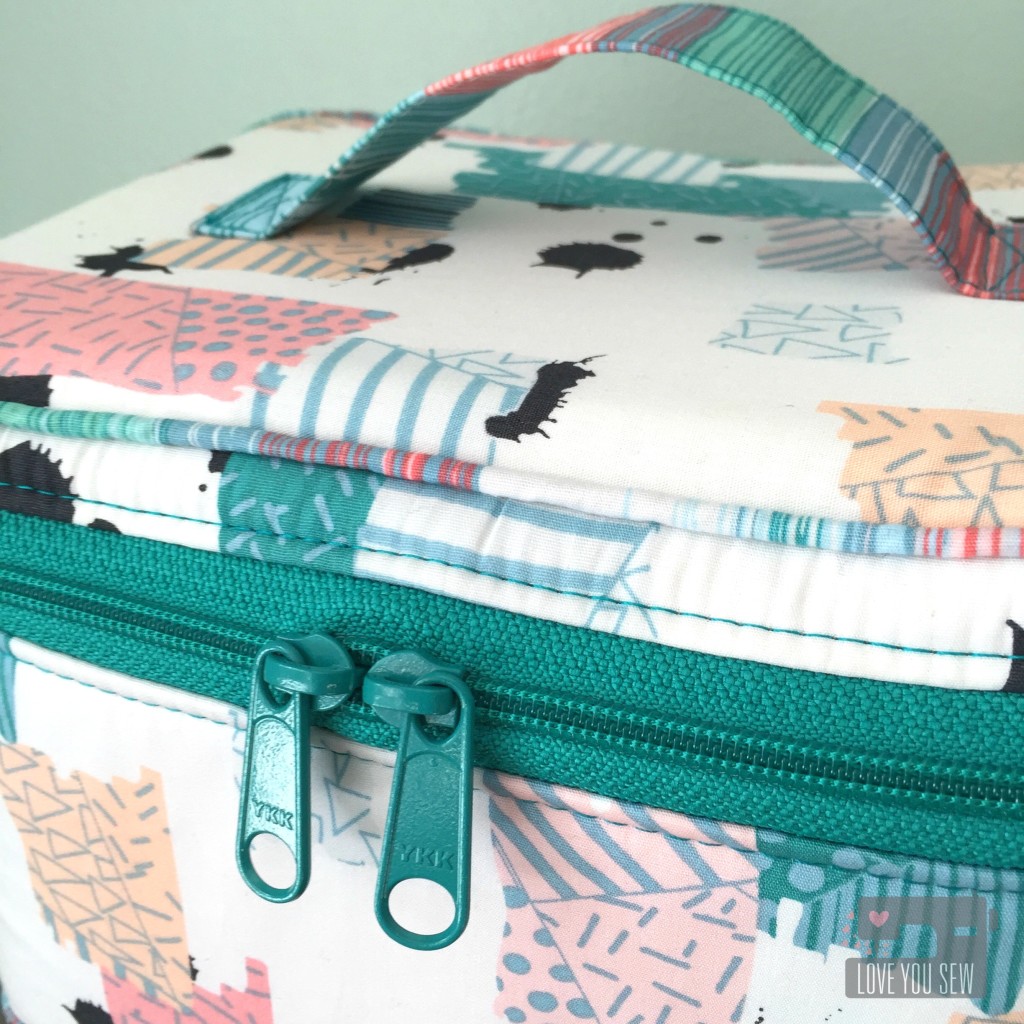
Traincase Front Zipper CloseUp

For the piping, handle and interior pocket accents, I used Dripping Paint Cooling.  You get so much color and texture in such a small amount of yardage, that it was just perfect for that extra “pop.”  Now…I think my “Caboodle” is pretty rad, isn’t it? 😉

Don’t forget to visit all of these amazing blogs for more Chalk and Paint projects!

Cristy // Love You Sew –> Right here!

Katie // The Simple Life

Jenn // Quilts and Conversations

Robin // Pattern Revolution

Alicia // Love Knot Photo

Holly // Holly Gets Quilty

Chris // The Tattooed Quilter

Alexis // My Sweet Sunshine

Adrianna // Hey June Handmade

Taylor // Taylor Made Creates

Casey // Casey Taylor Threads

Hayley // Welcome to the Mouse House

Giveaway-Graphic

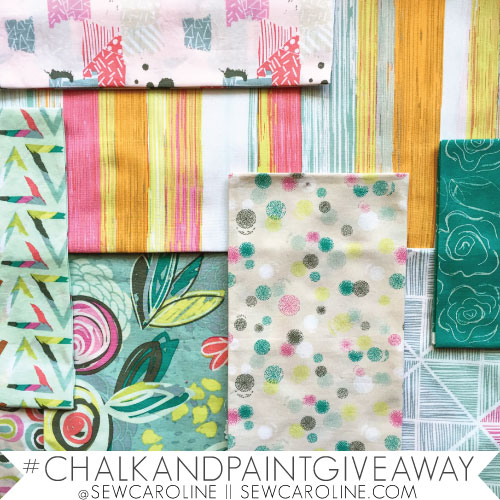
What would you make with the Chalk and Paint collection?  You have a chance to WIN a Full FQ Bundle on Instagram by (re)posting your favorite image from the blog tour using #chalkandpaintgiveaway and tagging @sewcaroline. (Full Details are on Caroline’s blog.)


Good luck!


***This post may contain affiliate links which help me on the back end to fund this site.  Compensation is only through your own purchase. 

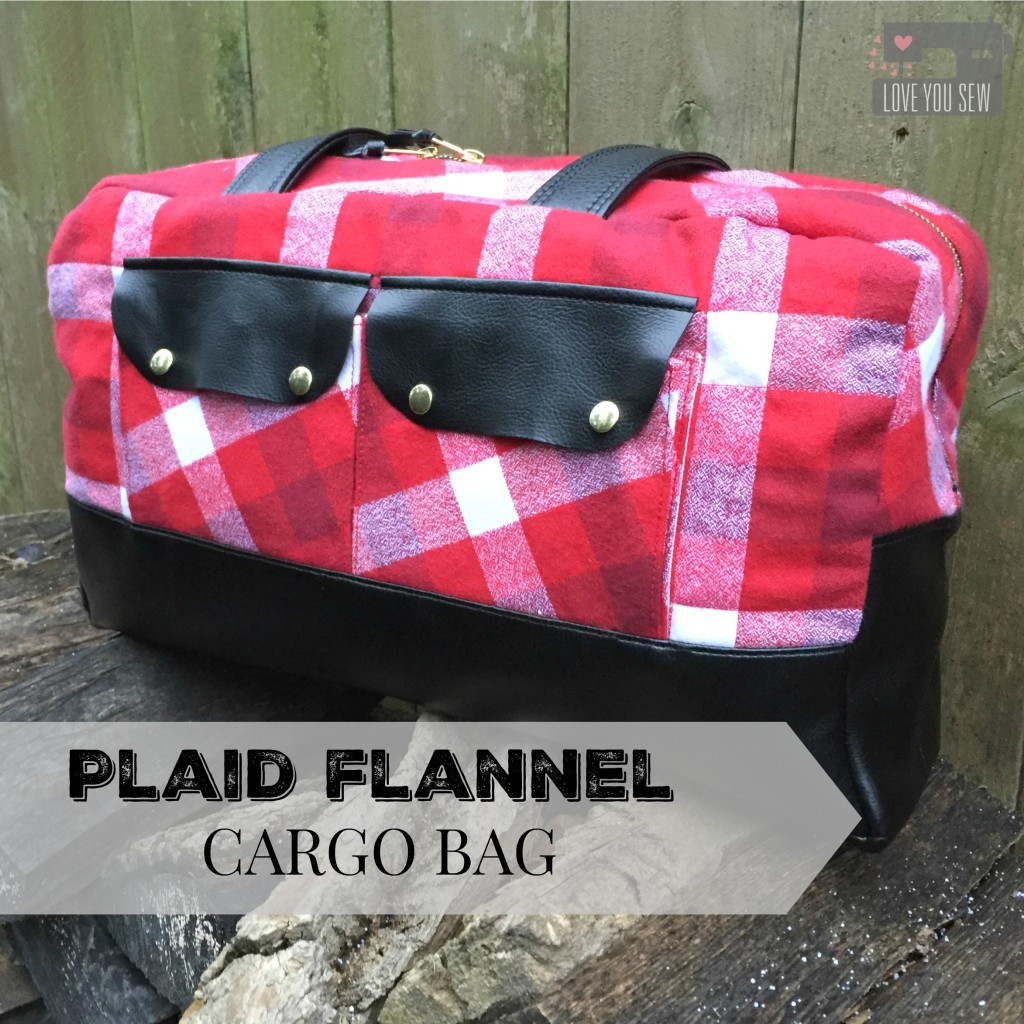
Plaid Flannel Cargo Duffle

CargoDuffleTitle

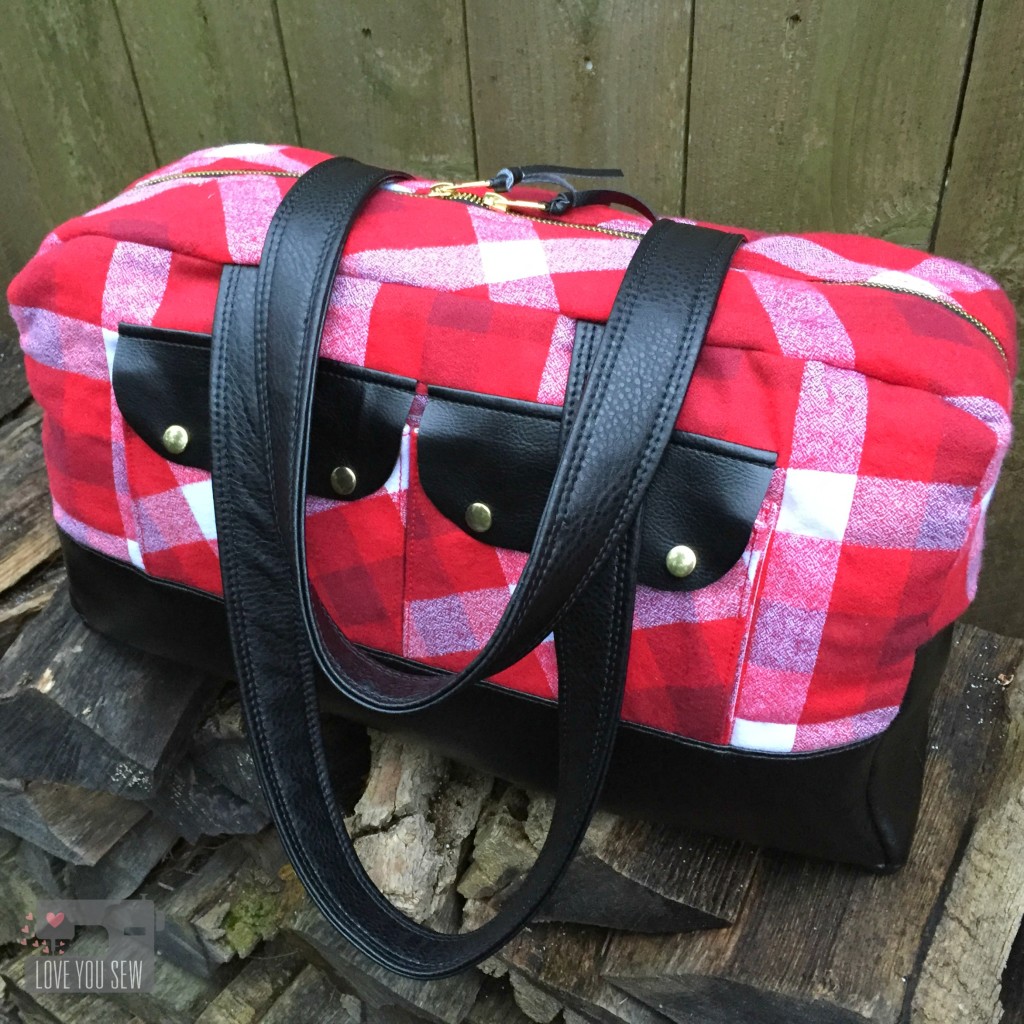
After I made my first Noodlehead Cargo Duffle for Sew Sweetness‘ Pursepalooza shown here, I quickly received a request to have one commissioned.  How many times has that happened to you?  However, the request came from my sister…so you know it turned into a gift instead 😉 Now that Christmas has passed, I can finally show you this version!

FullProfileWStraps

My sister wanted a plaid flannel just like my original…so of course, I went back to Robert Kaufman’s Mammoth Plaids.  They are just SO soft.  The black vinyl is “suede cloth” purchased from my local JoAnn’s.

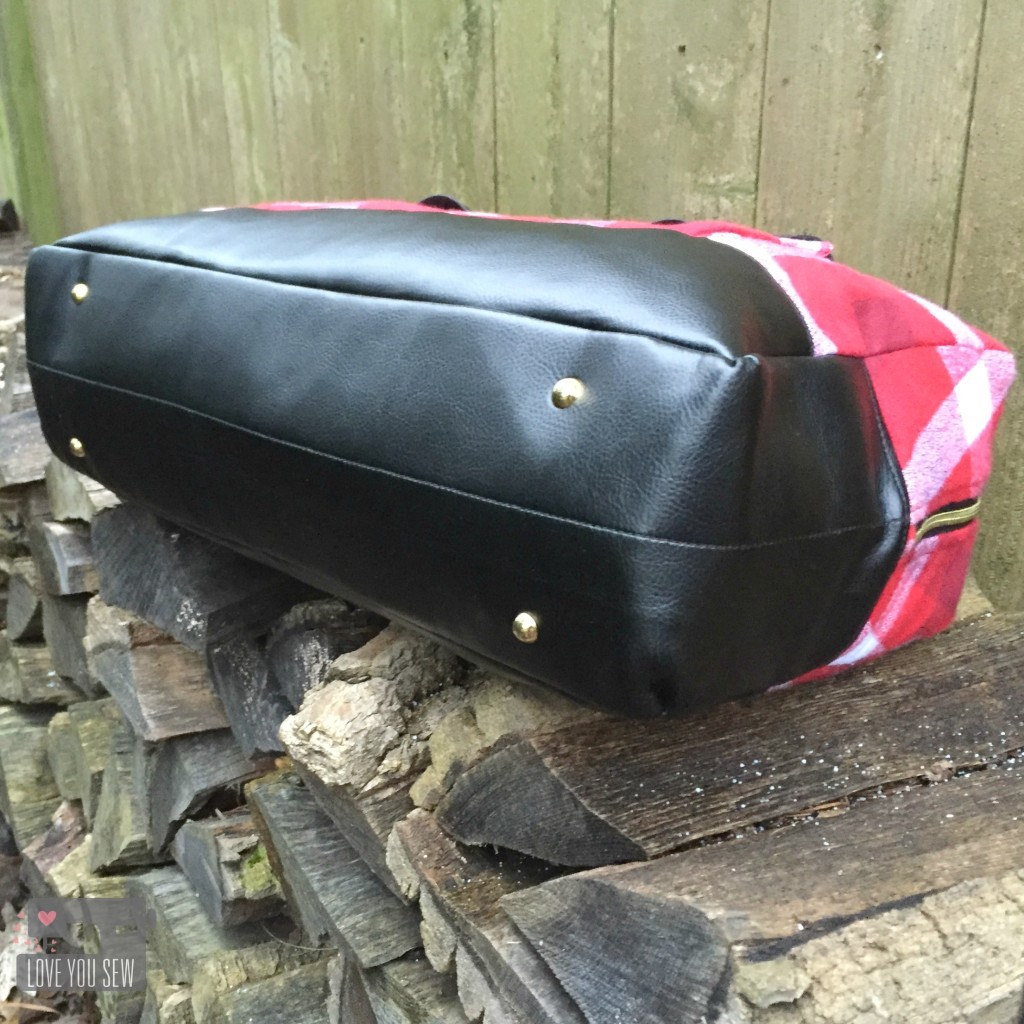
BottomFeet

Purse feet are a great added touch to make a bag look more professional.  These are from Emmaline Bags.  I adjusted the spacing to them vs my original to be a little closer together. They are approximately 14″ apart lengthwise and 1.5″ in from the outer seams.  The pocket snaps are from Tandy Leather.

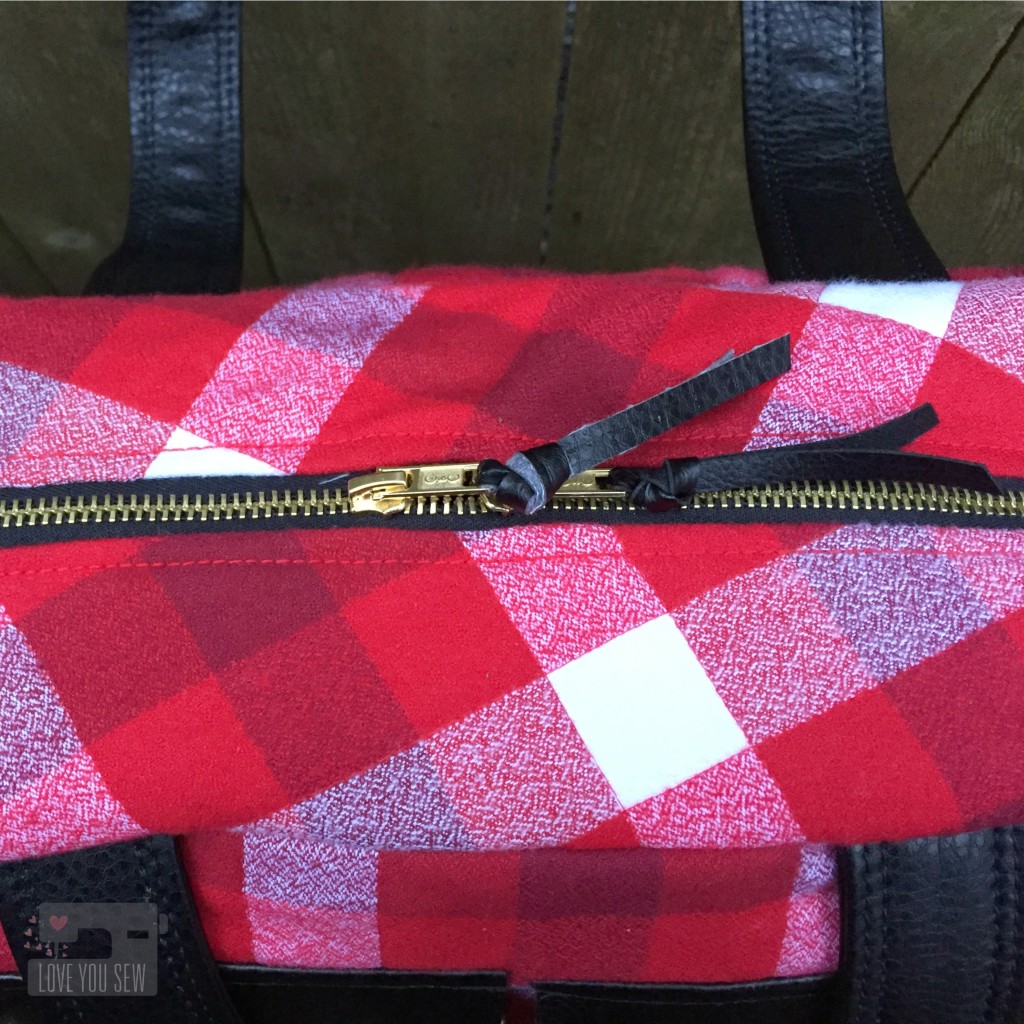
DuffleTop

If I can use a metal zipper on a bag, I always will….they are just so pretty!  The outer zipper is a coverall style by Coats and Clark.  The interior zipper is YKK.

InsideView

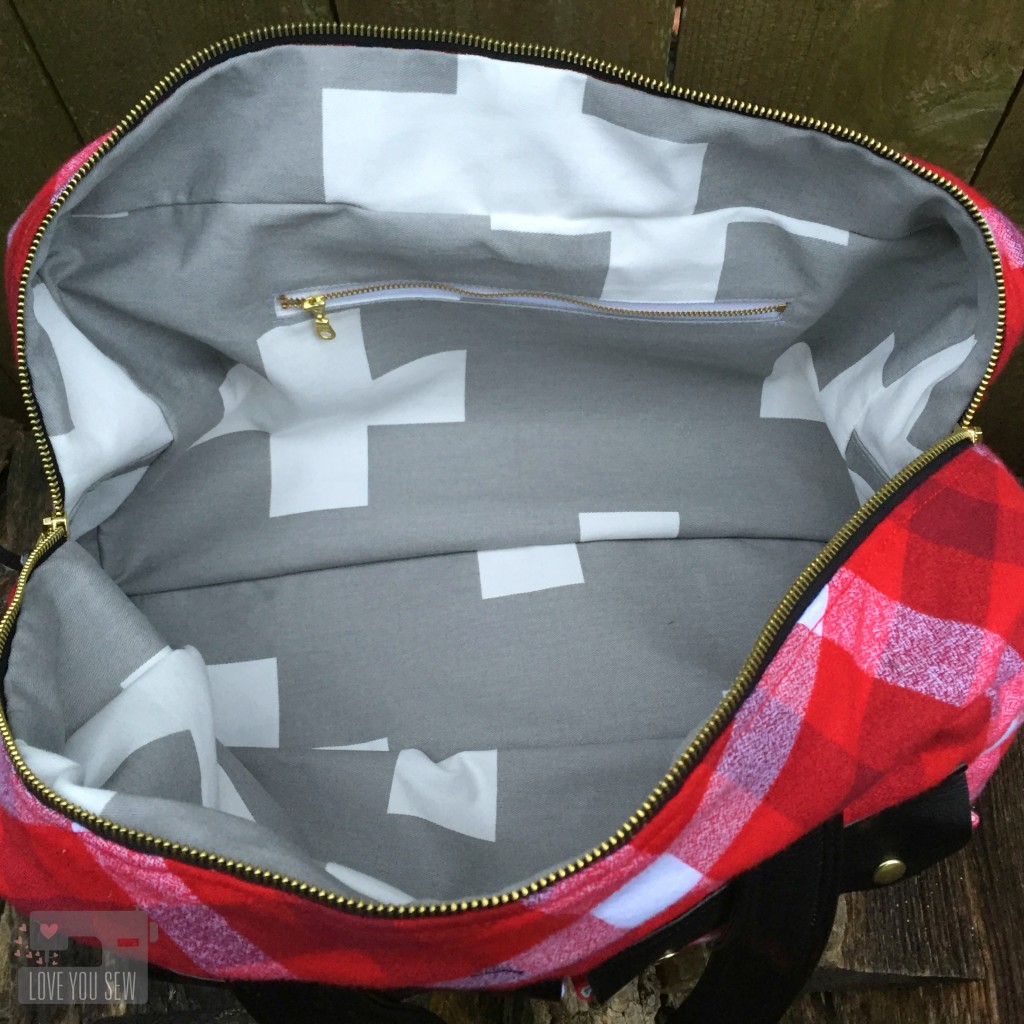
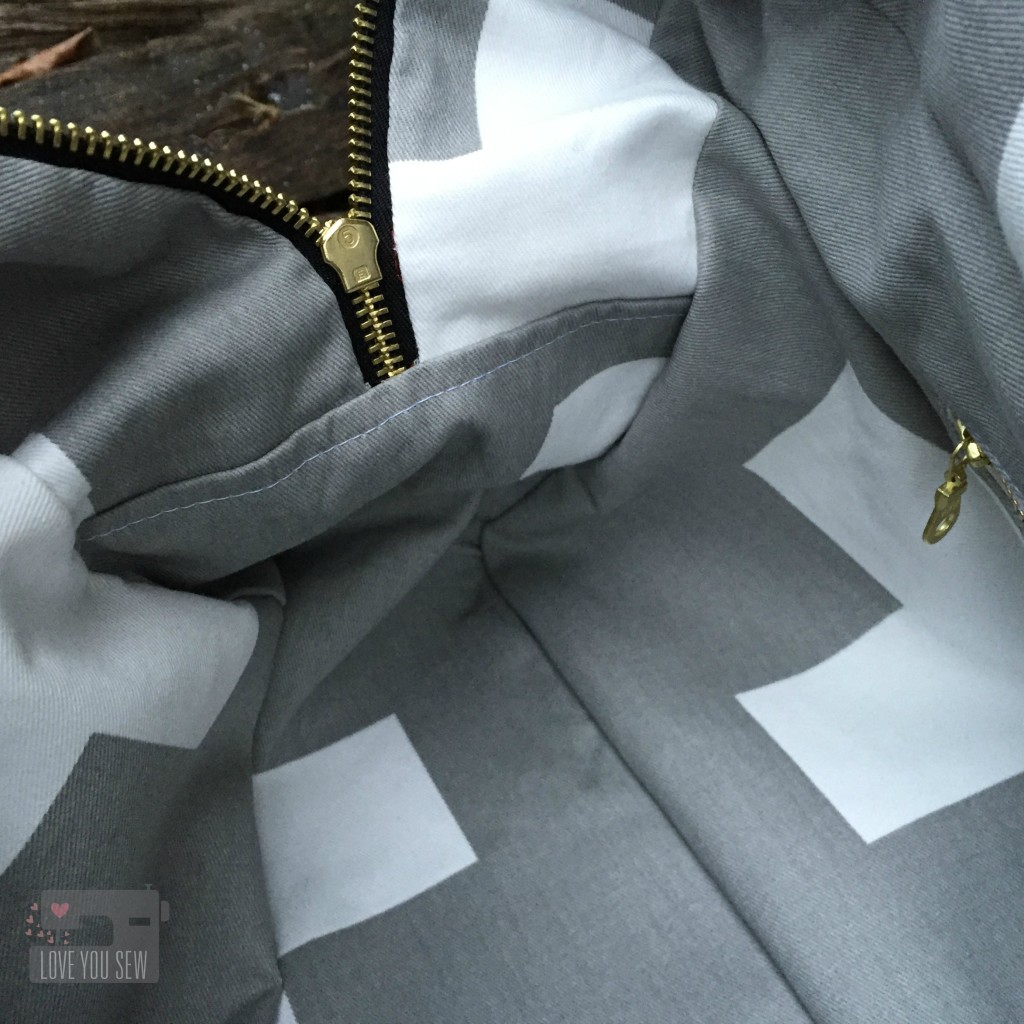
The biggest difference with this bag is the interior.  I used this tutorial by Small Town Thread to create a drop-in lining.  I tacked the liner to the bag’s top corners then hand-sewed it to the zipper.  This was just to keep the look clean and keep any extra fabric away from being snagged into the zipper.

InteriorCloseUp

I use a lot of Premier Prints home dec fabric and this interior fabric is no different.  It is the larger Swiss Cross pattern.  This fabric complements the red and black exterior while echoing the plaid design as well….I really love it 🙂

I’m happy to report my sister loves this bag as well!  She is one of my strongest supporters and also one of my best salespeople.  It is quite flattering that she wanted one of my bags to go alongside all of her designer ones.  Now I’m off to make her another bag….haha!  It never ends, right?!? 😉


xoxo – Cristy


Another Louisa Bag

BirchLouisaBagTitle

As the holidays approached, I knew I wanted to make something special for my sister-in-law.  She lives only 30 minutes away, but we don’t get to see much of each other.  My niece is a rocking athlete and travels all over the state on the weekends.  We usually have to meet on a soccer field to catch up!  But when time allows, she always wants to spend some time with our boys.  It is win-win…she gets some QT and my husband and I get some time to go out.  So that’s why I thought a bag would make a great gift!

LouisaBagFullProfile

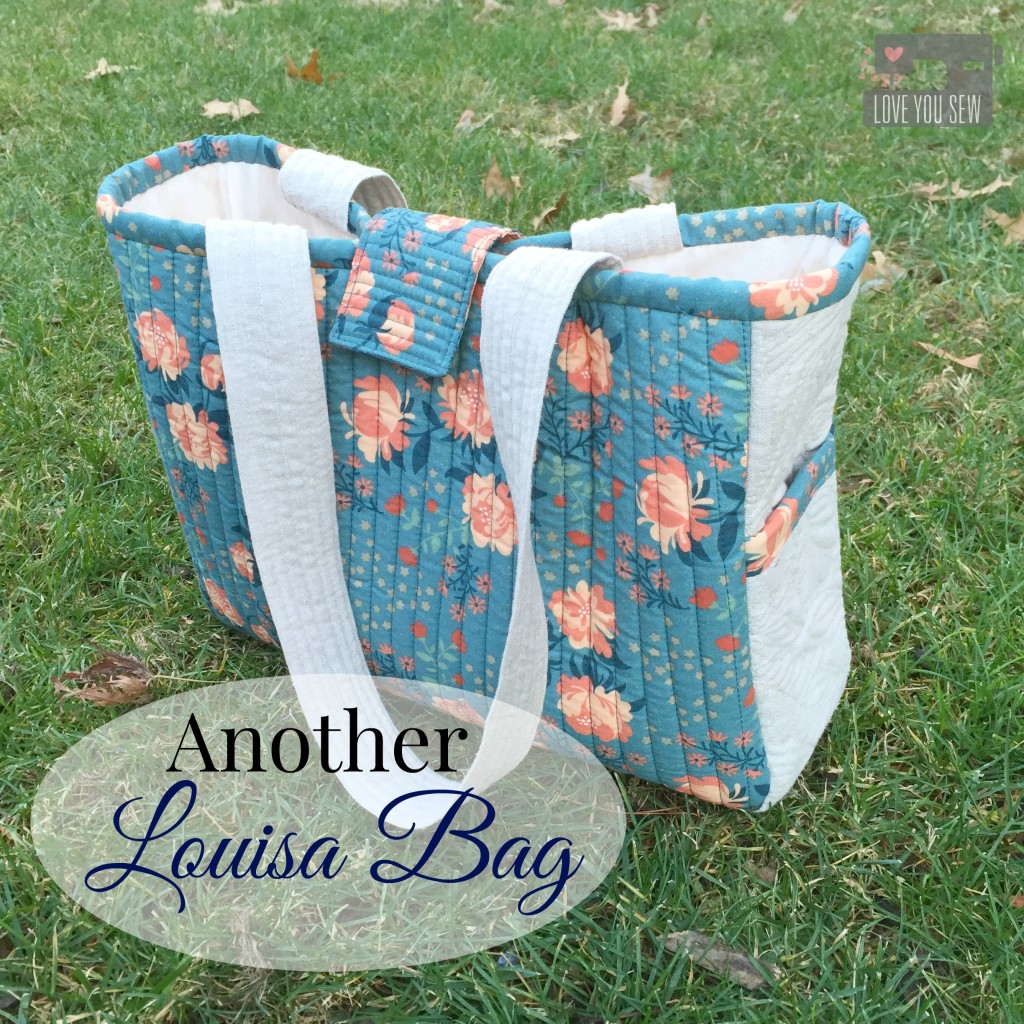
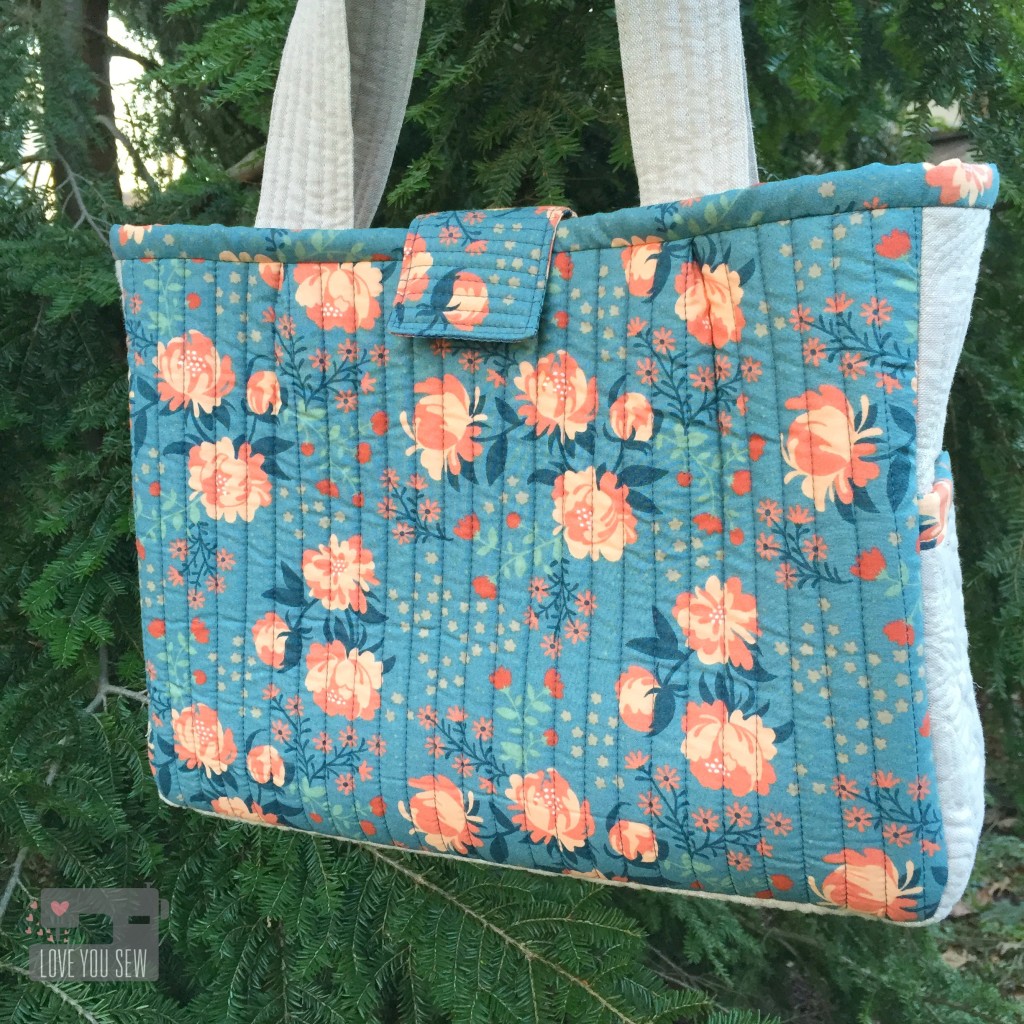
The Louisa Bag by Clover & Violet was the perfect choice.  (You can see the Flying Geese one I made here.)  This pattern is makes for a great mid-size bag to carry all of the essentials without being too overwhelming.  I had this great Acorn Trails Peonies Blue from Birch Organics which I wanted to leave whole.  It’s a beautiful larger print to show-off rather than turn into patchwork.  This exterior fabric was straight-lined quilted with Pellon Flex-Foam for lightweight structure.

TIP: Cut pattern pieces 1″ larger than instructed if you are quilting to the Flex-Foam. Once finished quilting, cut to the proper dimensions.

SideQuilting

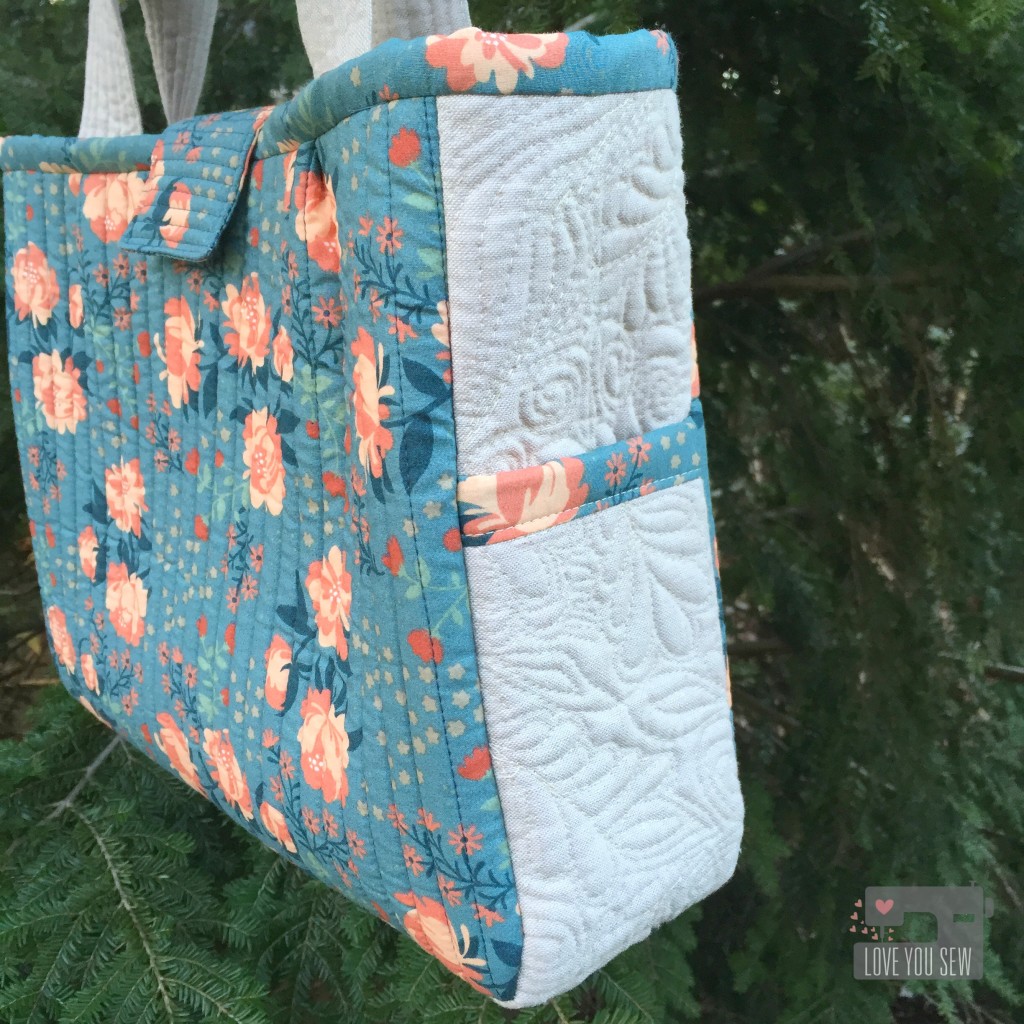
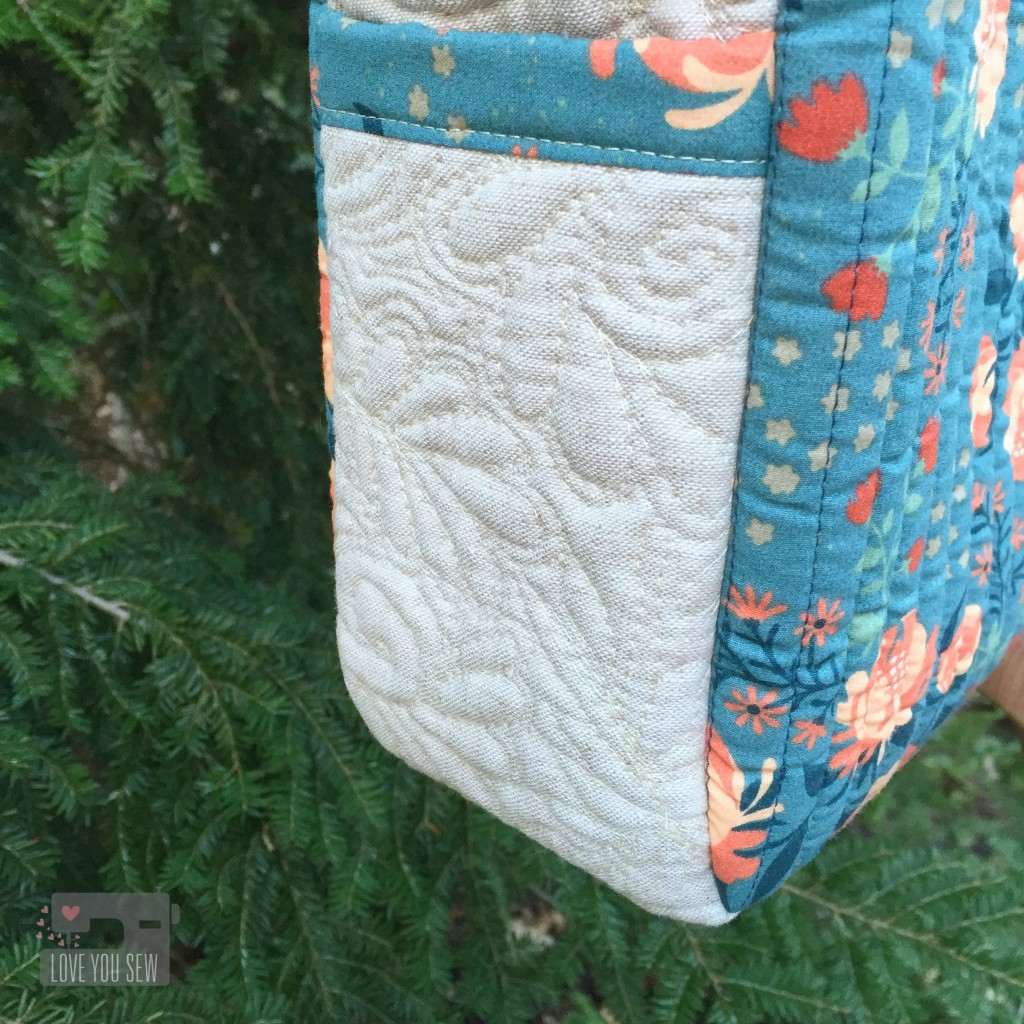
For the sides, I wanted to add more interest since we left the main exterior panels whole cloth.  Essex Linen in Natural was the choice to add quilting upon.  I’m very new to the free-motion-quilting game.  I’ve been practicing for some time, but have been hesitant to actually use it on a real project.  These panels are wide enough to allow some fun design work, but small enough for me to handle as a first project.

SideQuiltingCloseUp

I channeled my inner Angela Walters and went for it…graffiti style without a pattern.  There are some flourishes, swirls, leaves and echoes to fill in all of the space.  I’m please with how it complements with the Peonies on the main panel.  I omitted the side ties to keep the pockets simple and allow the quilting to stand out.

InteriorZipSidePocket

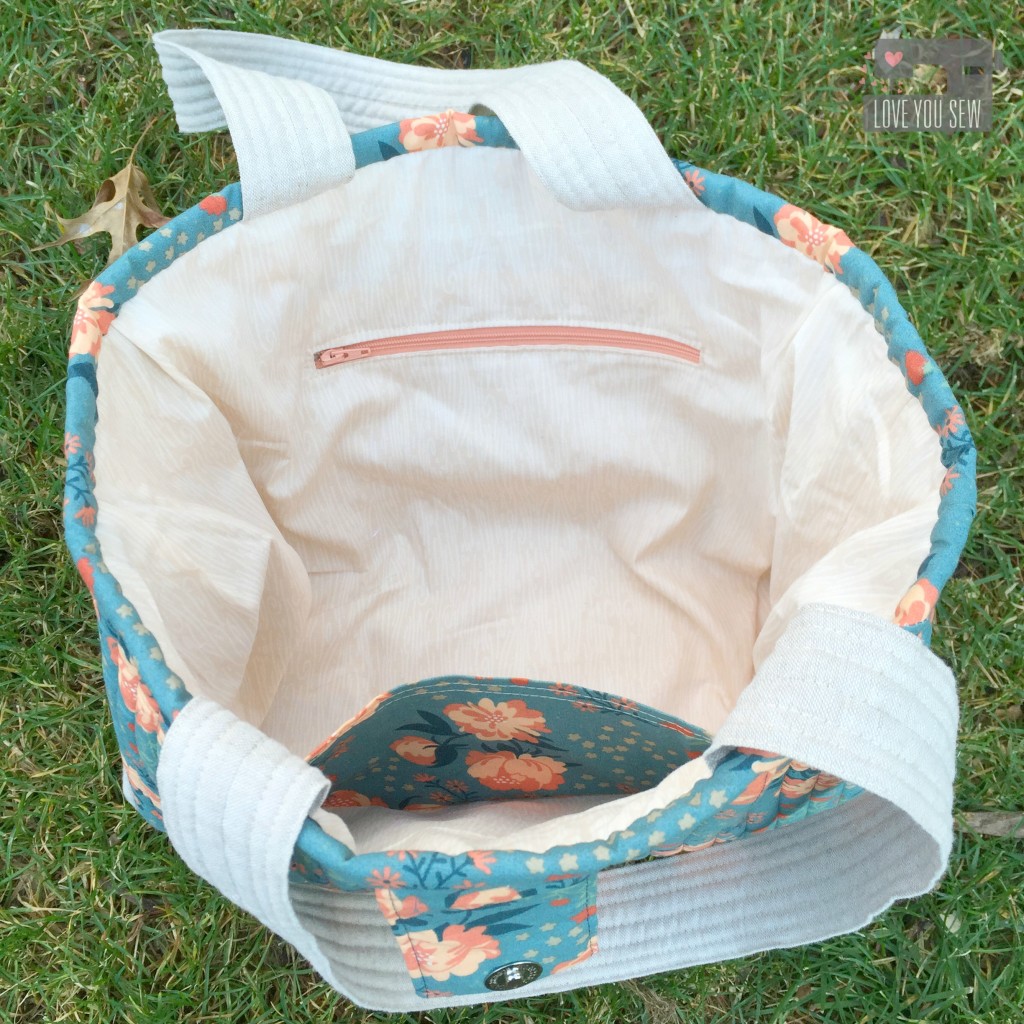
For the interior, I used the soft tones in Wildwood Birch from the Hello Bear line by Bonnie Christine for Art Gallery fabrics.  I was so happy to have a nice peach zipper to match with the exterior fabric….It pays to buy zipper assortments 😉

InteriorSidePocket

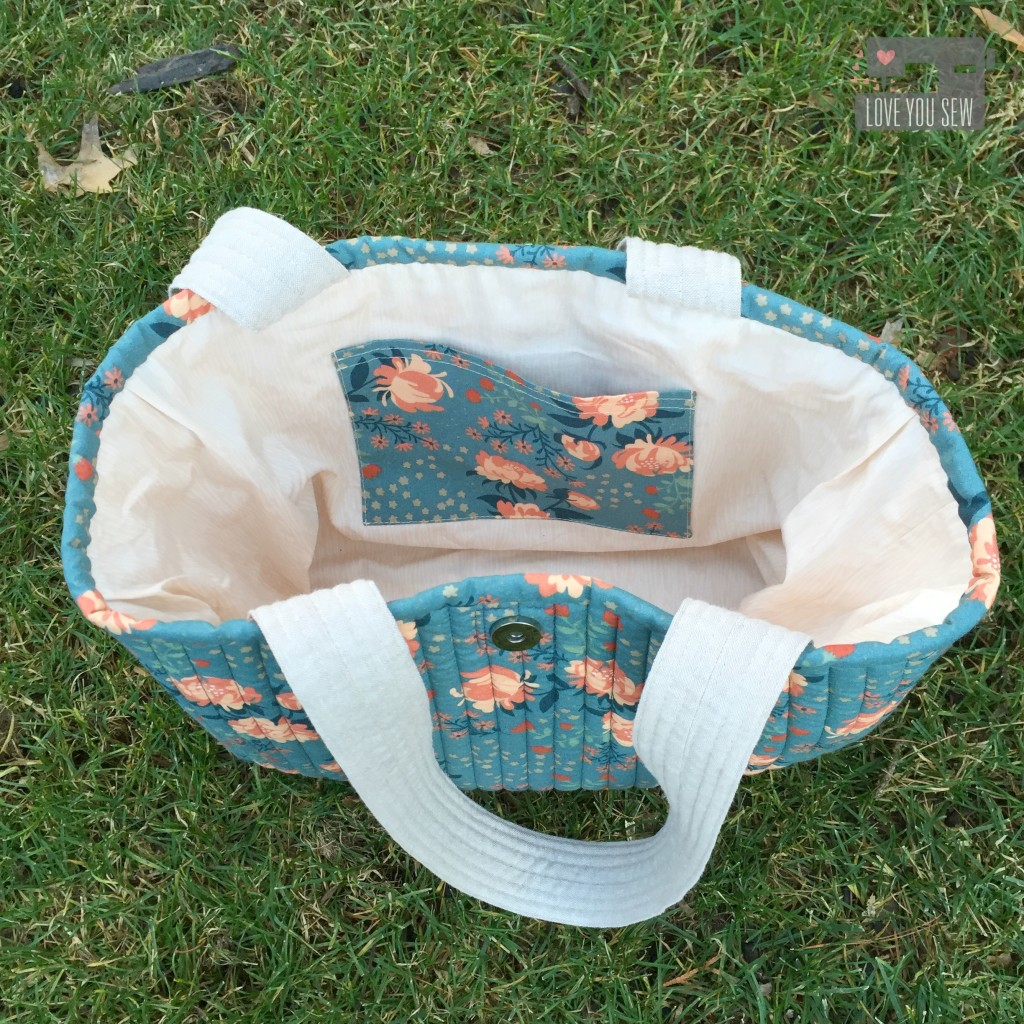
For the flat pocket on the other side of the interior, I use the main fabric to add interest and so my SIL can easily find in when in a pinch.  The straps were quilted with Flex Foam and you can see that they remain very pliable.  I love how this bag turned out.  It’s sophisticated enough to use everyday with that quilty touch 🙂

What handmade gifts did you make this year?


Happy Holidays,

Cristy

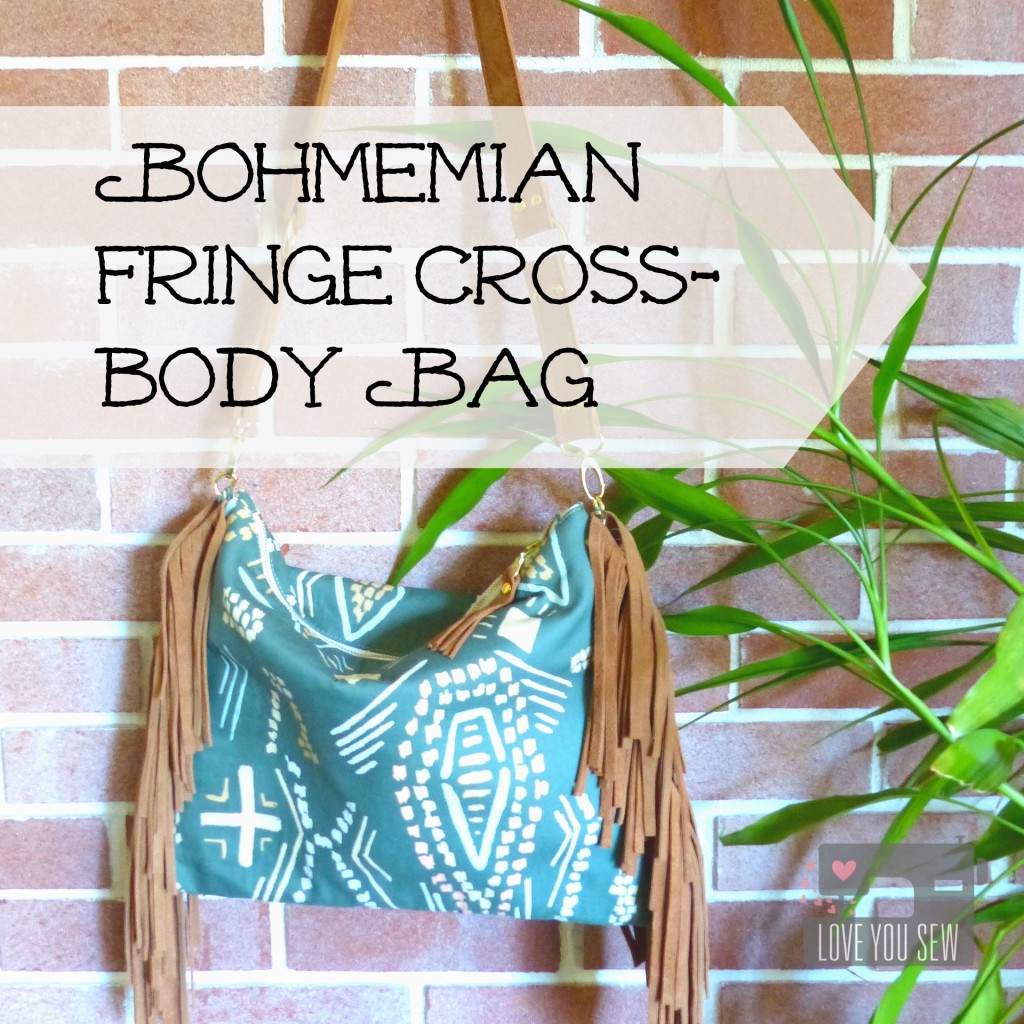
Bohemian Fringe Cross-Body Bag


BohoFringeBagTitle

If you haven’t noticed already, I’ve been really getting into bag-making.  I’ve used leather (both faux and real) and now I get to add some suede into the repertoire.  Ever since I got to play with Bound Fabrics for Spring Quilt Market, I’ve had my eye on this Macrame print.  I’ve been meaning  to make a bag with it ever since the line came out, but you know how selfish projects just get pushed to the side for others…  When Art Gallery Fabrics announced a Bound Fabric Bag Challenge, I knew it was my time to finally make my purse!

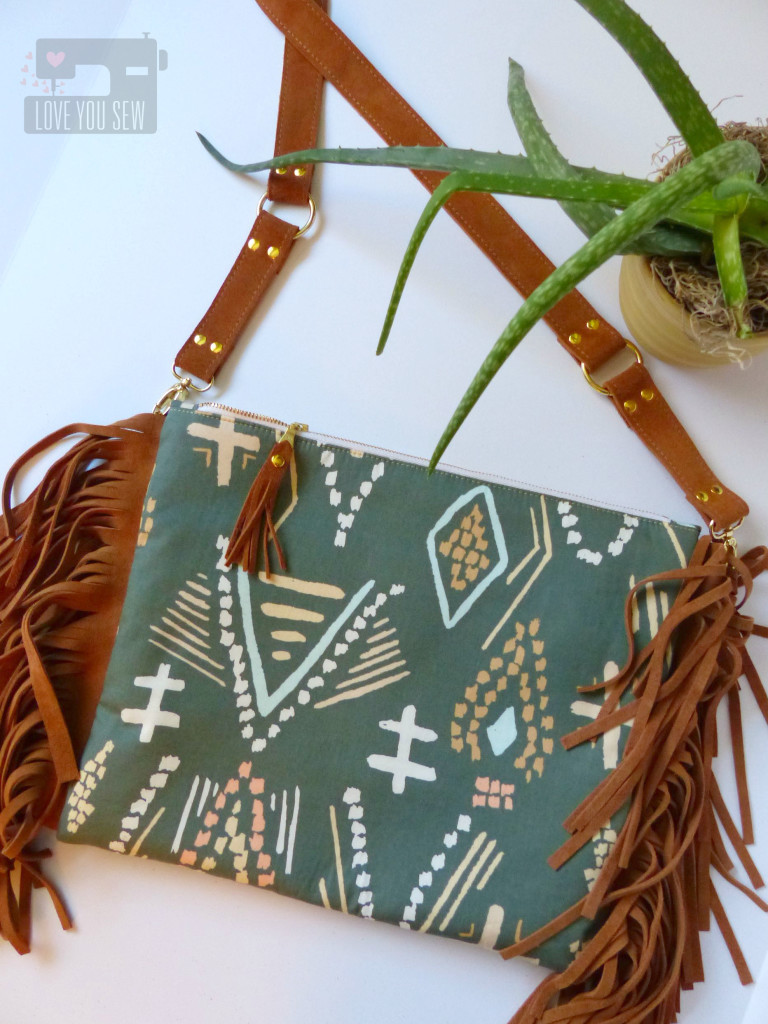
FullProfileFlat

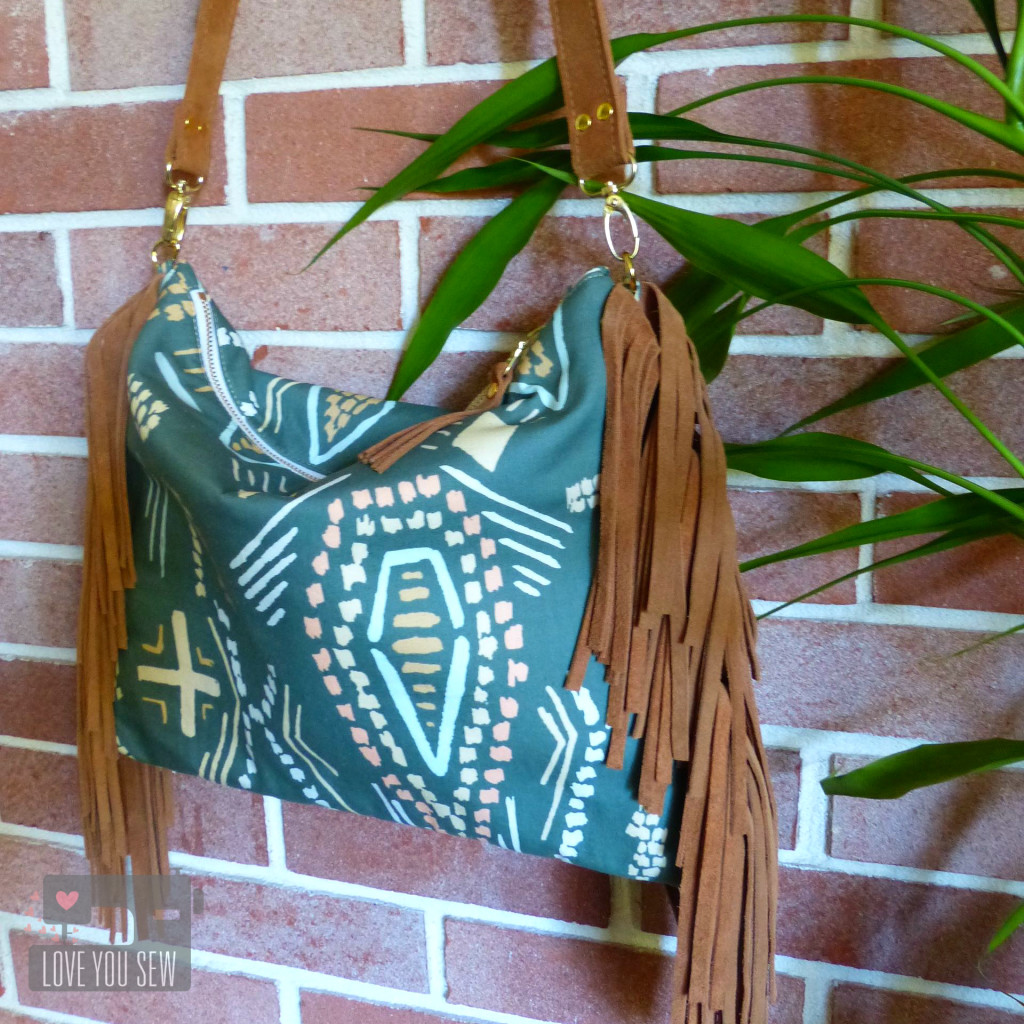
I was inspired by a bag I saw in Banana Republic.  It had the fun fringe on the side and was a generous size for a mama-on-the-go.  The only thing it lacked was an interesting print to make it really pop.  April RhodesBound Fabrics were the perfect options for this style of bag.  She creates optimal Bohemian Chic designs.

FabricCloseUp

Initially, I wanted a lighter camel colored leather for the fringe and strap.  I stopped by Tandy Leather here in Columbus to see if they could help.  It turned out large pieces of suede were on sale that day and how could I beat $20 for the skin?  I could have easily spent way more on the idea I had in my head.  It’s good to be flexible and I am SO happy with the results!

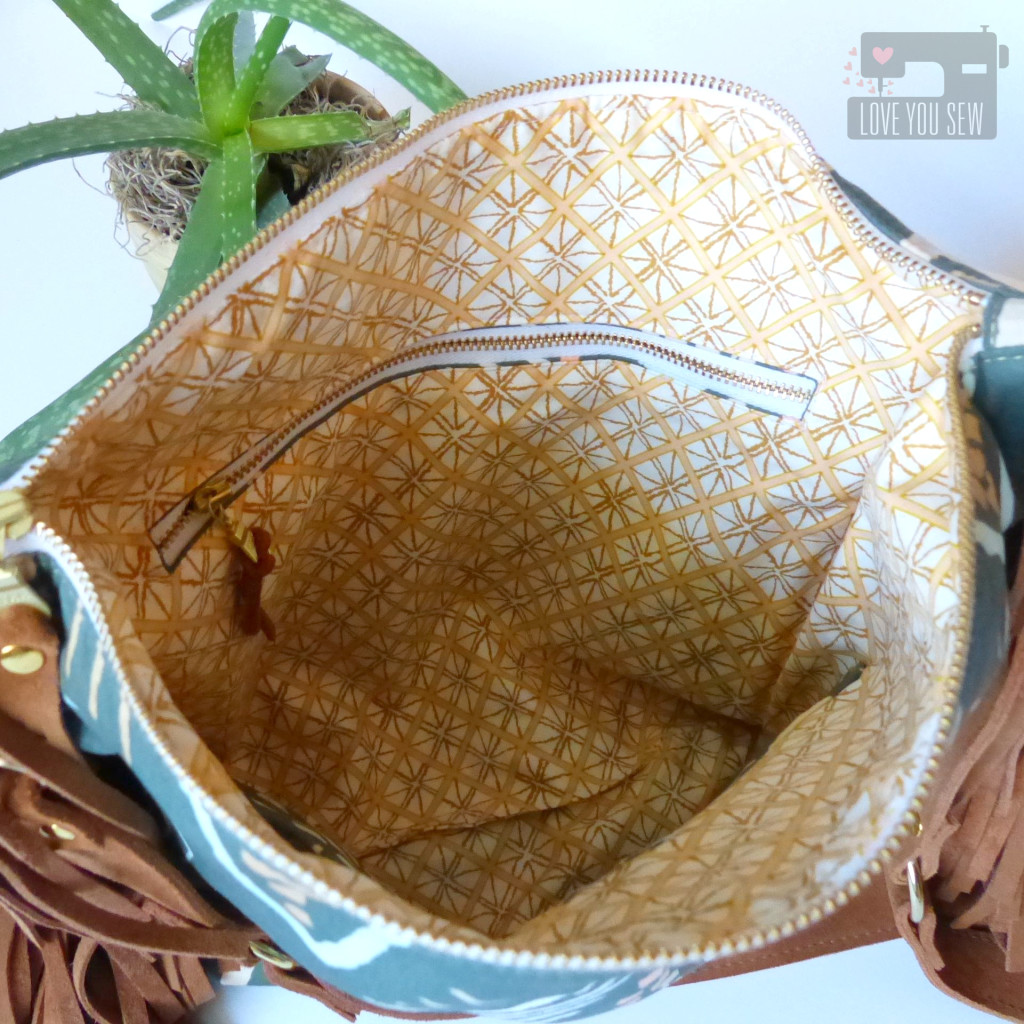
InteriorZipper

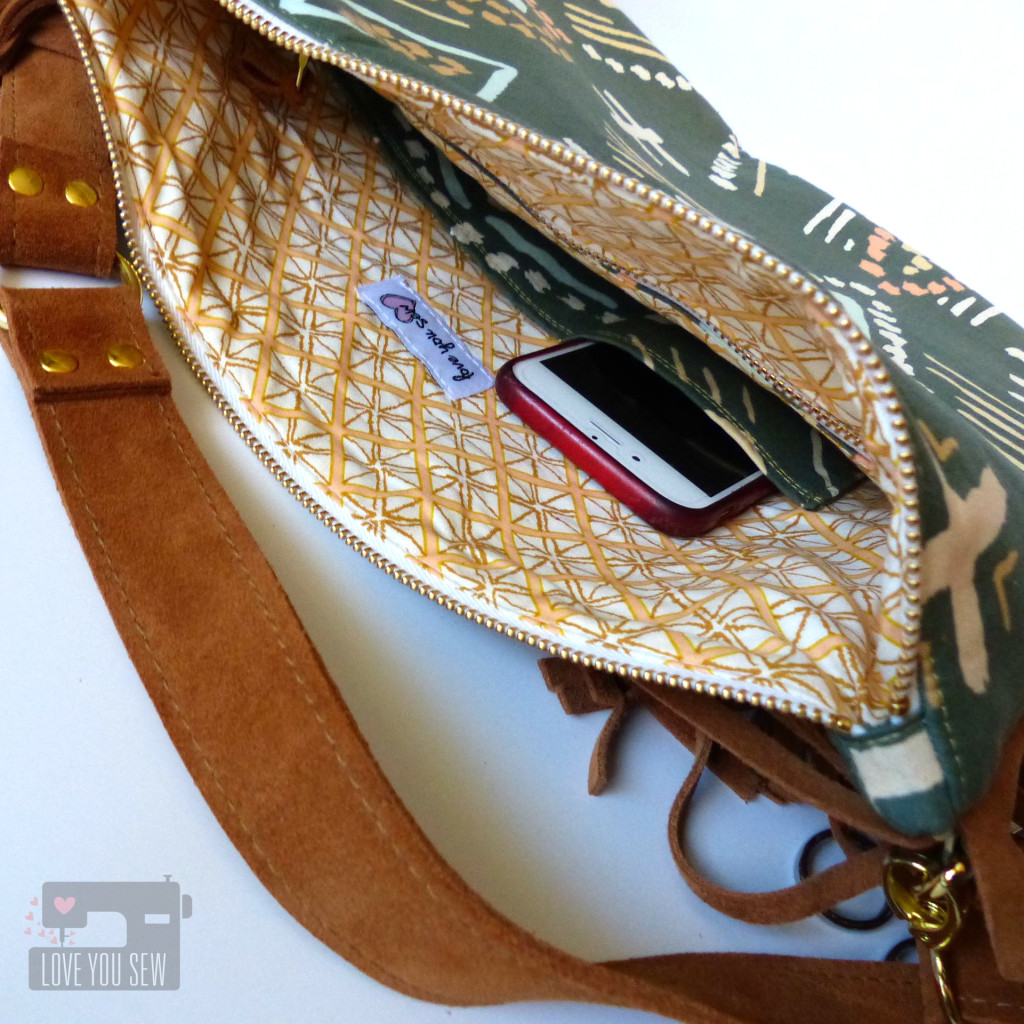
For the construction of the bag, I use Pellon Thermolam and SF-101 to give some structure, but still allow for that slouchy-relaxed look that comes with Boho style.  For the interior, I used Diamond Cloth Cereus and added a nice big pocket with a brass zipper.  Although they are not as smooth as plastic zippers, I just cannot pass the opportunity of using a beautiful brass one.

InteriorPockets

On the other side of the interior, I added a small pocket for my smart phone and an extra pocket for all the other small knick-knacks I bury in my purses.  I’ve learned that I need the phone pocket most of all in bags….especially since I like these over-sized styles.  ‘Having this one tiny feature alleviates a lot of headaches trying to find my “life-line!”

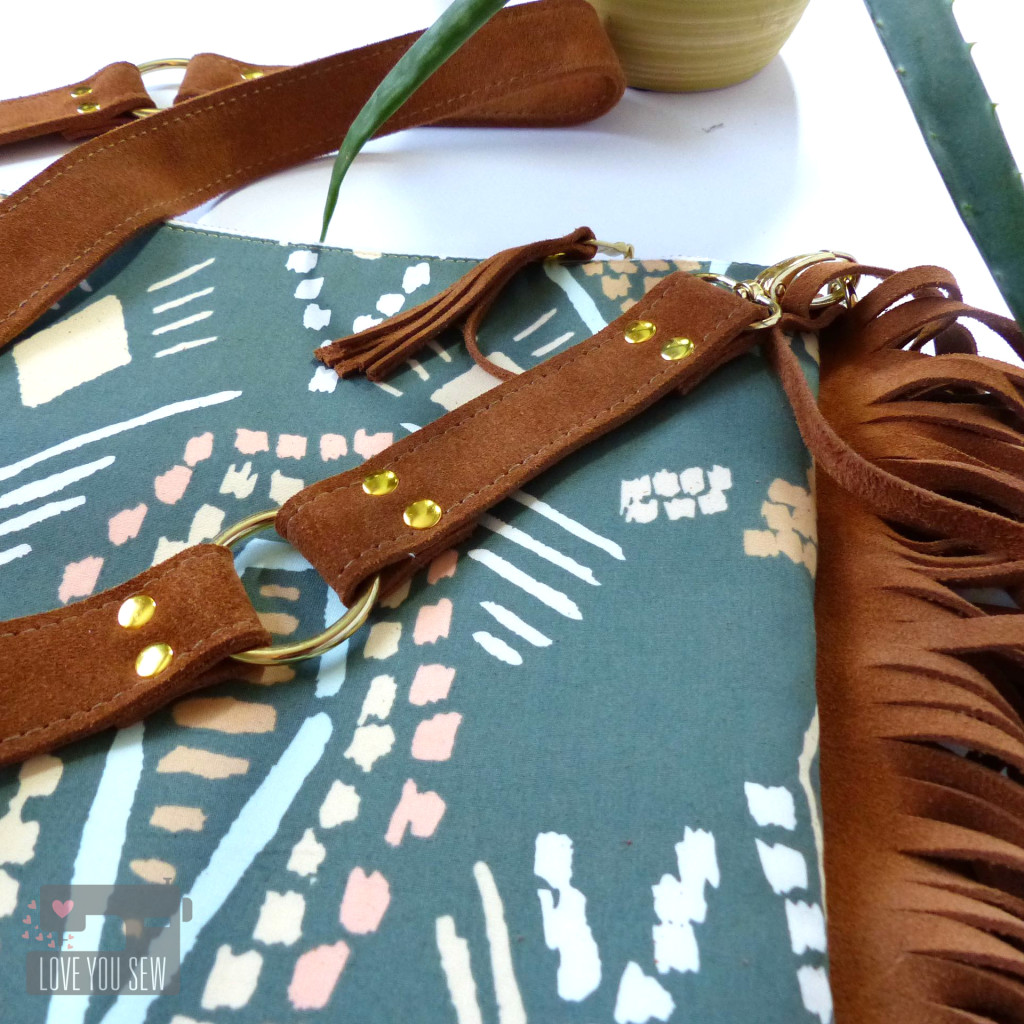
HarwareCloseUp

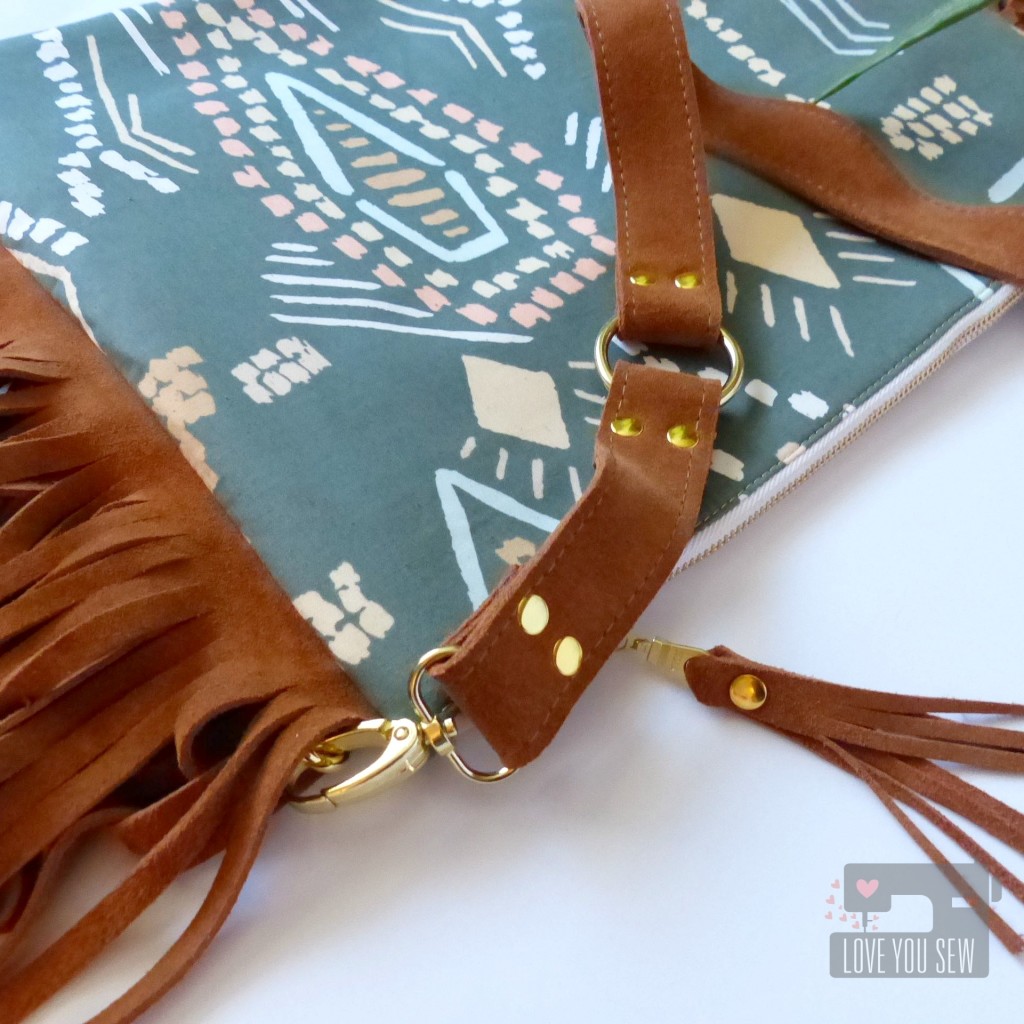
All of the hardware is from Emmaline Bags and adding the rivets were not as difficult as I thought they would be.  It’s important to have a good leather punch and the right anvils for the job.  The guys at Tandy Leather helped me get set with the right supplies.

Like with my Cargo Duffle, I used Gutterman Top-Stitch thread to make my straps.  I just love that  professional look of the thicker thread.  It takes time to work out the tension, but worth it in the end!

CloseUpHanging

If you get the chance, can you please help me with the Bound Challenge?  You can head over to Art Gallery’s Pinterest board here.  If you “heart” my post, I will earn a point and then if you “re-pin” it, I will earn an additional point.  Please make sure you do so through Art Gallery’s board so the “hearts” and “re-pins” are recorded.  ***Update: Contest is over*** Thank you so much to all who voted!!!!

The prizes will help me keep a stock of fabric and notions so my projects and posts can keep coming to you 🙂  And you know I like to giveaway too…..

Crossing my fingers (and zippers!)

Cristy

***This post may contain affiliate links for which I may receive a small compensation upon your completed purchase. These help keep the site up and running.