Quilted Envelope Clutch :: Free Tutorial

quilted-envelope-clutch_title

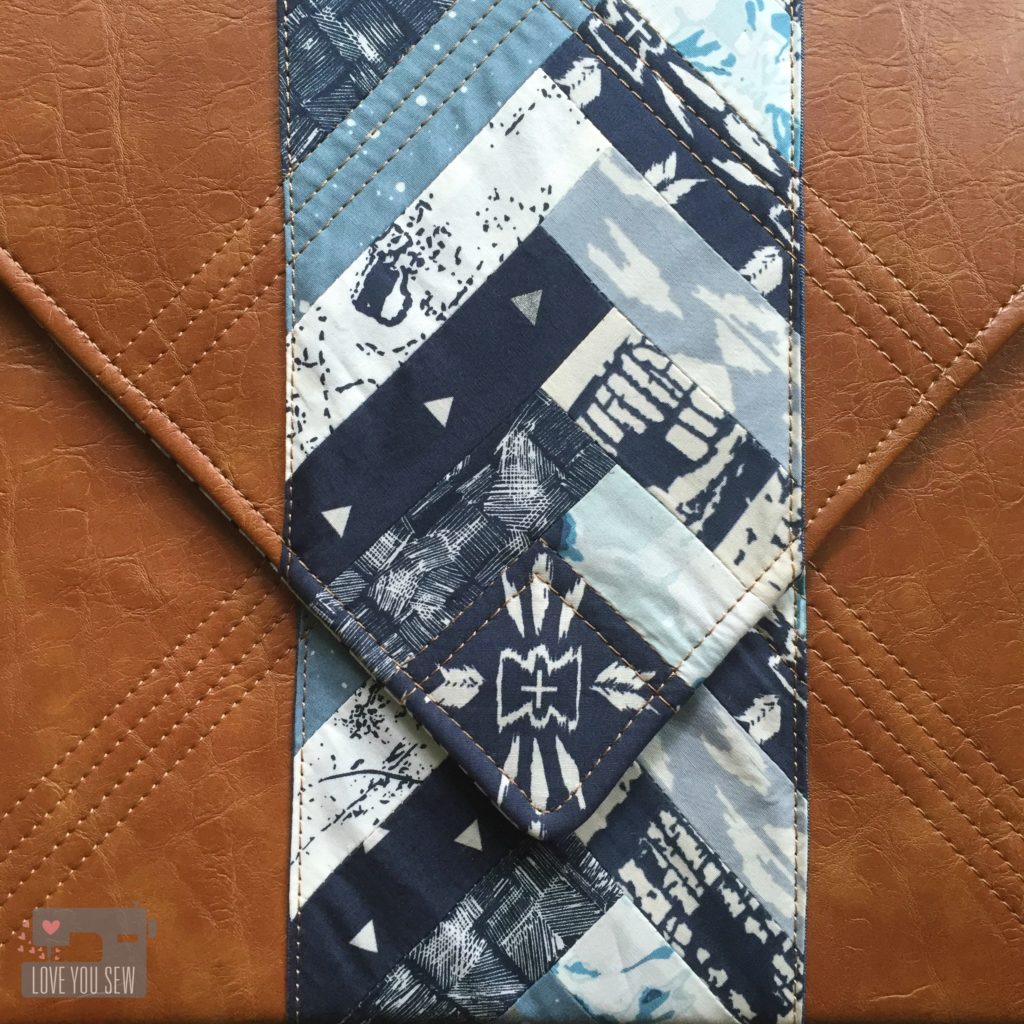
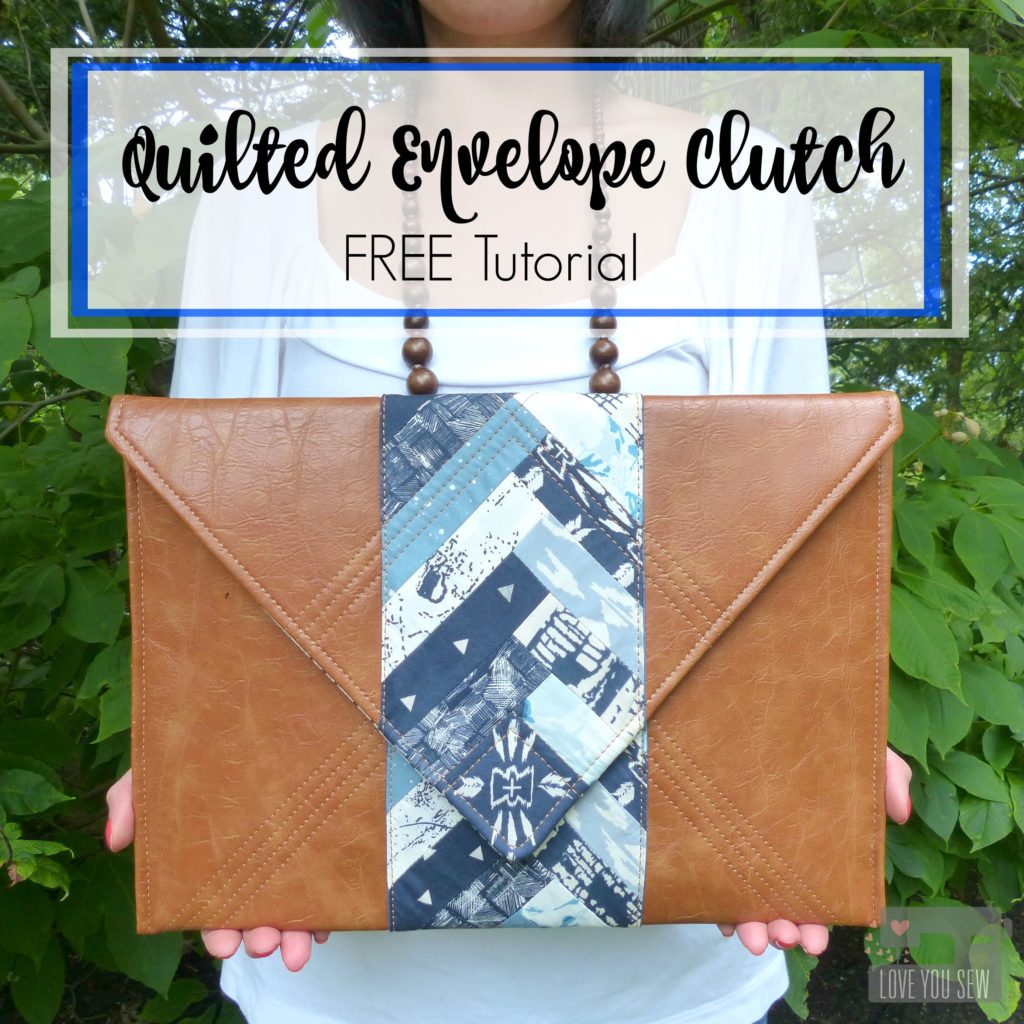
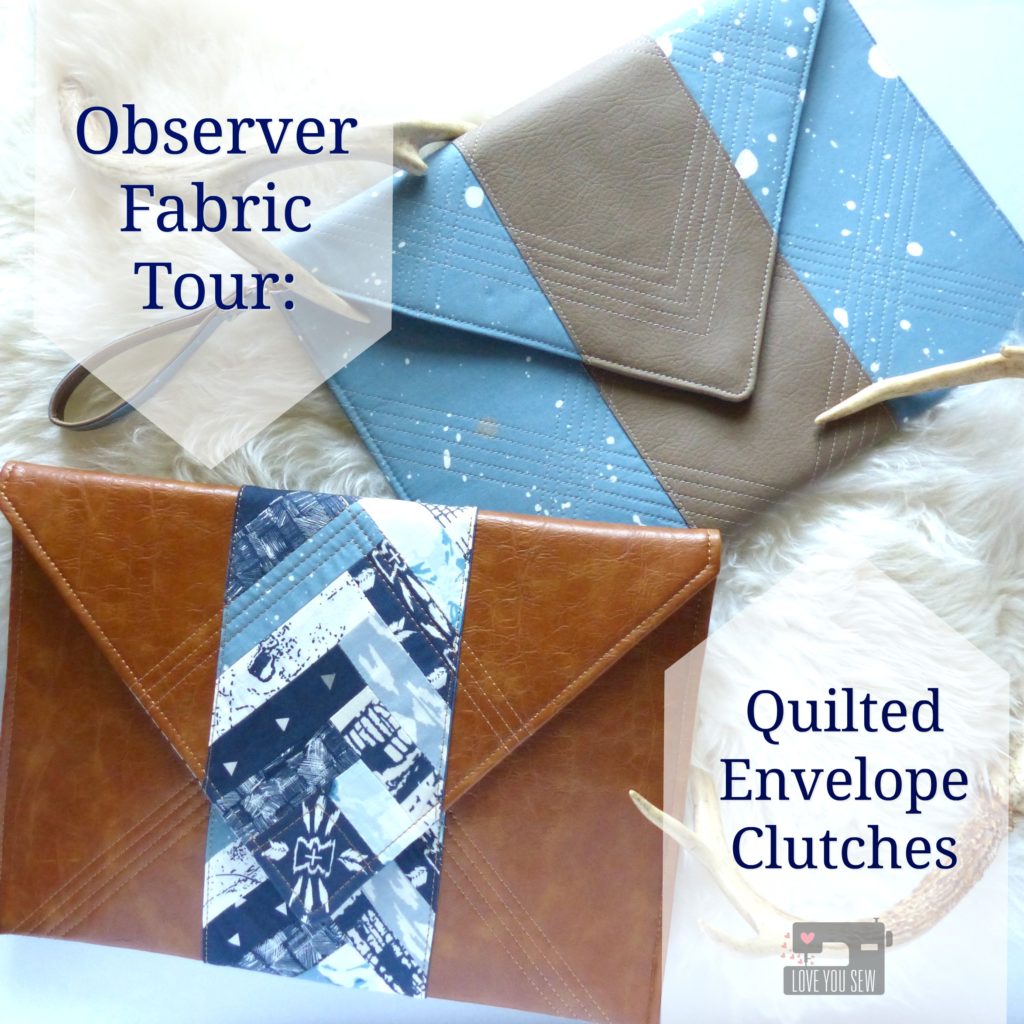
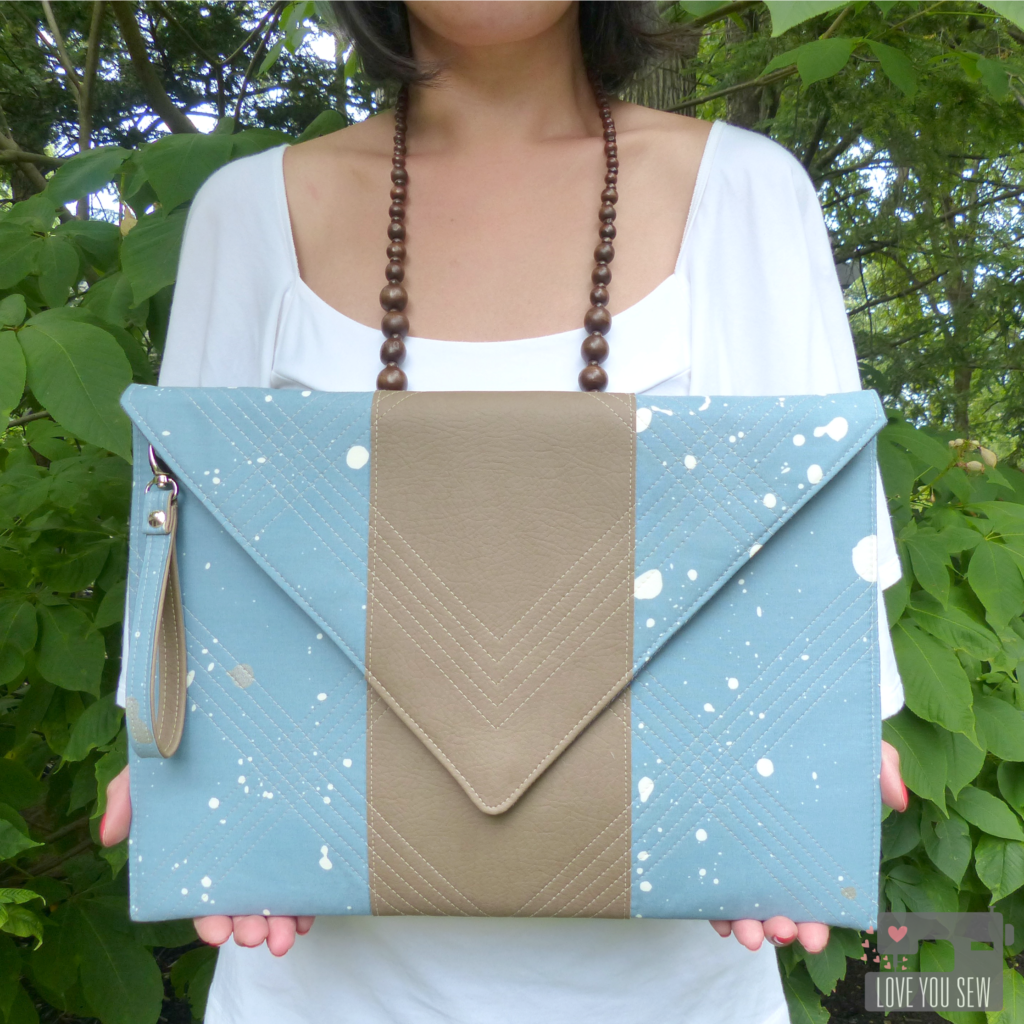
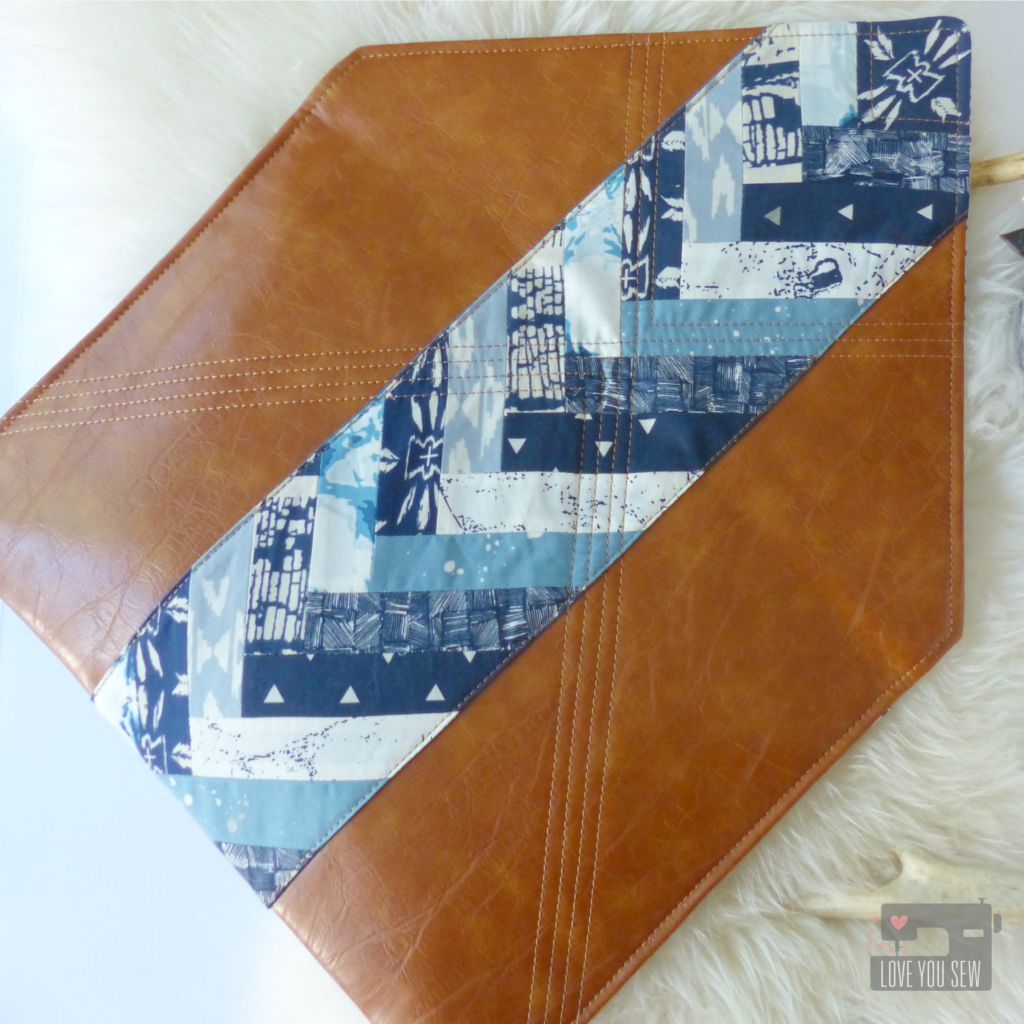
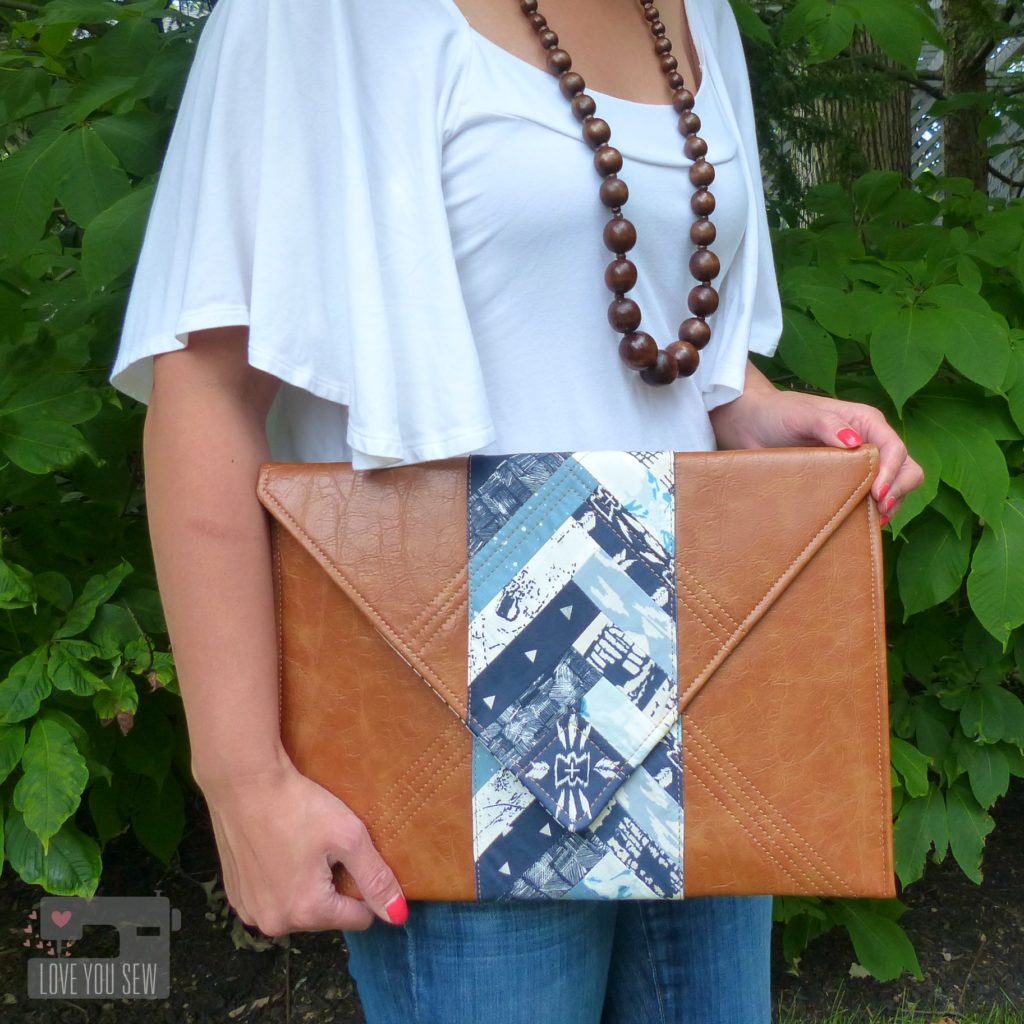
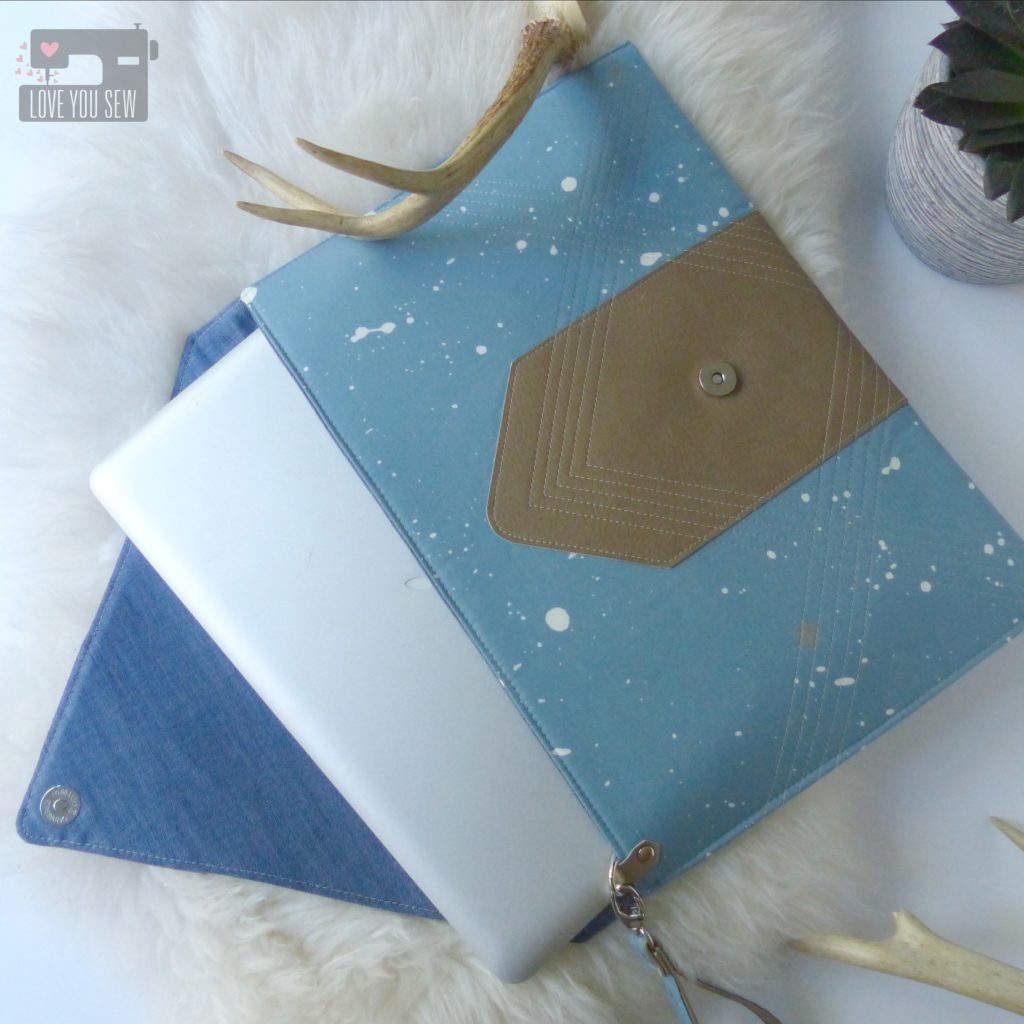
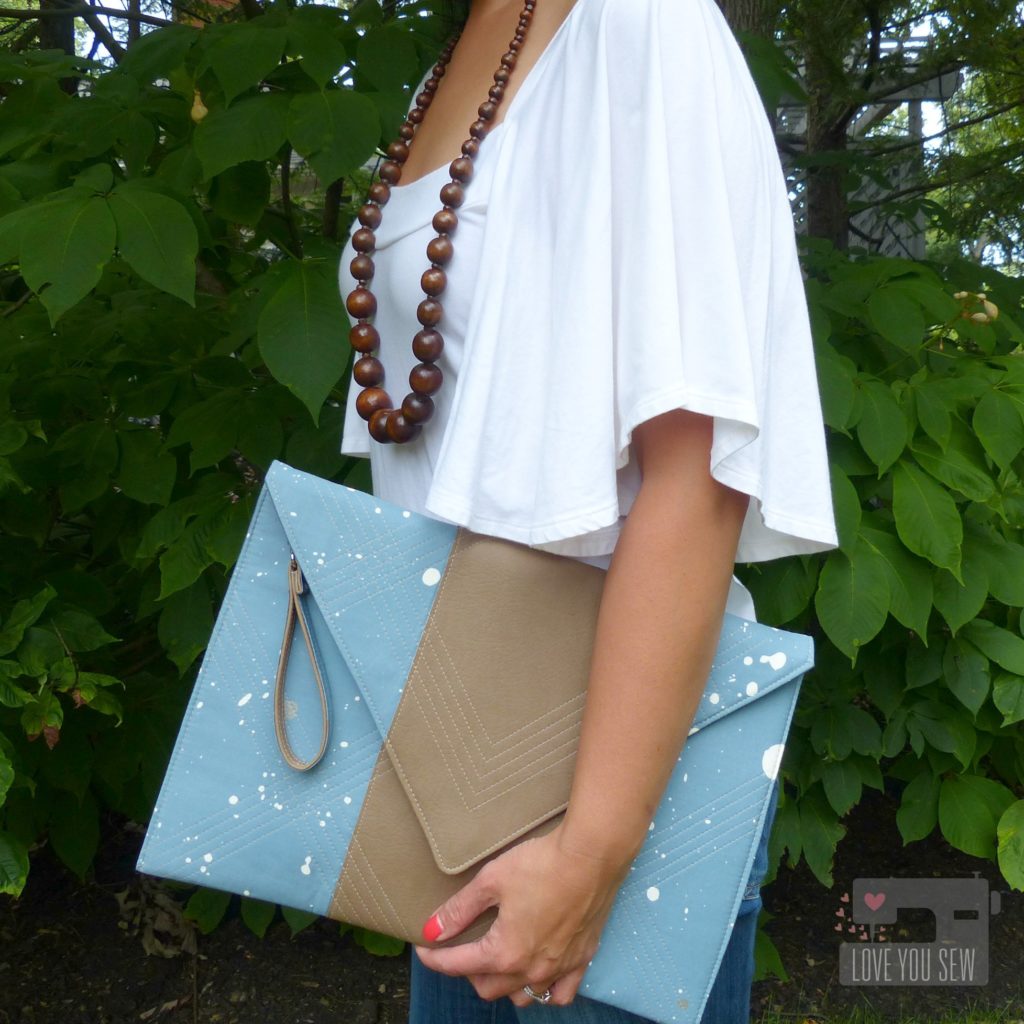
Envelope Clutches are everywhere right now and I was inspired by it simple and timeless shape.  This Quilted Envelope Clutch design is over-sized to give you ample room for all of your essentials, but still is nice  enough to go from day to night.  It’s a sleek bag when paired with the right faux (or real) leather.  Coincidentally, this clutch design also fits a MacBook Pro perfectly, so its versatile and you can change up the fabrics to make it as laptop holders.

As I wrote in last week’s post from the Observer blog tour here, I like to show how hip and modern quilting can be.  I love how the piecing of a half log-cabin accentuates the envelope shape and the monotone palette keeps it chic.  Simple quilting adds enough texture and detail without being over-the-top…or over-worked.

This tutorial is for the faux leather version and finishes at approximately 14 3/4″ x 10 1/2″.  As with all patterns, don’t jump the gun…please ready through the instructions in their entirety.  Shoot me an email and/or leave me a comment if you have any questions.  Enjoy!

Materials Required:

  • Faux leather/ Vegan leather / Vinyl (1/2 yd)
  • Lining & Pocket Fabric (1 yd)
  • Pieced Panel scraps (1/4 yd)
  • Pieced Panel Lining Fabric (1/4 yd)
  • Woven Fusible Interfacing [Pellon SF101] (2 1/2 yds)
  • Ultra-firm Sew-In Interfacing [Pellon 70 Peltex] (1 yd)
  • 9″ Zipper
  • Magnetic Snap
  • Coordinating Thread(s)
  • Poster Board (optional for cutting pattern templates)
  • Spray Baste or Fabric Glue Pen (optional)
  • Clover Clips

 Cutting Instructions: 

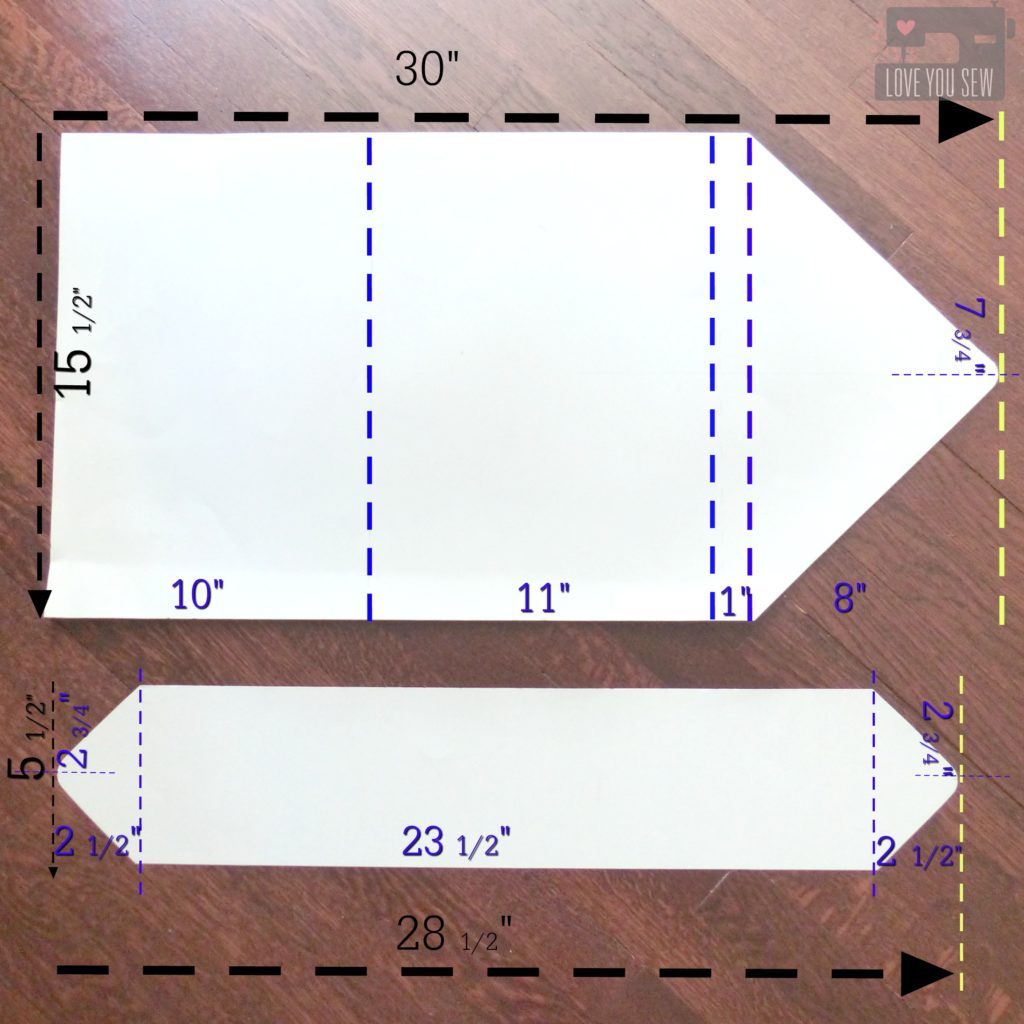
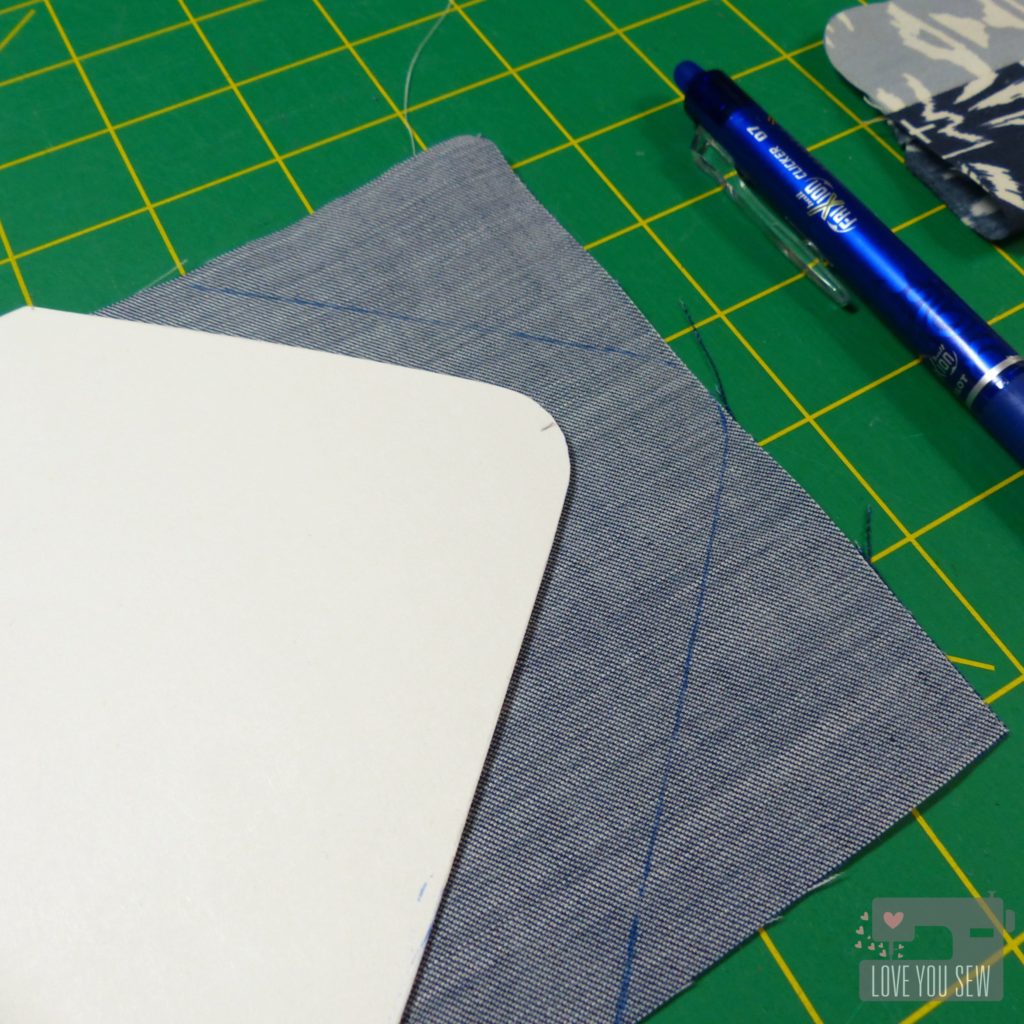
  1. Create the body and center panel cutting templates following the black numbers.  Make markings for the numbers and lines in purple.
    • Cut the angles by finding the mid-point of the short-sides of each template.  cutting-template
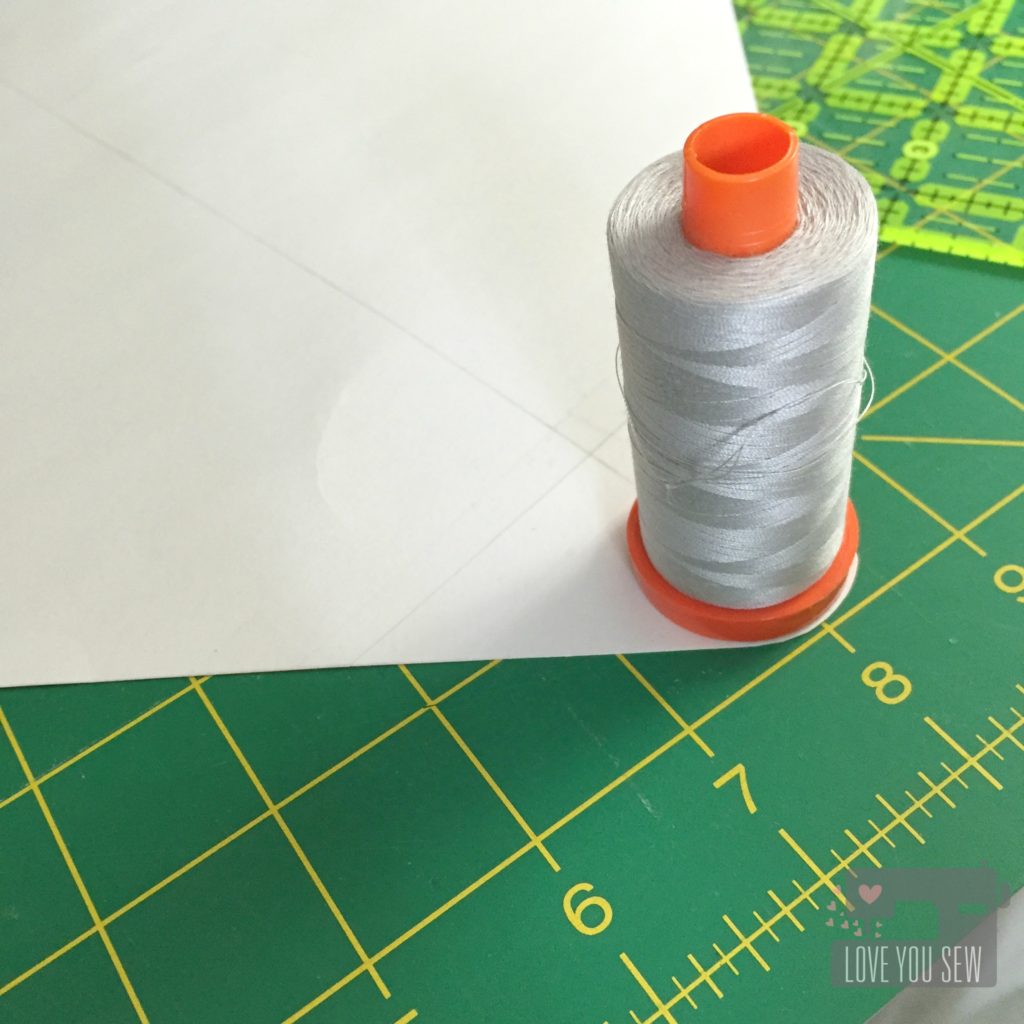
    • Round out each of the “envelope points” using a large spool of threadimg_7001
  2. Use your larger template to cut:
    • (1) Body with faux leather
    • (1) Lining
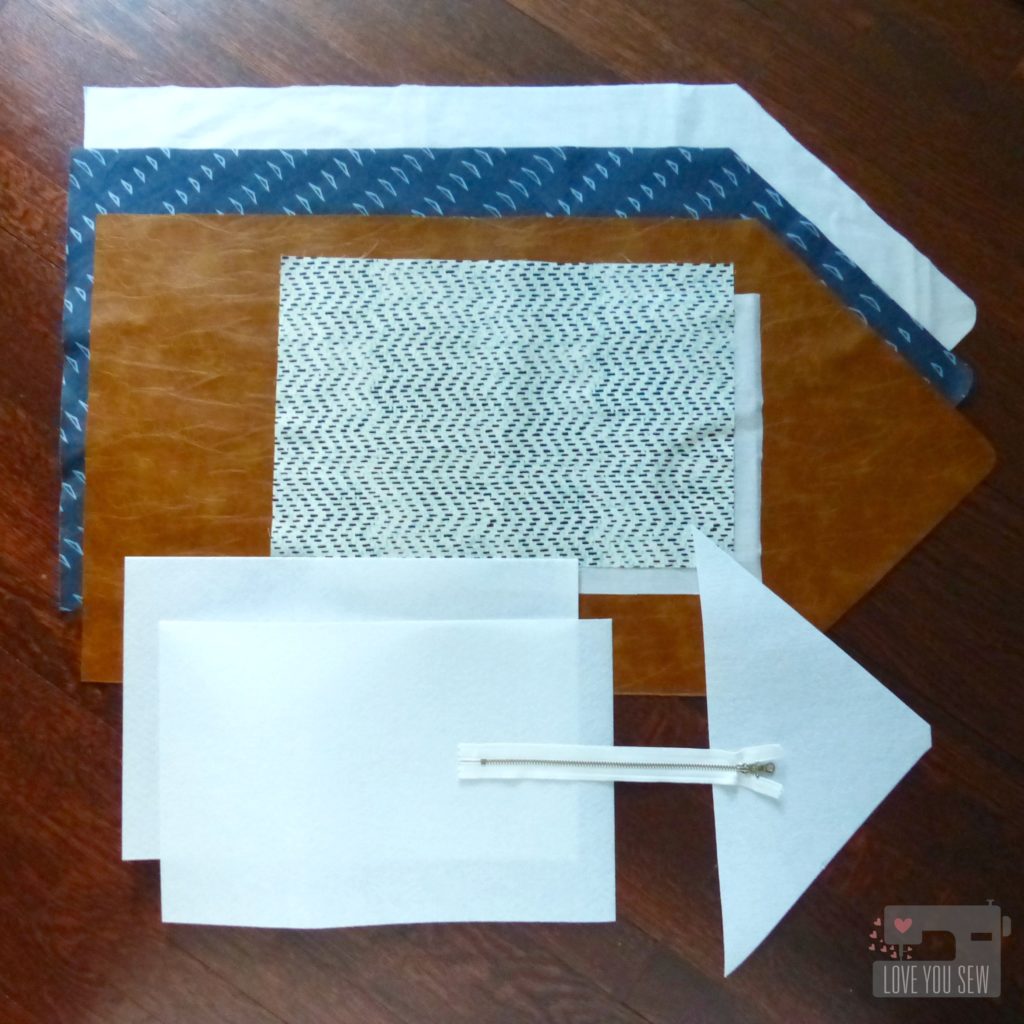
    • (2) Woven Fusible Interfacingsp1060660
  3. With the Firm Sew-In Interfacing, cut:
    • (2) 14 3/4″ x 9 3/4″ rectangles
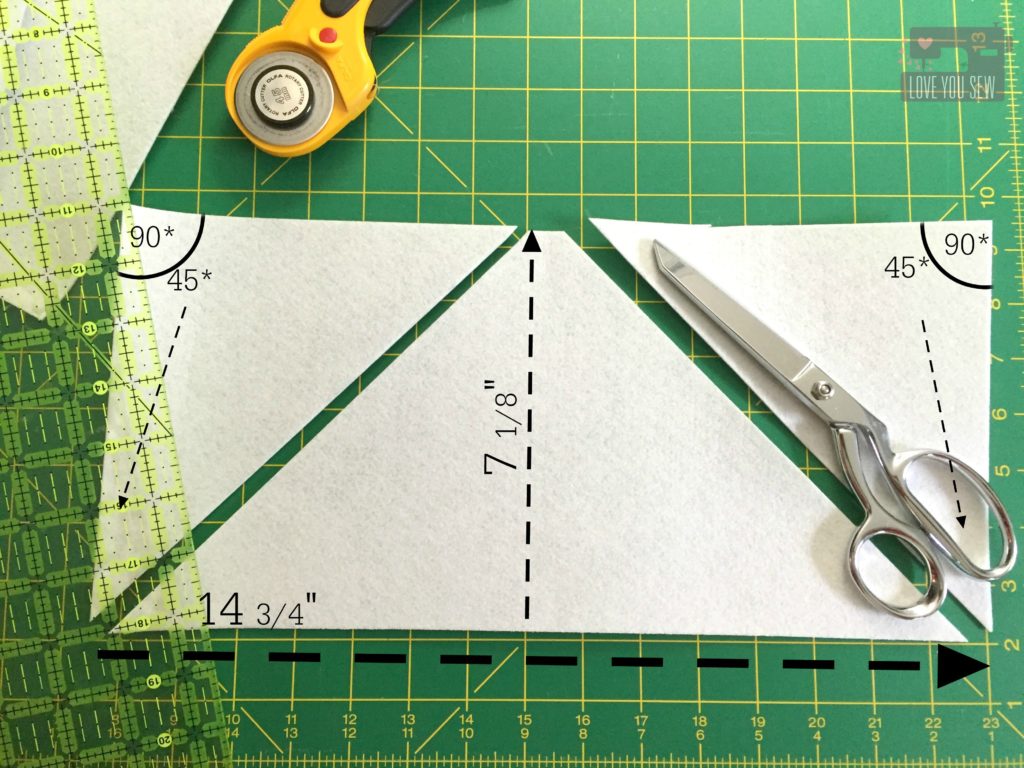
    • (1) Triangle per the following photo:img_7014a
  4. For pieced Center Panel (as a half log-cabin), cut:
    • (1) 2 1/2″ x 2 1/2″ square
    • (34) 5″ x 1 1/2″ strips
    • Use smaller template to cut (1) Center Panel liningp1060674
  5. For Lining Pockets, cut:
    • (1) 16″ x 11″ rectangle with the lining fabric
    • (1) 16″ x 11″ rectangle with fusible woven interfacing
    • (1) 9″ x 4 1/2″ rectangle with faux leather

Construction:

(1/4″ seam allowance unless otherwise noted)

  1. Interface the body.  *Please check and test the heat settings beforehand.  Not all vinyl/faux leather is created equal.

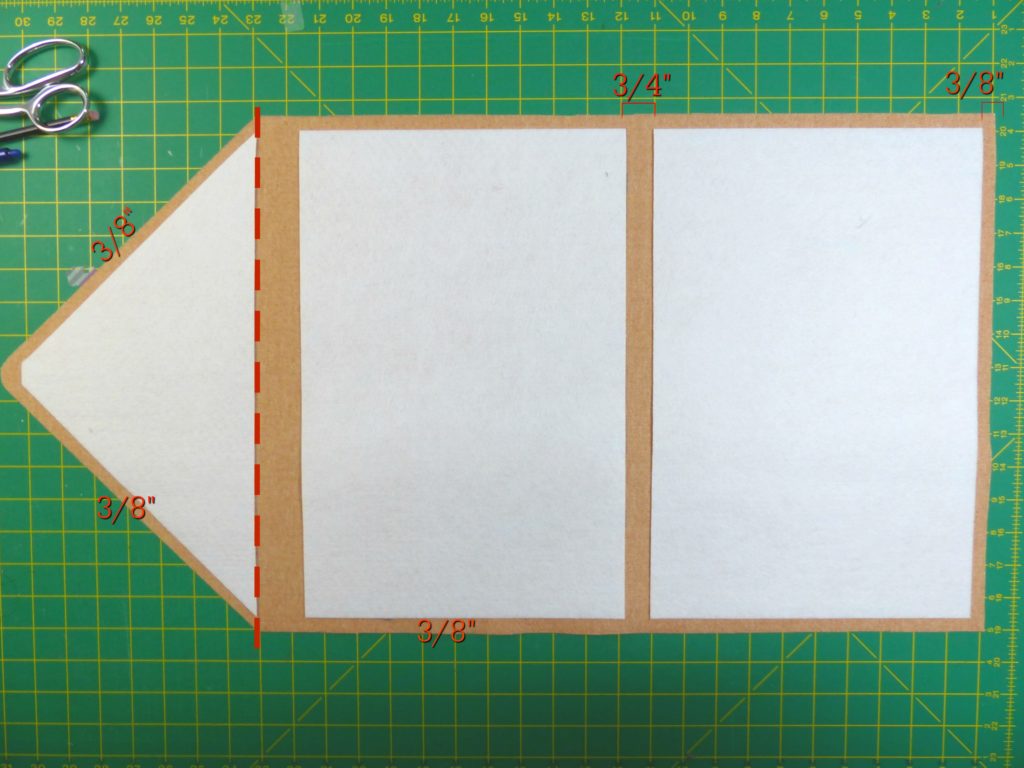
    • Place the Peltex pieces per the following photo.  Leave 3/8″ allowance all around the edge of the vinyl.  Keep 3/4″ in between the (2) 14 3/4″ x 9 3/4″ pieces.  Make sure you align the Peltex triangle long edge with the top corners of the vinyl.  You can can secure them in place with a little spray baste or with Sewline glue pen.  *It’s important to have the Peltex split into 3 pieces to give the ease and flexibility where the clutch will fold.  It will also alleviate some of the “cracking” appearance that can happen with interfacings that are forced to moved a lot.p1060663
    • Use one of the fusible woven interfacing pieces and fuse on top of the firm sew-in interfacing.  You may need to work the edges of the SF101 around the Peltex with your iron. Set aside.interface-vinyl
  2. Fuse the 2nd piece of fusible woven interfacing to your lining.  Set aside
  3. Fuse the pocket fusible woven interfacing to the pocket lining fabric.  Set aside
  4. Prepare Center Panelp1060670
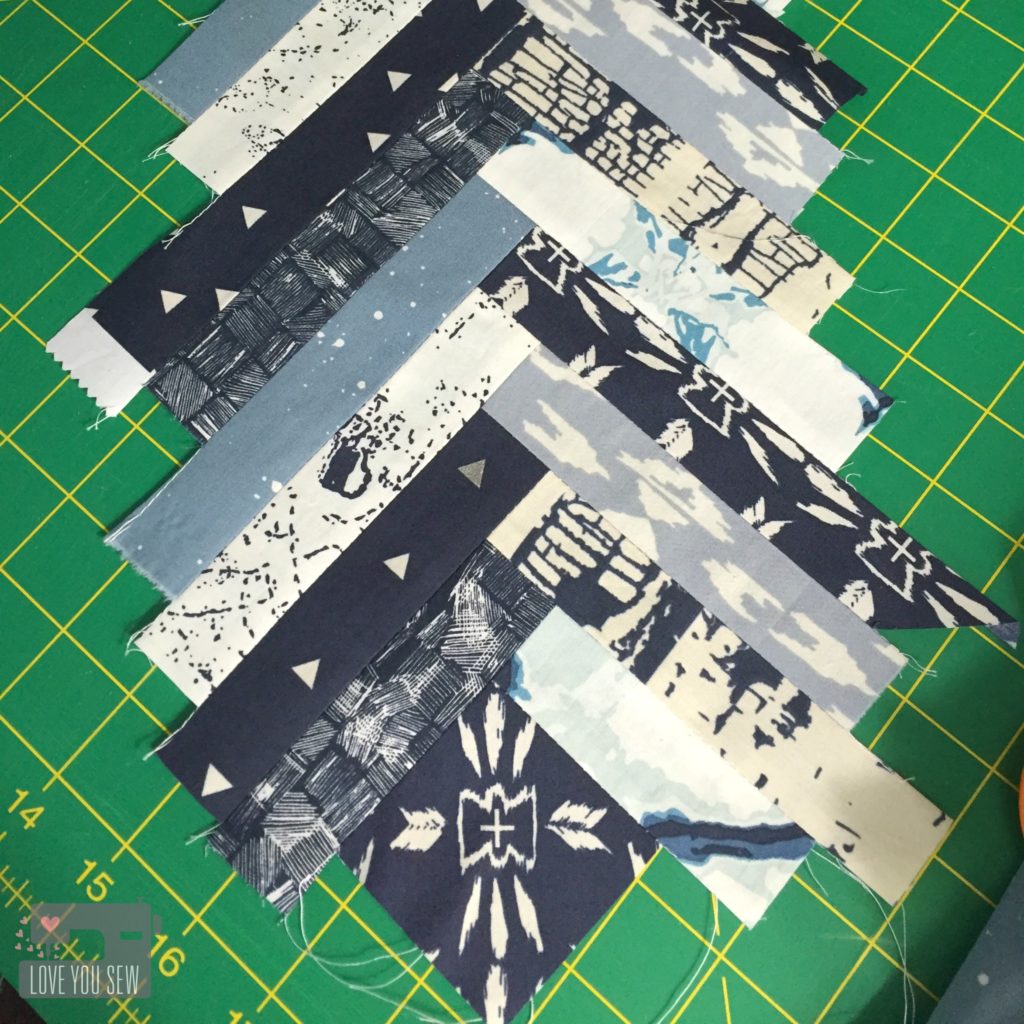
    • Piece as desired.  I used a traditional half log-cabin design, but you can use anything that you like as long as it can be trimmed to the Center Panel template you created earlier.
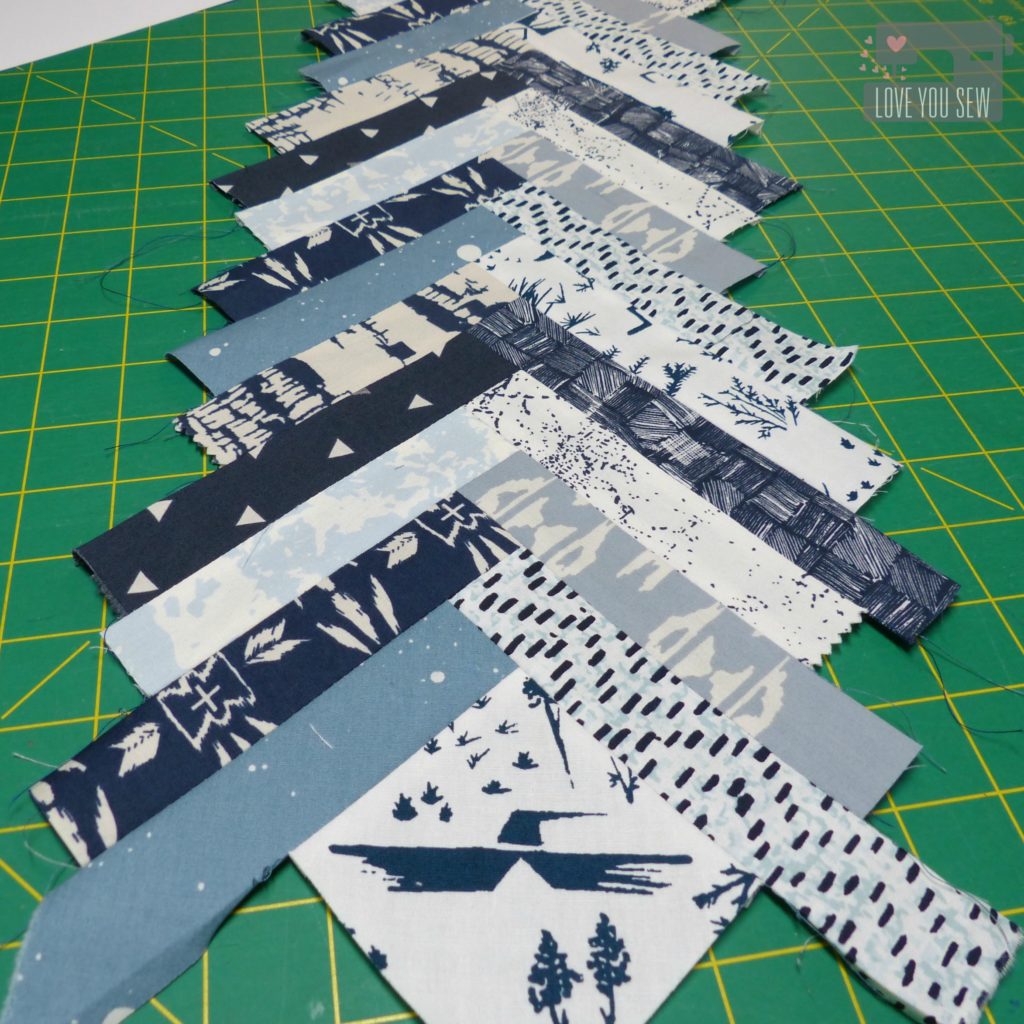
      • Line up the short-end of the first strip (gray-blue speck) with the edge of the square (eagle) and sew with 1/4″ seam allowance.  Press open
      • Line up the short end of another strip (navy dashes) with the opposite edge of the square (eagle) and sew.  Alternate sides until you have used all 34 strips.
      • Use Center Panel template and trim to fit.
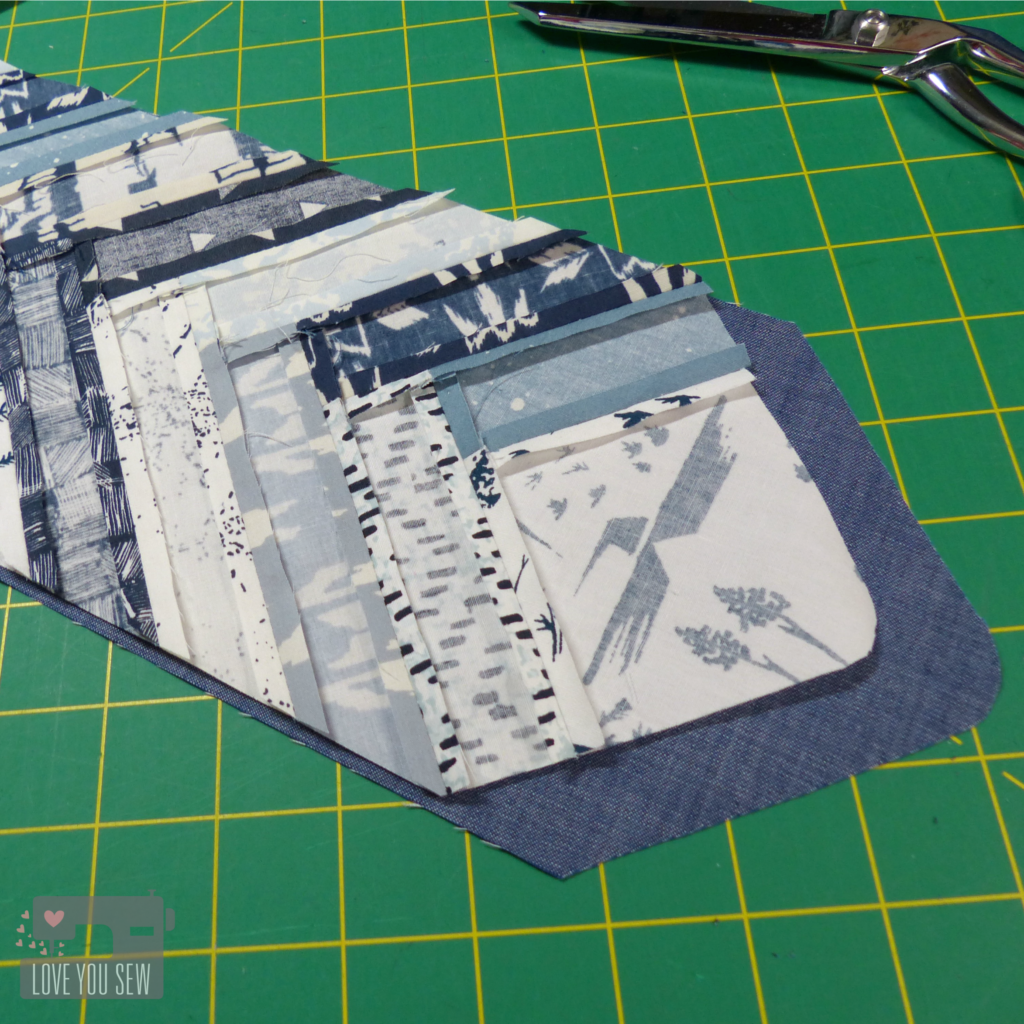
    • Assemble the Center Panel by placing the right-sides of the center piecing with the center panel lining.p1060675
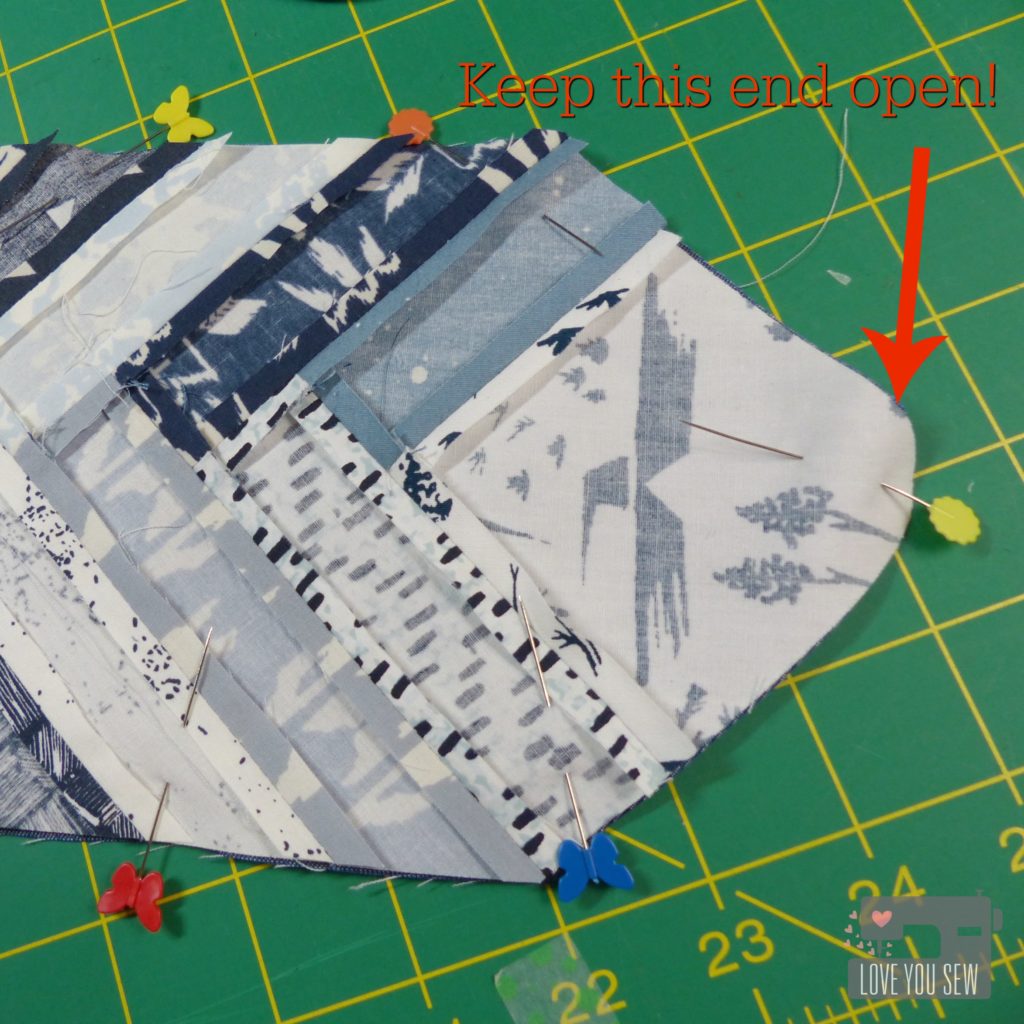
    • Sew all around leaving an opening at the TOP to turn.p1060676
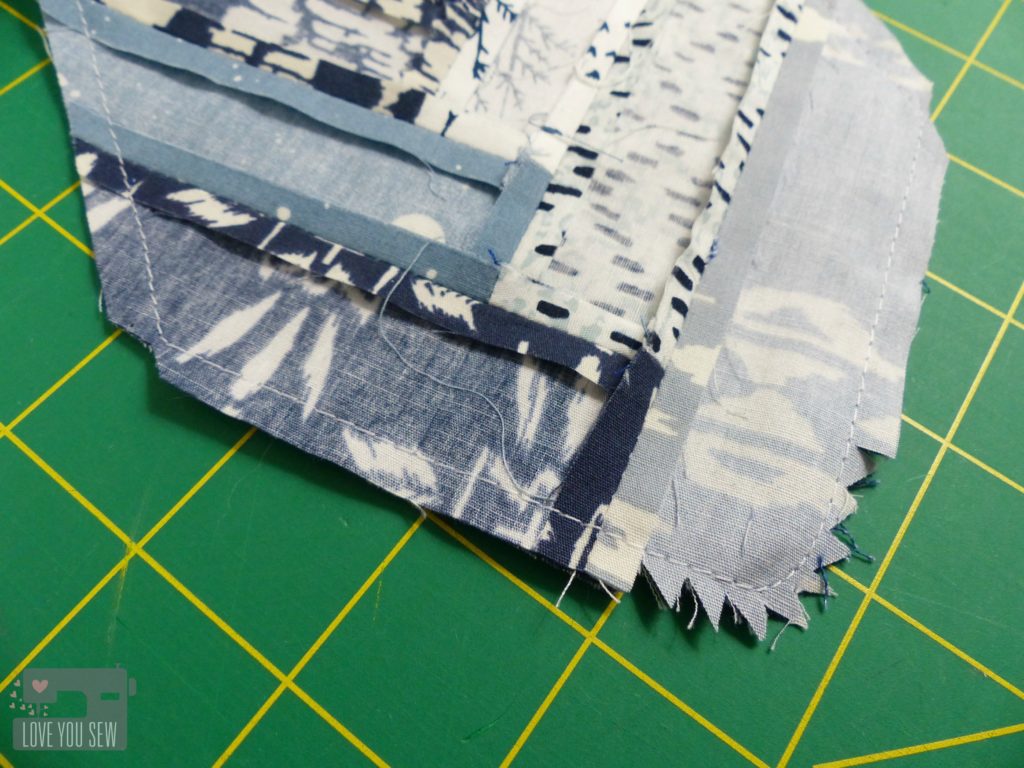
    • Notch out the BOTTOM and all cornersp1060678
    • Pull right-side out and press
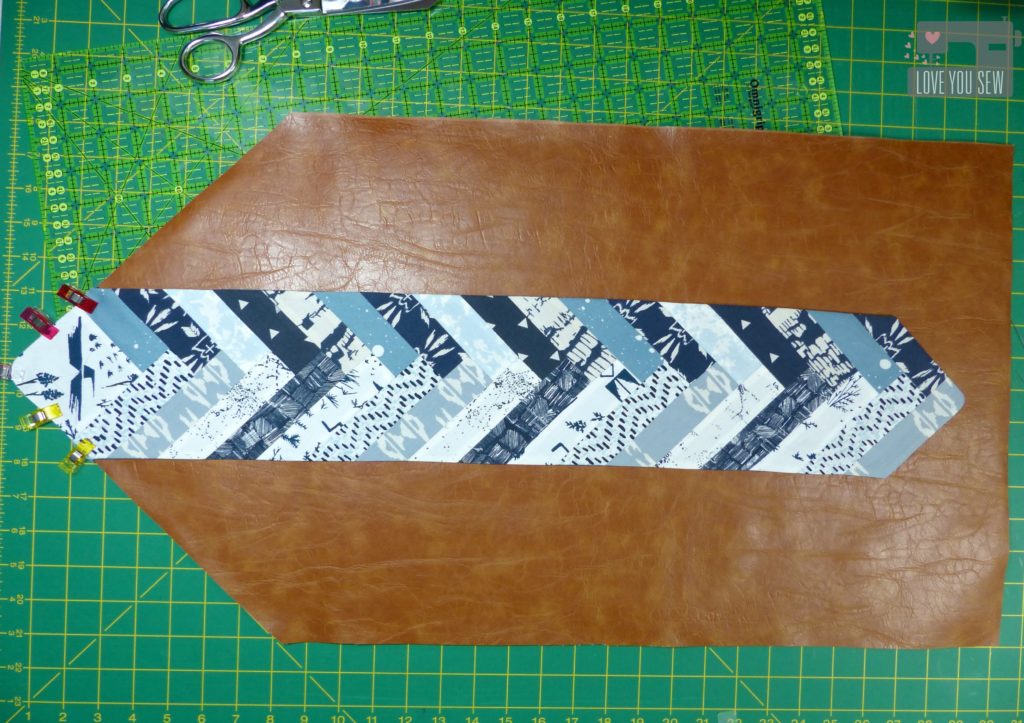
  5. Line up the center panel on top of the right-side of the faux leather.  Make sure it’s even on both sides of the panel.  You can secure it into place using pins since you don’t see the faux leather.p1060680
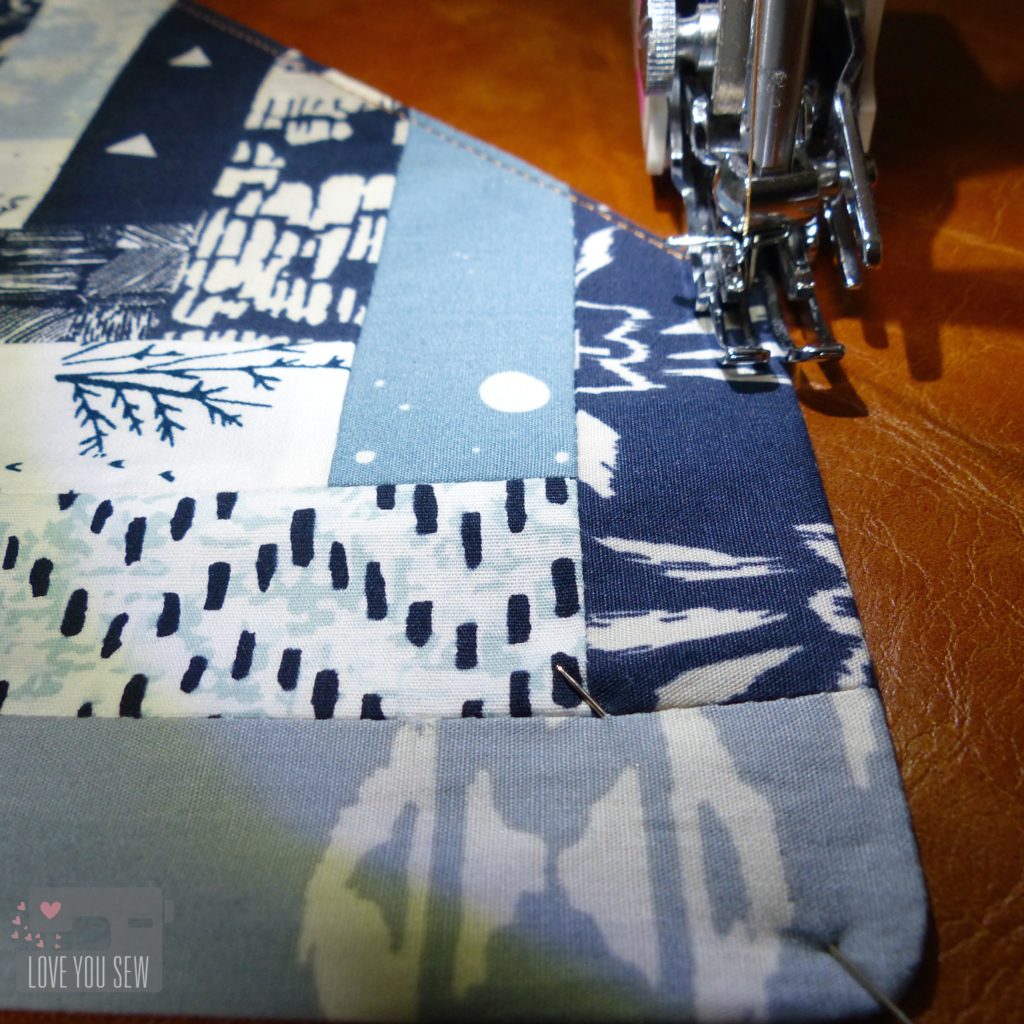
  6. Topstitch into place.  It may seem easier to have sewn this panel onto the vinyl before all of the interfacing, but this is how you will secure all of the Peltex into place and prevent any shifting with use.p1060683TIPS:
    • Use upholstery thread or any other nylon/polyester thread.  I like the upholstery for the heavier weight, the sheen, and it glides well through all of the layers.
    • Increase your stitch-length to at least 3.0 for a nice look
    • Use a walking foot for even stitches
    • You may need to increase your needle size if the thread is not pulling through and/or you are getting skipped stitches
    • Keep matching all-purpose polyester thread in the bobbin.  It helps with skipped stitches.
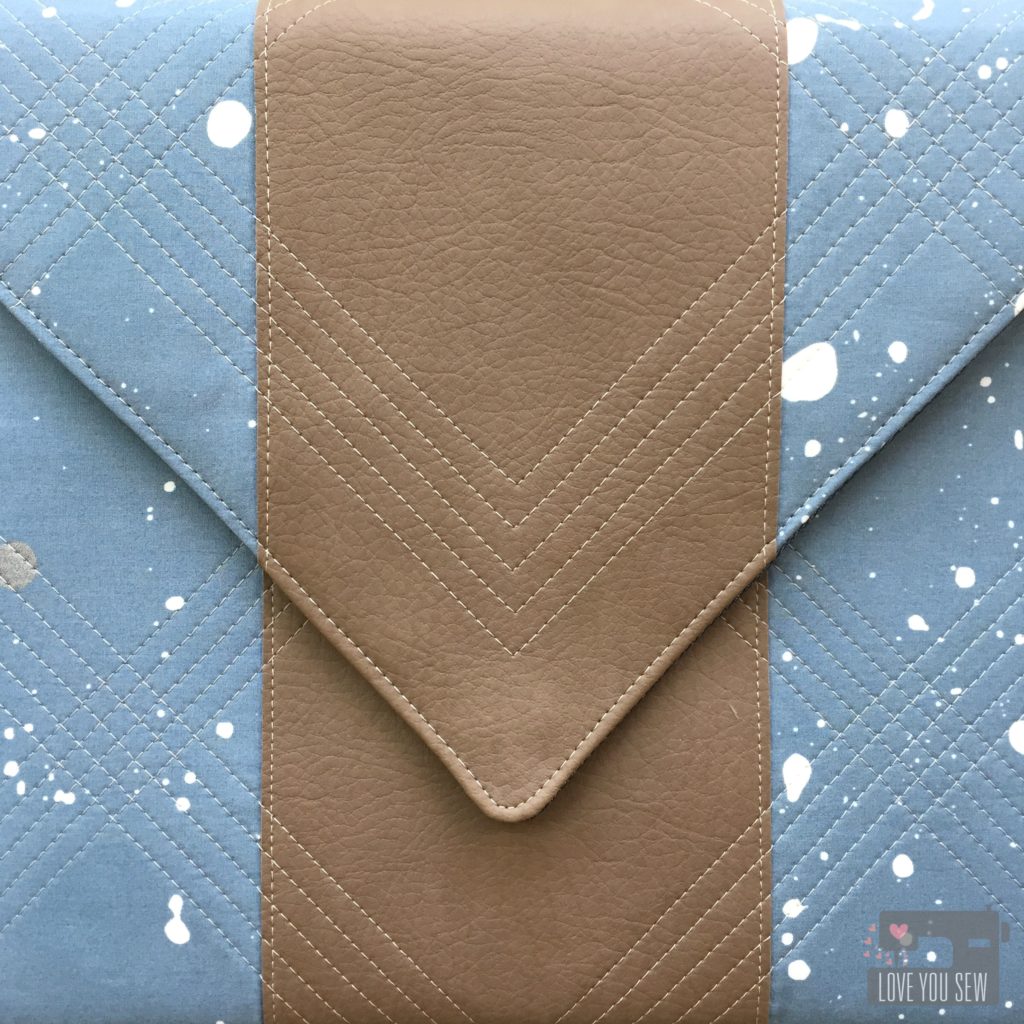
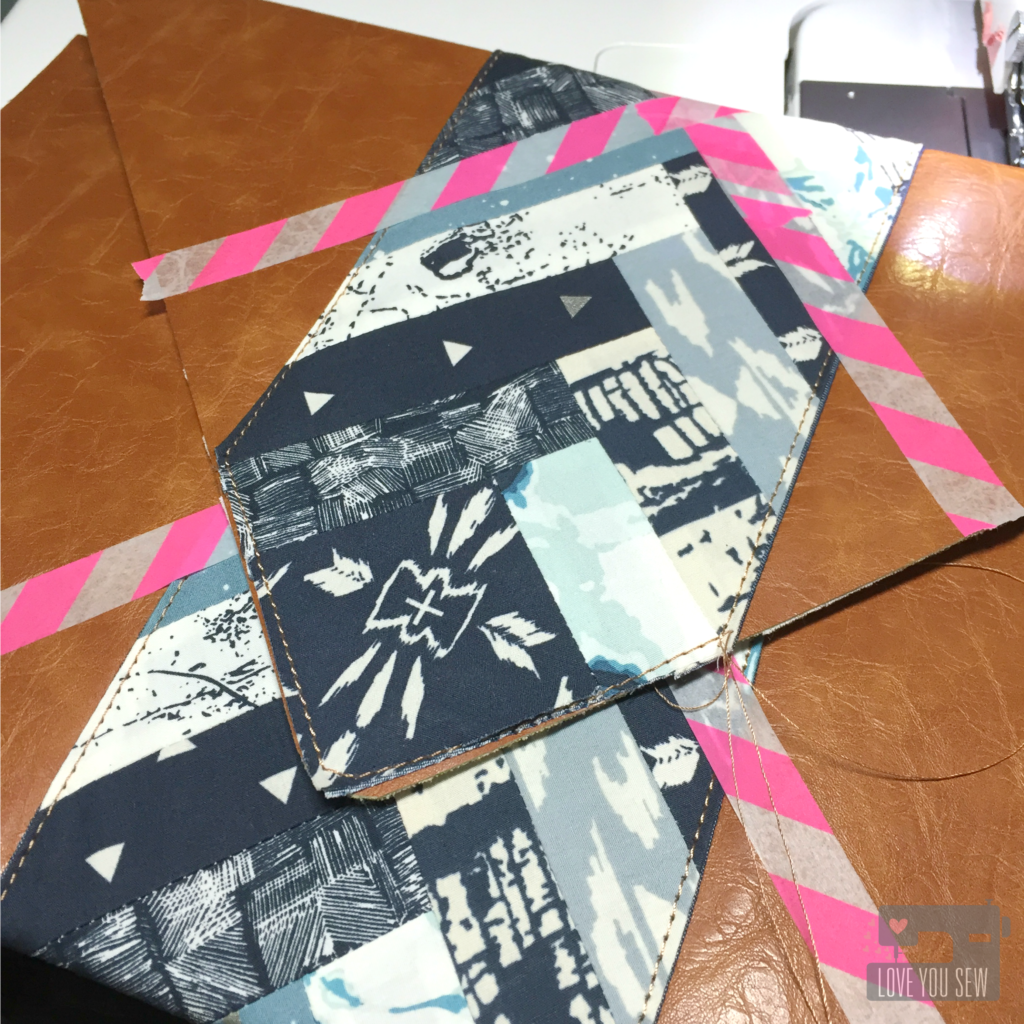
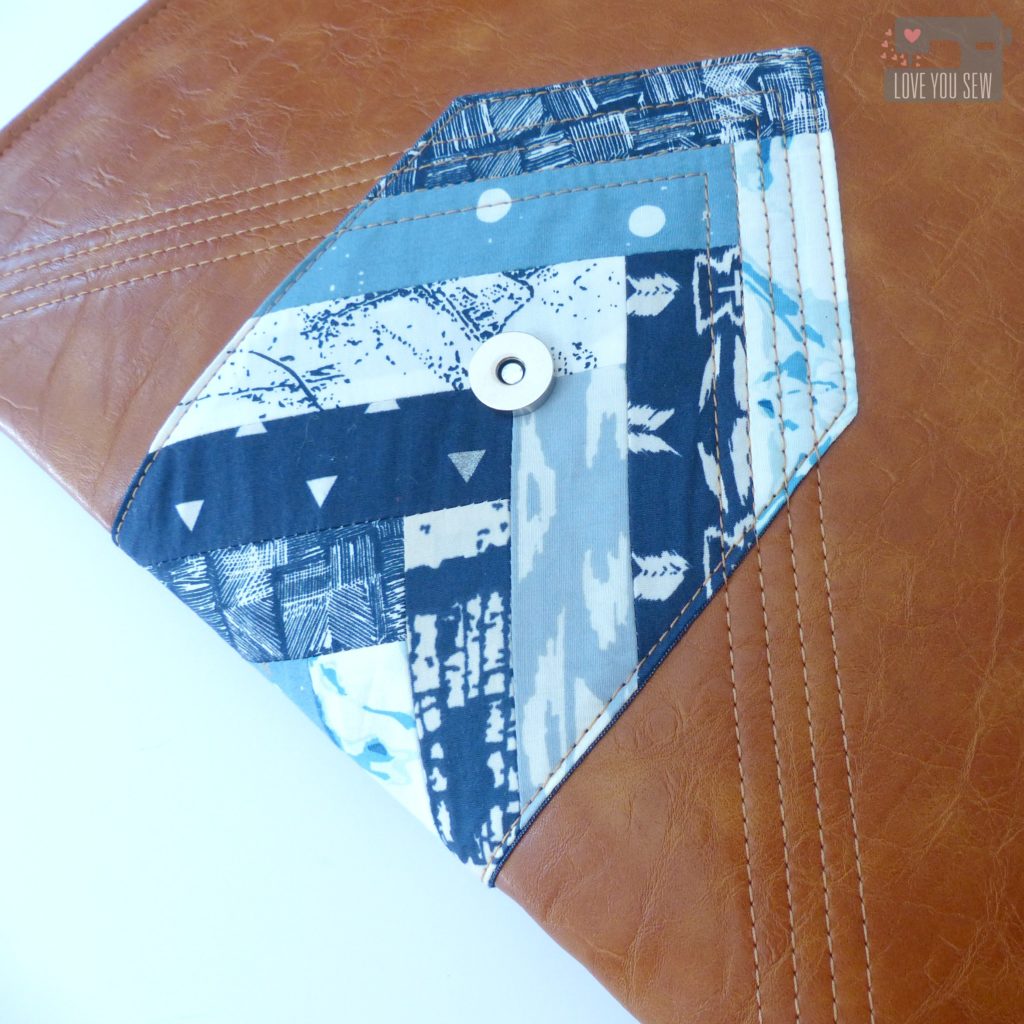
  7. At this point, you can quilt the vinyl, if desired.  Set the body aside.IMG_6780 IMG_6880
    • TIP:  Use washi tape for your guidelines. Chalk and pen will easily smear off the faux leather.IMG_6772
  8. Attach pockets onto lining
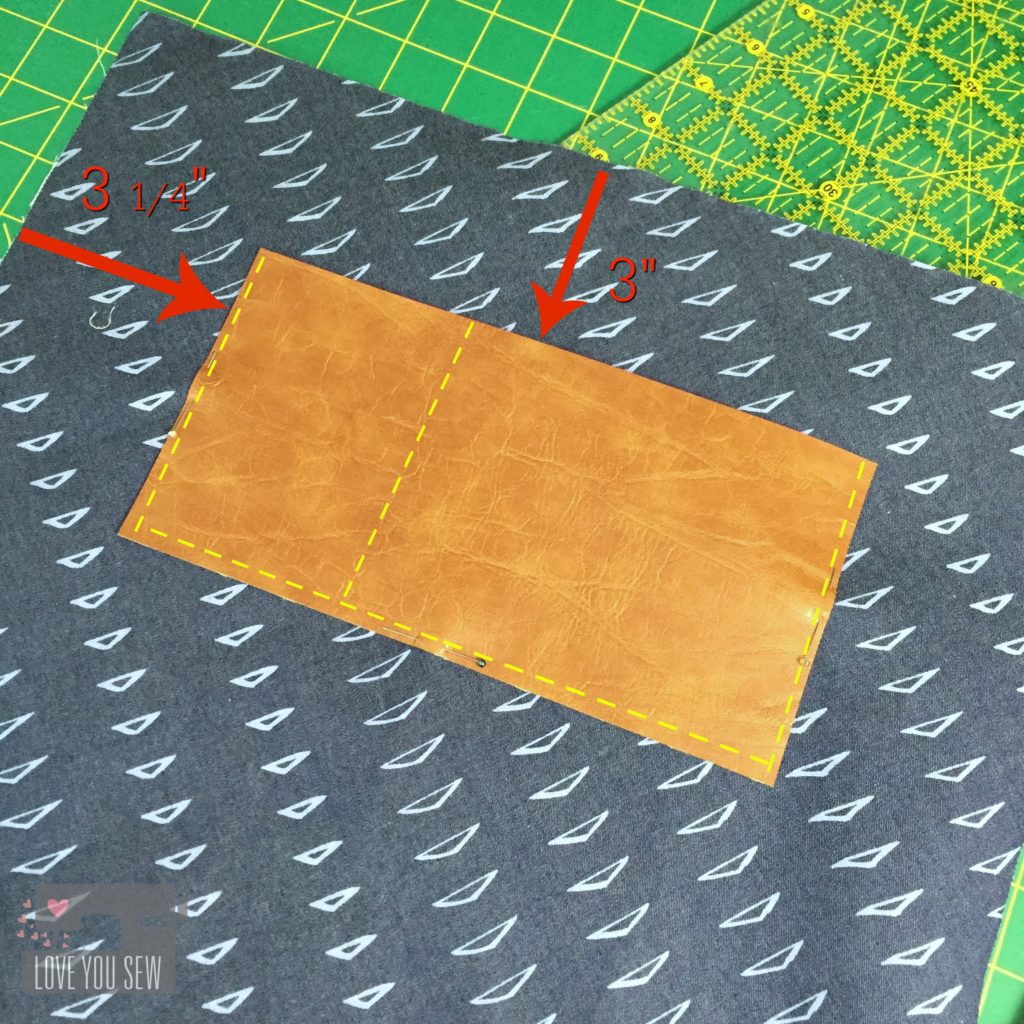
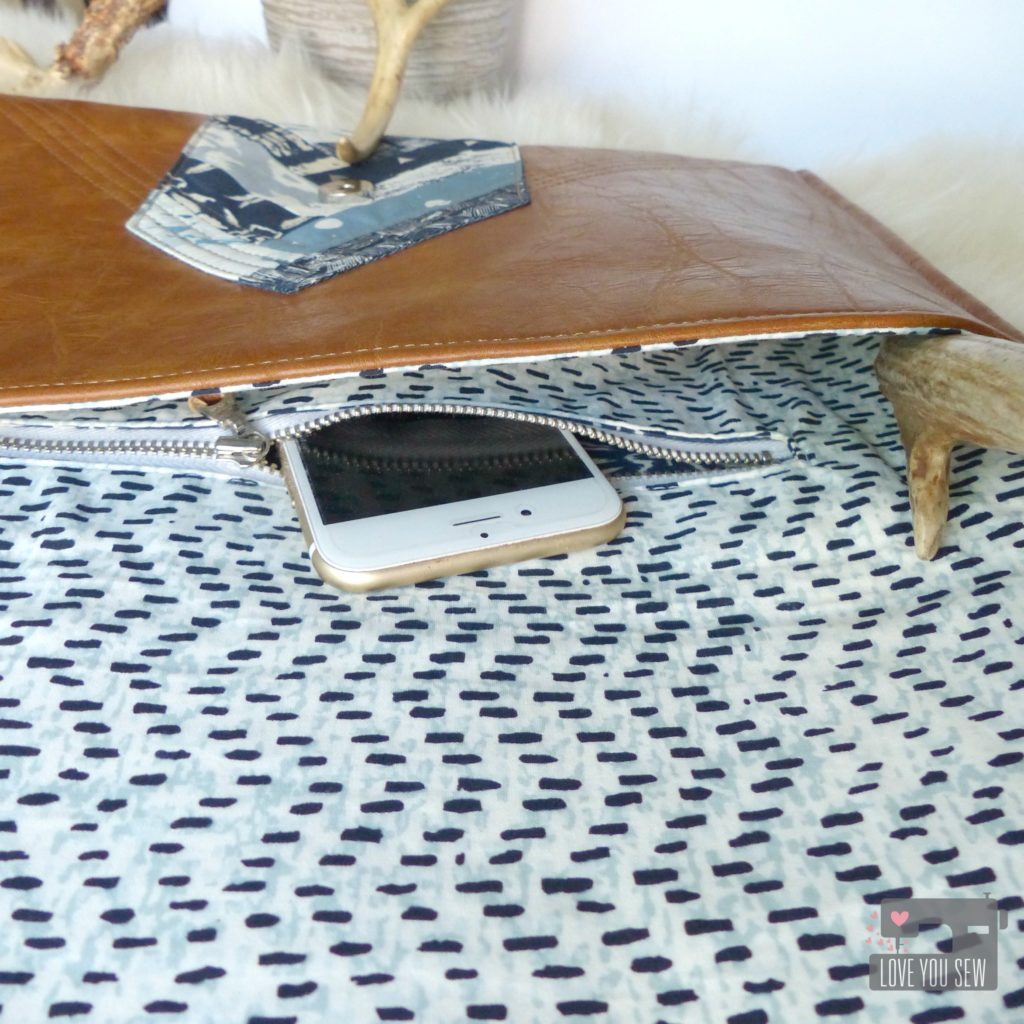
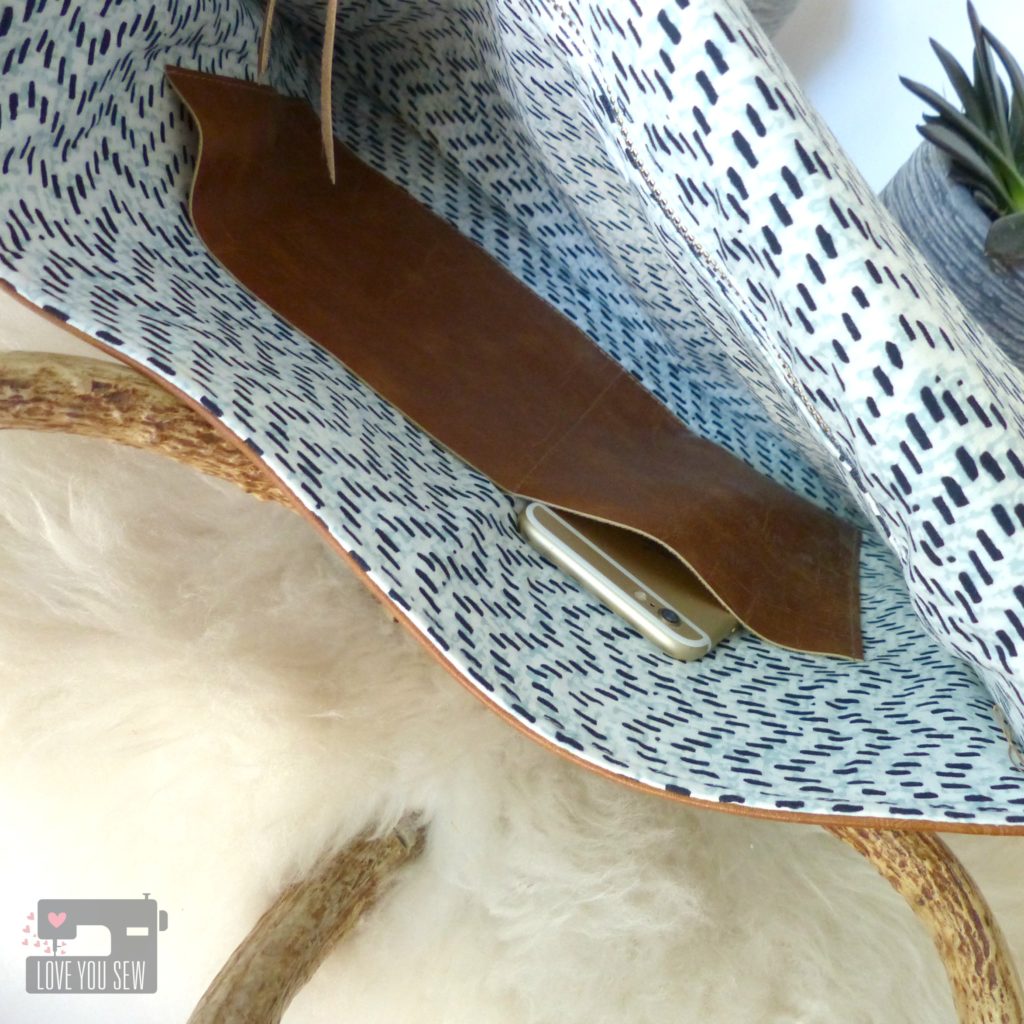
    • With the flat edge of the lining on top and right side facing you, measure 3″ down from the straight edge and 3 1/4″ in on either side.  Pin (where you will sew) the faux leather into place 1/8″ from the edges (marked in yellow.)  You can leave this as a large slip pocket or you can divide it for your cell phone.  I marked mine 3 1/2″ in from the edge to hold an iPhone 6. Sew the three edges into place and then the dividing seam (marked by yellow.)img_7026
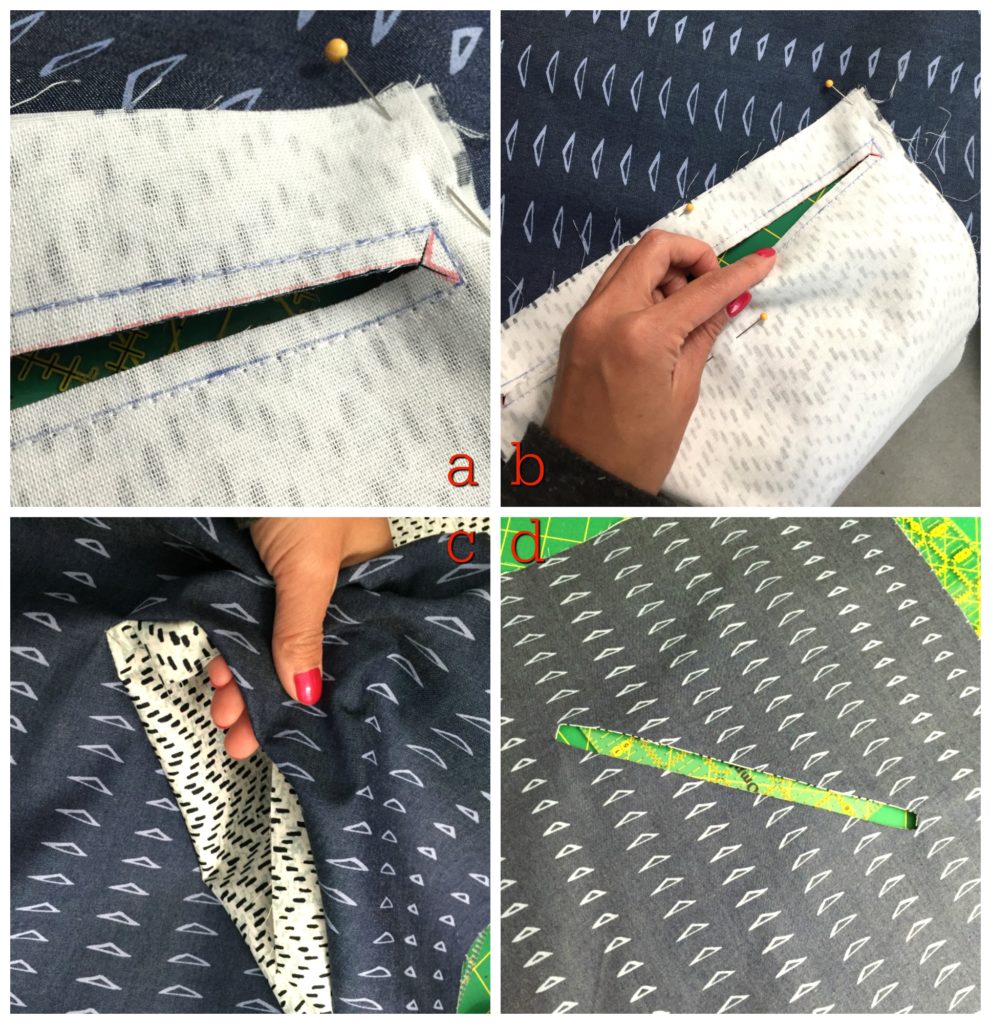
  9. Turn the lining 180 degrees.  With the right-side facing you, mark 10 1/2″ down from the top of the lining and pin the short-side of the  pocket lining fabric there.  Mark a rectangle 1″ down from the top and sides of the pocket that is 9″ x 3/8″ (blue pen.)  p1060690
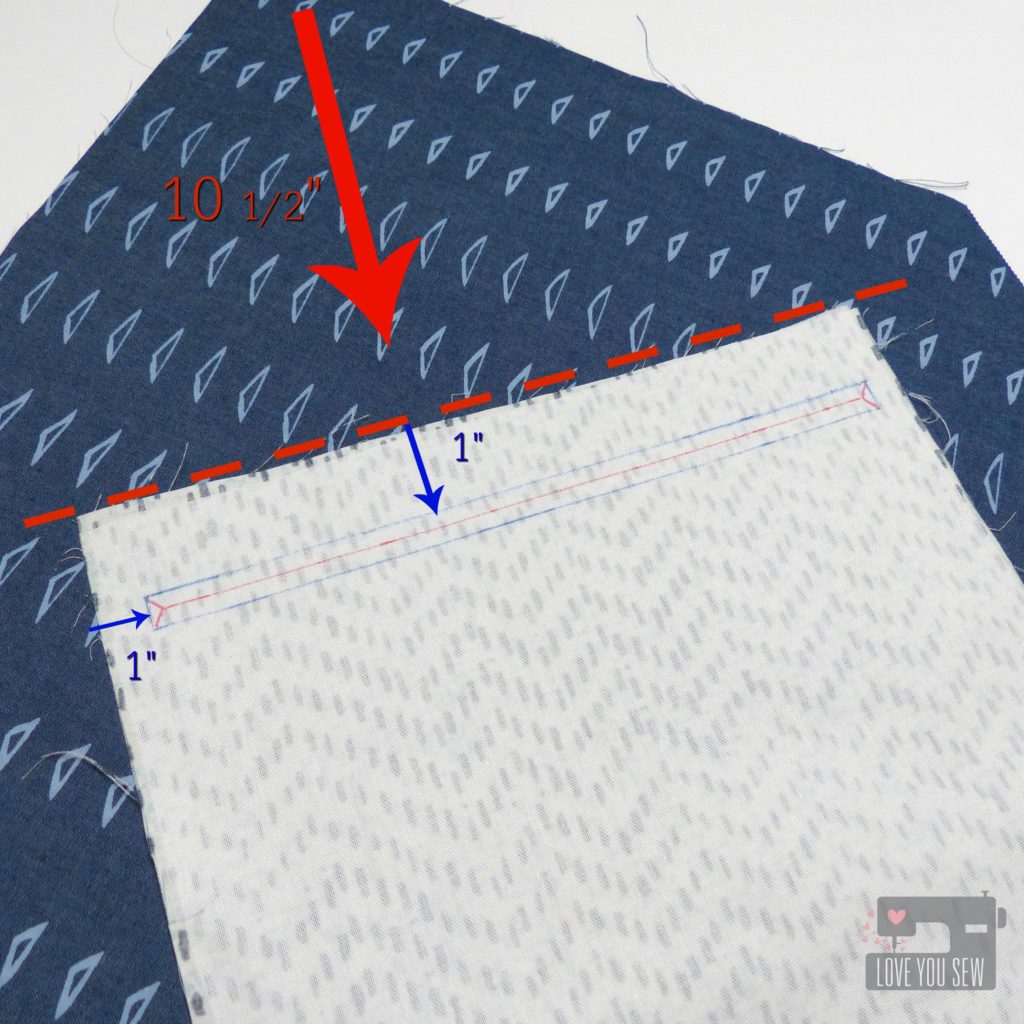
  10. Sew all-around the 9″ x 3/8″ rectangle on the marks you made.  Cut through the rectangle as shown, stopping about 1/4″ from the end (red pen lines.) [Image a]. Make small cuts from the middle out to each corner, getting close to the stitches, but not cutting directly through.  Push pocket through the hole [images b & c] and press [image d].lining-pocket-collage
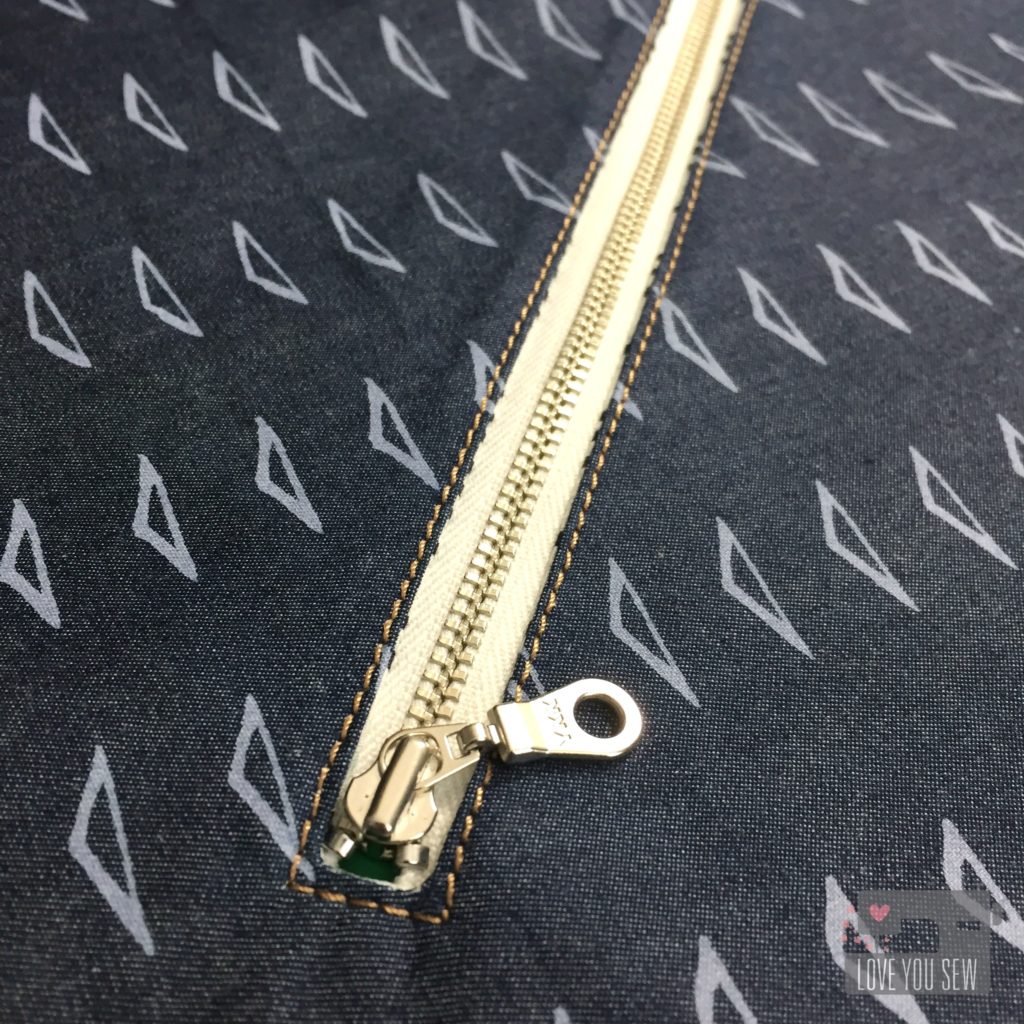
  11. With the right side of the lining facing you, line up the zipper in the opening just created.  Either pin in place or use Sewline glue pen.  Sew 1/8″ all around the opening.img_7024
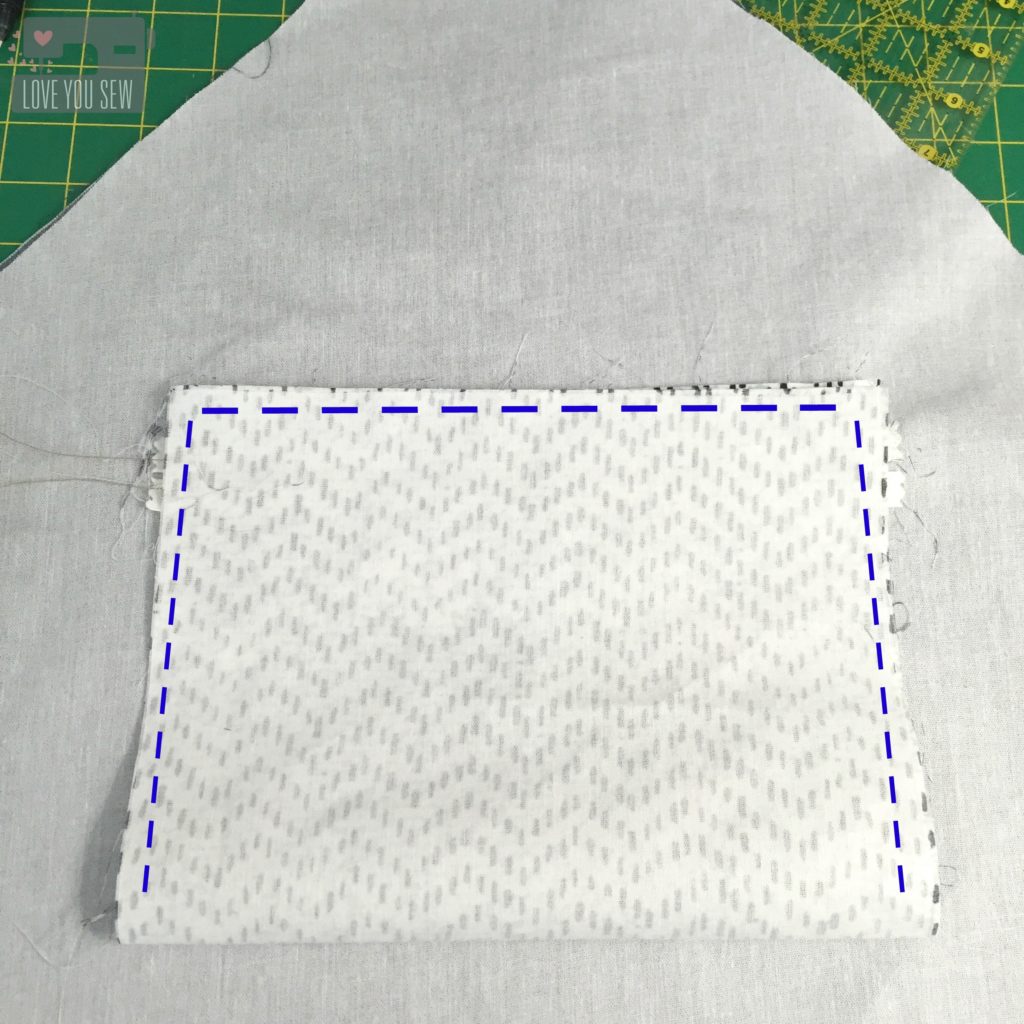
  12. With the wrong-side of the lining facing you, fold up the pocket so the short-sides match.  Press on the fold.  Pin all around the pocket, but not including the lining. Sew pocket shut (following blue dashed lines in pictures.)  Make sure you move the lining out-of-the-way as you sew.img_7025

Assembly:

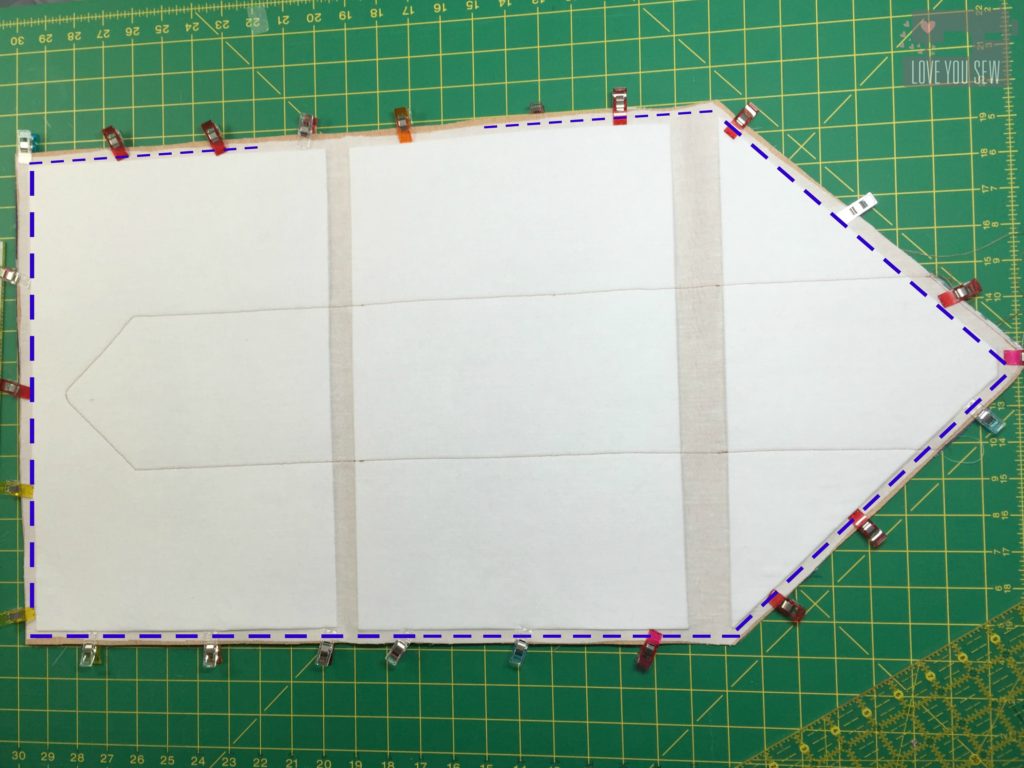
  1. Now match the right-sides of the lining and body together.  Clip in place and sew all around the edge (marked in blue) with a 3/8″ seam allowance.  Back-stitch when you start and end leaving a 5″ opening to turn. Notch out corners and the top of the clutch.  Be very careful not to cut through any stitches.img_7032
    • TIP:  Use a compensating foot or a zipper foot since the Peltex give you can uneven surface. img_7034
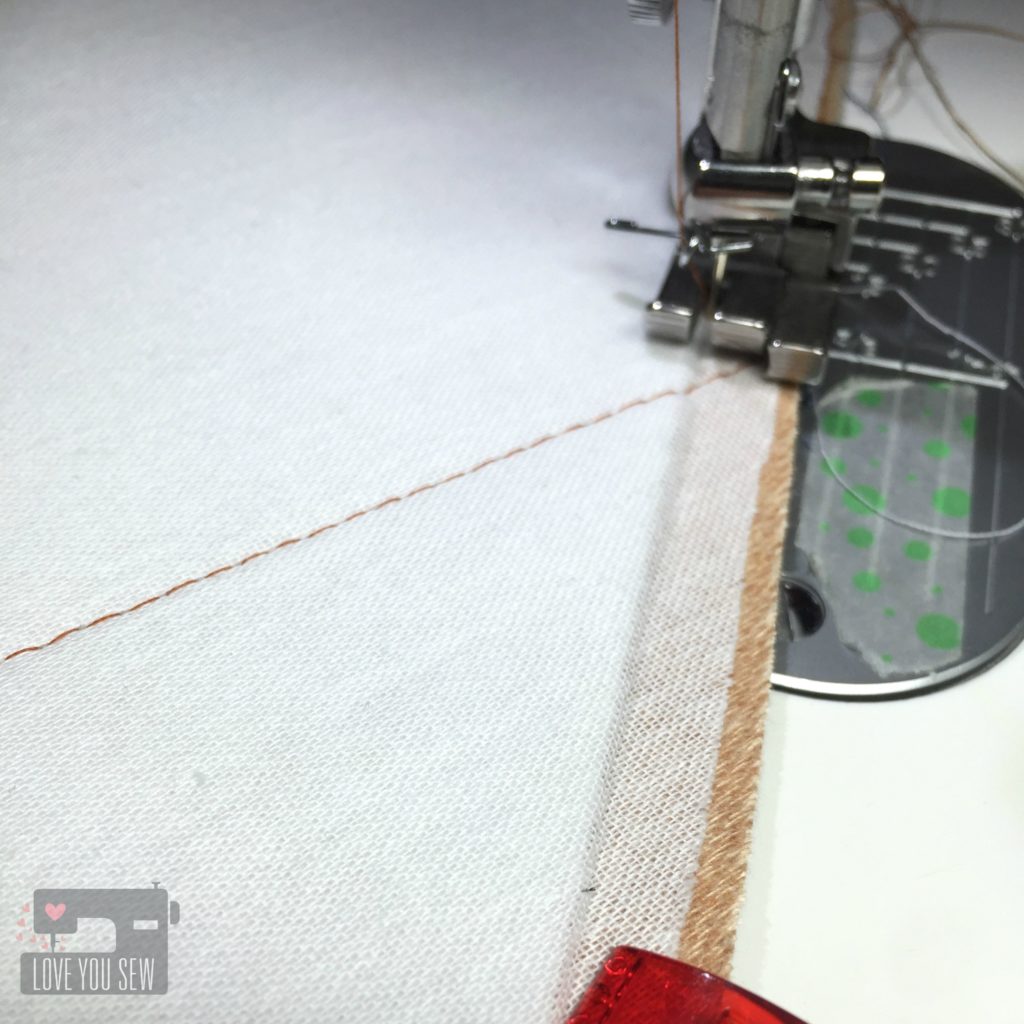
  2. With wrong sides together, make markings for your magnetic snap and install per manufacturer’s instructions.  With the point being so narrow at the top of the clutch, you may need to move your snap up or down to make sure there is enough clearance for all parts of the clasp.  For the male part, I marked mine 1 1/4″ down from the top edge of the lining and marked the female where it hit the body (approx. 7″ from straight short side.)
    • TIP: Before you install, reinforce where you will cut with a scrap piece of interfacing.p1060602
  3. Turn the body right-side out and press with the lining facing up.  Be careful not to press the faux leather directly with your iron.
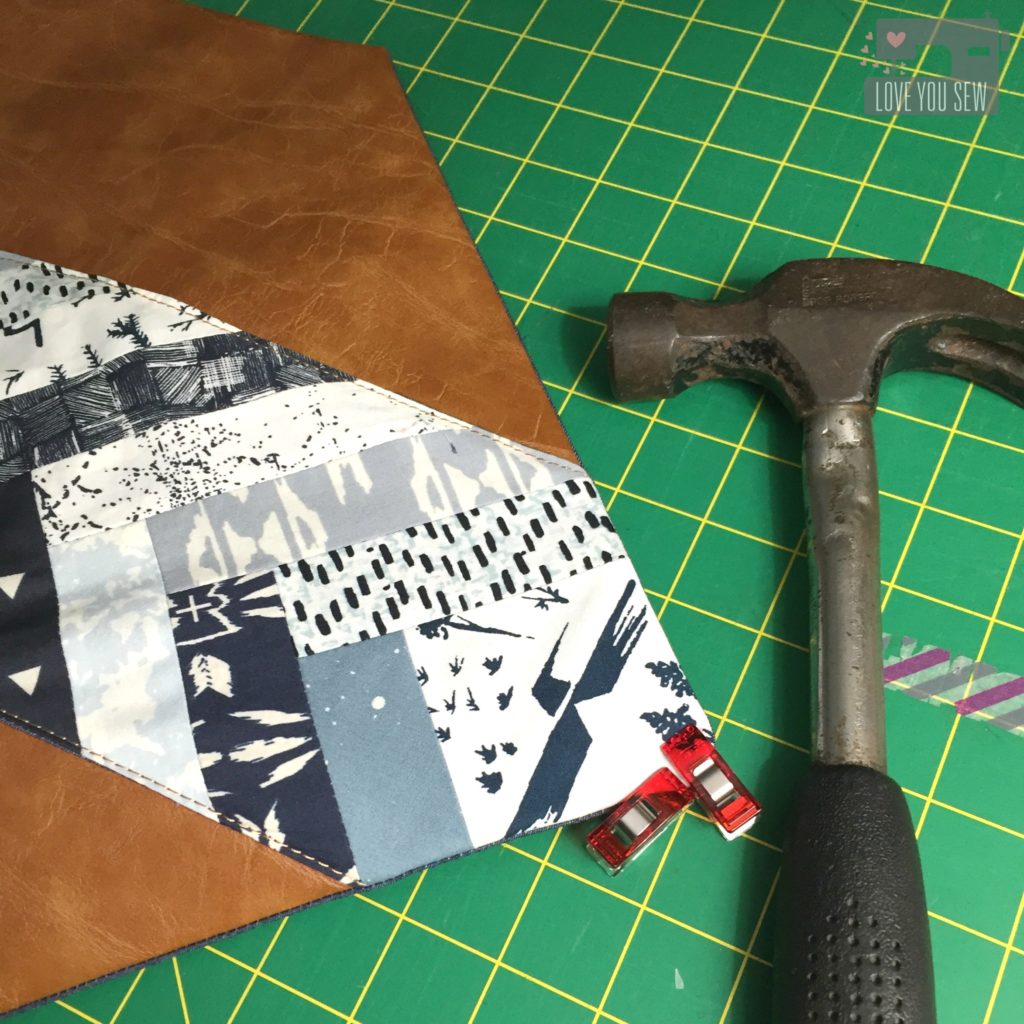
    • TIP:  Use Clover Clips on the edges to help them stay flat and/or hammer them as well.  Hammering helps to flatten the edges so top-stitching will be easier in the next step.  Test the hammer method on scrap to make sure the hammer doesn’t leave marks.
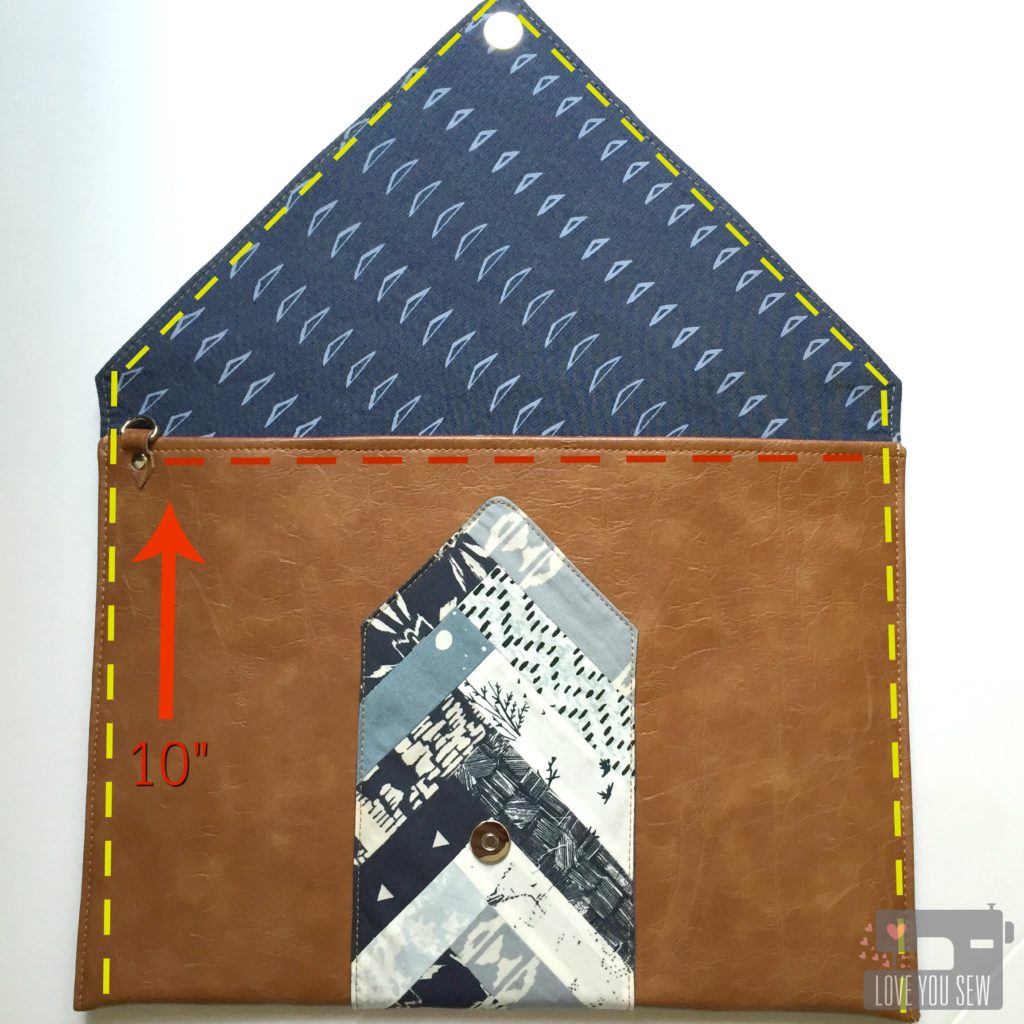
  4. img_7036Time to {finally} make the envelope!
    • Top-stitch along the straight short-end of the body (red dashed line)
    • Fold the front of the clutch up 10″ to create the main pocket and secure the sides into place with Clover Clips
    • Top-stitch all along the clutch (following the yellow dashed line)
      • TIPS:
        • Use a large 16 or 18 needle to get through all the layers
        • Increase stitch-length to 3.5-4.0 and use your walking foot to achieve even stitches
        • GO SLOW so that you do not skip stitches
        • Hammer the edges again, if needed
        • Leave long thread tails so you can pull them through the lining and hide for a cleaner finish
    • Hide thread tails by pulling them toward the lining, knot, then bury.
    • Press the lining

img_7063

If you want to get extra fancy, you can add some additional finishes.  Some examples are:

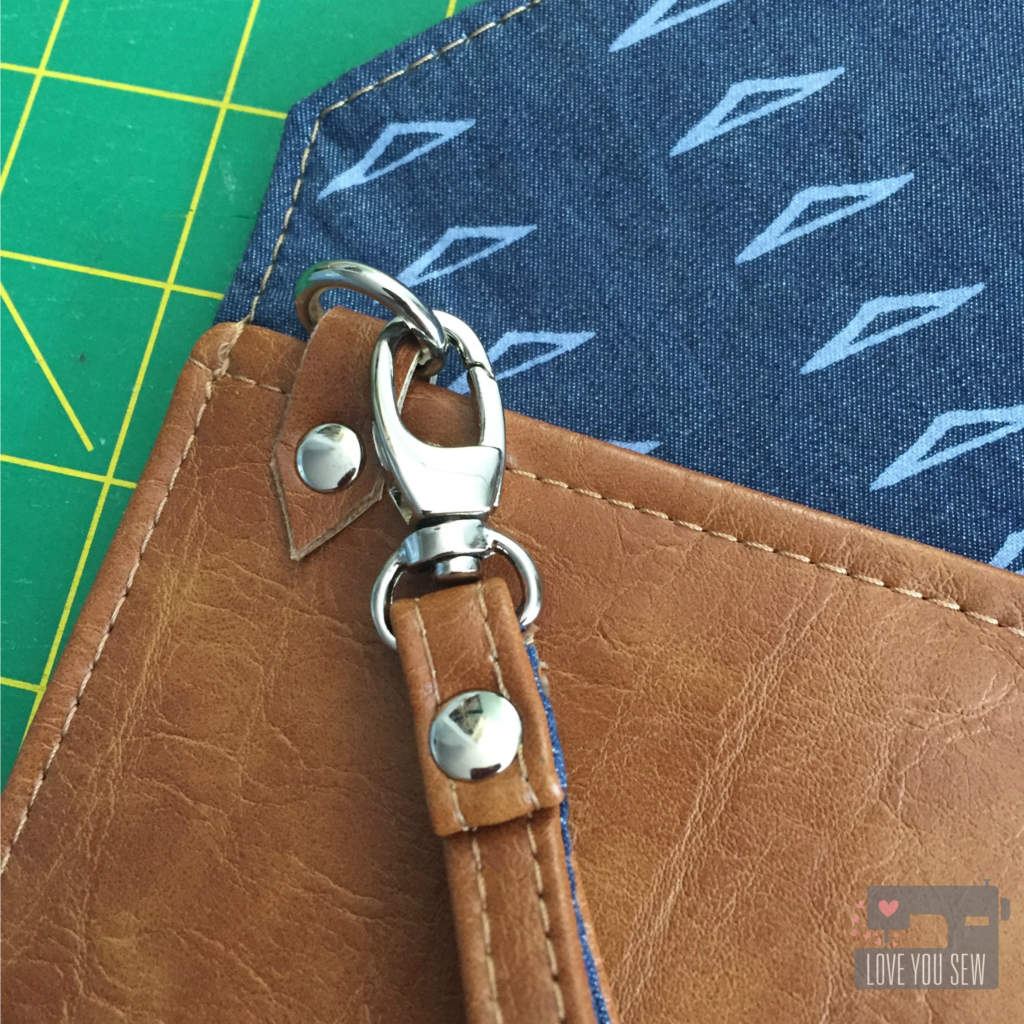
  • Sew a wristlet handle with hardware (as shown)
  • Just add the D-ring so you can attach some fun tassels.
  • Include a key fob on the inside
  • Attach rivets and grommets

img_7042


CONGRATS!!!  You have made a #LYSquiltedenvelopeclutch!  Please, please share your creations.  I would love to see them all!

As long as you credit Love You Sew with the pattern (because it took me a long time to write this all up,) you are free to sell the finished clutch.

Product Details (Sources in Links):

 Observer Fabric Tour >> Quilted Envelope Clutches

ObserverBlogTour_Title

It’s here!  It’s here!  The Observer collection by April Rhodes for Art Gallery Fabrics has finally made it way to shops and I’m so happy to show you my projects on the #OBSERVERfabrictour.  In true fashion, April does not disappoint.  These designs come from her own eyes and what she has seen both physically and mentally.  My favorite print is Aerial View…mainly because it was inspired by Columbus, OH (where we both live) and just shows how little we are in such a big world…

Observer-Fabric-Tour

I was very fortunate to play with the early strike-offs for this line, and you can view my other projects in this previous post.

P1060647

I’m kicking the tour off with these fabulous oversized Envelope Clutches.  Ever since I had swatches of these fabrics in my studio, I was trying to think of what I wanted to make as a personal project.  These curry and sulfur colors mixed with sand and copper play SO well with the indigos, grey-blues and navy.  I fell head-over-heels with this palette and have plans for a dress in Overshot Gold.  With that in mind, I thought a trendy Envelope Clutch would be perfect in the Shard colorway.

P1060617

As a modern quilter, I continually try to show the rest of the world that patchwork and sewing are still “cool.”  Sound familiar, friends???  I thought combining the sophistication of (faux) leather with a simple block would be the perfect marriage of current Boho-Gypsy love and traditional quilting.

IMG_6780

This was initially going to be a one-off creation just for myself, but the sneak peeks on Instagram created such positive feedback, that I knew I HAD to write a pattern for all of you. EDIT:  Tutorial can now be found HERE. 

IMG_6770

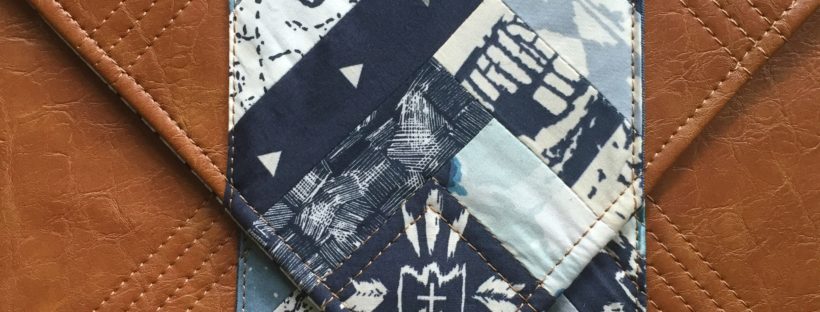
Working with the envelope design, I used a simple half log-cabin pattern to work with the flap’s 90 degree angle.  I used a 2.5″ fussy-cut square from the Homespun Praxis and used various 5″ (or longer) x 1.5″ strips to make a 28″ panel.  The panel was then trimmed to 5.5″ wide.

IMG_6772

The pieced panel was then sewn onto a coordinating AGF Solid Smooth Denim with right sides together. They were turned out and pressed.  The results are clean even edges which are then top-stitched down onto the (faux) leather.  I used Gütermann upholstery thread which provides a nice raised look and slides well through the leather.  Washi tape was used as the quilting guidelines since pen and chalk can smear.  I followed the lines of the piecing  to create additional texture and add more design detail onto the clutch.
P1060621

This Envelope Clutch, although oversized to carry a lot of stuff, still needs the basic features of any bag.  The lining is made out of Treadle Tradition with a generous sized pocket using a 9″ metal zipper from Zip It Zippers.  Metal zippers add that extra professional look I just love.

P1060620

On the opposite side of the lining, I added simple slip pockets.  These are unlined, using leftover leather so there is no fraying.  They were sewn down with unfinished edges.  I just made sure one pocket was the proper size for my cell-phone…priorities, right? 😉

P1060649

Metal snaps were added and now I’m ready to hit the town with my chic boho clutch!

IMG_6880

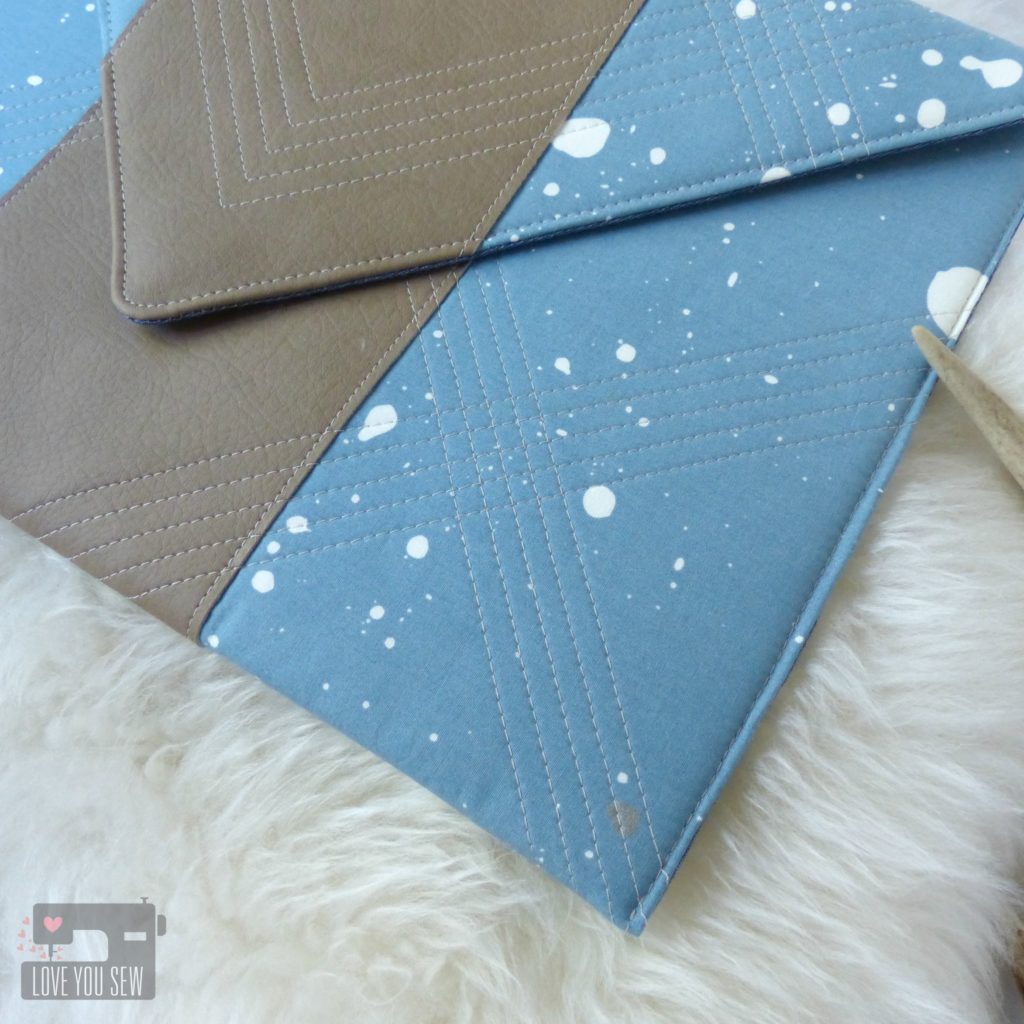
Sewing through faux leather can be a challenge on many domestic machines.  So I wanted to come up with a similar style Envelope Clutch which is MUCH easier to sew.  This design is shown in Speck Stardust and utilizes some fusible fleece with just a single panel of raw-edge faux leather.  I love how this print color reminds me of a perfectly worn pair of jeans and the leather match my favorite fall booties.

P1060626

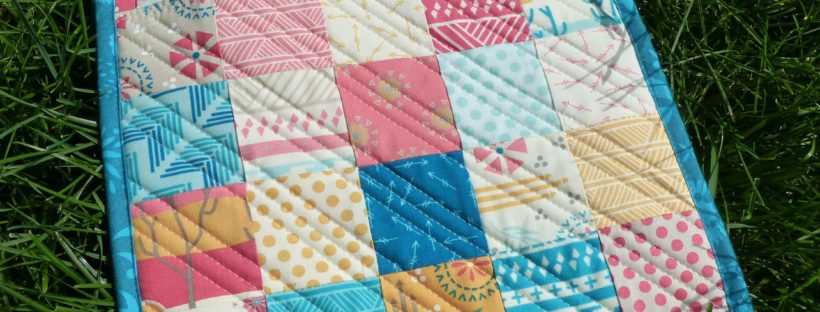
I wasn’t able to find upholstery thread to match this vinyl, so I used Gütermann Sew-All polyester.  This slides through the faux leather really well and still provides a great look and quilting texture.  I changed up this quilting design to make some fun cross-hatching.  ‘Slow and steady with the walking foot kept the lines straight and even.
P1060628

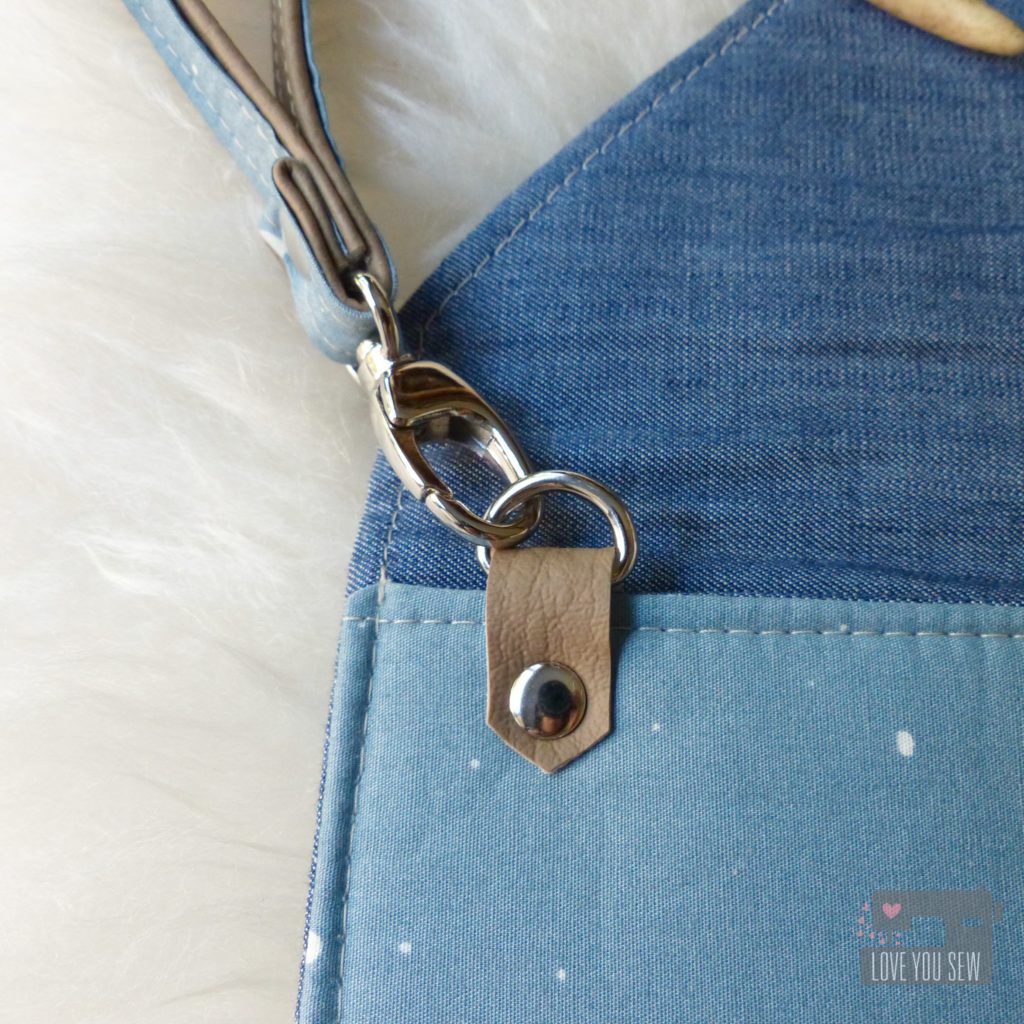
With this version, I added a wrist strap using hardware from Emmaline Bags and scraps of both the (faux) leather and Speck Stardust.  Using half fabric and half leather is easier to work with rather than trying to sew through multiple layers of leather.

P1060629

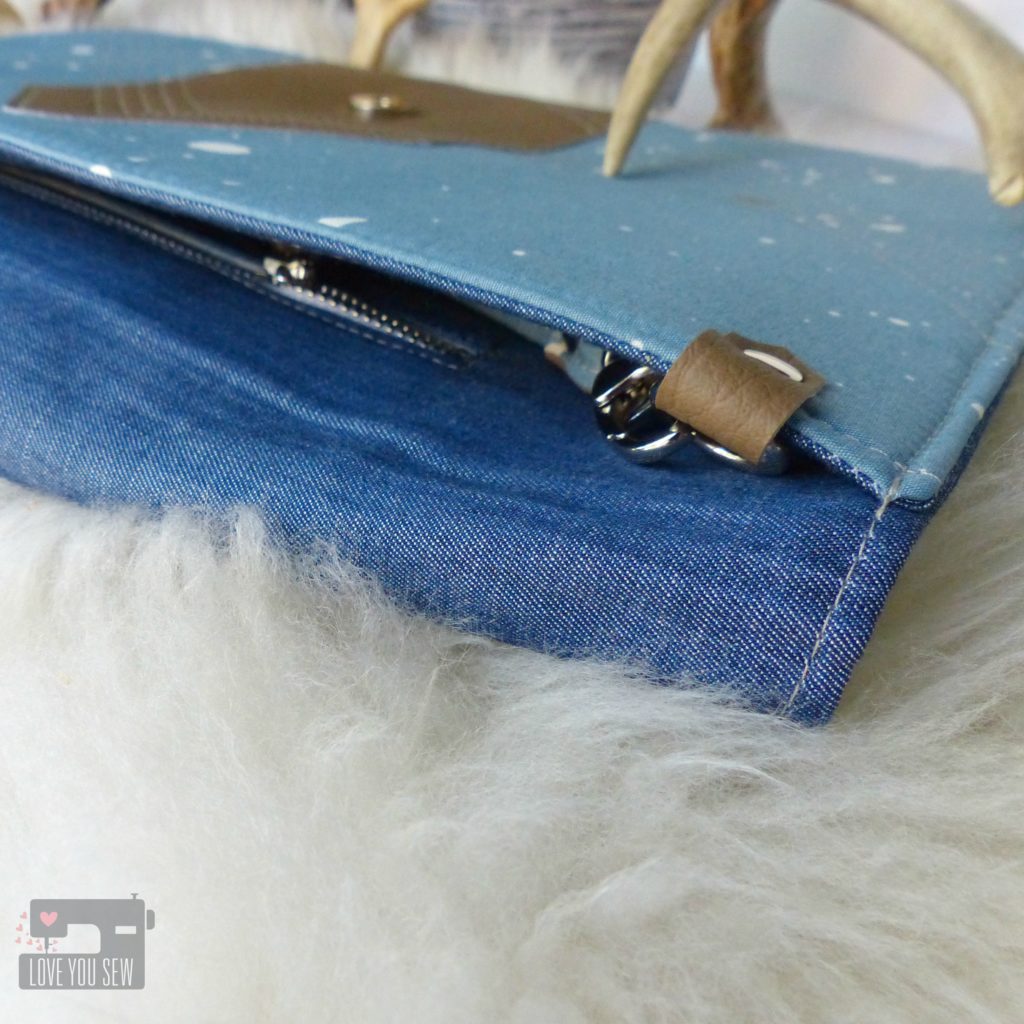
The D-ring was added to the front of the clutch rather than sewn into the side.  This provides the option to be hidden.  It also doubles as a spot to hook your keys.  The lining was made from Indigo Shadow Solid Smooth denim and I created the same zipper pocket one side and two slip pockets on the other.

P1060638

Ironically, this design also fits my laptop.  So with the fusible fleece, this Envelope Clutch can be used as a laptop cover.  The pockets are great for cords and small headphones.

P1060648

I know I’ll be rocking this clutch out on the town with the girls though….

What’s on your project list with Observer?


Make sure to stop by April’s blog to get the up-to-date schedule with 6 weeks full of dreamy inspiration.  The line-up of bloggers is quite impressive 😉  If you need even more ideas, head to Art Gallery Fabric’s Observer Lookbook….you might even recognize someone’s name in there 😉

#ObserverFabrics #ObserverFabricTour #ArtGalleryFabrics #WeAreFabrics


Sew On,

Cristy

Tiny Explorer Backpack Review

TinyExplorerBackpackTitle

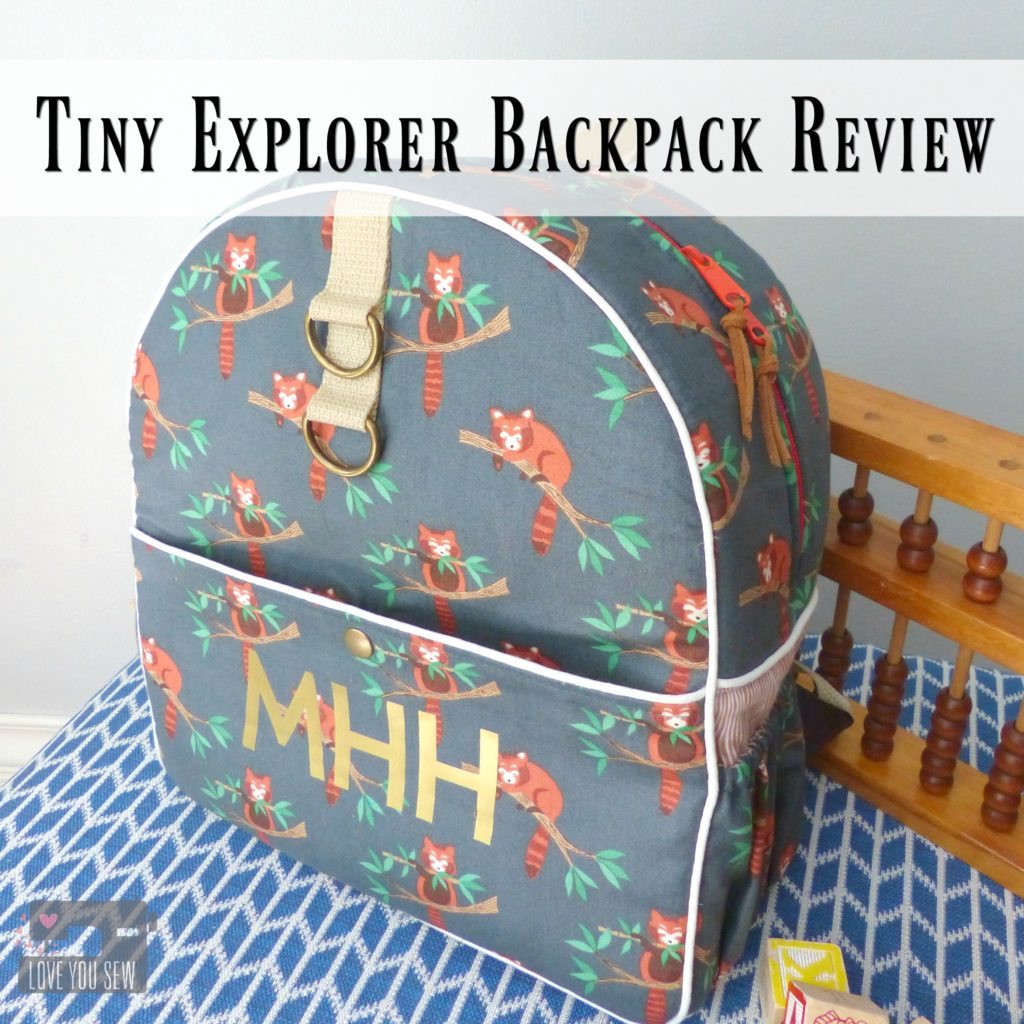
Its’s back-to-school season and that was enough motivation to [finally] get me to blog about the Tiny Explorer Backpack I made all the way back in June for my niece.  I wanted to make something special for her first birthday which she could grow into and use for awhile.

This toddler-size pattern by the fabulous Erin Morris of  Diedel*Bug Handmade, was exactly what I wanted.  If you’ve been sleeping under a rock and don’t know her work, you’ll have to check out her Facebook and Instagram pages.  She makes the most amazing bags and because of this, I knew her own pattern was going to be well written with lots of pictures.  There was no disappointment here!

IMG_5698

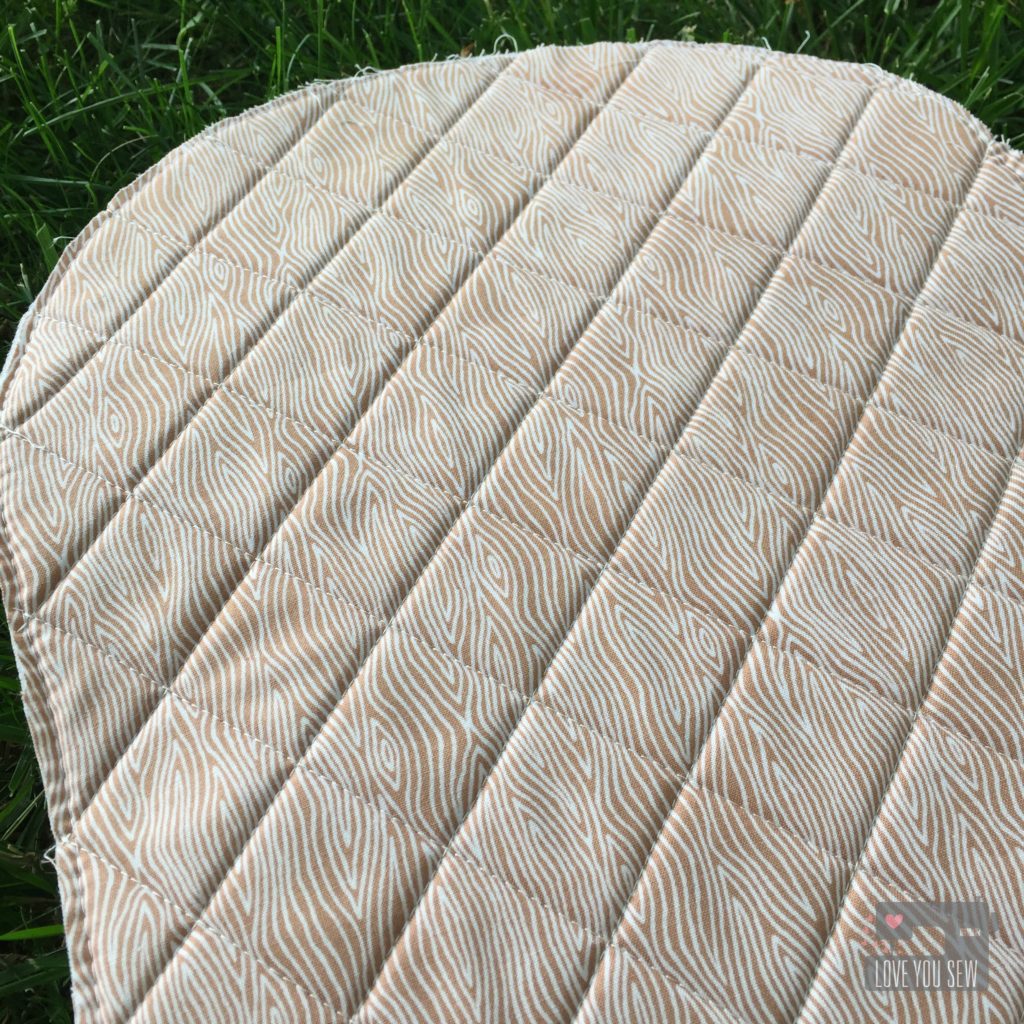
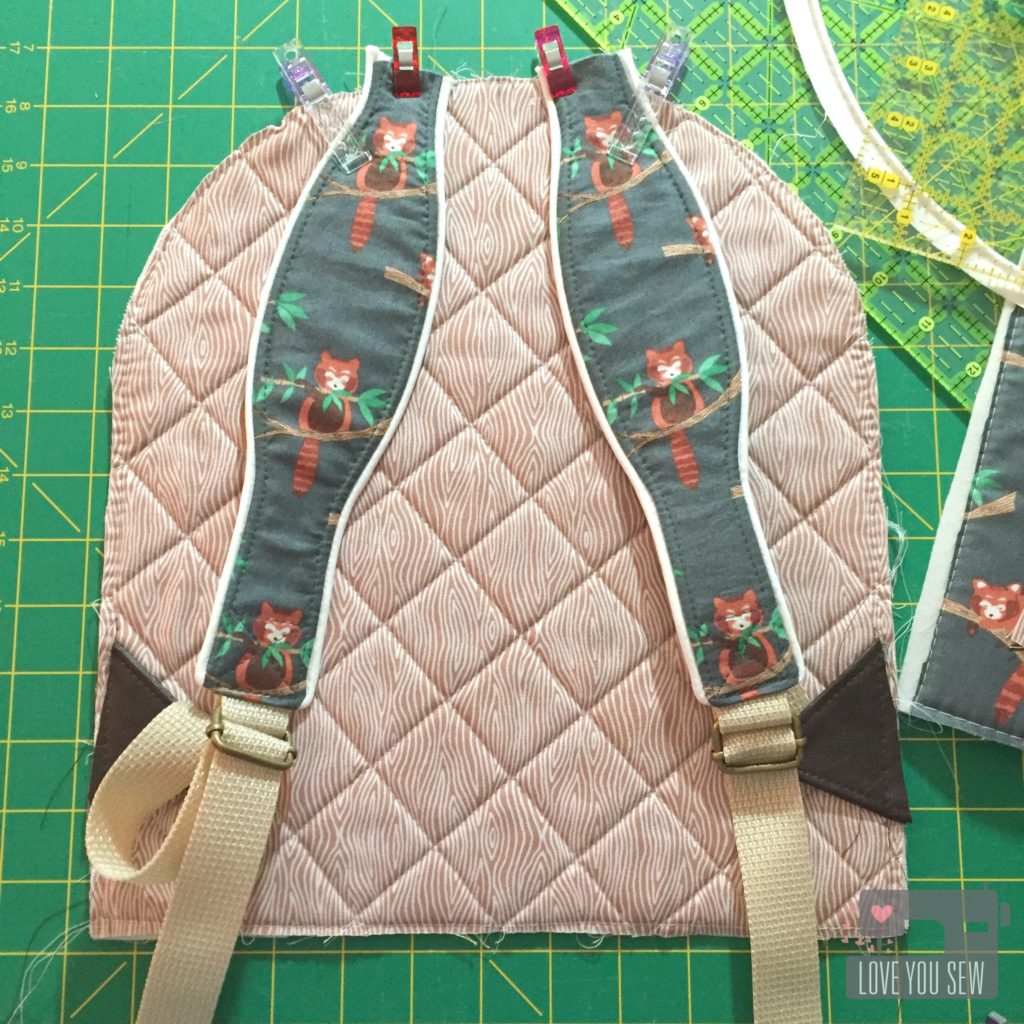
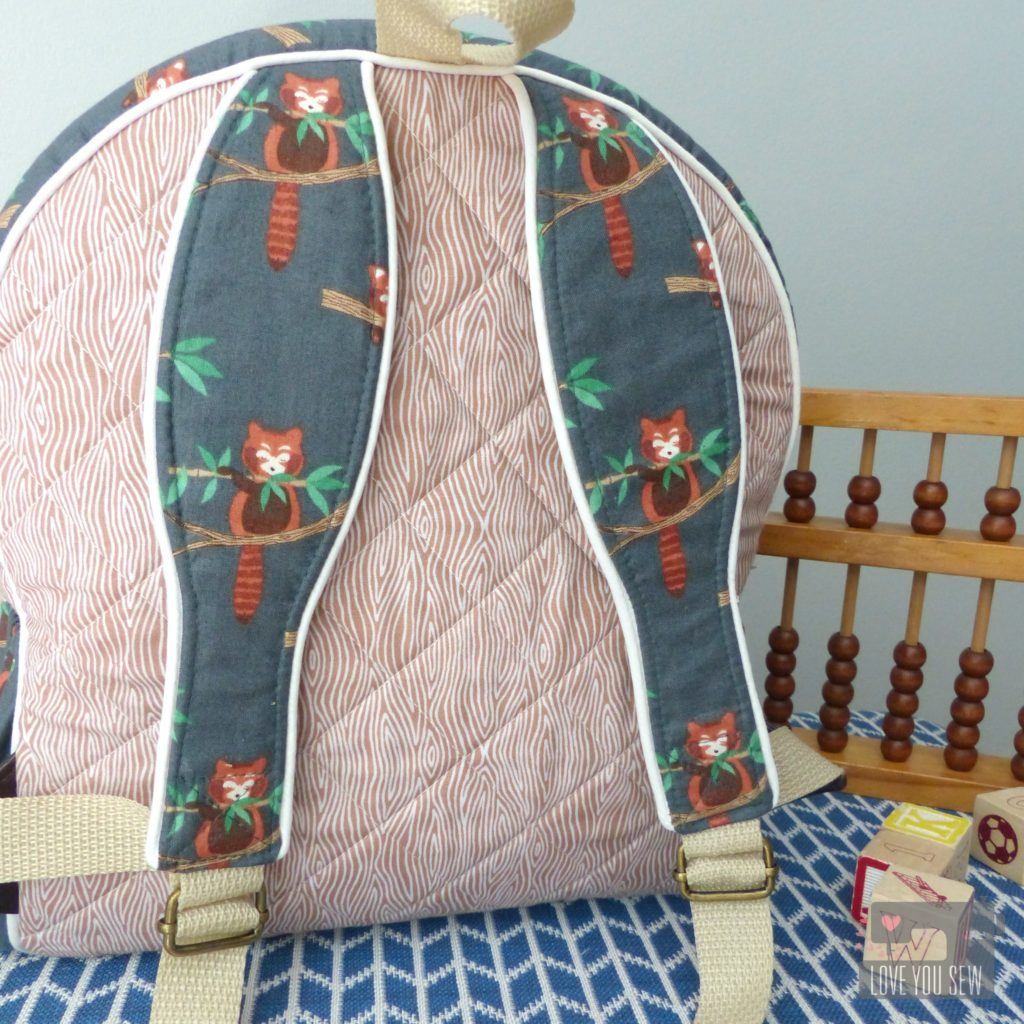
From the get-go, I decided to use Soft & Stable instead of the recommended fusible fleece.  I was inspired by some store bought backpacks to quilt the back for a nice feature but to also cushion the back.  Plus, how can I ever pass up the opportunity to do a little quilting, right?!?

TIP: Cut the back pattern pieces a little larger and quilt.  Then use the pattern template to cut to size since you’ll lose some area depending on how much quilting you do.

IMG_5700

Red pandas are my niece’s favorite animal and I could not resist snatching up this MinShan fabric by Lewis & Irene.  The woodgrain is Gentle Forest by Tea and Sympathy for Studio E Fabrics.

TIP: To keep the fabric nice and tight on the Soft & Stable, baste with 1/4″ seam allowance.  Gently tug on the fabric as you sew to keep it smooth.

IMG_5699

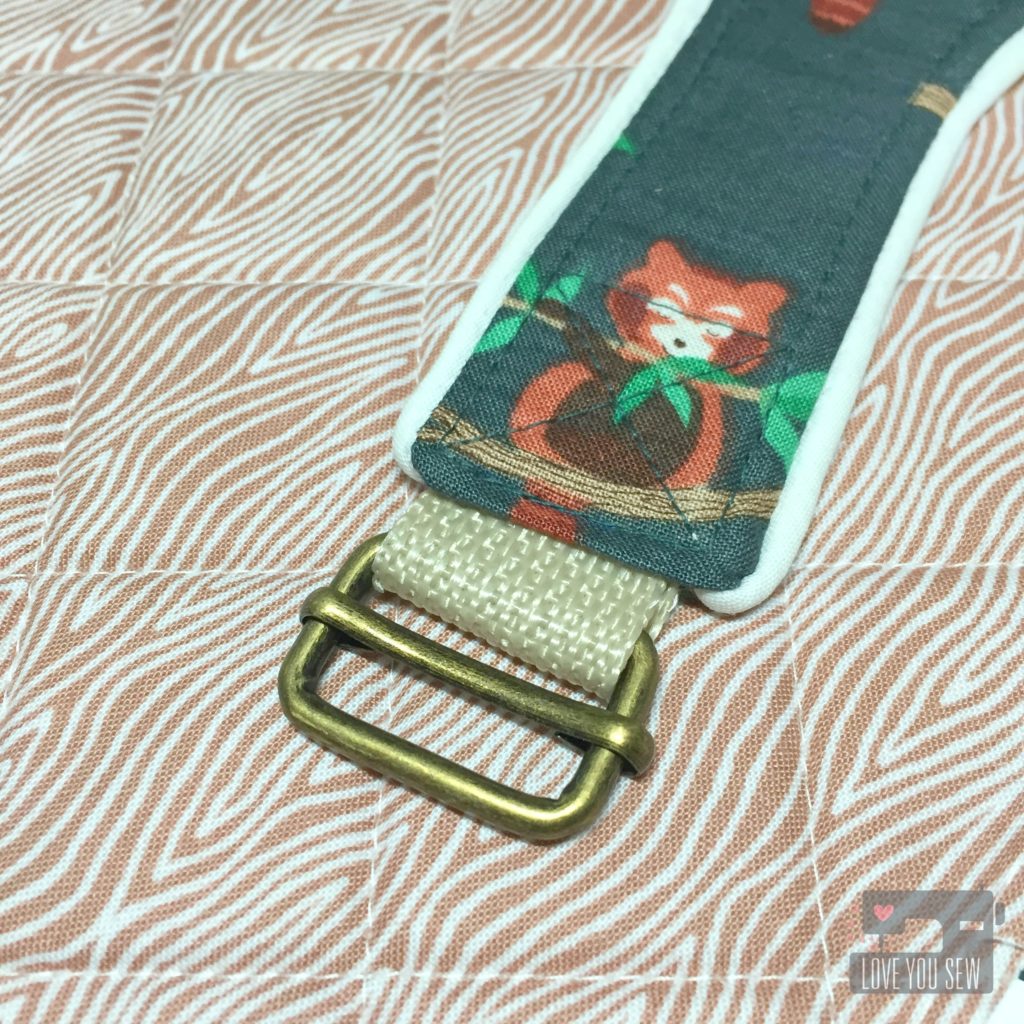
Aren’t these little guys, the cutest?  All hardware was from Emmaline Bags and the webbing was from Joann’s Fabrics.

TIP: Heat seal the ends of the webbing with a lighter before sewing.  My webbing had unraveled at the edges and pulled out after being sewn.  Sealing will prevent this from happening.

P1060497

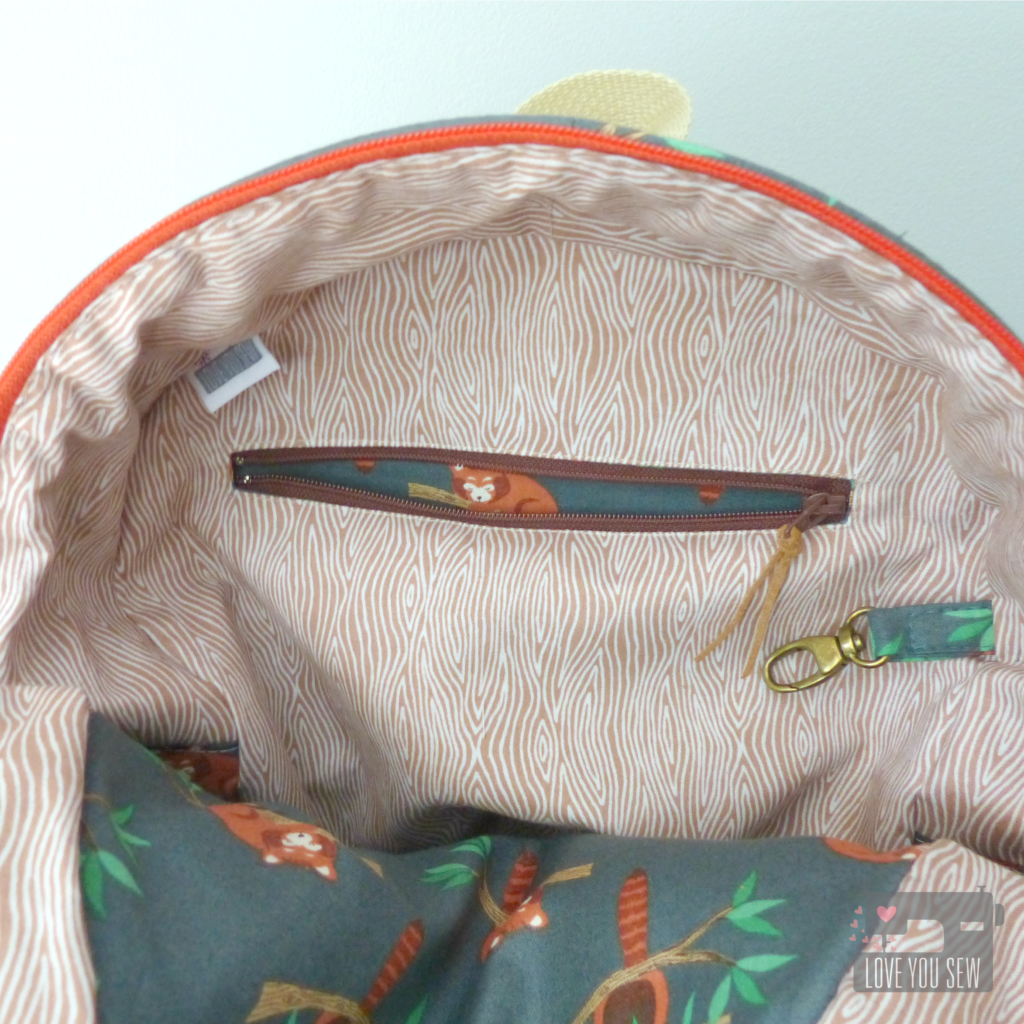
I also used Soft and Stable for the side panels of the bag to keep it’s shape.  As a little toddler, I figure it would be easier to find toys that way.  I added this key fob to the interior in case mom and dad ever need it 😉

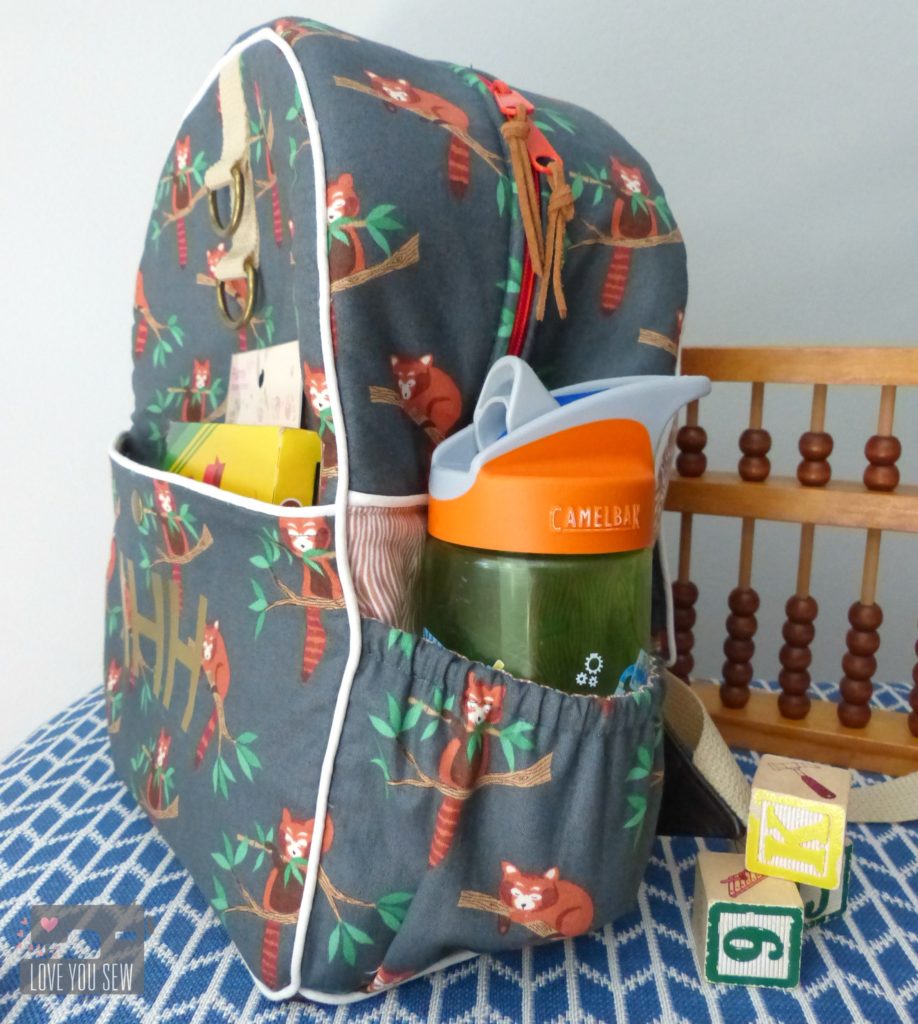
TIP:  Add zipper pulls to help little fingers open and close pockets.  I use some leftover suede to complement the fabrics.

P1060495

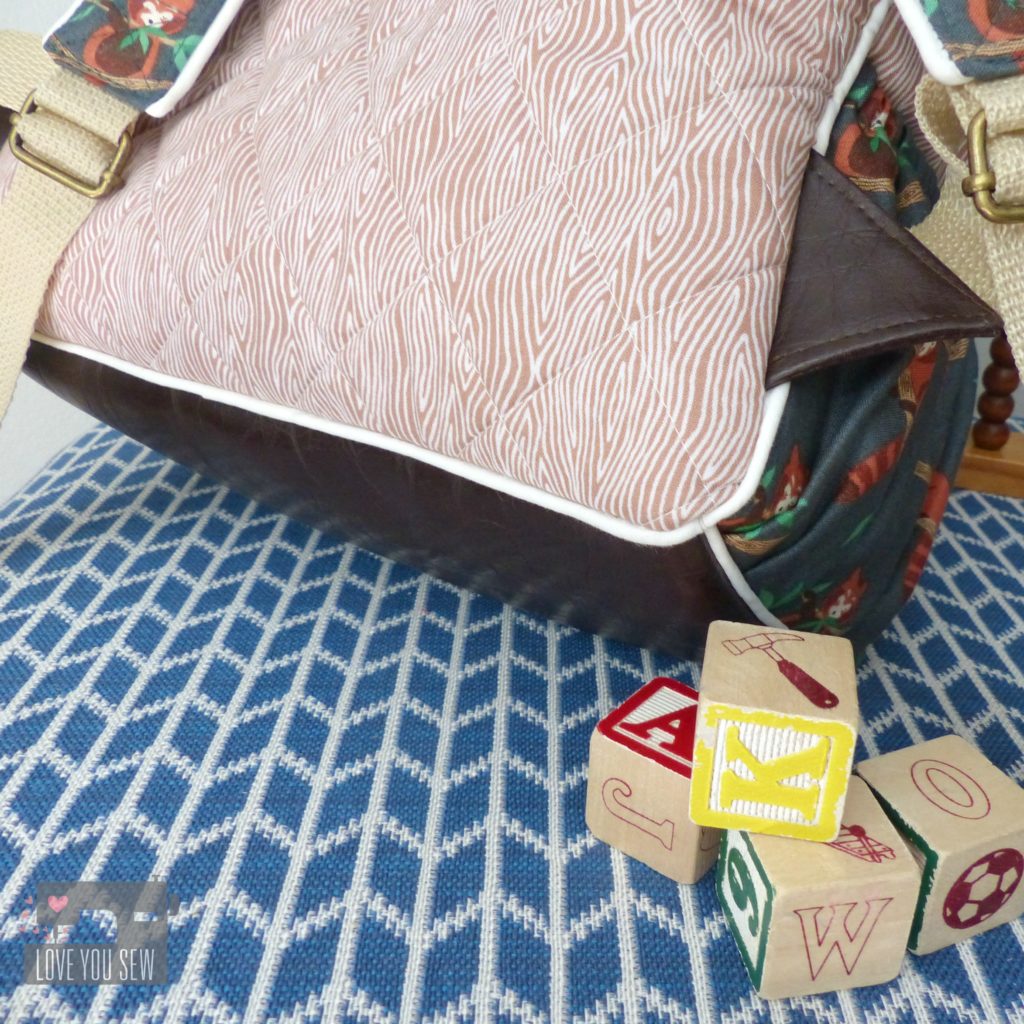
As I assembled the exterior, it was difficult to stitch close enough to the piping through all the layers.  I had to hand-stitch these bottoms corners a little bit to clean them up and make them match.  It might have been a little OCD, but since this was a gift, I just had too!

TopView

With this directional print, you do have to account for a little extra fabric, especially fussy-cutting the shoulder straps and side panels like I did.

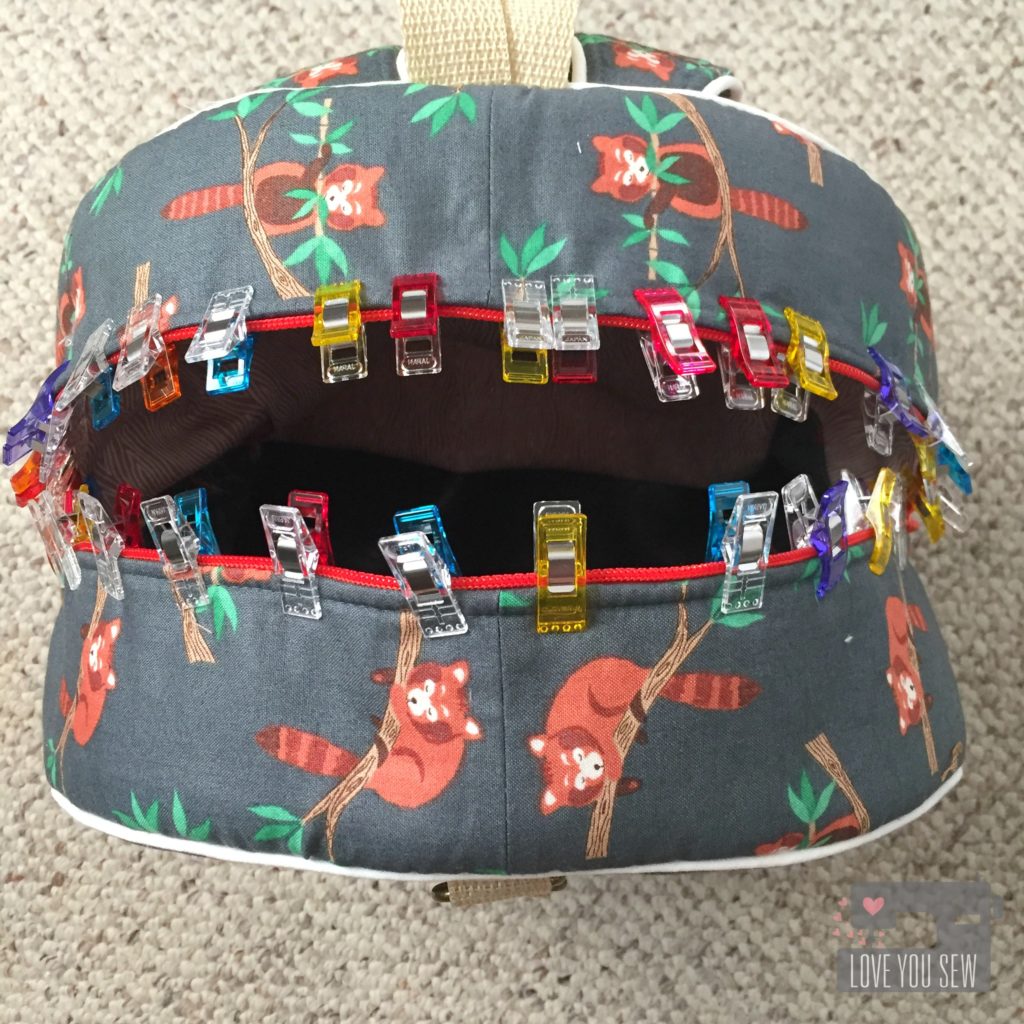
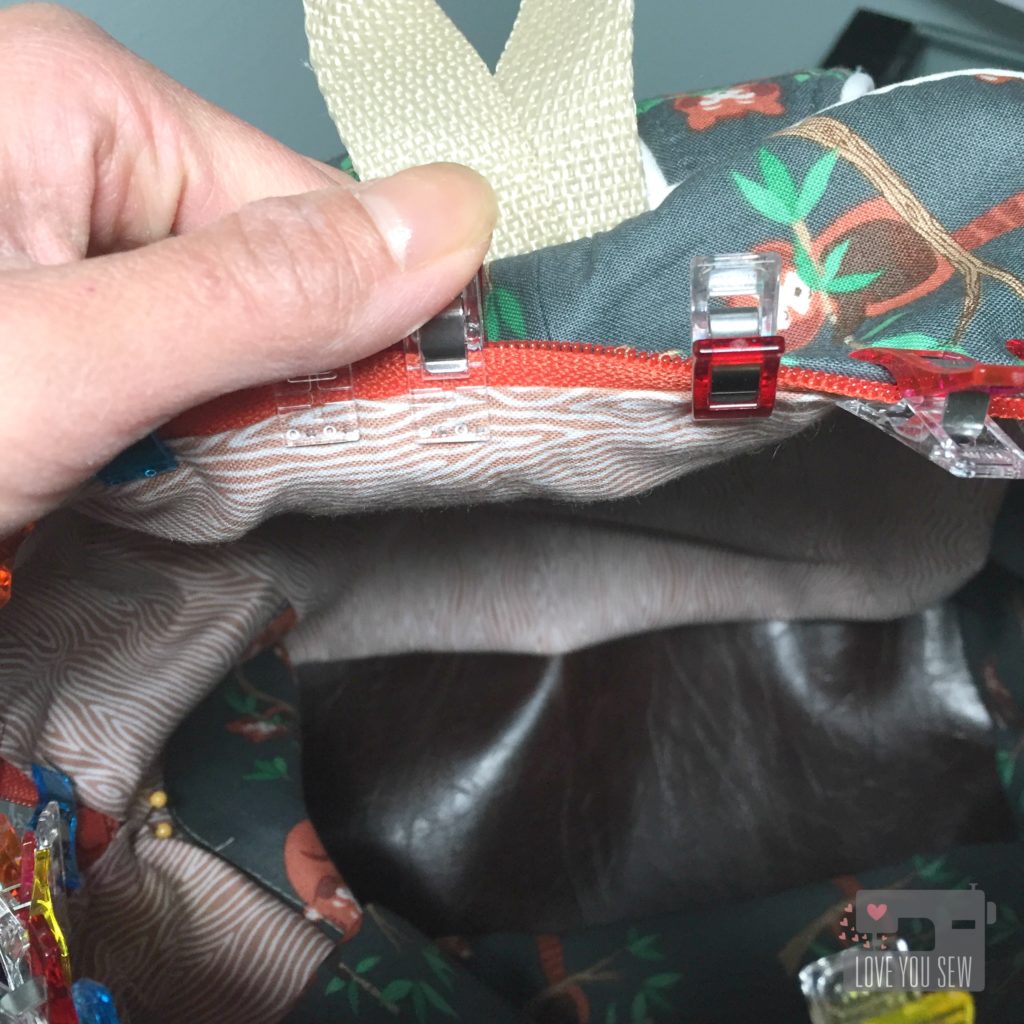
TIP: The entire lining is drop-in.  I used lots of clips to keep it centered and secure before top-stitching it into place.

IMG_5753

With kids, there are always spills, so I used some vegan leather on the bottom to help with easy clean up and for better wear and tear.

TIP: Pull the lining up to just barely cover the zipper stitches.  This way you’re guaranteed to catch it as you top-stitch.

P1060490

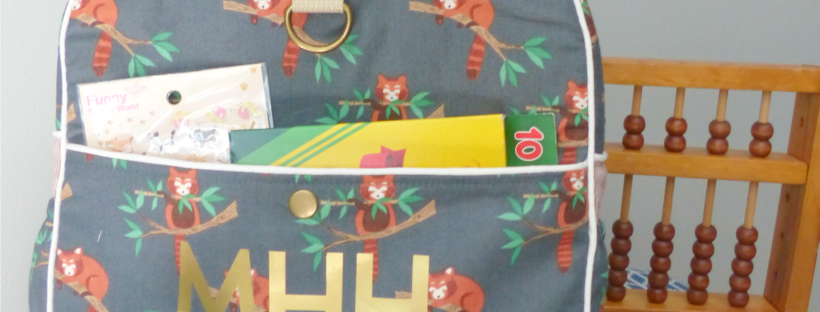
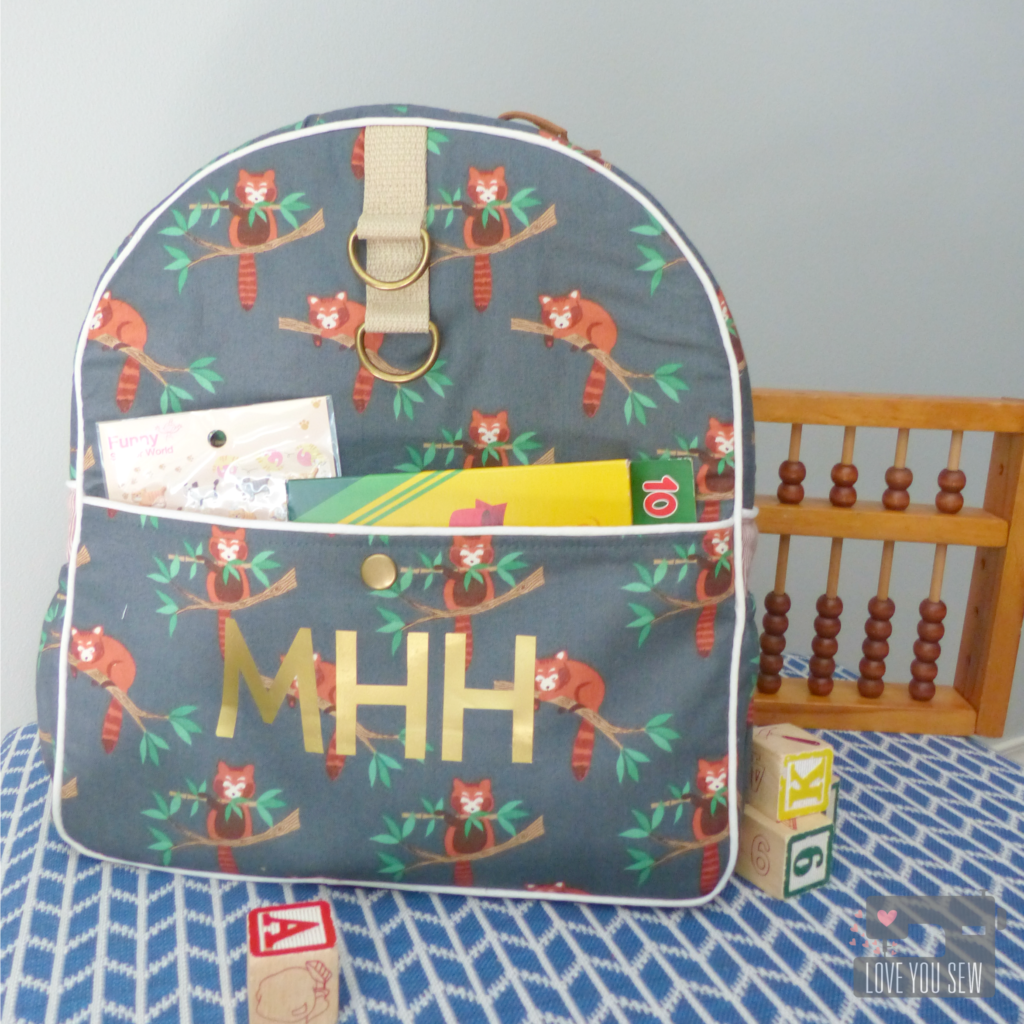
There were three additions made to the front of the bag —  Two D-rings were sewn on with leftover webbing so toys could be clipped on.  I also added a snap to the main exterior pockets to keep little treasures safe.  The most noticeable are my niece’s initials.  I used my Silhouette  Cameo machine to cut the gold heat transfer vinyl.

TIP:  If you would like to add a snap, place it centered 1″ down from the top of the pocket and secure into place before sewing in the lining

TE Sideview

Since I used a long-pull double zipper, I decided to to exclude the zipper tabs.  I also omitted the side pocket binding just to streamline the look a little bit.  Don’t leave the pockets off entirely though…they are great for holding drinks and snacks!

P1060499

Voila!  A fun toddler backpack for my little niece!

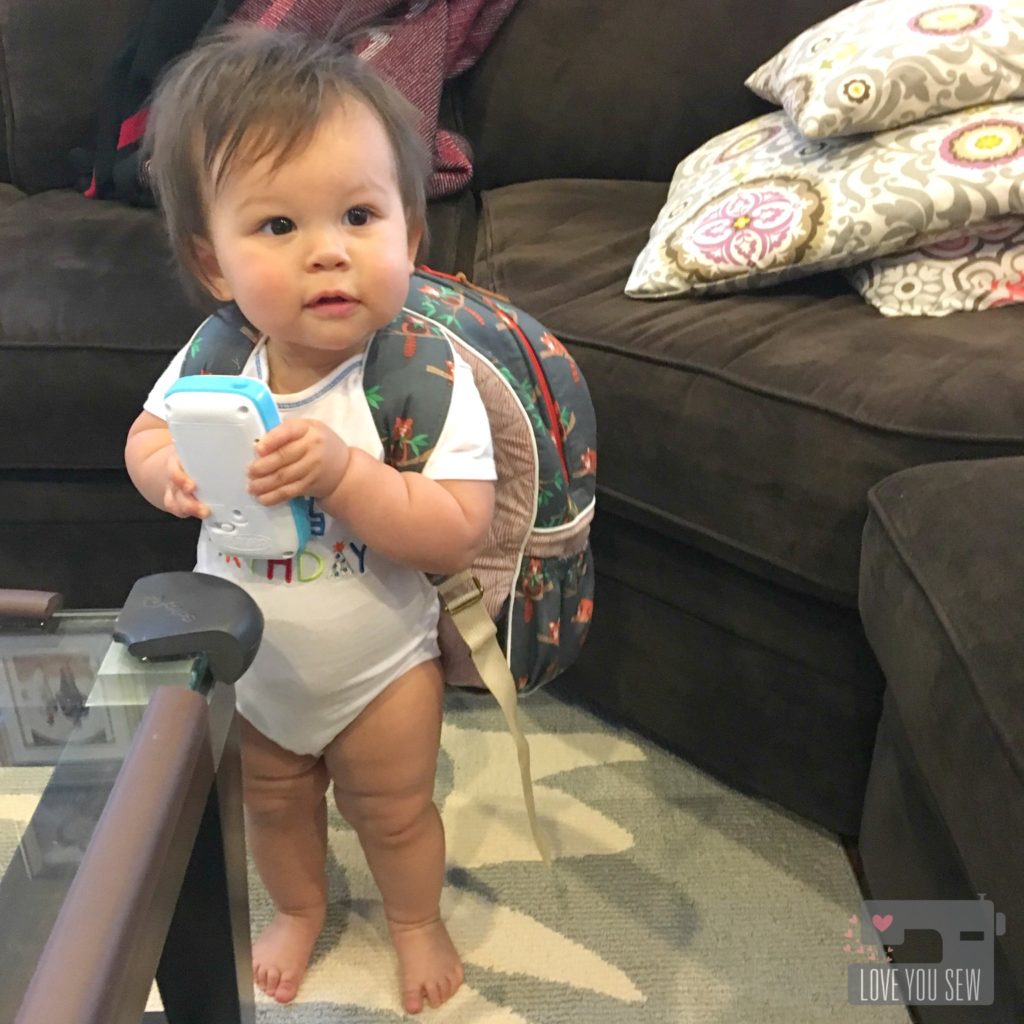
MayaBackpack

Here is my little munchkin with her bag.  Look at her rolls on rolls! <3  Doesn’t she look like she’s ready to catch some Pokemon 😀


Happy Sewing,

Cristy


This was not a sponsored post.  I purchased the pattern and all opinions are my own.

Simple Zipper Bag Sew-Along

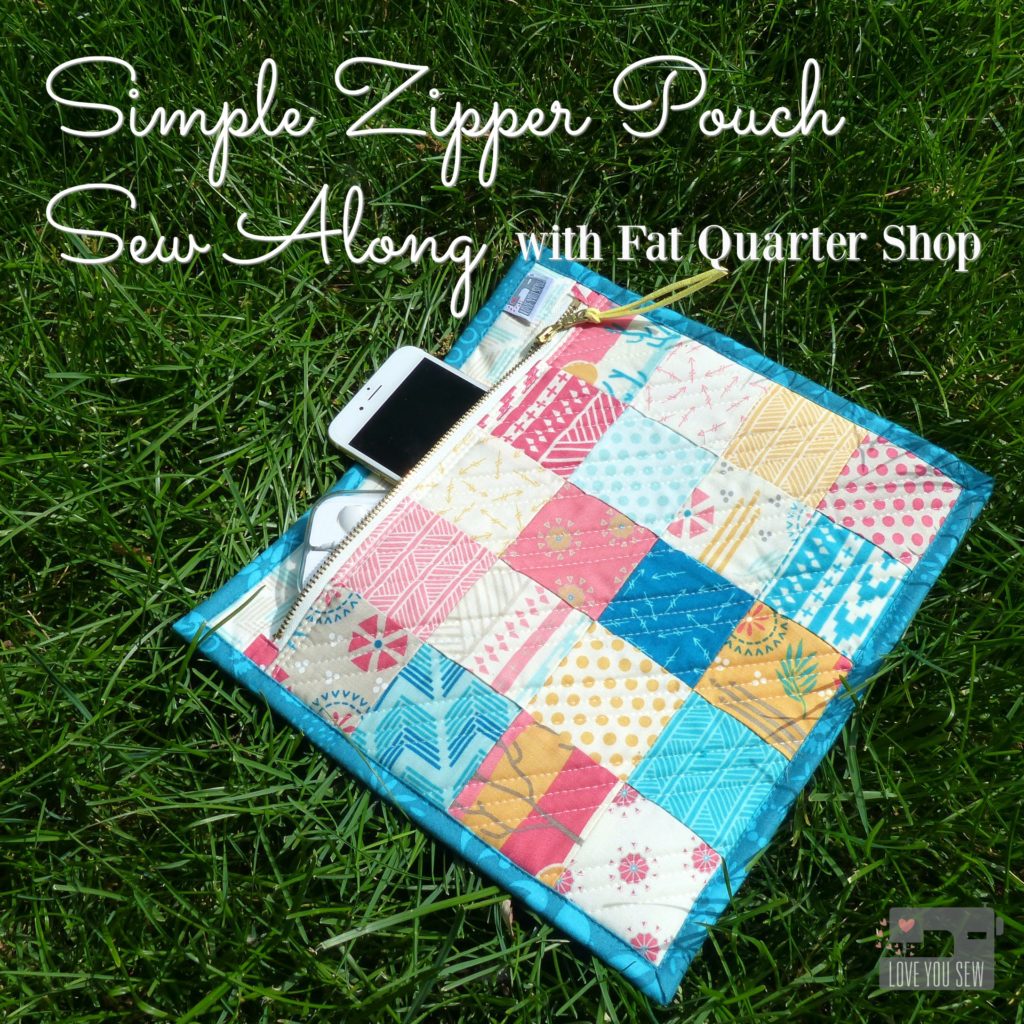
Zipper Pouch Sew Along

Who loves a great stash-busting project?  Well, Kimberly Jolly of Fat Quarter Shop, along with Sherri McConnell of A Quilting Life, have a great new tutorial of a super simple patchwork zipper pouch.  This project is also mini-charm friendly which makes it even easier.  Check out their easy to follow video below.

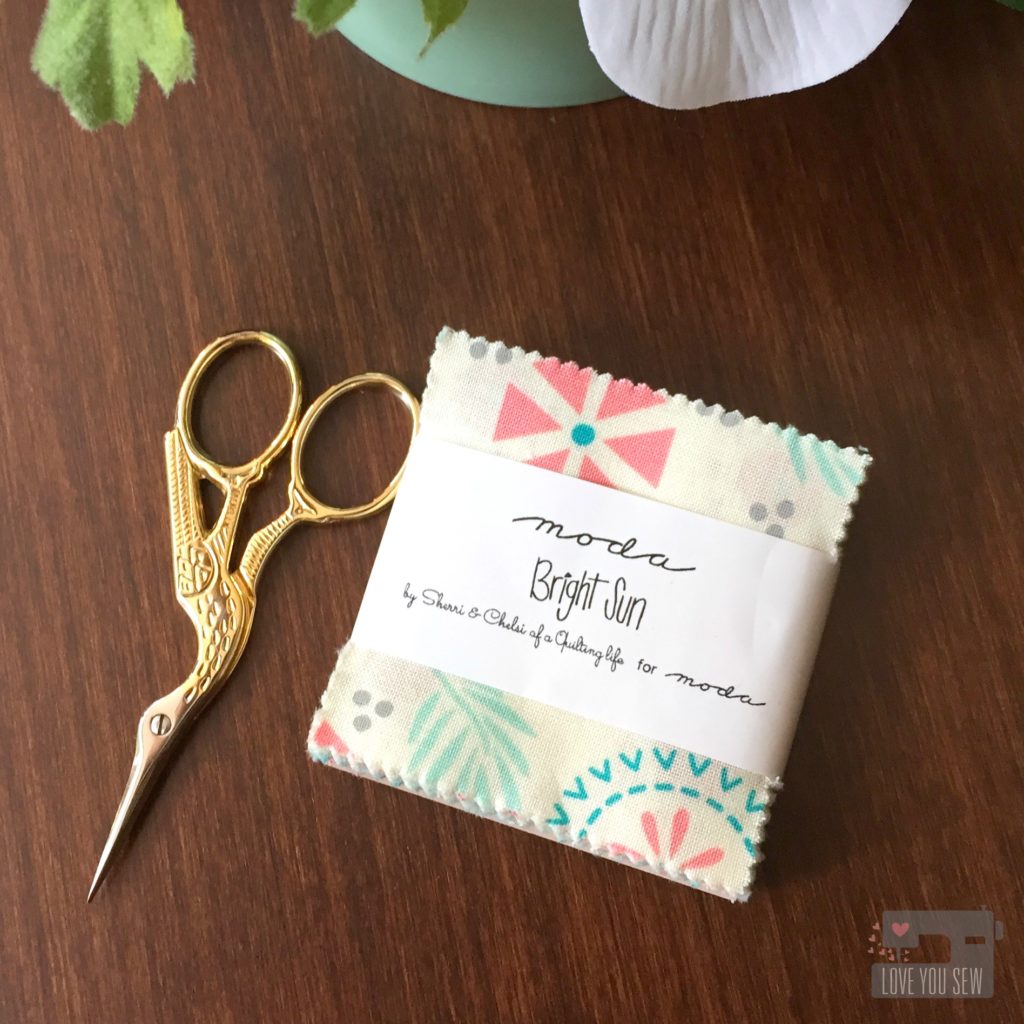
I went the mini-charm route and used Bright Sun, also by Sherri, for Moda Fabrics.  With the unofficial start of summer this week, I thought these fun and cheery fabrics were perfect for the pouch.

Charmpack

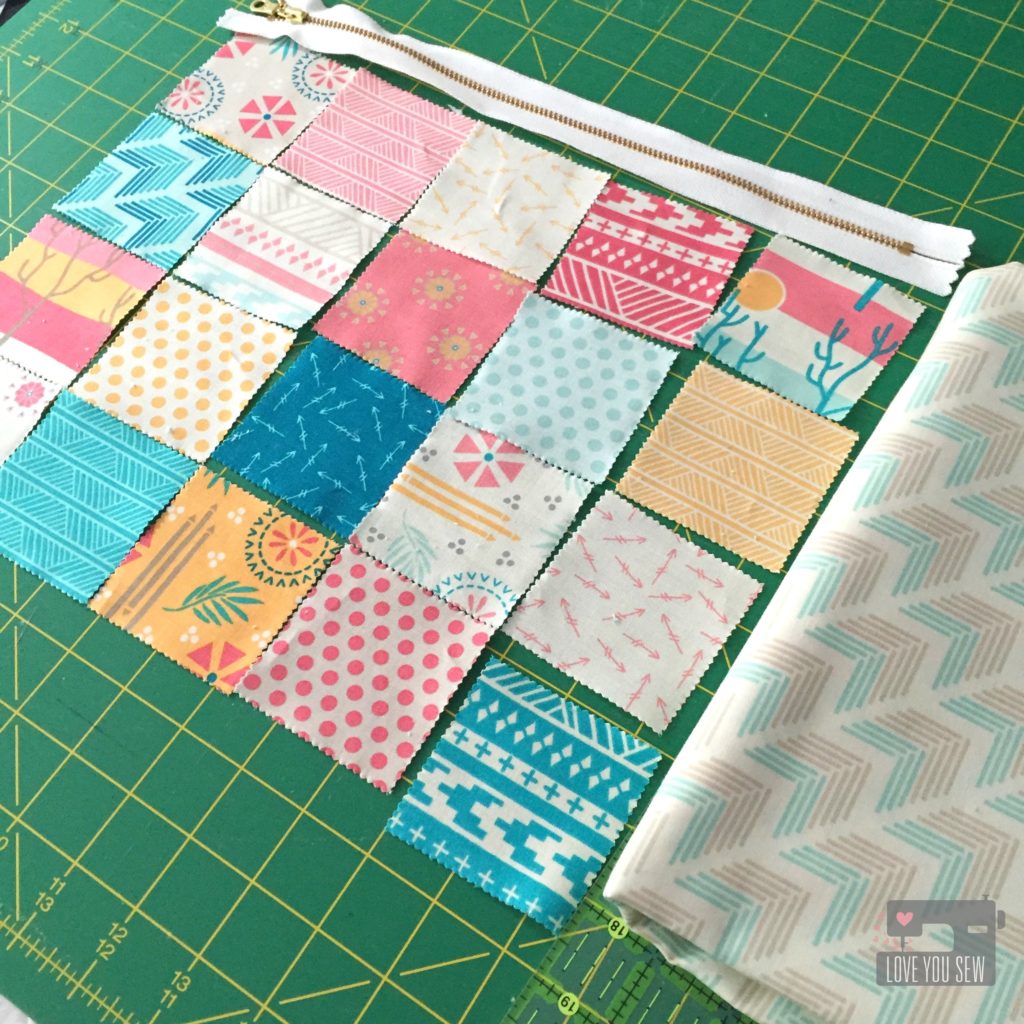
This charm pack had 42 prints which is more than enough for two large pouches.  (I have plans to make a second one as a future gift!)  After a little playtime, I settled on this arrangement and had the Dusk on Bisque print already in my stash.  So I used that for my backing, linings, and zipper top.

Layout

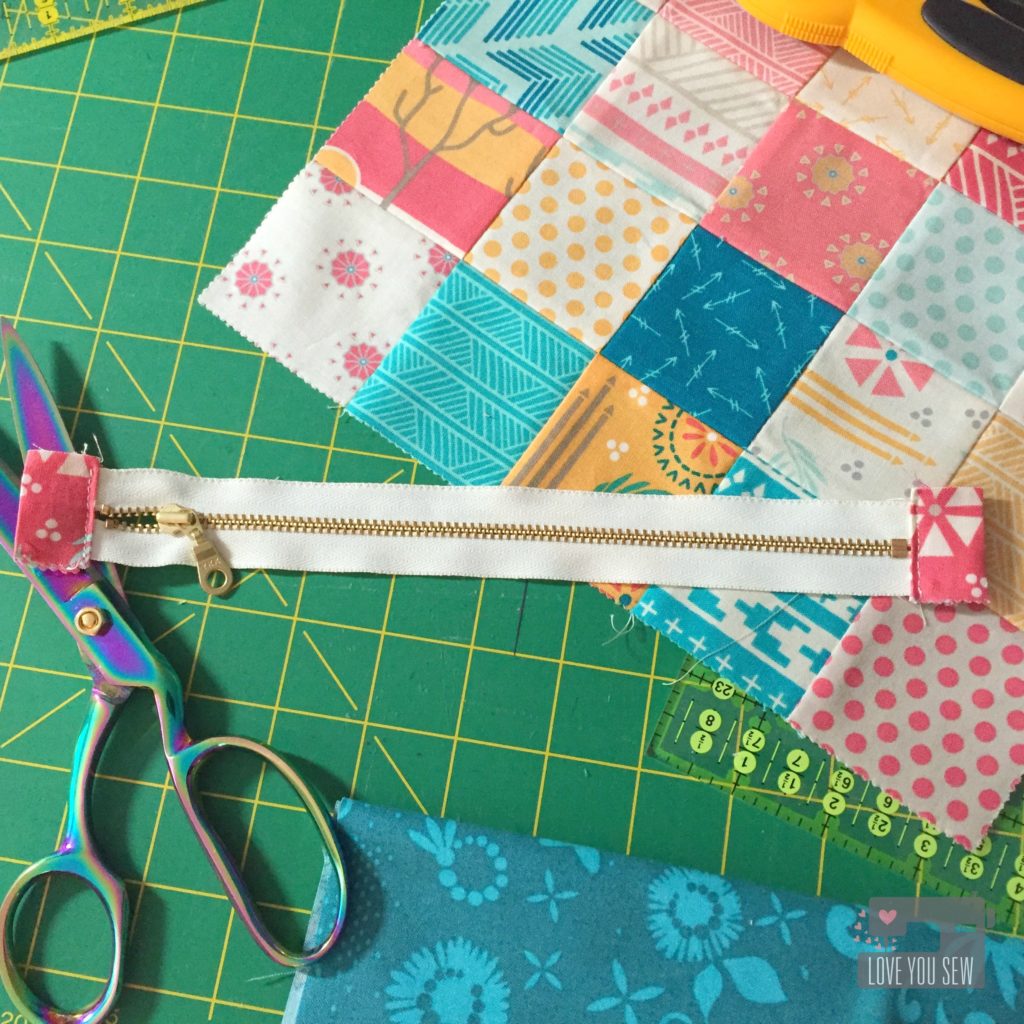
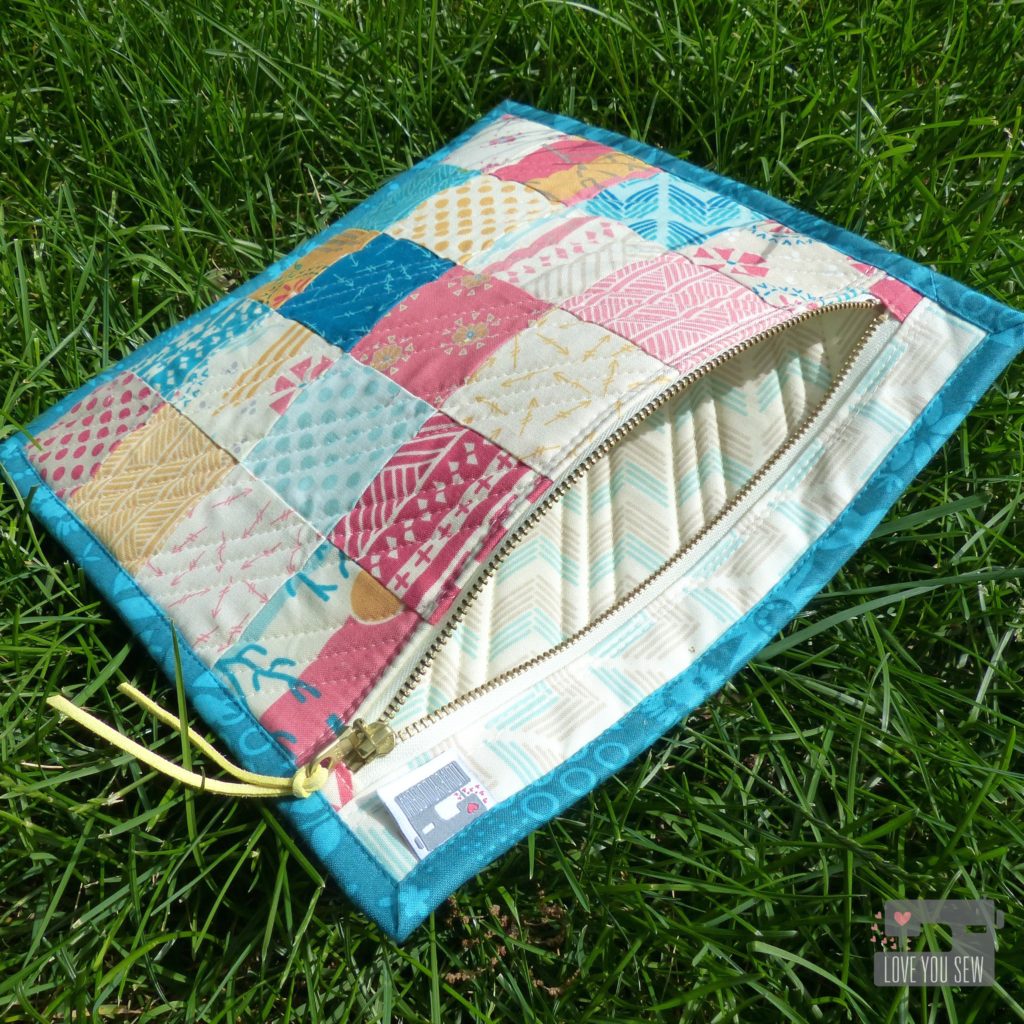
For this pouch, I thought I would have a little fun and add a metal brass zipper for some flare.  I used a 10″ metal one.  This length is a little short for the pouch, so I needed to add tabs on both ends to account for it.   I cut a mini-charm square in half to make each tab.

Zipper Tabs

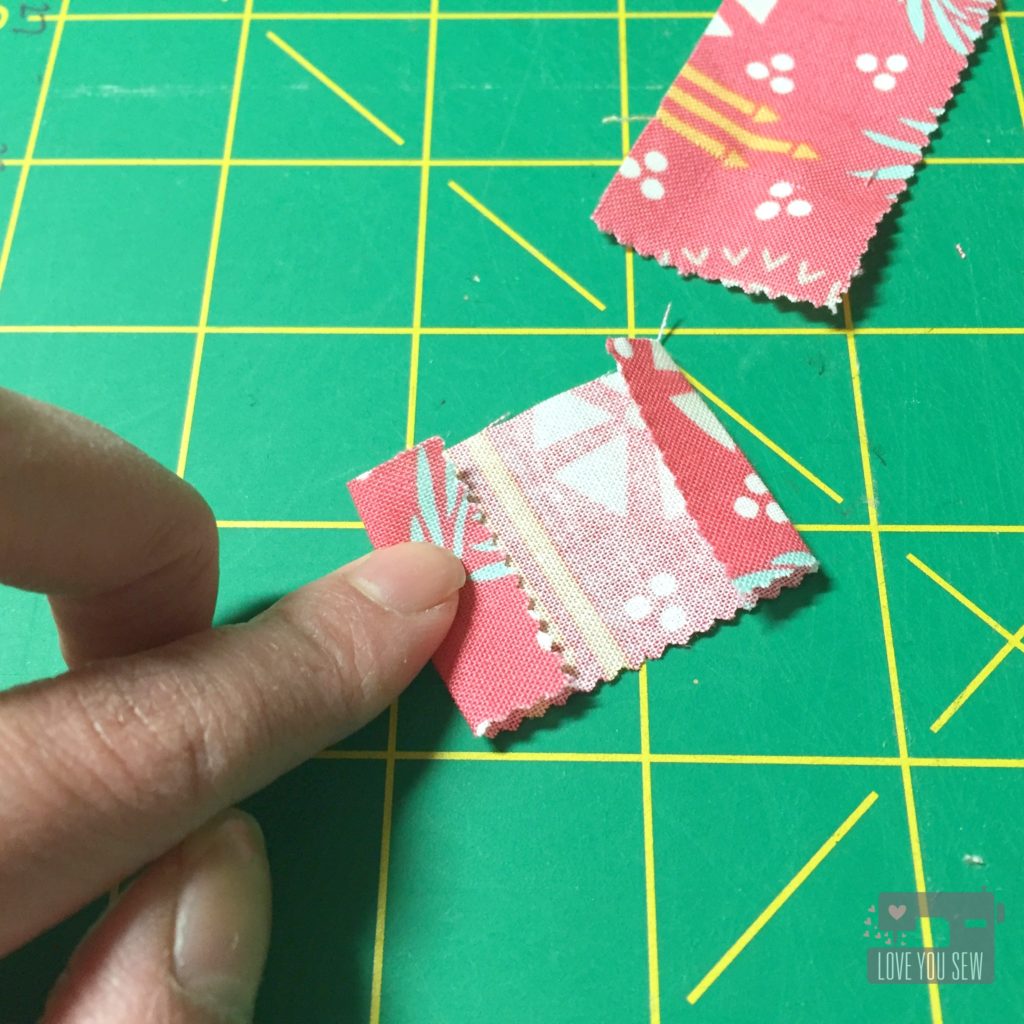
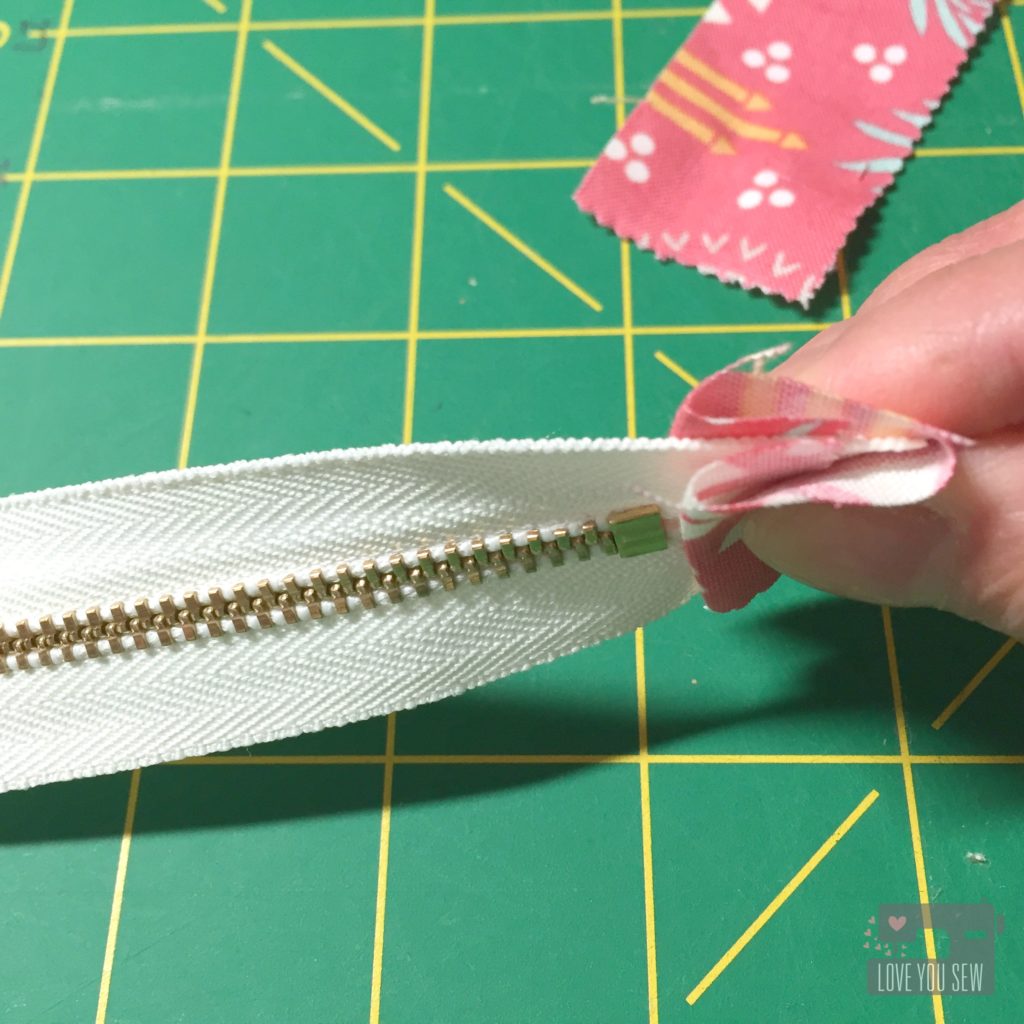
With each half charm, I folded down both short-ends of the tabs by 3/8″ and then in half to sandwich around the zipper.

Zipper End

I sewed on the tabs with a zipper foot, making sure to get both the top and bottom of the tab sandwich.

Zipper Tabs Complete

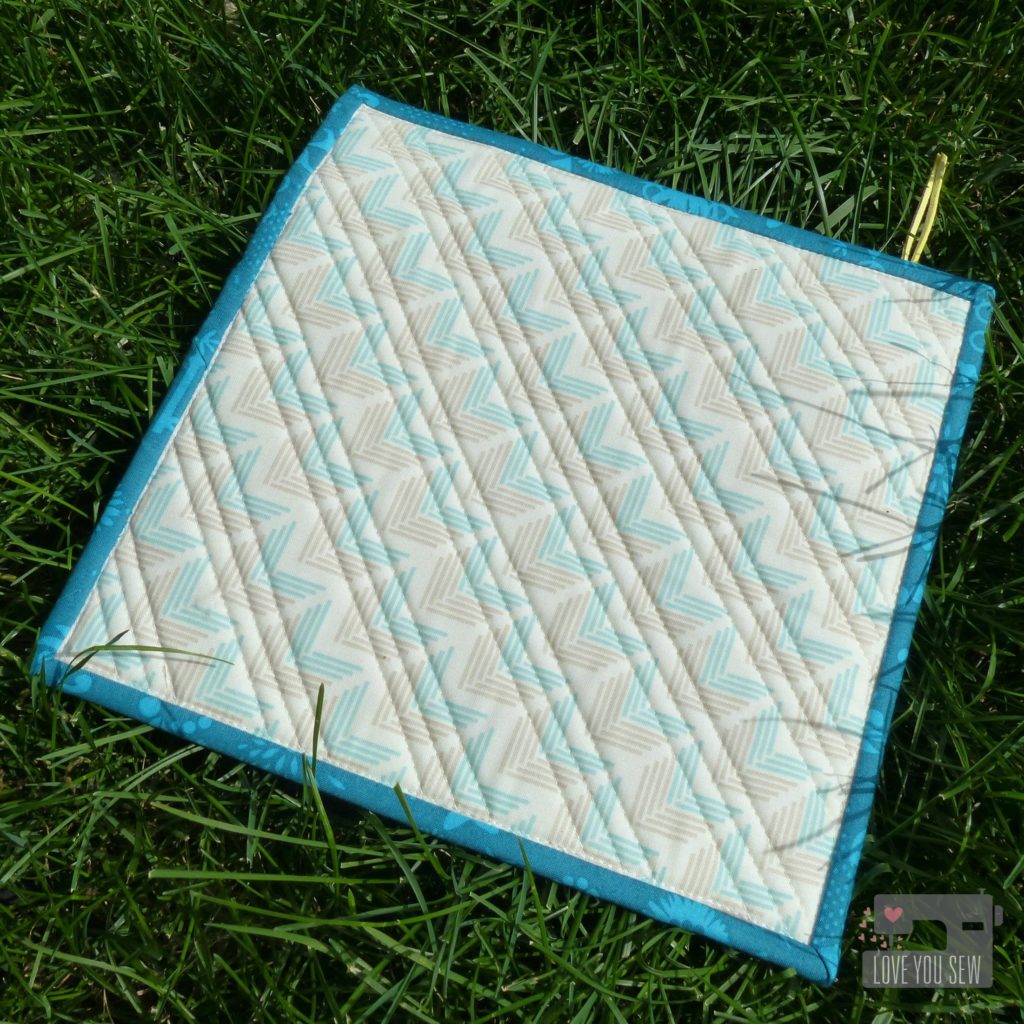
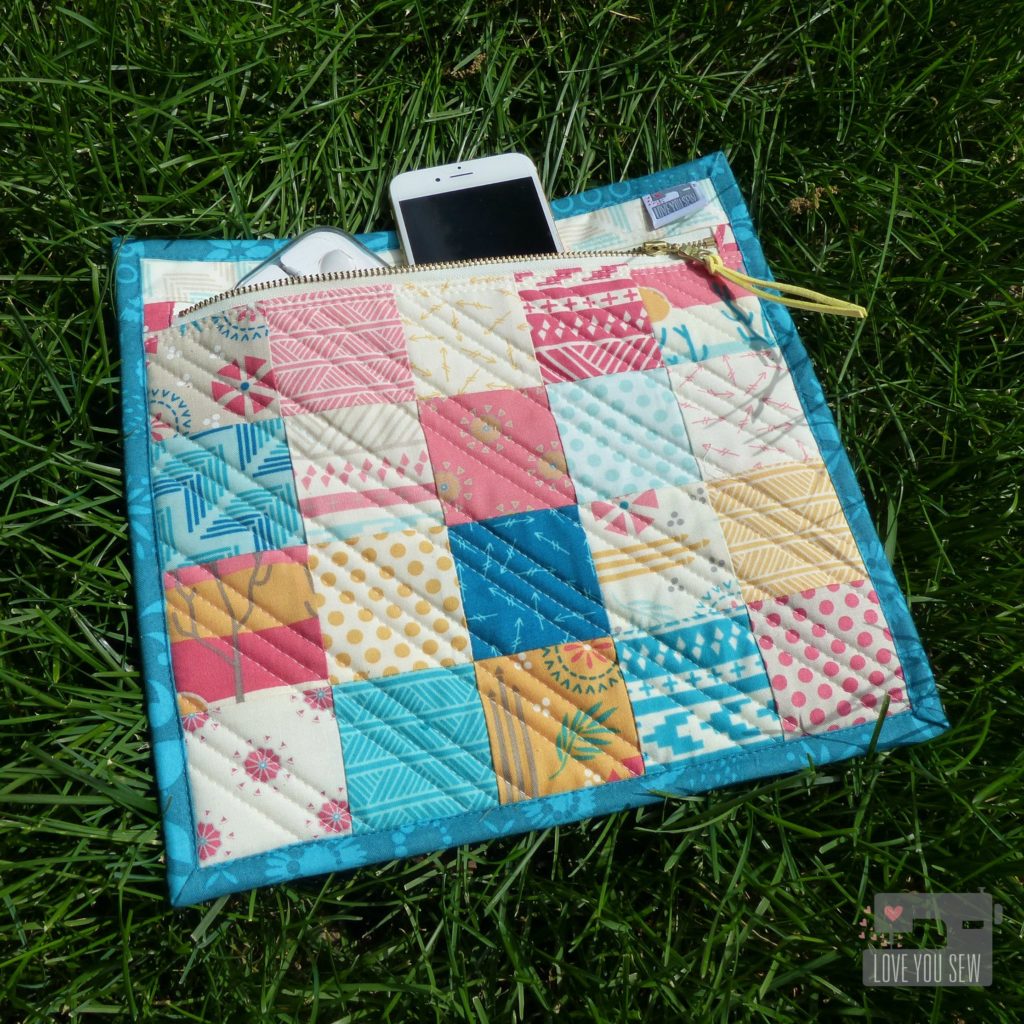
For the quilting, I used trusty Aurifil 2021 to sew straight diagonal lines on the front patchwork and on the backing.  The simple straight lines keep with the fun modern fabrics.  With such a small piece of quilting, I used some basting spray to keep all the layers from shifting.  It makes for faster work than pinning 😉

Back Profile

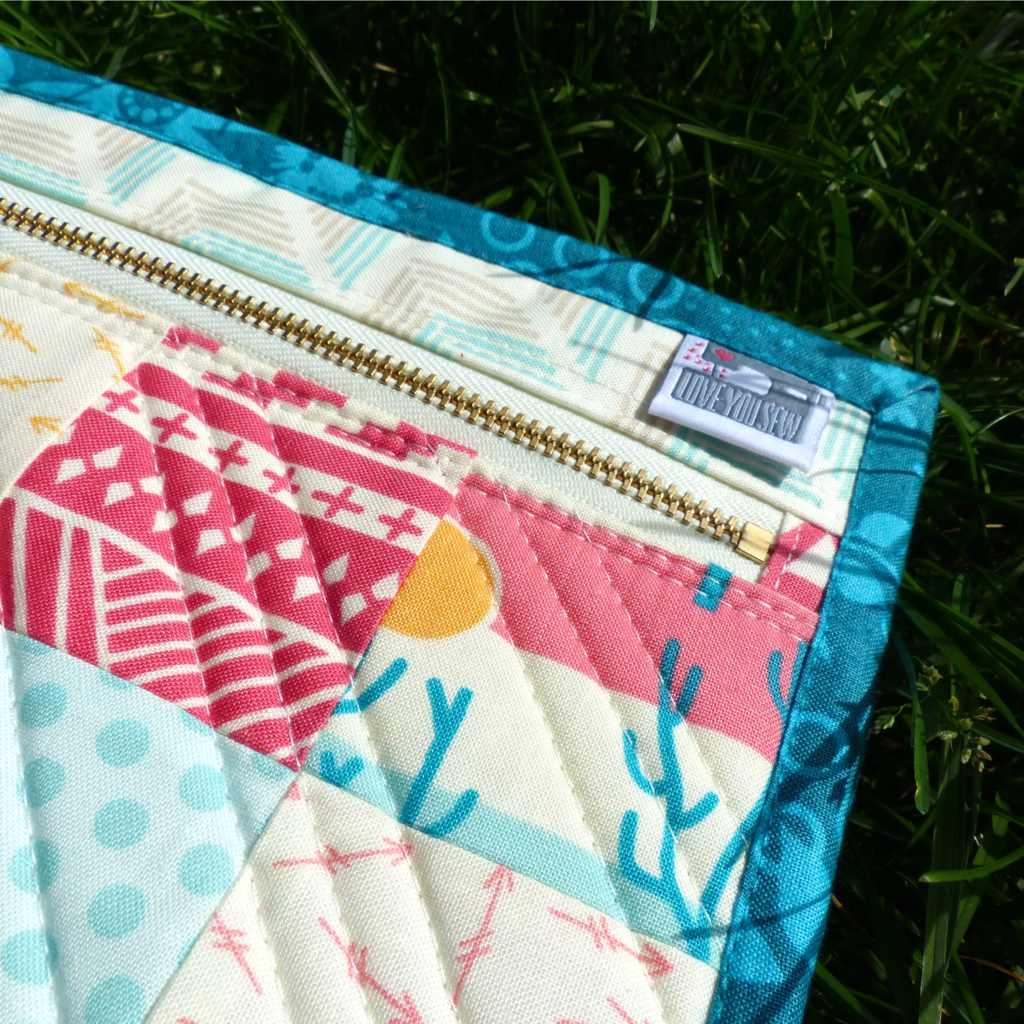
As I machine bound the pouch with Alison Glass‘s Corsage fabric, I added one of my labels in the front which can double as a key ring fob for more versatility.

Label Close Up

On the zipper, I omitted the fabric pull and instead, used some faux suede cording I had on-hand.  I thought the additional punch of yellow worked with the pouch better than more of the same background and interior fabric.

Interior

I love the structure and feel of the quilted Soft and Stable which make for a nice durable pouch.  It is perfect for personal electronics and/or for books you want to carefully protect.

Front Profile

The simplicity of this project and use of scraps makes it a MUST sew for any traveler this summer!  Do you have any fun vacation destination(s) coming up?

Don’t forget to visit all of the Simple Zipper Pouch Sew-Along bloggers below for more ideas:

Tina from Emily Ann’s Kloset
Jessee from An Art School Dropout’s Life
Erin from Why Not Sew?
Kitty from Night Quilter
Leanne from She Can Quilt
Vanessa from Lella Boutique
Amanda from Jedi Craft Girl
Sherri from A Quilting Life
Cristy from Love You Sew (you are here)
Leslie from Seasoned Homemaker
Tiffany from Tiny Seamstress


Happy Sew Along,

Cristy


This post was sponsored by Fat Quarter Shop and I was compensated for time and materials.

Fundraiser Sewing

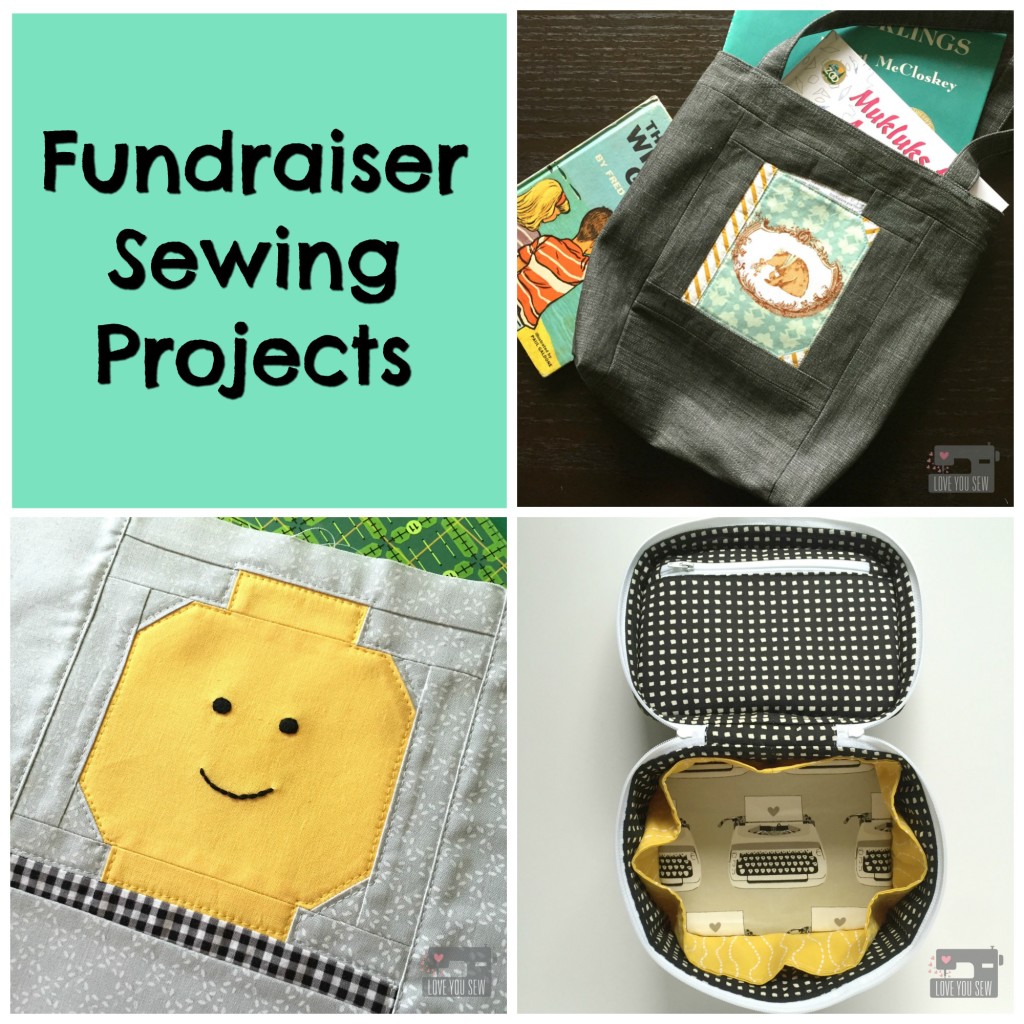
Fundraiser Sewing Projects

Whether you sew for hobby, for business, or for necessity, it’s always nice to sew for a cause.  I’m a stay-at-home-mom who has to continually stretch a buck, so I like to help how I can…and that means through sewing.  These past few weeks have provided me a few opportunities to use these skills to help some great local organizations.

My boys go to the same preschool and the Parent-Teacher Organization (PTO) asked me to contribute a few items for a big auction event.  Of course, I said yes. I love this school and am so happy my boys do too.  Although I know I won’t generate a ton of money, I know every little bit helps. I get to help the PTO and get a little local publicity so it’s win-win for me.

Last year I donated gift certificates to my Etsy shop and this year I decided to make a few items to possibly generate more money once the bidders can touch and feel what they are receiving.  With a GC, there is a finite value, but with custom made, hand-sewn products, there is more more perceived worth…at least I hope!

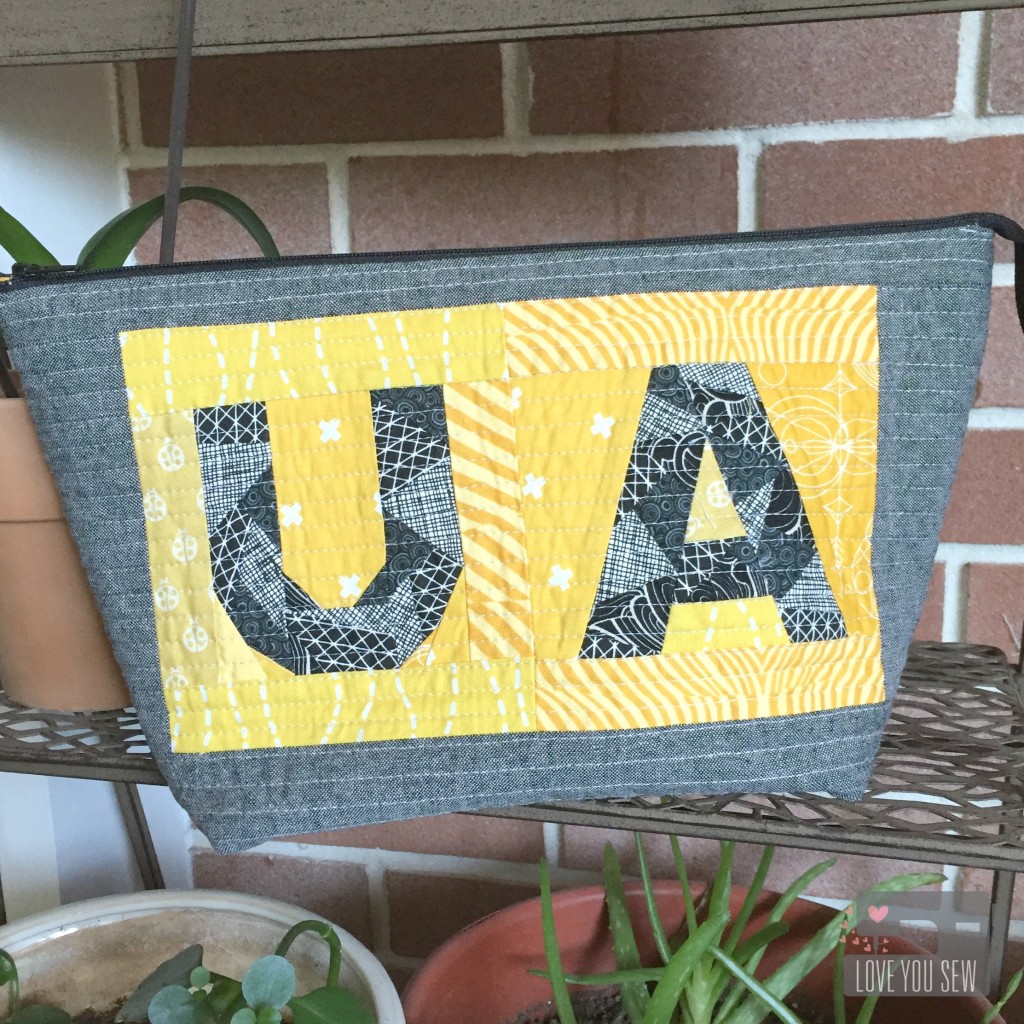
UA Open Wide Pouch

It’s always so hard to choose fabrics for someone, never mind someone you don’t know.  But since this is a school fundraiser, you can’t go wrong with simple patterns in the school colors…so yellow and black it is.  I used Quiet Play’s Geometric letter pattern and Noodlehead’s Wide Open pouch pattern to show some hometown love.

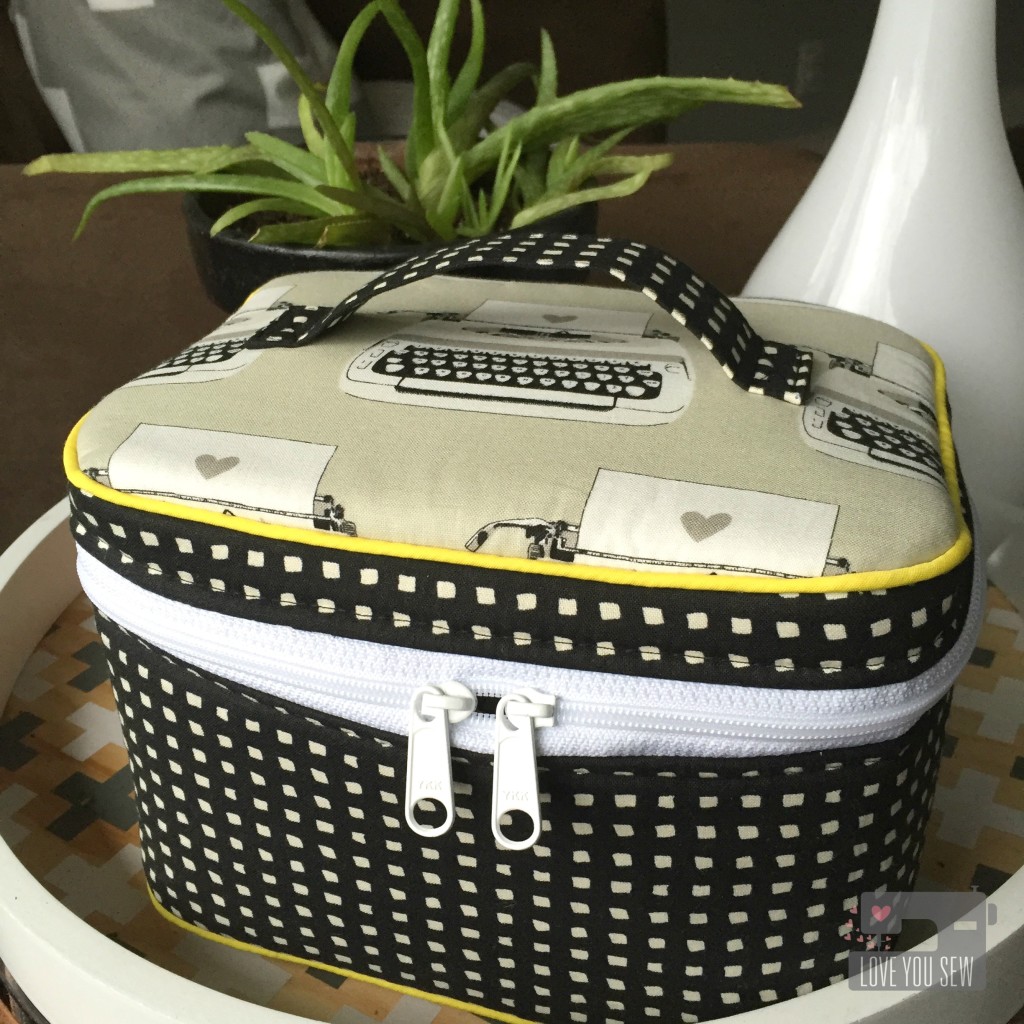
Traincase Outside

The Crimson and Clover Train Case by Sew Sweetness is one of my favorite patterns. Its so versatile in it’s usage….whether to hold makeup, toys, or other treasures.  I used Cotton and Steel Black and White fabrics with the typewriters being  a play on the school and added little yellow accents.  The shot of yellow piping is definitely my favorite.

Each of my son’s classes is also responsible for putting a large basket together. There is a theme and the point is to have all the families contribute a little something in order to make a sizable basket worth buying. One class has a “Lego” theme and the other has “Books.”

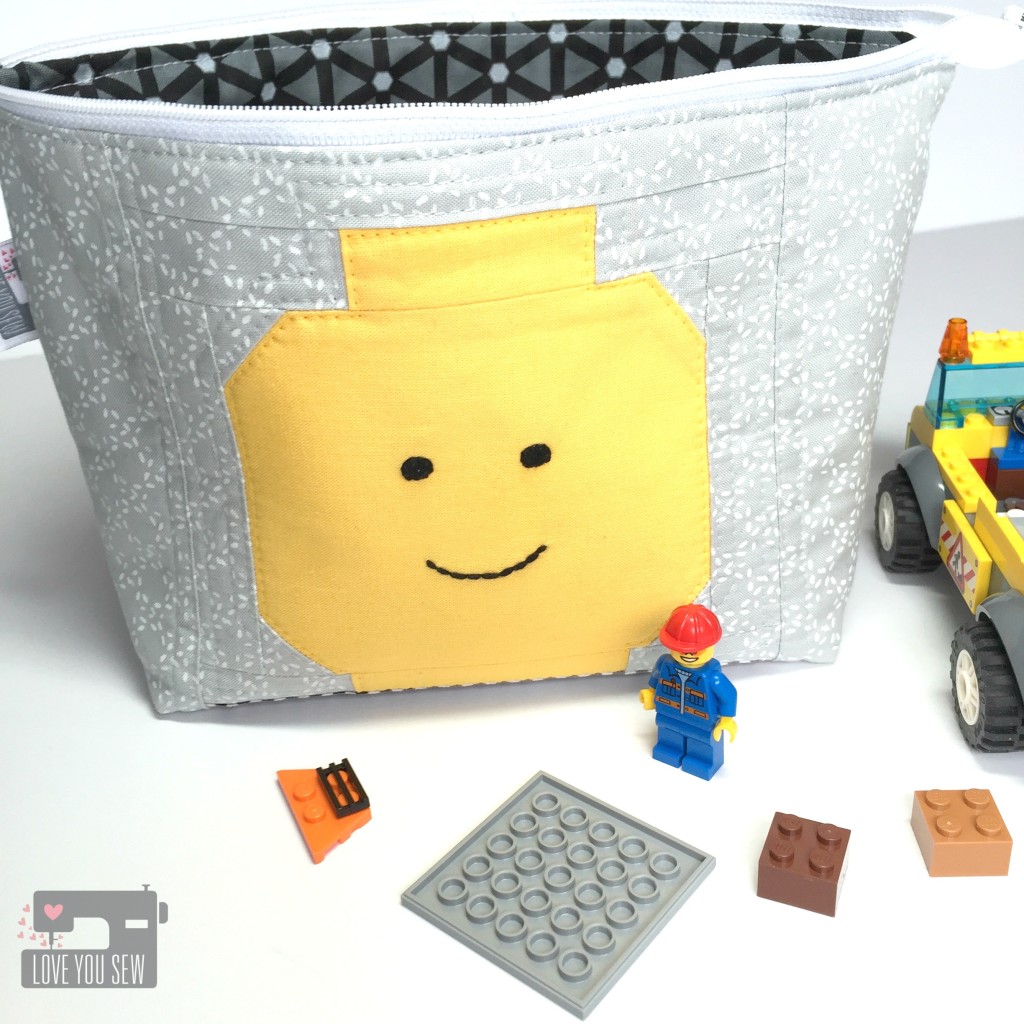
Lego Open Wide Pouch Outside

Instead of just buying a box of Legos, I knew I wanted to sew something to hold all the toys. I’m constantly stepping over Legos in my own house and I made some see-through vinyl drawstring bags to combat the mess.  I thought I would make one for the basket but then after browsing Quiet Play’s Craftsy shop, I saw the Lego man. Hello!

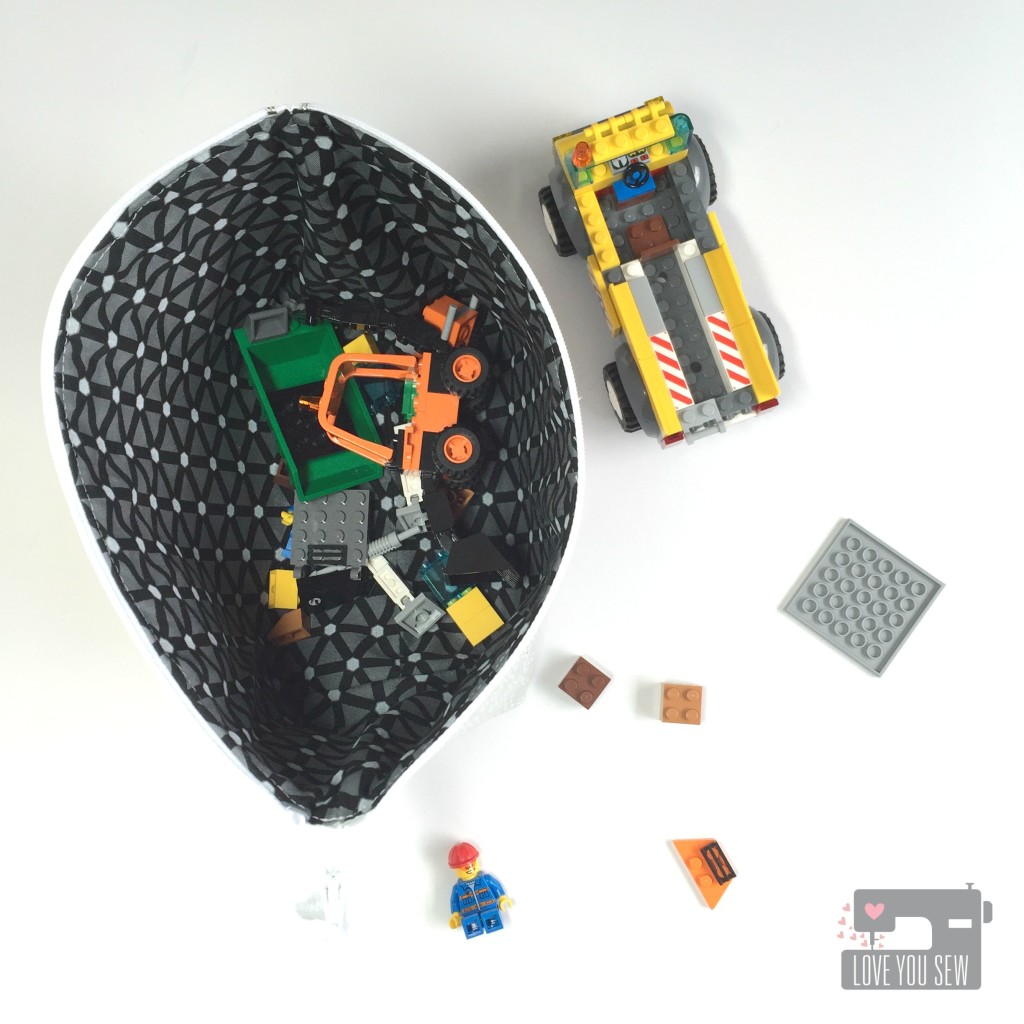
Lego Open Wide Pouch Inside

The Lego head pattern is free (yay!) and I used Noodlehead’s Open Wide Pouch again.  It’s design is so perfect for little hands to reach in and out easily.   I added a little embroidery to make the Lego Man’s face and (hopefully) this bag will help keep all of these little pieces off the floor.

Library Bag Closeup

For the “Books” theme basket, I knew right away I would make a library bag. My boys have cute canvas ones they love to fill up and I figured one of their schoolmates would too.

Library Bag

The bag is made with Art Gallery Fabrics Denim Studio so I didn’t need any interfacing to give it structure. I used a very simple tutorial from Skip to my Lou and altered it so I could incorporate this super cute book paper-piece pattern from Patchwork Please! by Ayumi Takahashi.

Besides all these PTO donations, I was asked to contribute some items from my Etsy shop for a Pelatonia fundraiser. This is one of the largest bike races in Columbus and generates millions of dollars…all which toward cancer research.  Some large companies have donated money to cover administrative expenses so that 100% of rider fundraising will go to charity.  How awesome is that?

Baby Travel Set

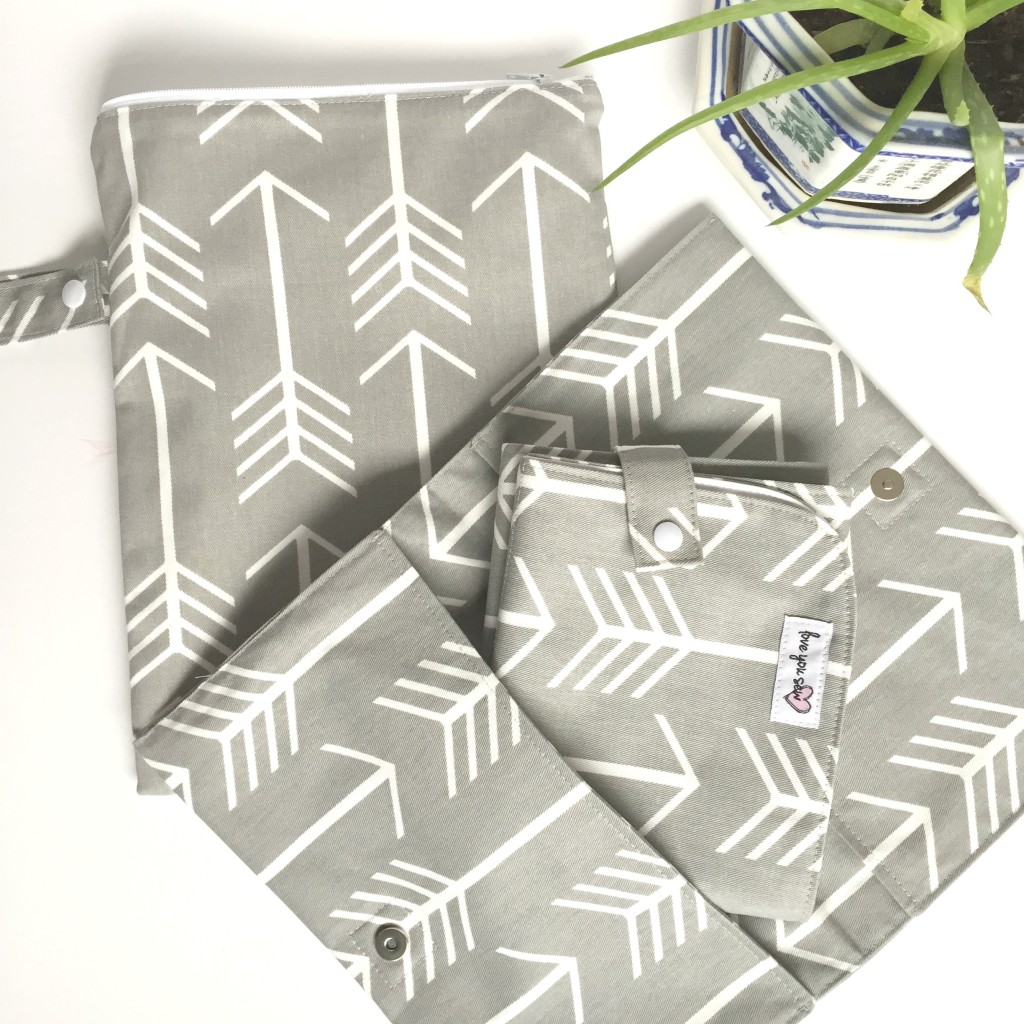
I donated a full set of baby travel items with arrow fabric since the Pelatonia logo is also an arrow. The group I’m assisting is bringing in a whole cross-section of items and I’m crossing my fingers that these pull in lots of money!

Have you donated some sewn items for fundraising?  How did they do?


Happy Stitching,

Cristy


***This post may contain affiliate links which help me on the back end to fund this site.  Compensation is only through your own purchase.