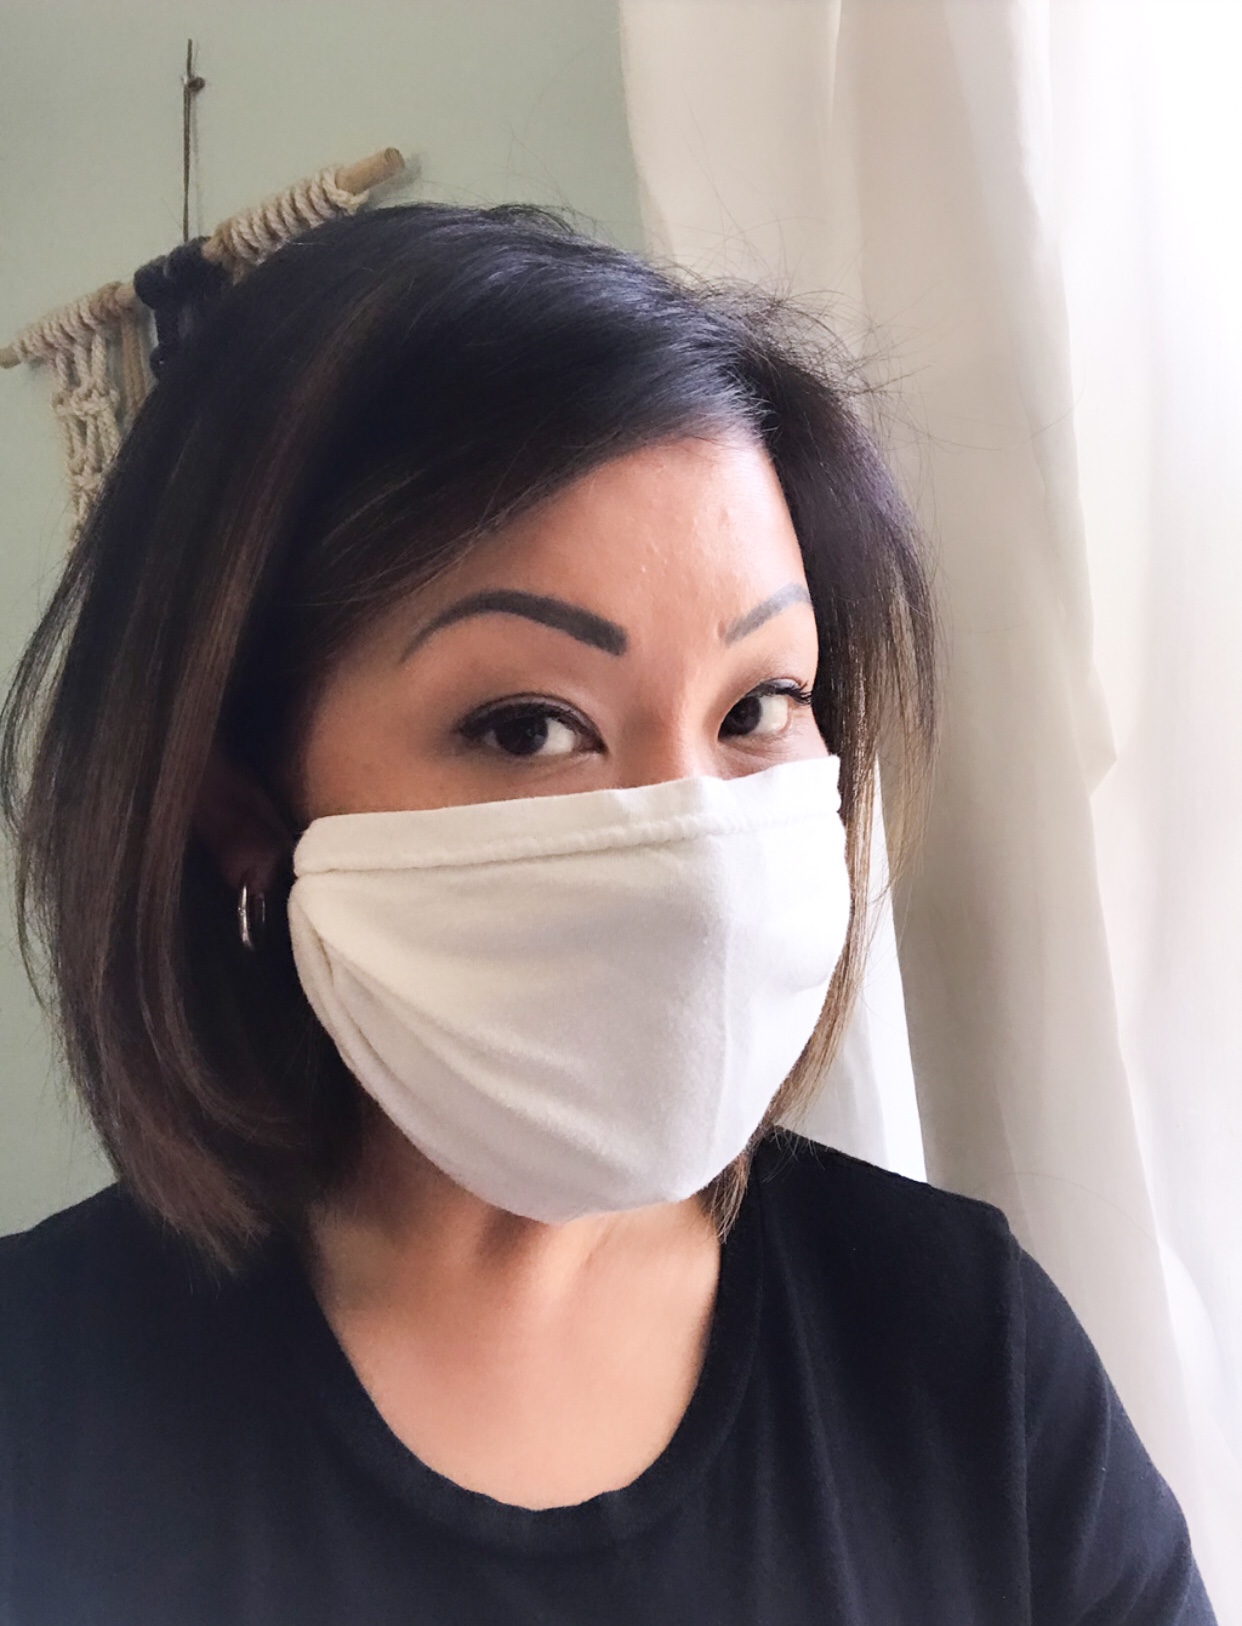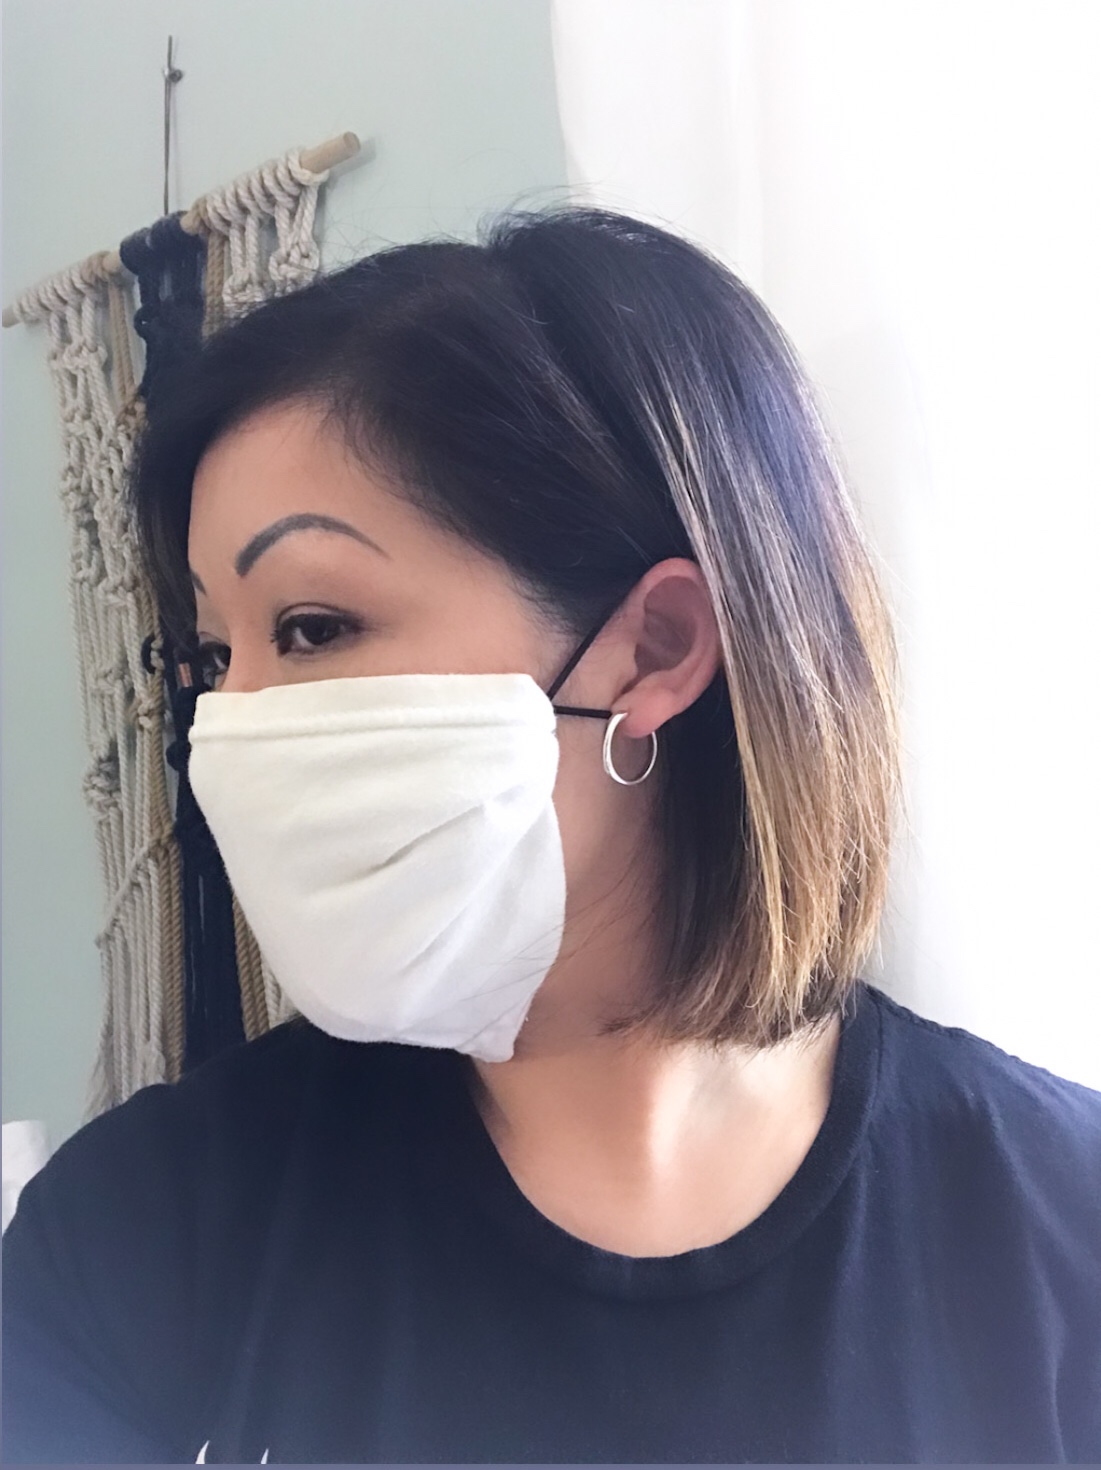
No Sew T-Shirt Face Mask Tutorial

If you are like me and have been already making lots of face masks for front line workers, it’s hard to keep up with personal demand from friends and family…especially with the new CDC recommendations for everyone to wear some kind of face covering in public.  That got me thinking about all of the people who need masks all of a sudden but do not sew, have access to a sewing machine, know of places to get masks and/or do not have the means to buy them for their families.  That’s why I wanted to come up with a way to use household materials, like a plain t-shirt to make a mask for essential activity!

CDC recommends wearing cloth face coverings in public settings where other social distancing measures are difficult to maintain (e.g., grocery stores and pharmacies), especially in areas of significant community-based transmission.

CDC also advises the use of simple cloth face coverings to slow the spread of the virus and help people who may have the virus and do not know it from transmitting it to others.  Cloth face coverings fashioned from household items or made at home from common materials at low cost can be used as an additional, voluntary public health measure.

Cloth face coverings should not be placed on young children under age 2, anyone who has trouble breathing, or is unconscious, incapacitated or otherwise unable to remove the mask without assistance.

The cloth face coverings recommended are not surgical masks or N-95 respirators.  Those are critical supplies that must continue to be reserved for healthcare workers and other medical first responders, as recommended by current CDC guidance.”

To Make the DIY Mask, these are the Materials Needed:

  • (1) L-XXL Short Sleeve T-Shirt with a relaxed and roomy fit – I used a basic white Hanes shirt this this one, here.
  • (2) Hair Elastics or Rubber Bands – I used Goody brand with no metal found here.

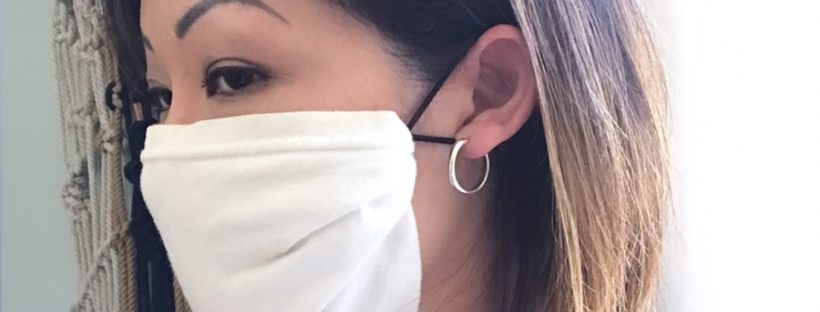
This tutorial utilizes the round tube of a short sleeve, giving you two layers of protection,  By using the sleeve hem across the nose bridge, the mask has a finish look and won’t curl over.  The  elastic ties bring the mask close to your face and doesn’t leave gaps like with other coverings.  Leaving the shoulder seam also helps the mask stay snug around your chin.  *Make sure to adjust the mask so both layers of the sleeve do cover BOTH the nose and the mouth.

Thanks to everyone who is wearing a mask and encouraging others to do the same.  Let’s make sure we flatten the curve!!!


Hugs and Stitches,

Cristy

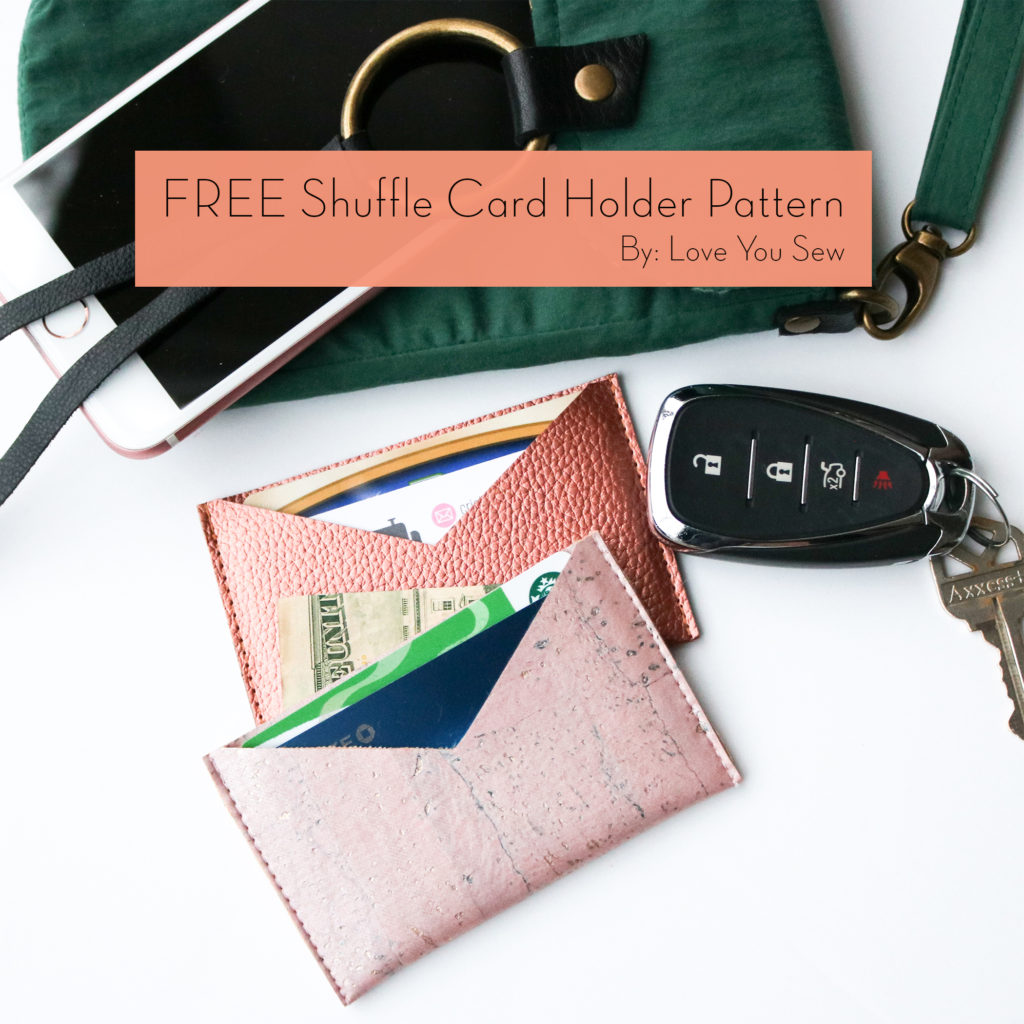
FREE Shuffle Card Holder Pattern

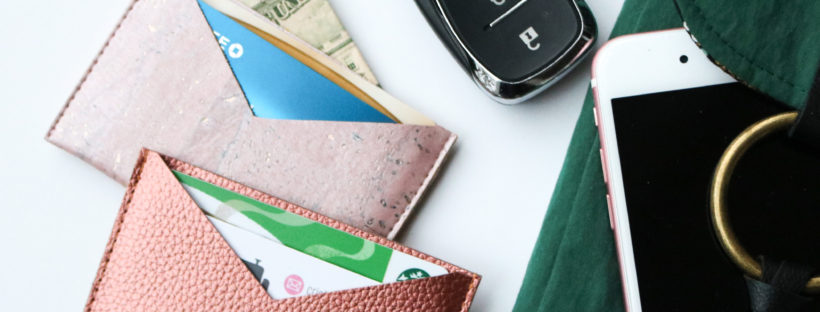
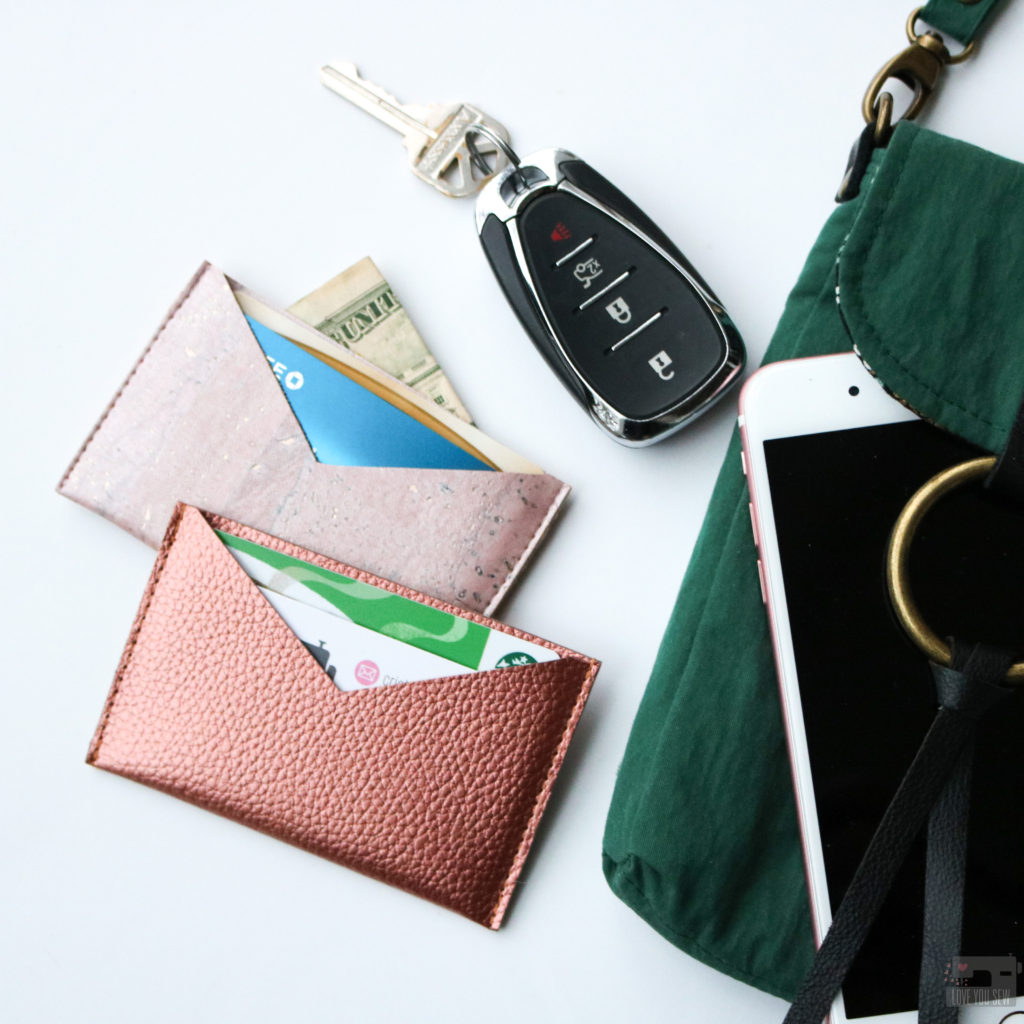
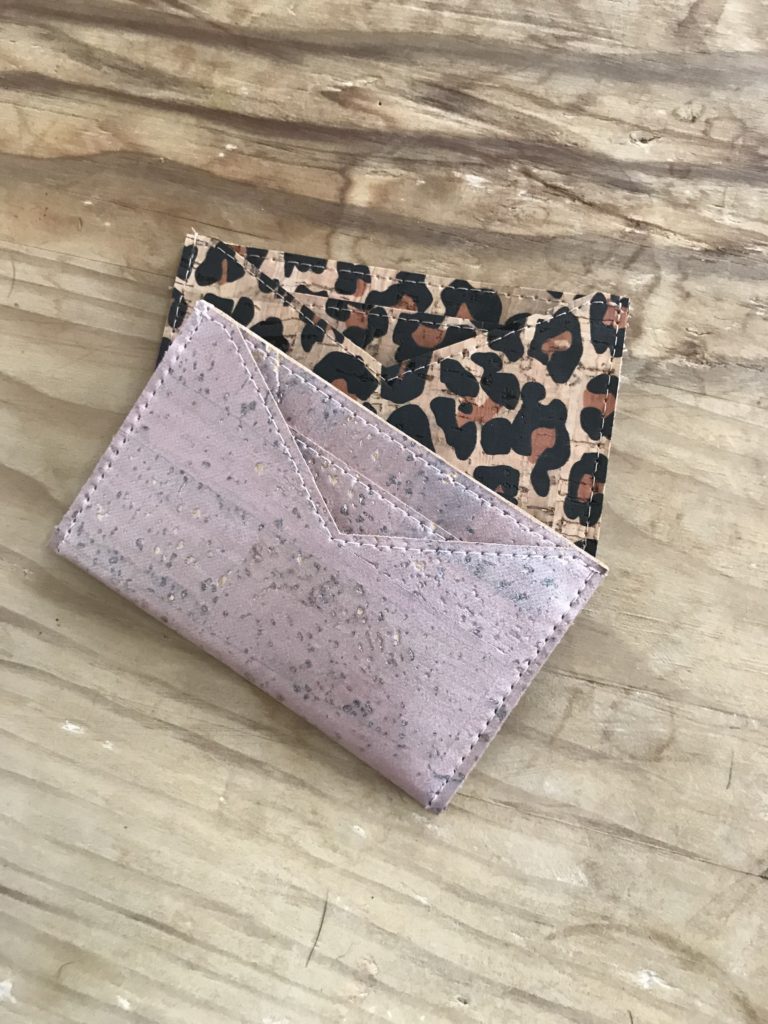
For my Newsletter subscribers, the Shuffle Card Holder isn’t a new pattern to you.  But in light of our current Covid-19 shelter-in-place environment, I’d like to offer the Shuffle Card Holder pattern completely FREE without having to sign-up for anything.  This is a quick and easy project for raw-edge substrates and is a great stash-buster for all of the little bits of cork, leather, suede or vinyl you may have lying around.  If you have ever wanted to learn how to sew on these substrates, now is the time!  A small project like the Shuffle will make things bite-sized and manageable too.

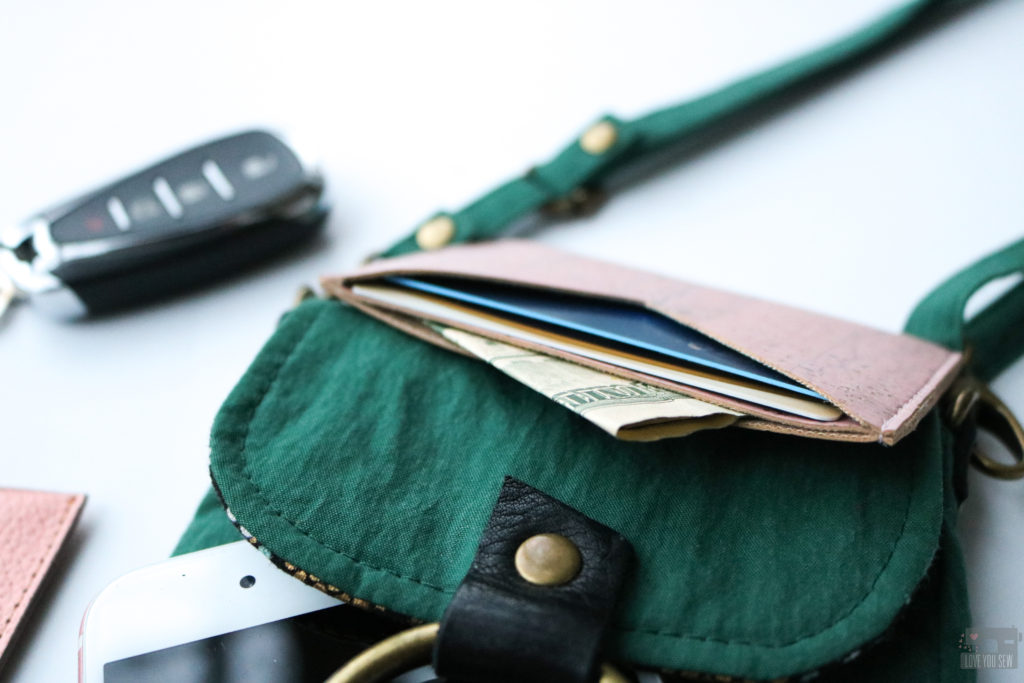
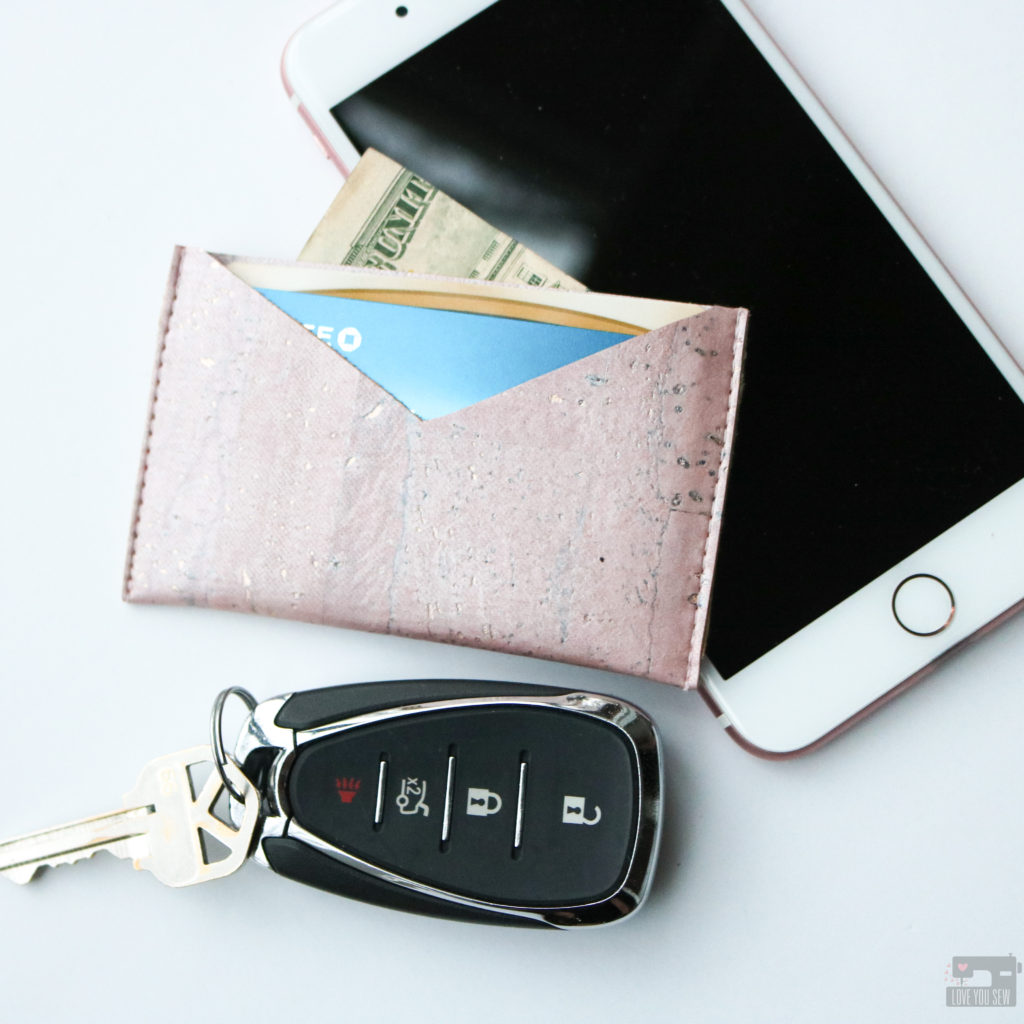
The Shuffle Card Holder is designed with 3 pockets.  There are two in the front — perfect for an ID and debit card.  But there is also a third pocket which is hidden and a great spot for a little stash of cash and even a key!  The front and back are made from a single folded piece of fabric with all sides left raw.

For a more polished look, you can take the extra minute to add some top-stitching at all of the pocket openings.  It adds a nice finishing to make the card holder extra special.

TIP:  Use a Walking Foot for nice even stitches, especially on vinyl or cork where a regular presser foot could stick.

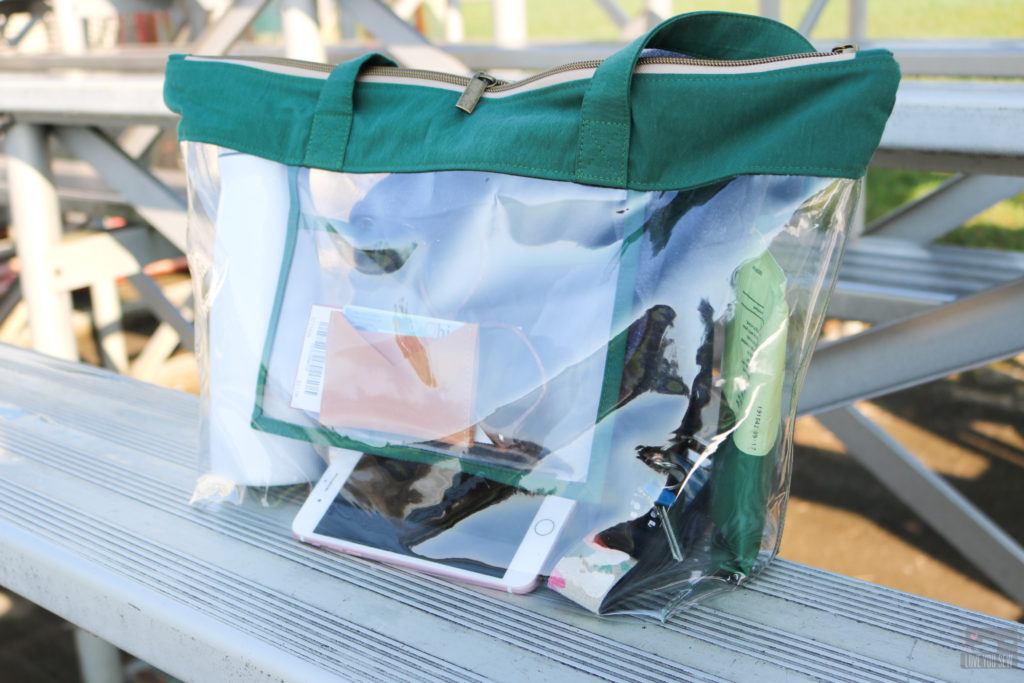
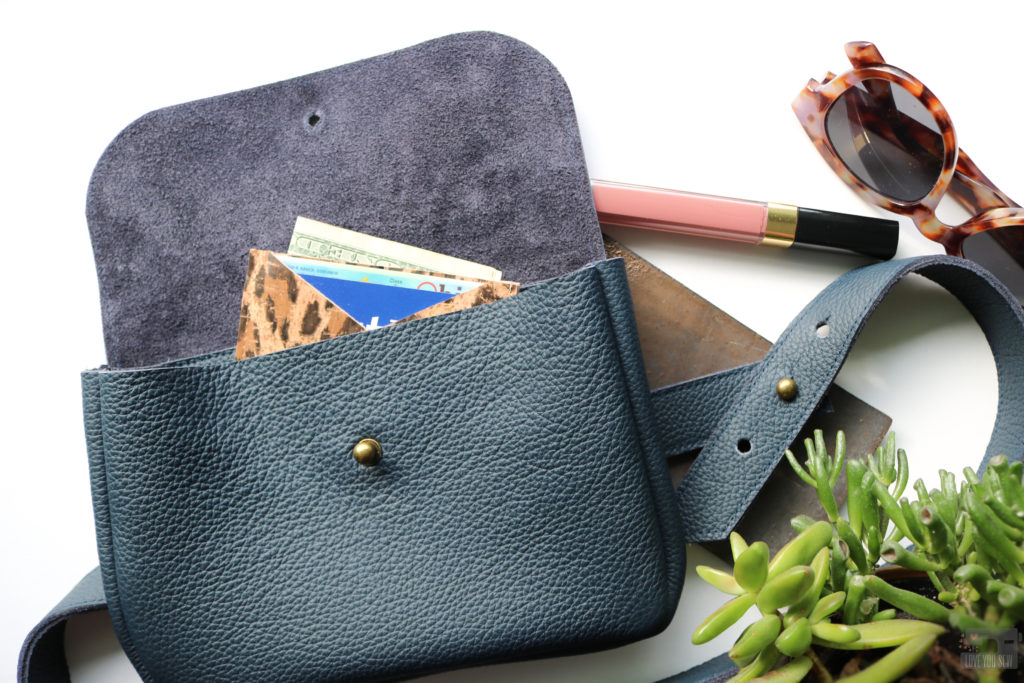
I love using the Shuffle Card Holder when I’m switching between purses and especially when moving into a smaller bag.  It goes perfectly with the Emma Stadium Bag to keep my money hidden at public sporting events and I also love using it with the Kelly Waist Bag to keep things as light as possible.

Emma Stadium Bag by Love You Sew

As we spend more time walking and taking bike rides, the cardholder is perfect for just slipping into your back pocket or in a bike pouch.

Kelly Waist Bag and Clutch

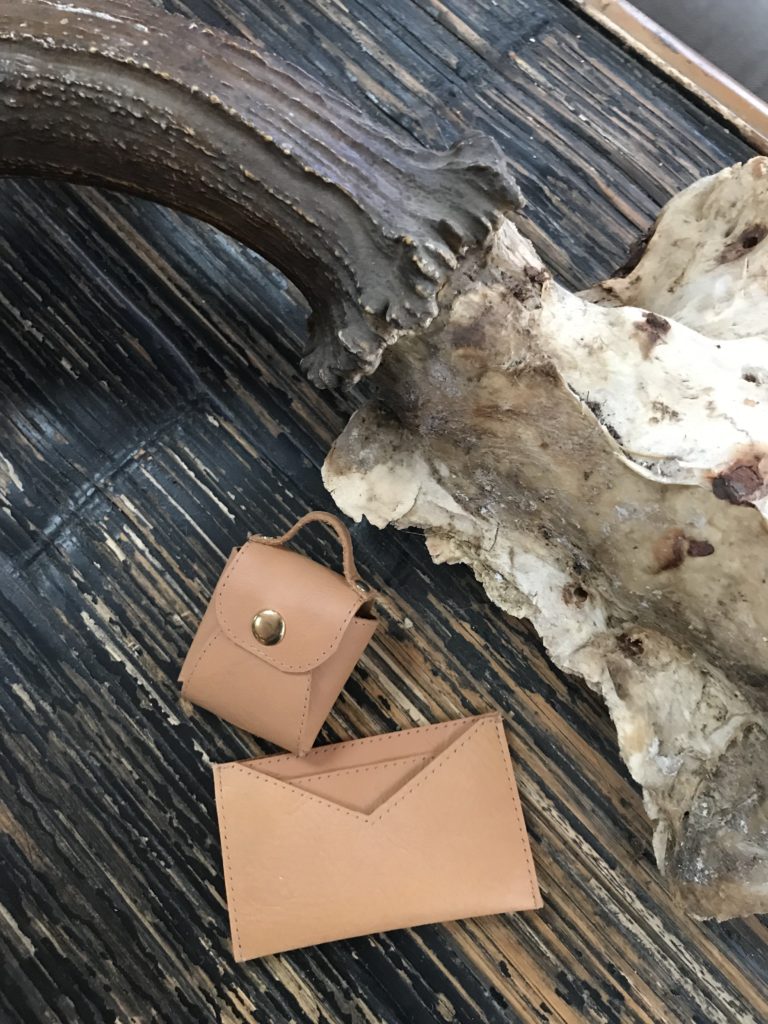
This is also a great way to present a gift card – especially to those who are working essential jobs or just a way to let someone know you are thinking about them at this time.  You can even pair it up with The Tiny Sophia Bag for a complete on-the-go gift set!

||    Click HERE for the FREE Shuffle Card Holder pattern!    ||


Project Details:


Hugs and Stitches,

Cristy


This post may contain affiliate links.  Please visit my Disclosures page for info.

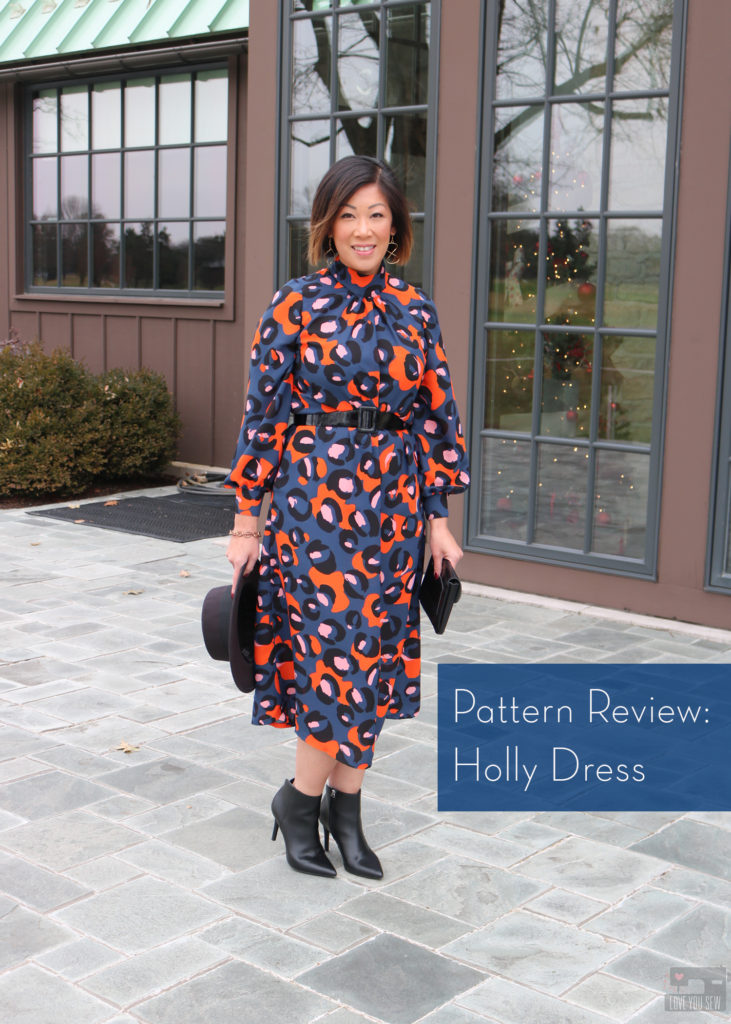
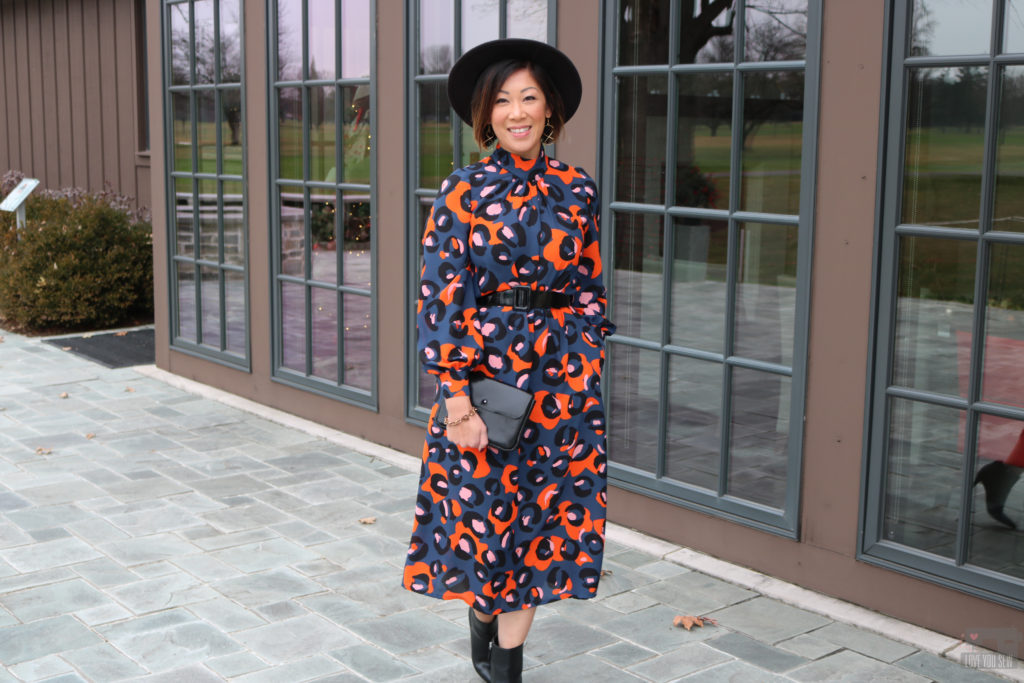
Pattern Review || Fibre Mood Holly Dress

Things got pretty busy around the holidays, so it’s about time I get back to the blog.  I can’t believe it’s March already and I’m just getting around to reviewing the Fibre Mood Holly Dress I made back in November!  We are in the midst of Covid-19 self-quarantine and blogging a bit is helping me deal with the current environment along with feeling some kind of accomplishment for the day.  I hope this post brings some distraction to all of you at this unbelievable time in our world.

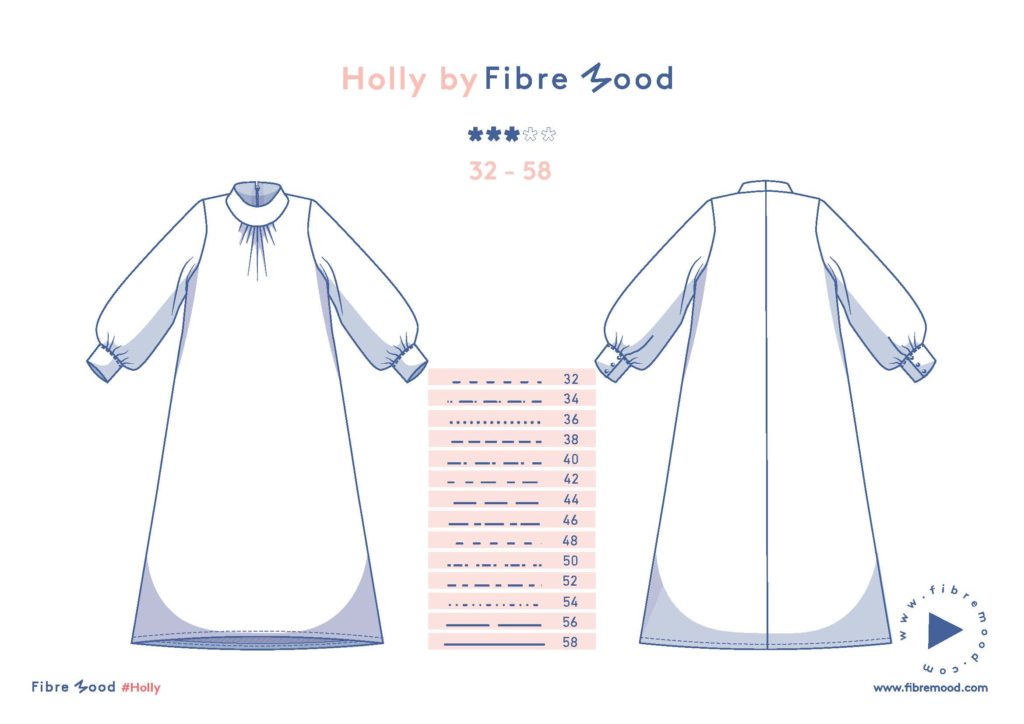
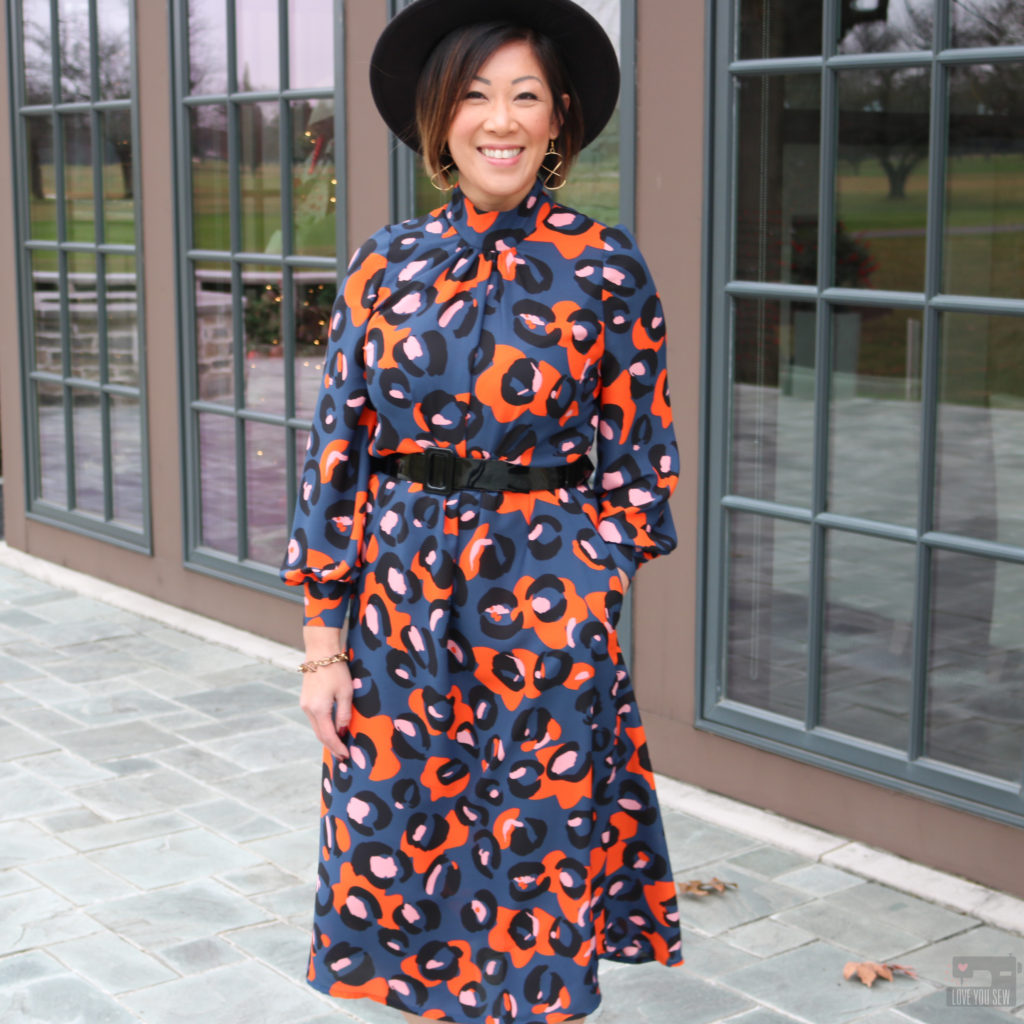
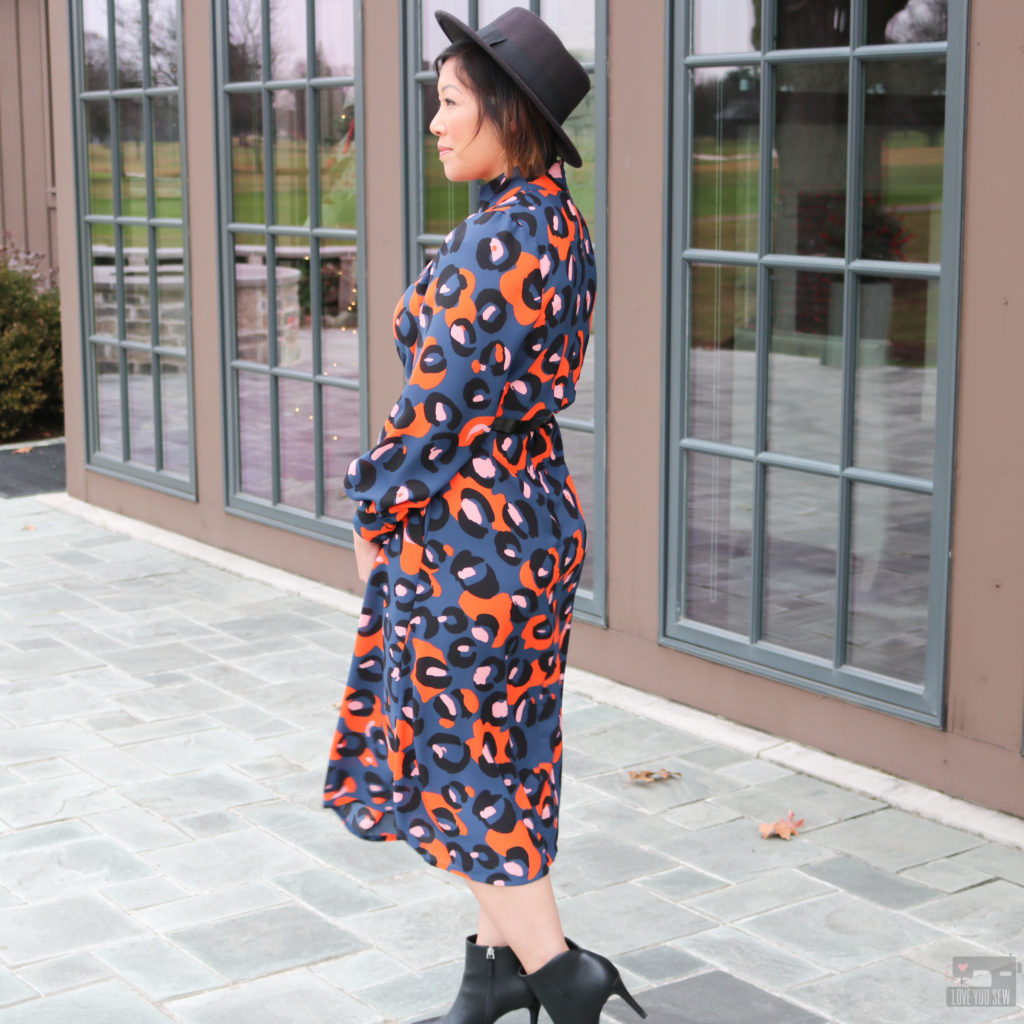
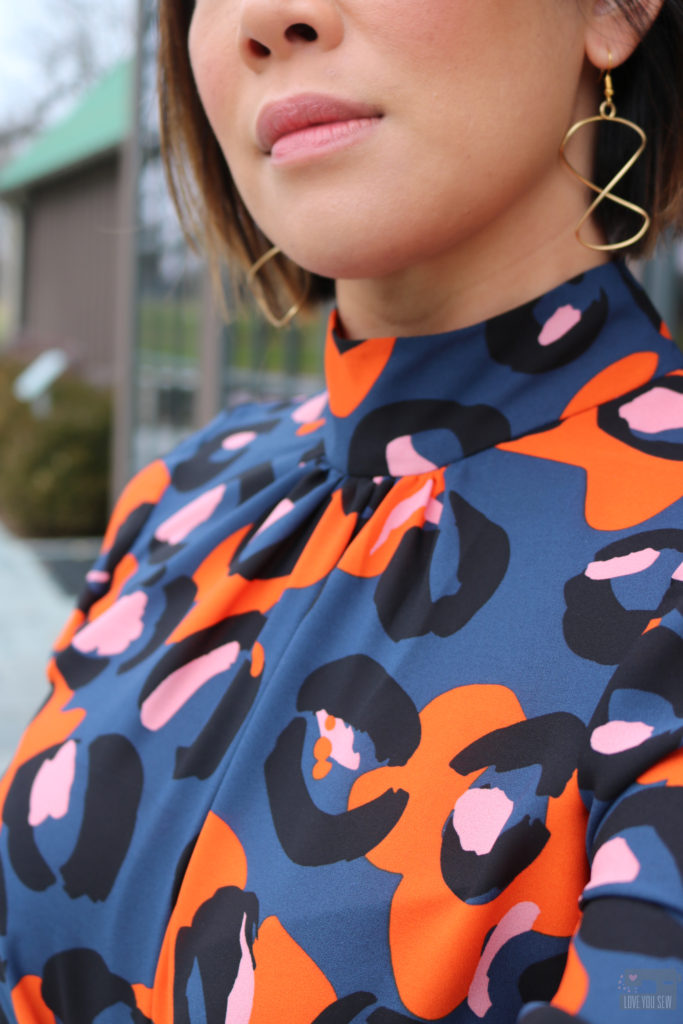
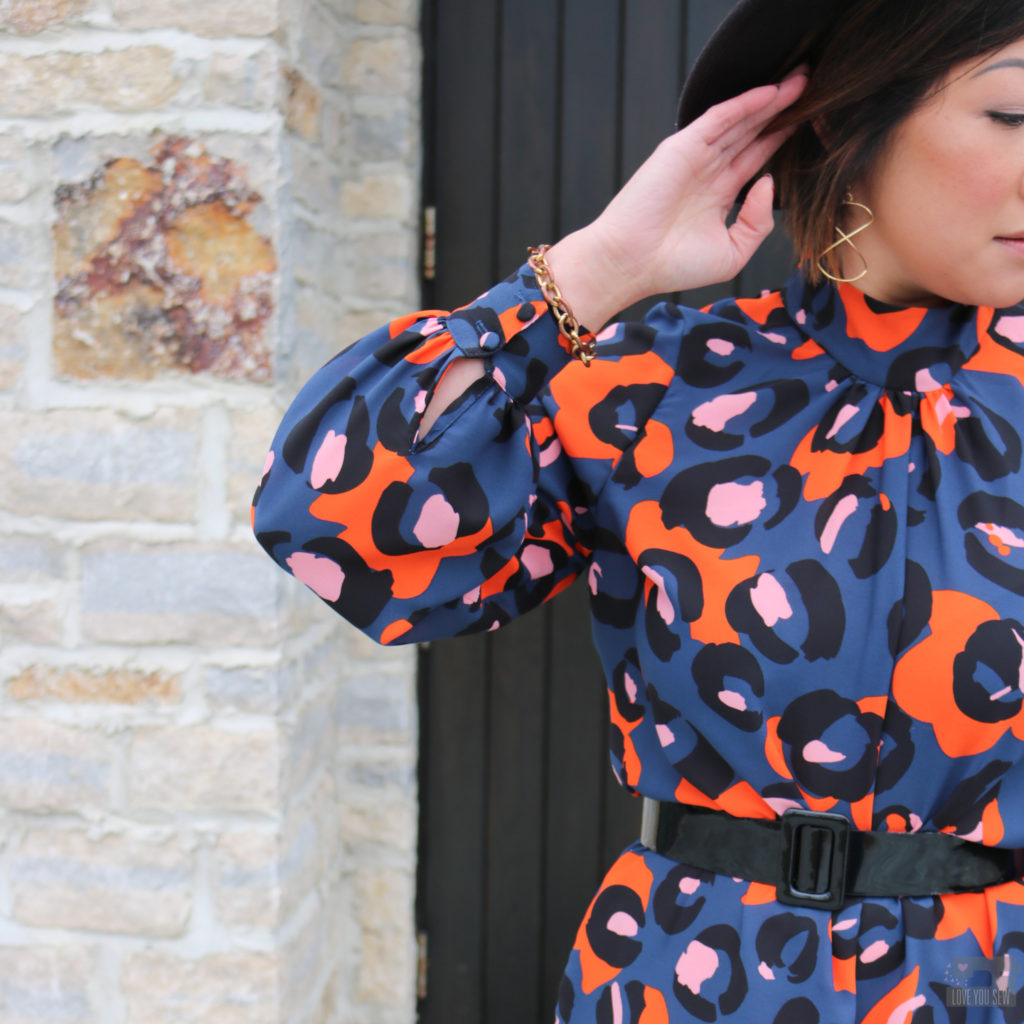
With the 2019 fashion trends bringing “prairie” style along with bold statement sleeves, I was on the hunt for a pattern that was still modern and not full “Laura Ingalls Wilder.”  Then I happen to see a version of the Fibre Mood Holly Dress on Instagram and knew it was for me!  I loved the clean high collar, full sleeves with button placket and the perfect midi length!

Pattern

I had never made a Fibre Mood pattern before.  The company is a European based sewing magazine (available in several different languages) which also sells their digital patterns a la cart here.  When I purchased this pattern in November of 2019, there are a few things to note about the pattern:

  • It  was available only in A4 paper sizing
  • You had to add in your own seam allowances (SA)….to every single pattern piece.  Yikes!  I’m not used to doing that, since I’m accustomed to US patterns which includes the SA already.  But, I still wanted to make the dress badly and was willing to take the extra time
  • Since purchasing this pattern, Fibre Mood has started to add SA to their new pattern launches and has made their digital patterns available in US Letter and AO (copy shop) formats.  This pertains to only the new patterns being released in new magazines, but they might go back to old patterns.  I’m crossing my fingers!

The nice thing about a pattern without SA, is that you can tissue-fit it without having to do all of the math (subtracting the seam allowances) to your body.  The down-side is this process is VERY time intensive…even with the double pencil trick!

Fabric

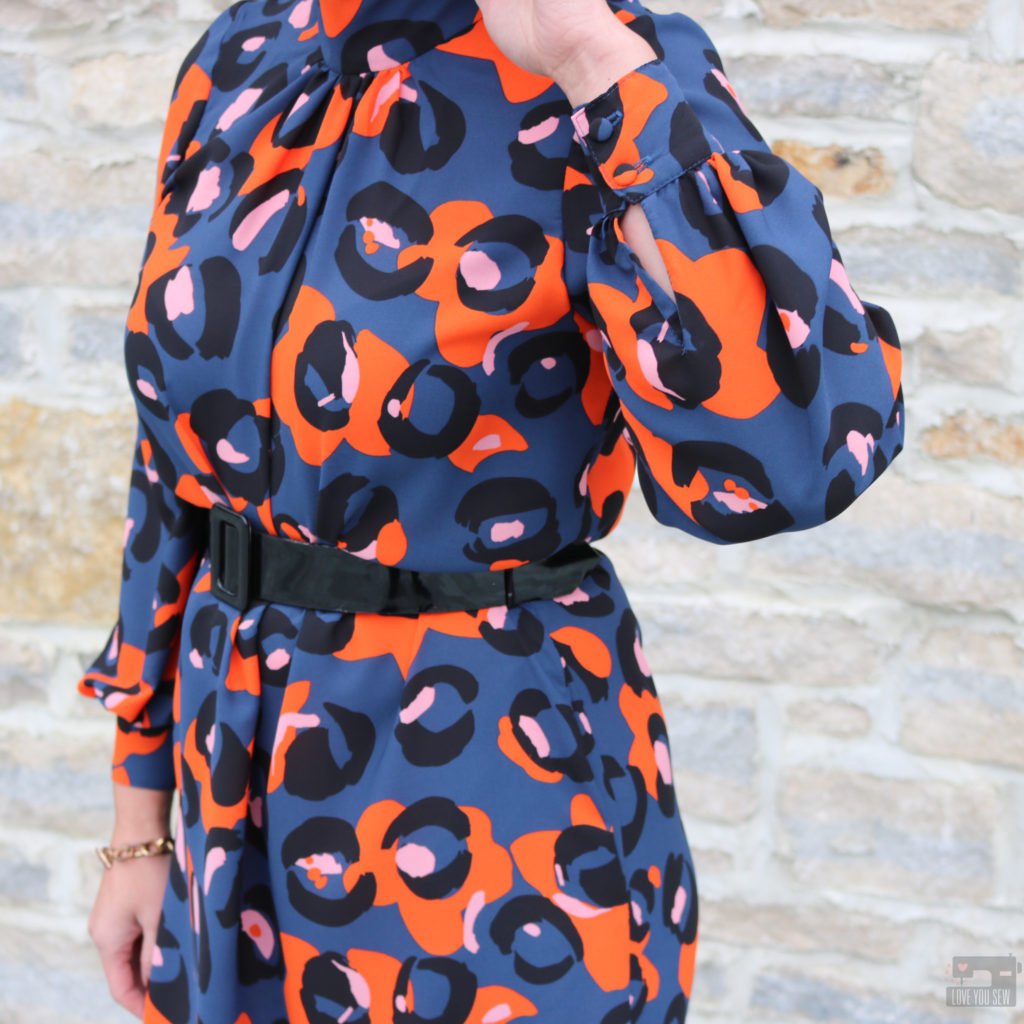
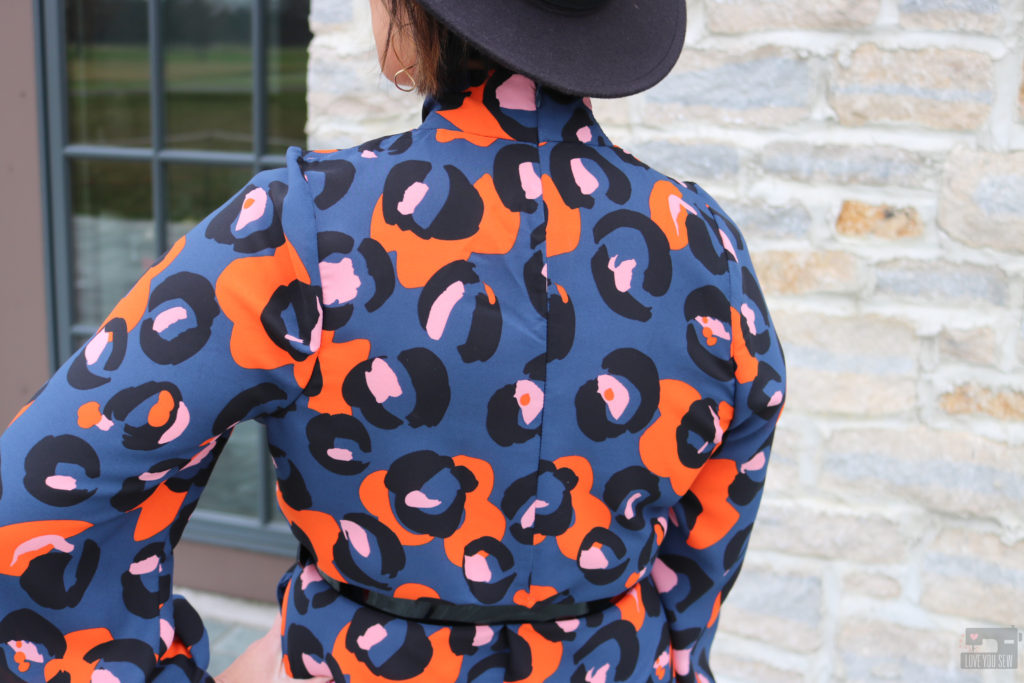
I fell in love with this Telio polyester crepe over the summer with leopard also making its resurgence as the hot print of the moment.  Since everyone and their mother is wearing animal print, I wanted to enjoy the trend but be a little different in this bold orange and blue combo.  I purchased a few yards with no plan in mind until I found the Holly Dress.  I paired this fabric with the pattern to really make the dress more modern to balance to the high neck and more traditional ballon sleeves.

The fabric is lightweight with fluid drape and needed to be cut with care due to it’s shiftiness.  I did not cut on the fold and opted to cut everything out as one layer of fabric.  This crepe is also semi-sheer so you would need a lining, but I opted to just wear a slip underneath the dress afterwards.

Construction

I measured between a 38 and a 40, but opted for the 40 since I needed the clearance over my hips.  Although I made a straight 40, next time I will widen the shoulder and possibly add a little length to the sleeve….which is surprising because I am 5’3″ and usually have to narrow the shoulders with American patterns.  Other modifications included:

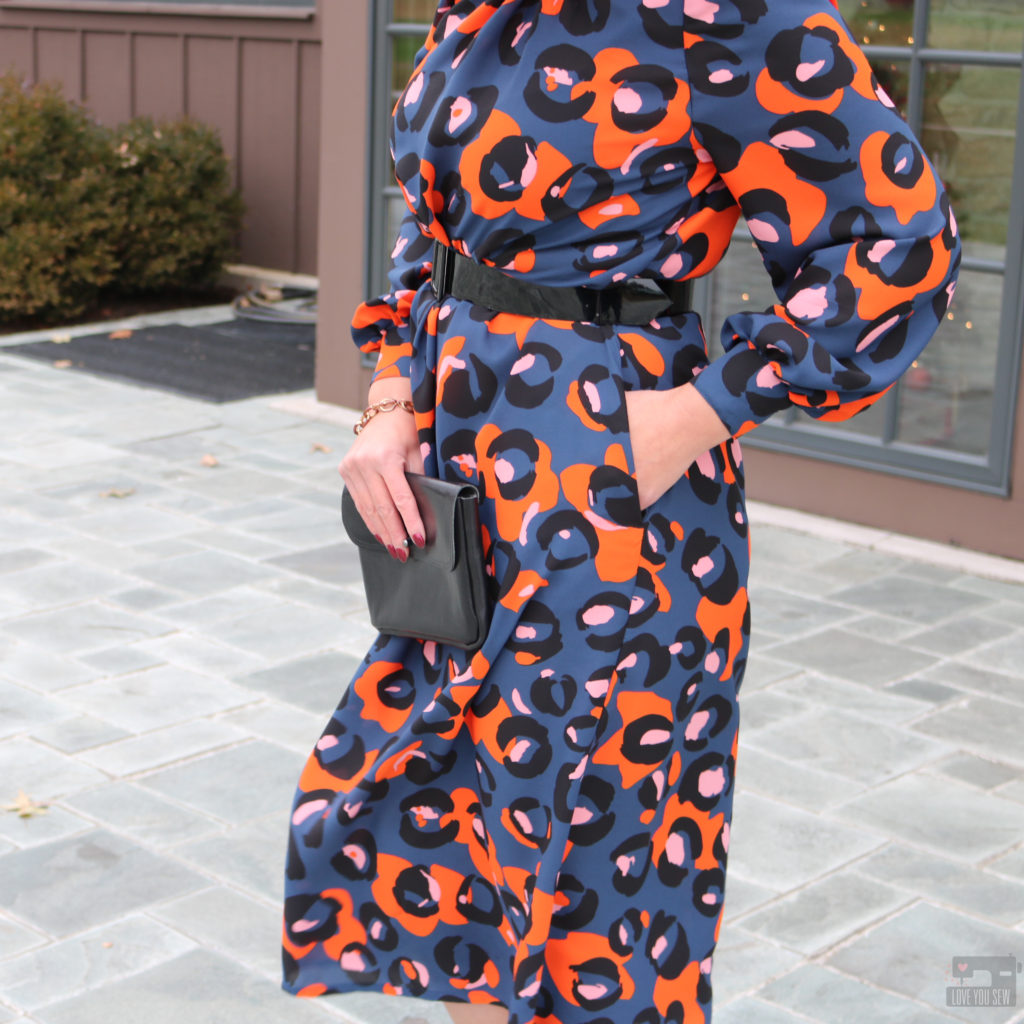
  • Omitted belt for a solid RTW one – I knew I wanted to tone down the pattern just a little bit to eventuate the waist and not be completely lost in the print.
  • Used basting stitches to help set in the sleeve (they were not part of the instructions.)
  • Swapped out the 24″ invisible zipper for a 16″ which I had on hand – There was still plenty of clearance to get the dress on and off

  • Hacked in pockets using the Derby Dress pattern pieces – This is my go-to pattern piece when I want in-seam pockets.

  • Narrowed the neckband by 1″ in total by taking out (2) 1/2″ wedges where the band meets the shoulder seams.

  • Made fabric covered buttons for an elevated look using a kit similar to this.

Final Thoughts

Overall, I really love this dress.  The fabric and pattern were a perfect pairing for my style and wardrobe needs.  I’ve worn it out for date nights with my husband and can’t wait to bring it into spring!  I would definitely make this pattern again, just with a slight widening of the shoulders and maybe a different length just for some variety.

What do you think about this dress style?  Are you into leopard print too?


Hugs and Stitches,

Cristy


This post may contain affiliates links.  You can read my full disclosure here.  I bought the fabric and pattern on my own.  But after making this garment, have since become a member of the Fibre Mood ambassador team.

Introducing The Tiny Sophia Bag

We are in the thick of the holiday season and I thought I did some pretty good seasonal planning.  I made gifts for my nieces and nephew early since I went to visit them in November and even got my fancy holiday dress finished by my husband’s birthday a few weeks ago.  But then I shared my Tiny Sophia Bag with all of you on Instagram and my feed (DMs too!) filled up with requests for this pattern.  You caught me in a moment of weakness because I said, “Sure, why not?!  This is probably the time when you would like this pattern the most!”  So why not add another “thing” to the list…famous last words. Lol!

You can purchase the Tiny Sophia Bag here.

If you have been following my stories on IG, I shared these itty bitty purses by Jaquemus which I’ve been seeing all over the fashion reports.  Although completely useless as an actual purse (and WAY too expensive *eyeroll*) I still wanted one…but of course, in my own DIY way!  Spoiler alert – my way is MUCH more cost effective.

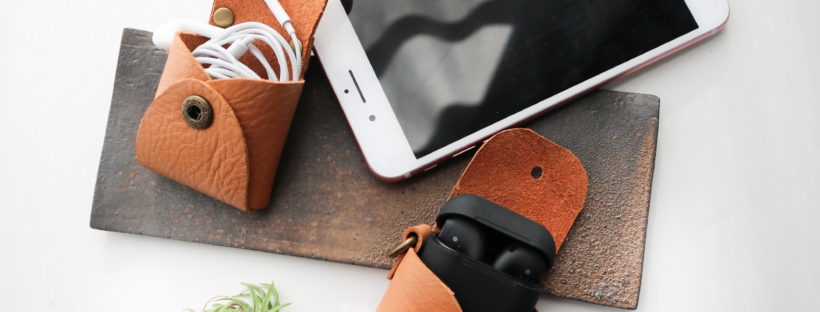
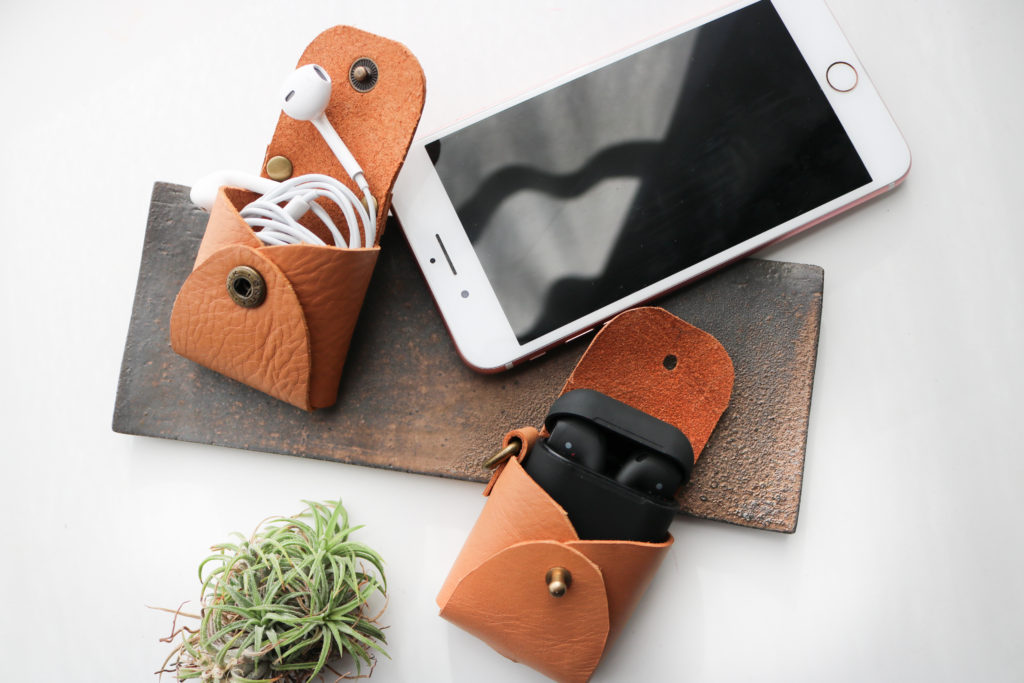
Over the summer, I toyed around with some paper templates to make a tiny bag for fun, but nothing really came out of it.  Then a visit back east to see my family made me really notice the wireless ear pods my brother was wearing.  Shortly after that, Lizzo came out on the red carpet with a tiny Valentino bag!  Combine these events and it made me wonder if the pods had a carrying case…aaaand if that case could also be a purse!

Namesake

As I was developing this pattern and making all of the prototypes, I knew this bag would be named after my niece, Sophia.  (All of my bag patterns are named after one of my nieces.)  Miss Sophia is a petite lil’ lady and the absolute CUTEST…just like this bag!  She is always game for a little fun and adventure, which makes her a great travel companion.  Since her dad was also part of the inspiration, it’s only fitting that this bag is named after her.

View B

Features

I know there are a ton of aftermarket pod cases out there and I thought a leather one would be chic and beautiful.  After a few hours (with my husband and boys at basketball practice,) I was able to draft a headphone case AND a bag by switching up the options.  This is no-sew pattern with two different views and the features can certainly be mixed and matched!

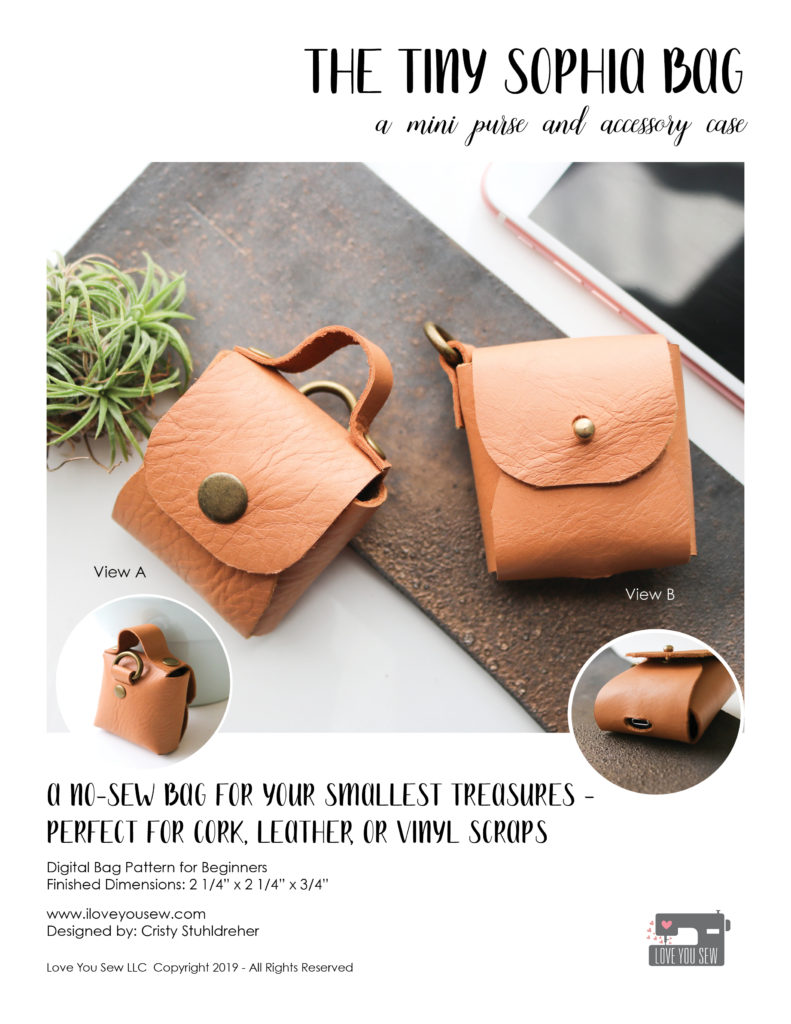
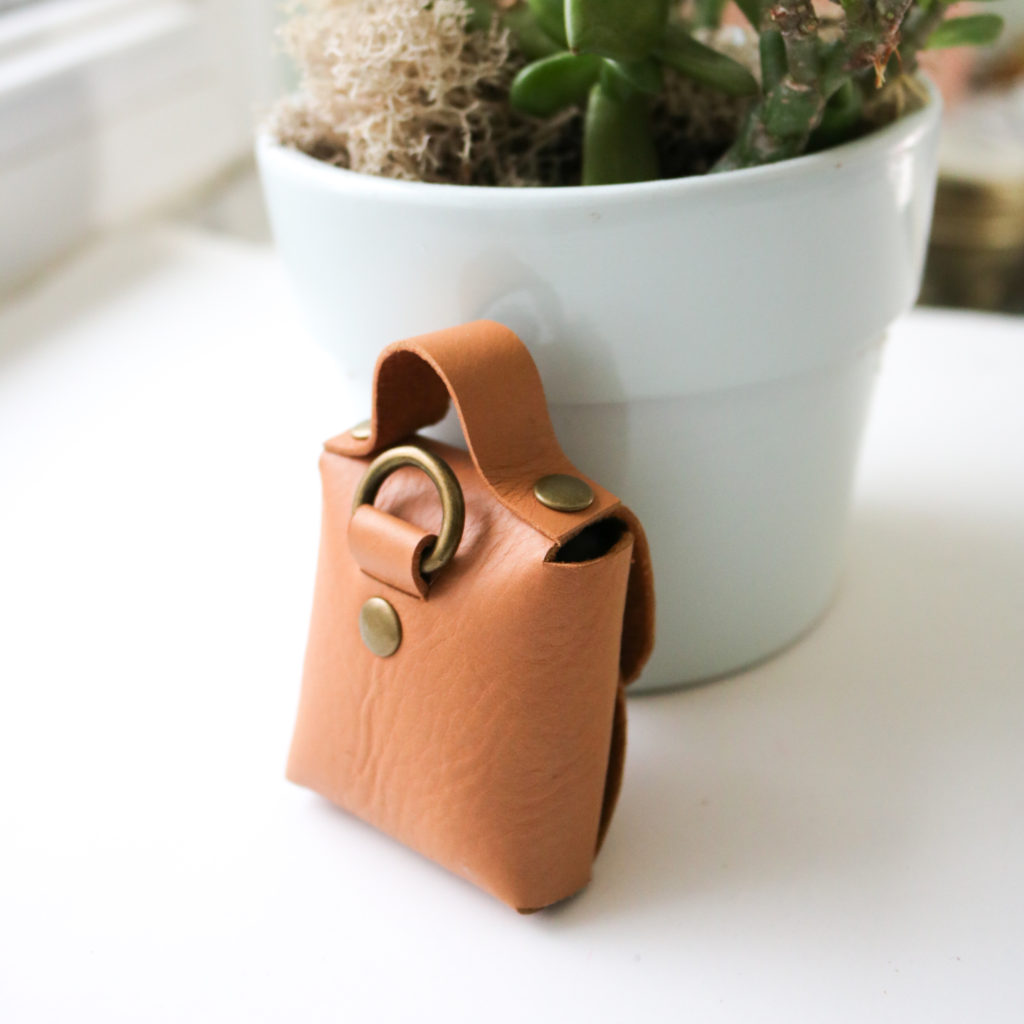
  • View A  “Mini Purse” – This has a strap on the top flap with a D-ring on the back and a snap closure.
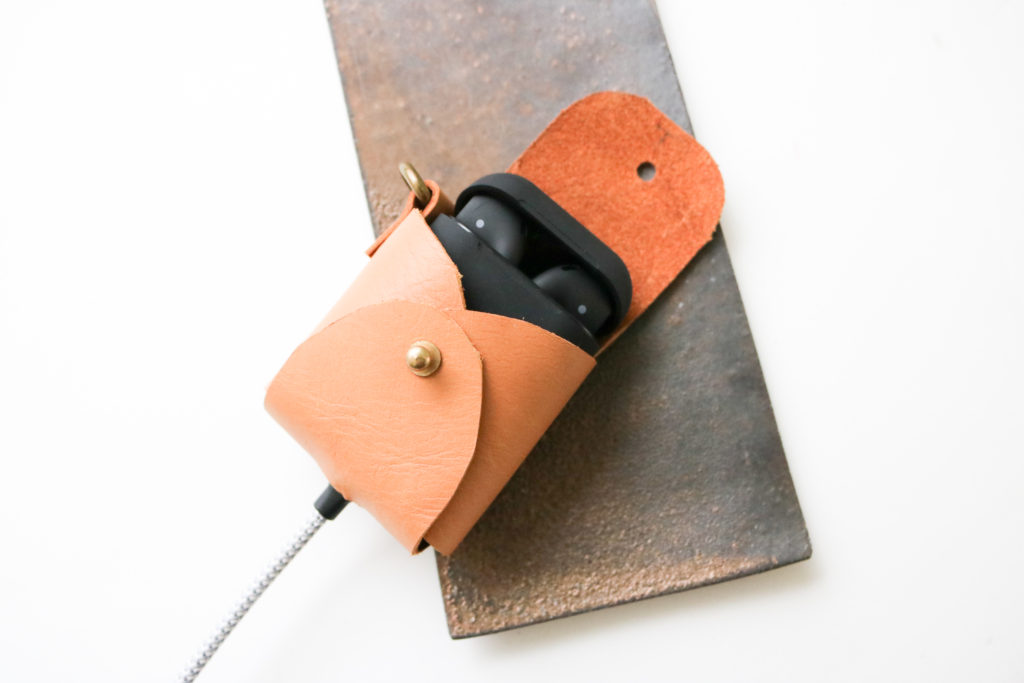
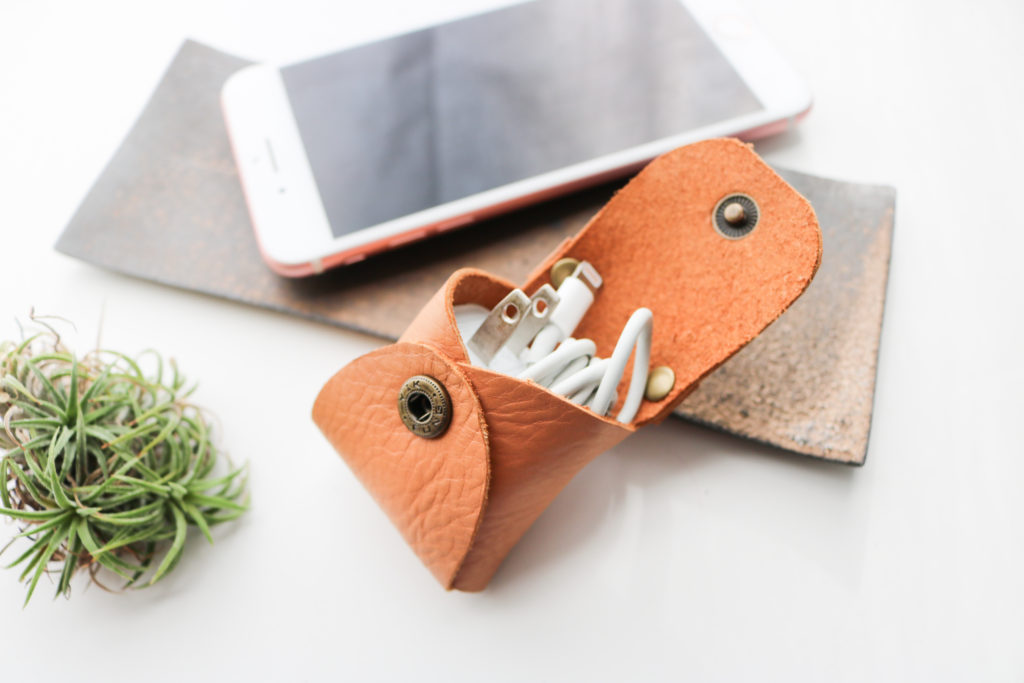
  • View B “Accessory Case” – This has a bottom slot opening for a charger and the D-ring is set on the side.  A button stud is used as the closure.

View A

Hardware

The Tiny Sophia Bag requires rivet and snap or button stud installation.  This is assumed in the pattern (and I promise I will add more posts about how I install.)  I want to let you know my favorite suppliers:

  • Rivets:  For a long time, I set these just using just a hammer and anvil.  You can find these tools  in my shop, here.  Emmaline Bags carries a wide variety of sixes in different finishes. (Pictured above are the “small” rivets in Antique brass.)
  • Snaps: I’m a big fan of double-cap spring snaps from Gold Star Tool.  These are the same ones I used for my Kelly Anorak which you can find here. (On the cover photo, I have a size 20 ligne brass snap.)
  • Button Studs (screw on): These are THE best, since there are no special setting tools needed…just a screwdriver.  I grab most of mine from Amazon and I like the Tandy ones (when I’m in a pinch for timing since there is a store nearby.)  I think the 6mm/7mm head ones are a good proportion for this small bag.  (The 8mm head studs are used in my Kelly Waist Bag pattern)

New SVG Files

A big addition to this pattern release is the inclusion of SVG (scalable vector graphic) files which you can use with most electronic cutting machines.  I’ve always imported images and traced my own files, but have never created ones from Illustrator before.  So, I was pleasantly surprised to see how this pattern cut on my machine!  I have an old Silhouette Cameo with a straight knife and the cork cut so well on setting #7.  It did not like leather though…I’m hoping the rotary blades do much better.  There are three files for the different views and an extra one to combine all of the features together.  Please let me know what you think about this new feature!

Cutting by Hand

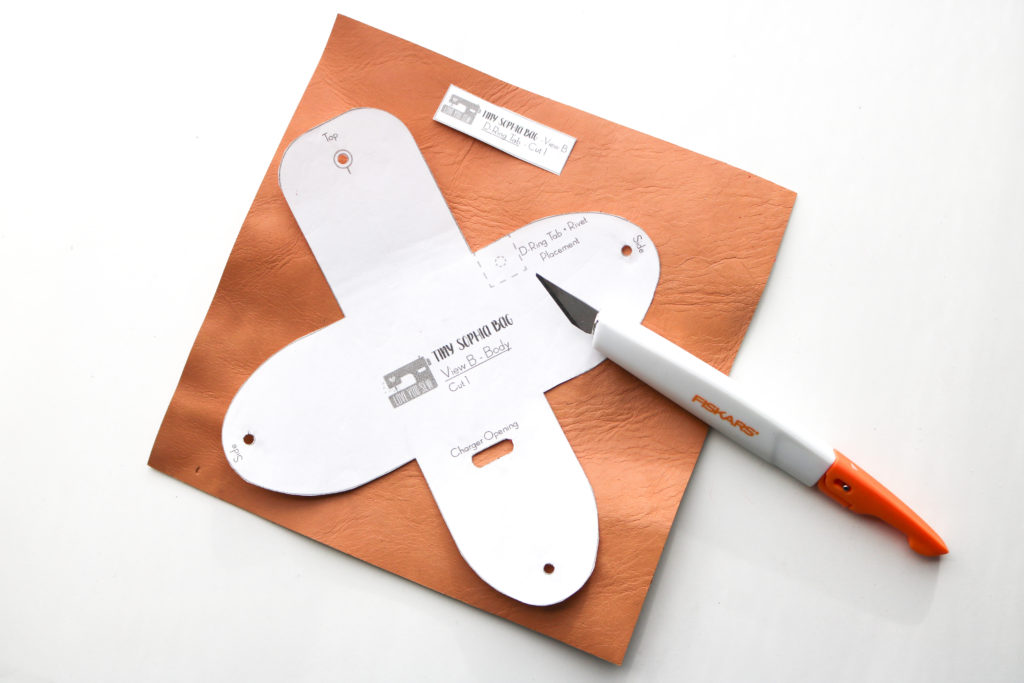
For those who don’t have a cutting machine, please know that I made all of these Tiny Sophia Bags by hand.  After making lots of leather bags and over a dozen of these minis, here are a few tips and tricks that will help you though.

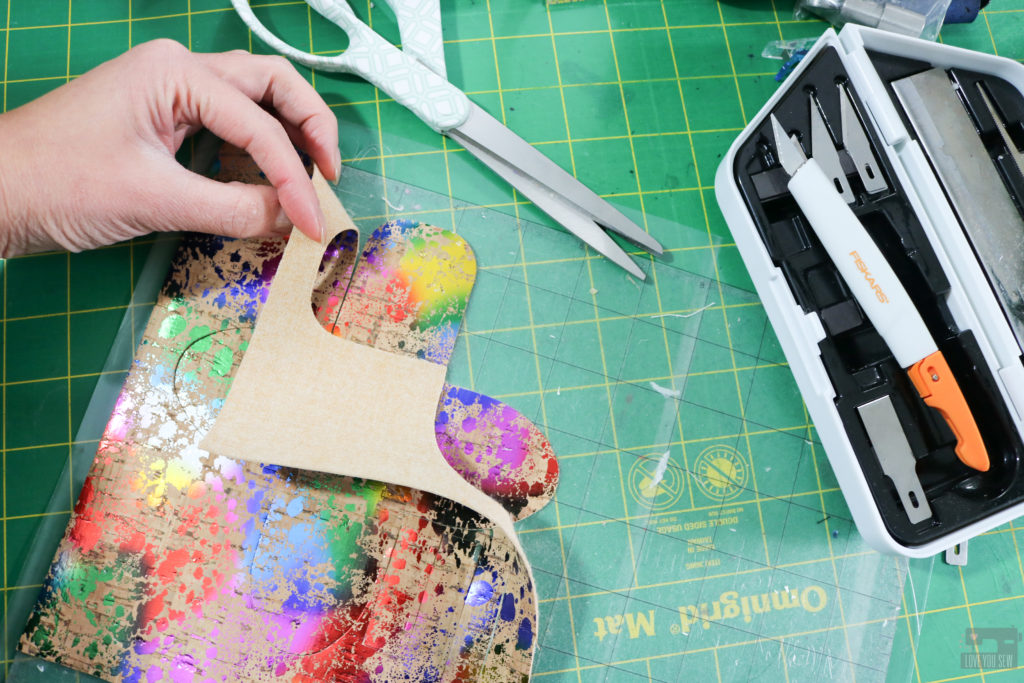
  • I LOVE this heavy duty multi-blade craft knife set by Fiskars.  The different blades are great depending on the type of cut you need to make…my fave is the 1/2″ straight edge one.
  • The pattern essentially looks like a cross, so the edges are right angles.  If you match up the sides with a ruler, you’ll have a smoother (and more accurate) cut.
  • Use a metal ruler with a craft knife for the straight edges.
  • For thicker leather/suede, you might want to use a box cutter for a stronger blade and press down on the ruler so it doesn’t drag.
  • Speaking of blades, remember to use a new one that’s nice and sharp for clean cuts.
  • With the curves, try to find household objects like bowls that match to balance your knife against.
  • For the back D-Ring opening, one of my testers said a button-hole cutter like this one is great for cutting the edges.

Customize

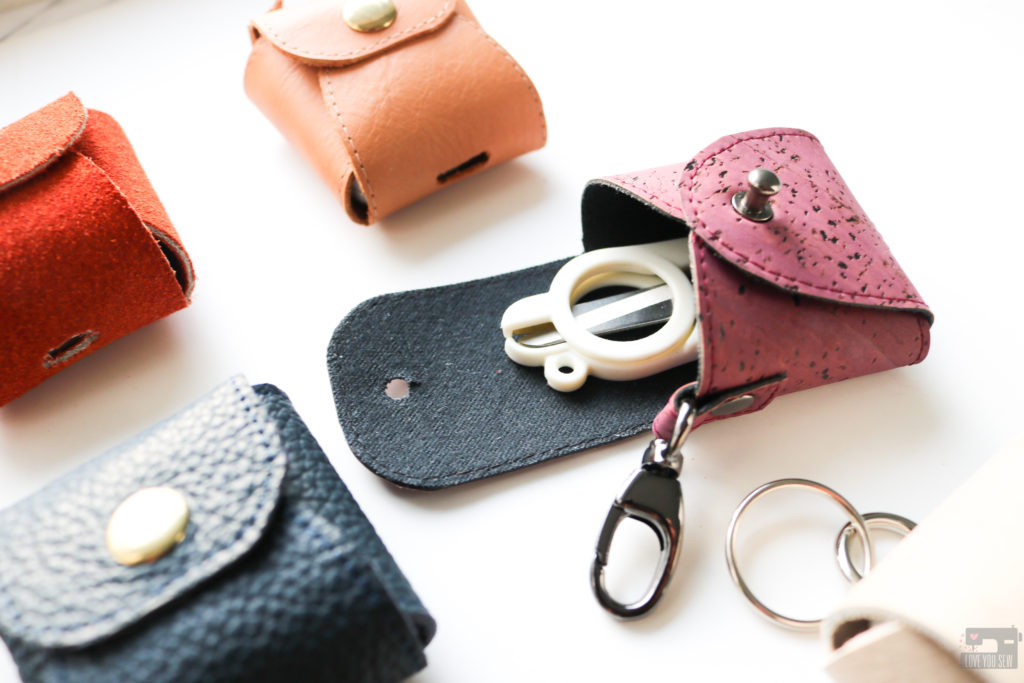
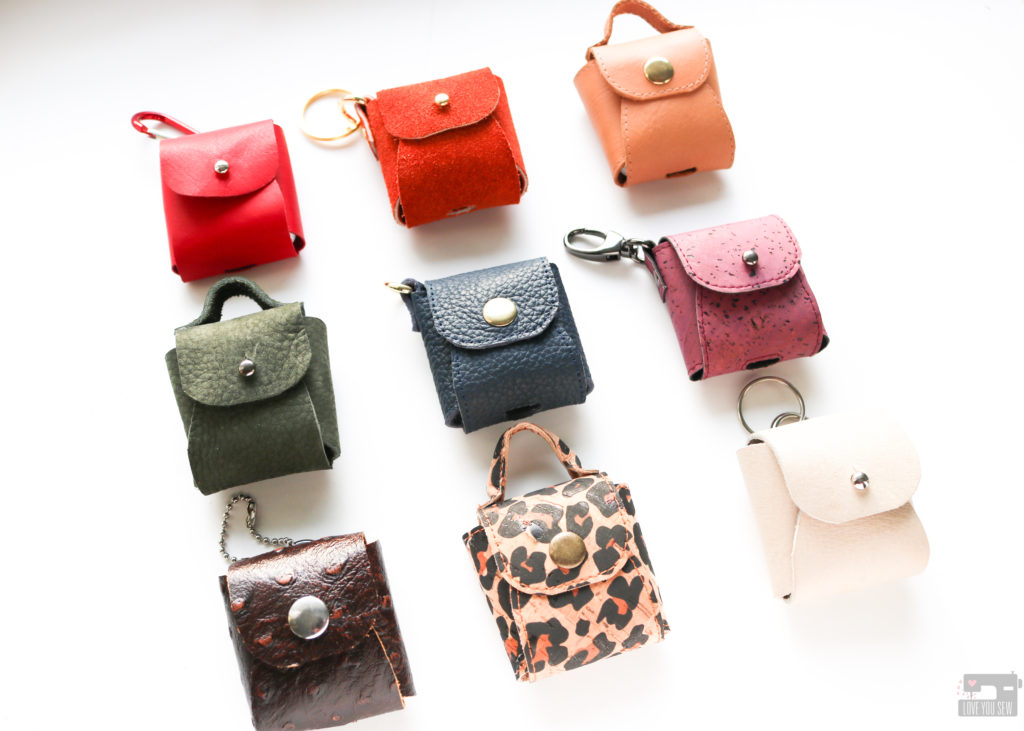
There are so many different ways to customize your Tiny Sophia Bag.  Luckily, I have a nice stash of leather scraps from thrifting and from friends.  You can use leather, suede, faux leather, and even cork!  Based on the thickness of your substrate, you may have to adjust the position of the holes which is also covered in the the pattern 😉

Check out #TheTinySophiaBag on social media to see all of the different versions.  I like the extra stitching around the edges to make the bag look more polished (don’t forget to use that leather needle and teflon or walking foot!)  Many of my testers used decorative hardware too.  I can’t wait to see what you do!

If you are ready for the cutest little purse, you can grab the Tiny Sophia Bag pattern, here.  Use it to carry your trinkets, coins, and all the smartphone accessories.  One of my testers mad bags for her daughters’ dolls!  I’m adding one of these on my Christmas tree and will use it later to hang off my purse for my own headphones.

How would you use your Tiny Sophia Bag?


Happy Sewing!

Cristy


This post may contain affiliate links.  You can read about my Disclosure, here.

Colleen Tote Bag Gemology Tour

Gemology Blog Tour with the Colleen Tote

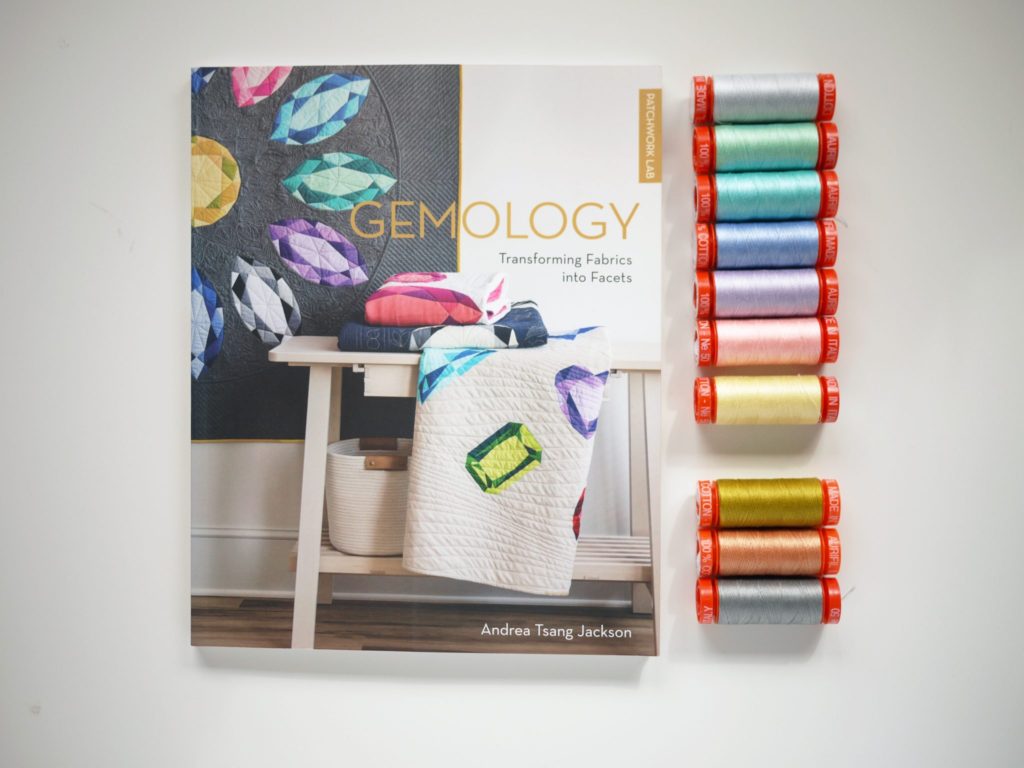
Today is my day on the Gemology Blog Tour supporting my friend, Andrea Tsang Jackson and her new quilting book, Patchwork Lab – Gemology. I had the absolute pleasure of meeting Andrea earlier this year at QuiltCon – Nashville after following her on Instagram with her amazing quilt art for so long.  We met over coffee and had SUCH a great conversation about building businesses in the fiber arts world and also being immigrants in North America.  Our stories are very similar and one of the reasons why I was thrilled when she asked me to be a part of this tour!!!
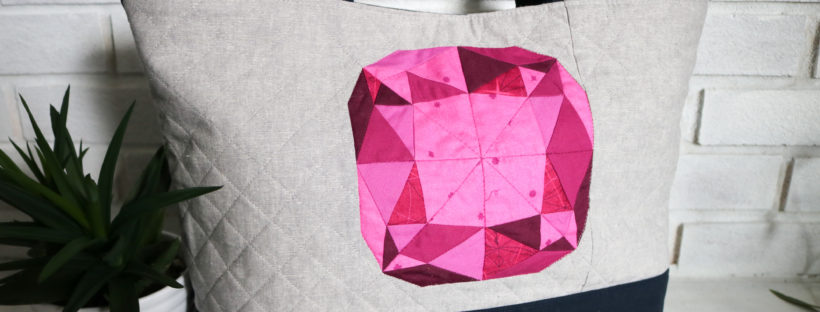
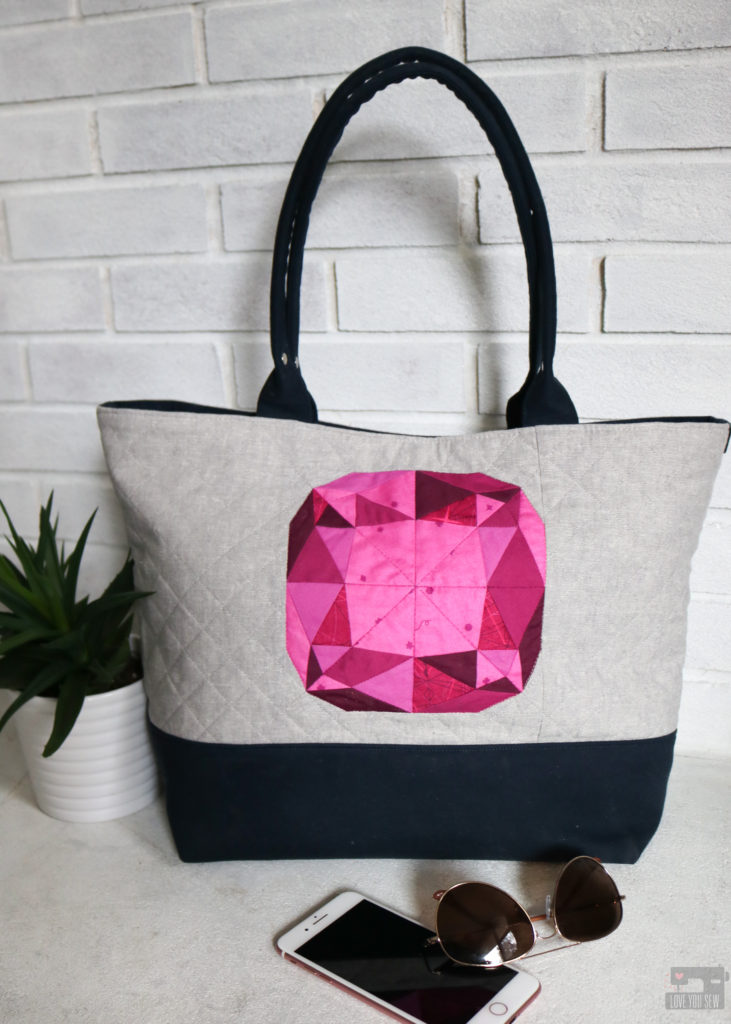
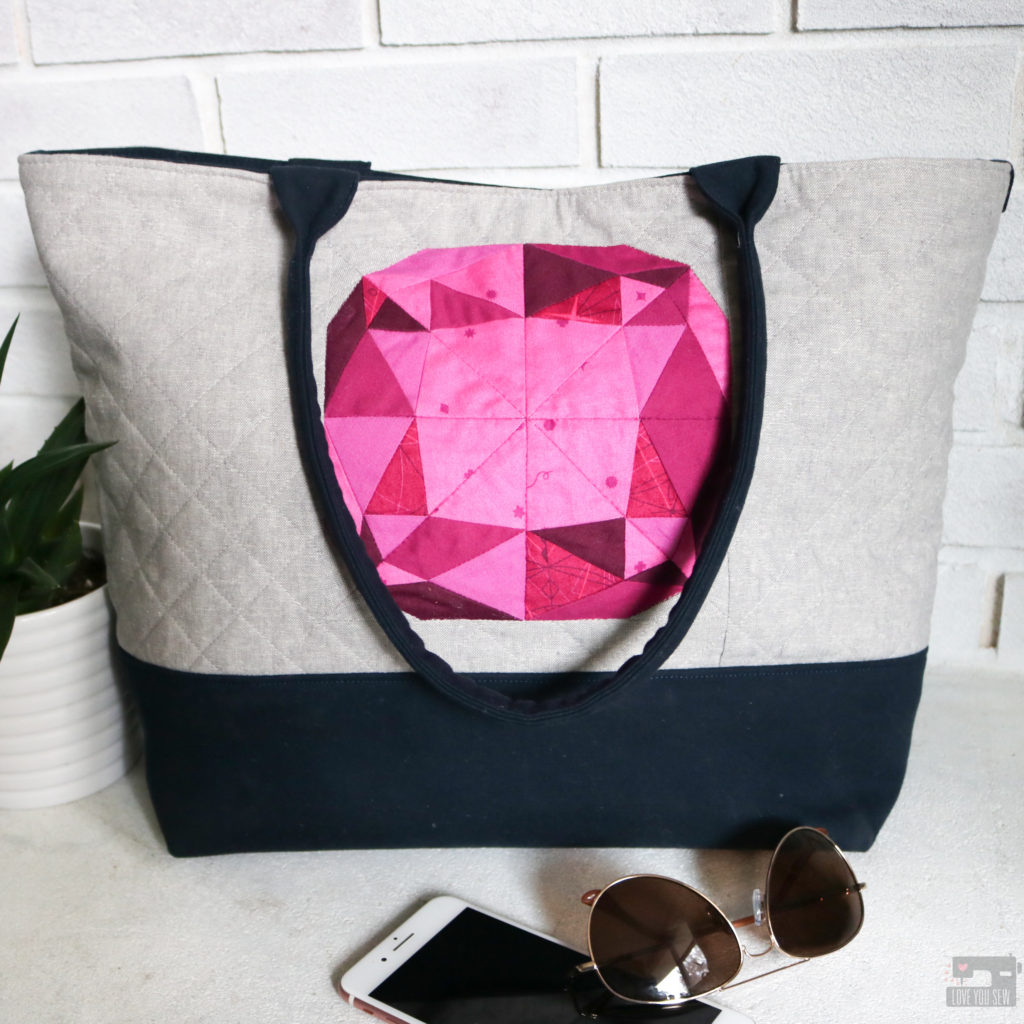
Colleen Tote Bag Gemology Tour

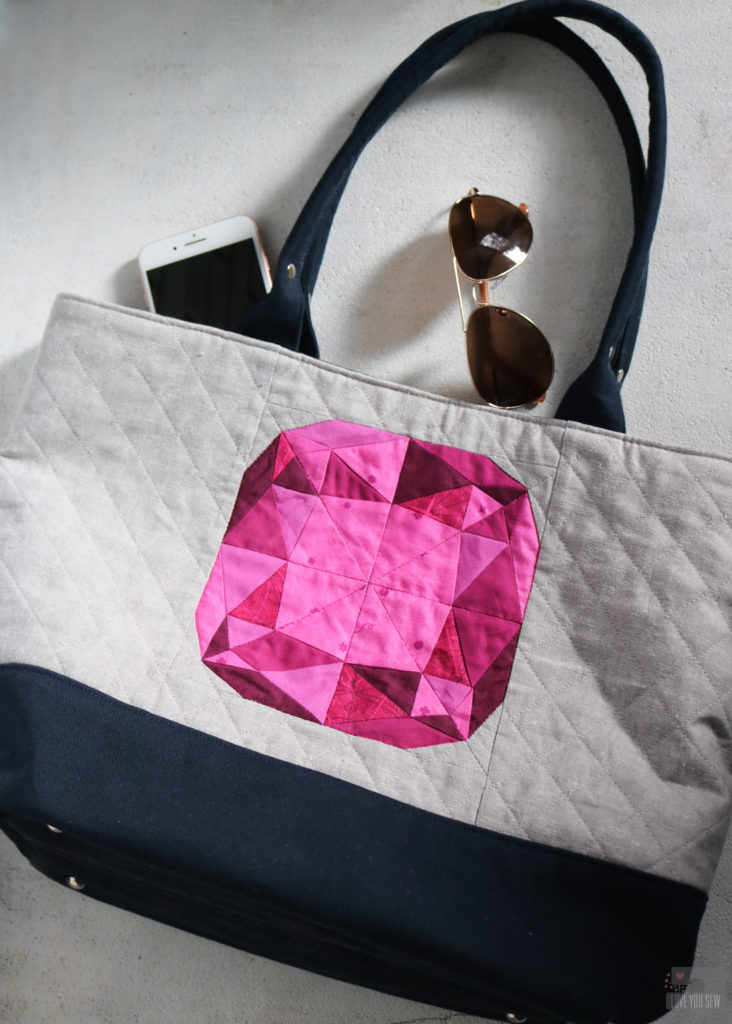
This new Patchwork Lab – Gemology book is absolutely beautiful and jam-packed with designs featuring nine different gem shapes which you can adjust into four different sizes ranging from a 6″ to a 24″ square block. There are additional instructions to make 5 quilts and a sweet little coin purse. The great thing about the book is that it is not just another quilting book. There is SO much additional information about how light hits the facets producing different colors and info about birthstones themselves.  It really gives you extra appreciation of the blocks as you construct them.
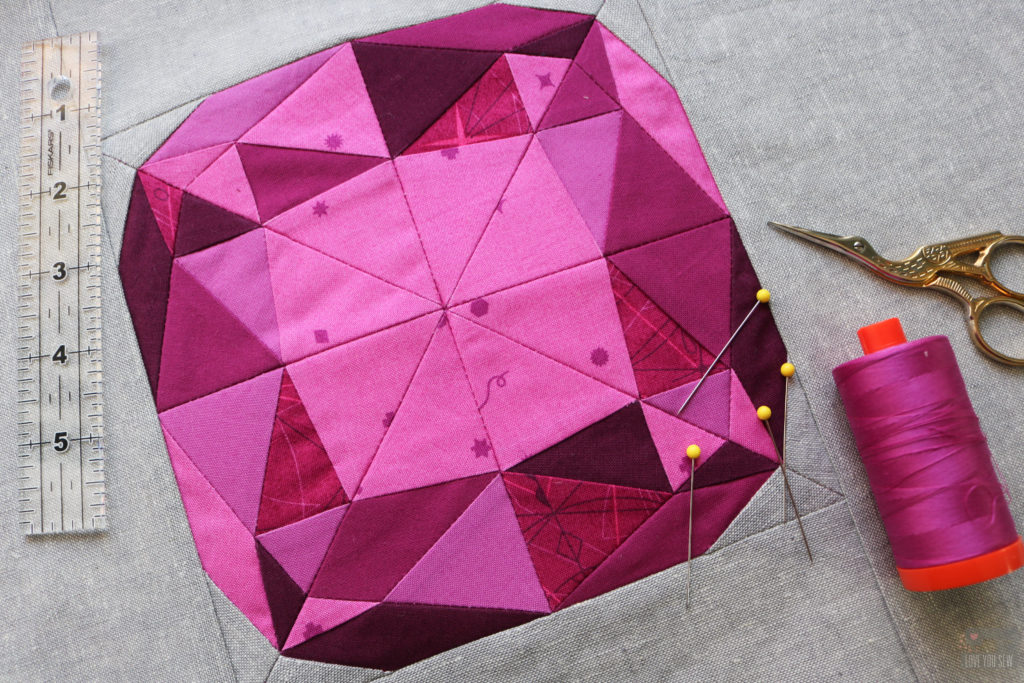
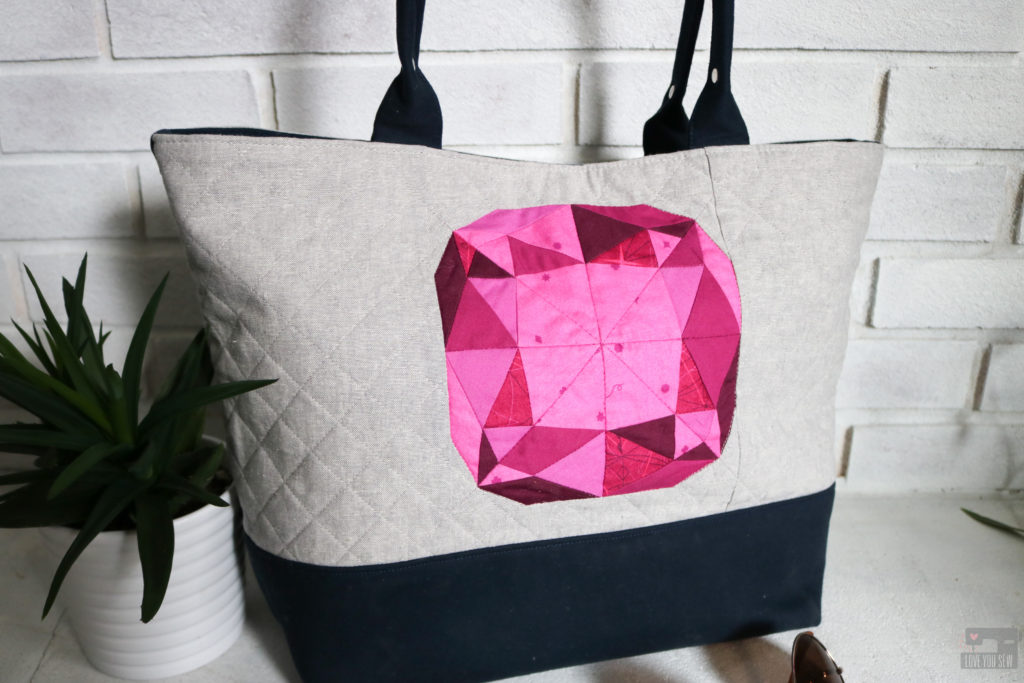
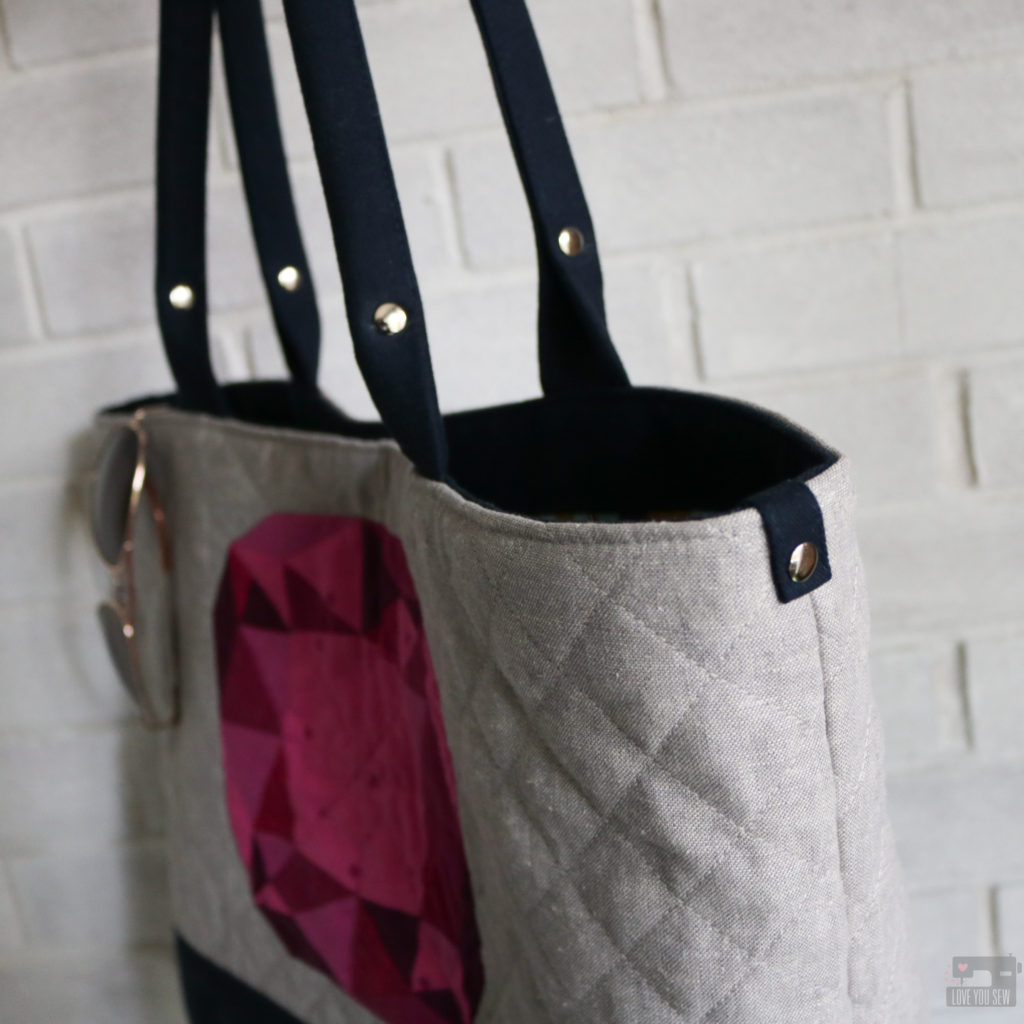
I knew after seeing the book, I would use the  6″ block for the exterior of my Colleen Tote Bag pattern.  When I first designed this bag, the quilter in me wanted enough open space on the exterior to eventually use quilt blocks to add some fun flair to the outside.  I’m so glad I finally got a chance to make this happen with the Cushion cut pattern.
Fabric

There are great fabric suggestions in the book for many of the birthstones, but I decided to use my own stash and make up my own gem. The Swatch Chart reference sheet is definitely a must IMO. It helped me sort out my fabrics and was a great visual reference as I was piecing the block together.
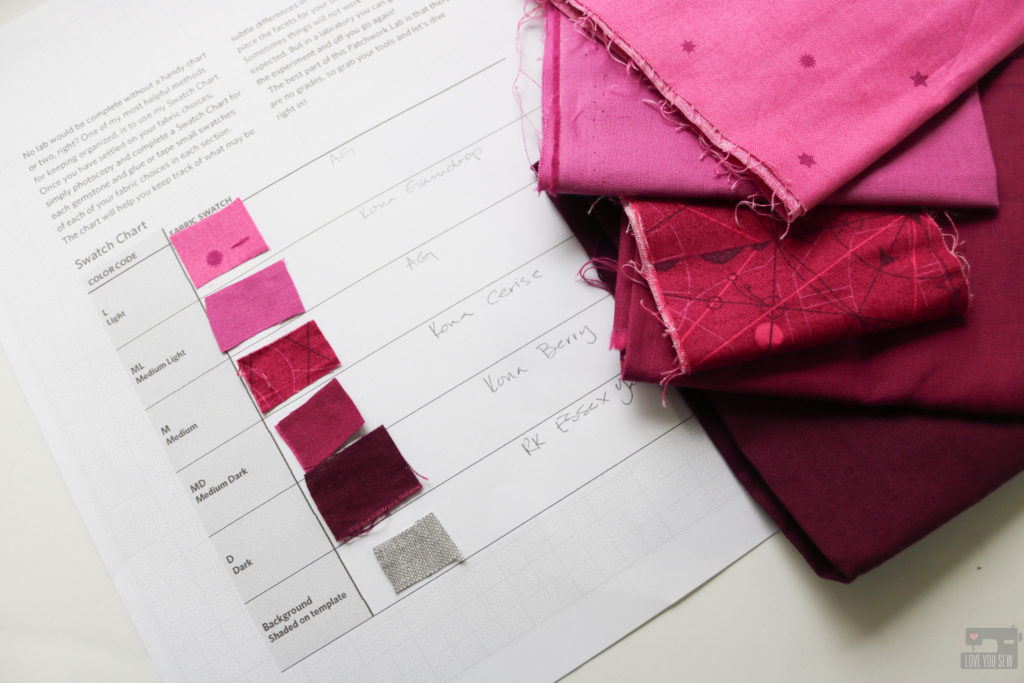
I really wanted the gem to pop on a bag so I used the following in the magenta family: (aff links)
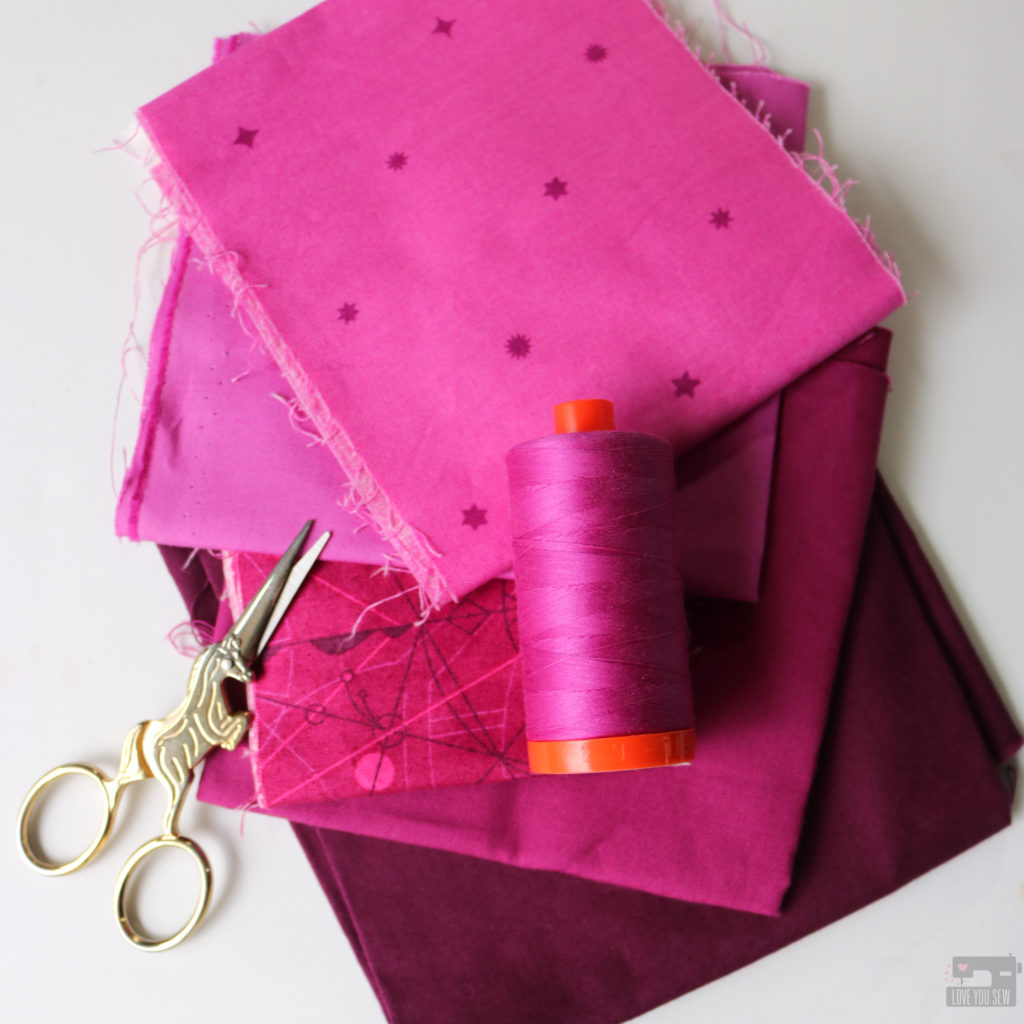
For the rest of the bag, I used:
To Make the Side Panel with Gem Block

With this bag, I knew I wanted the exterior to be quilted for the texture and also to help secure the block to the interfacing. When doing this for a bag, it is always important to cut the fabric larger than what is needed, quilt it, THEN come back and cut it to size. Quilting will always shrink down a block and can become pretty significant difference if you are using more lofty batting or interfacing.
Since the finished panel would be 20 1/2″ x 10″, I added 3″ wide borders to the top and bottom (referred to as the “sides” in the book) and then 12 1/2″ x 7″ to the sides.  Instead of using fusible fleece as the interfacing, I swapped it out with Pellon 988 Sew-in Fleece.
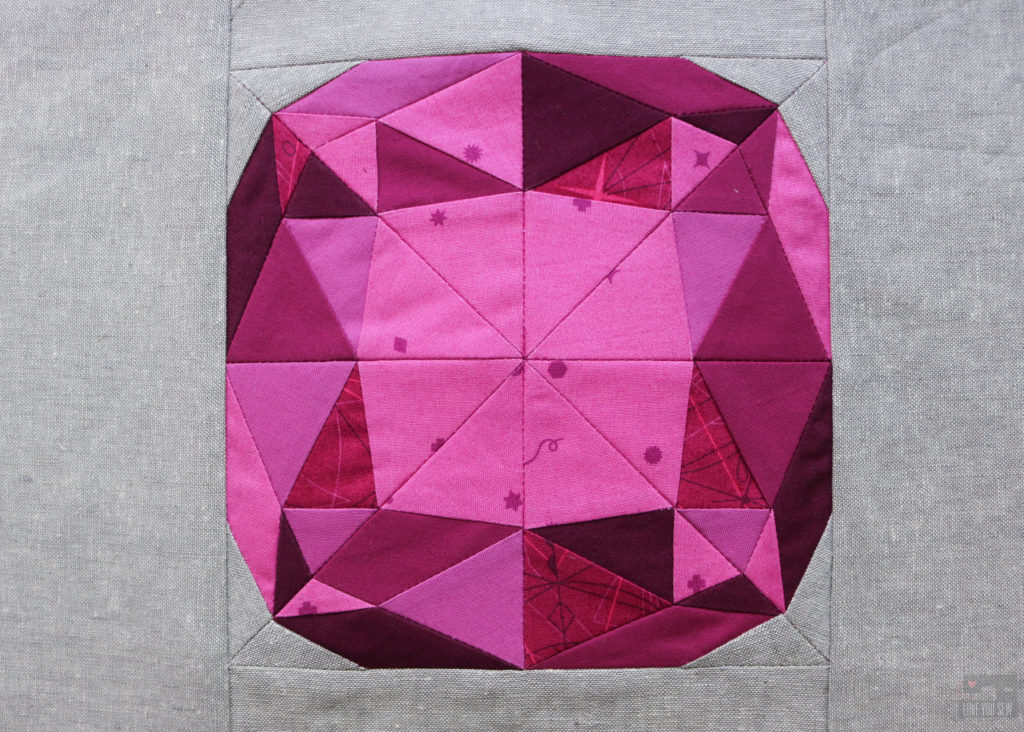
I used matching Aurifil 2535 to stitch-in-the-ditch around the gem and then on all the intersecting seams that ran completely across the the pattern.  For the background, I used Aurifil 2615 to sew 1″ blocks at a 45* angle, stopping when I hit the gem. The nice part about quilting a bag panel is that you can leave the thread tails and just tie them off without having to bury any of them!
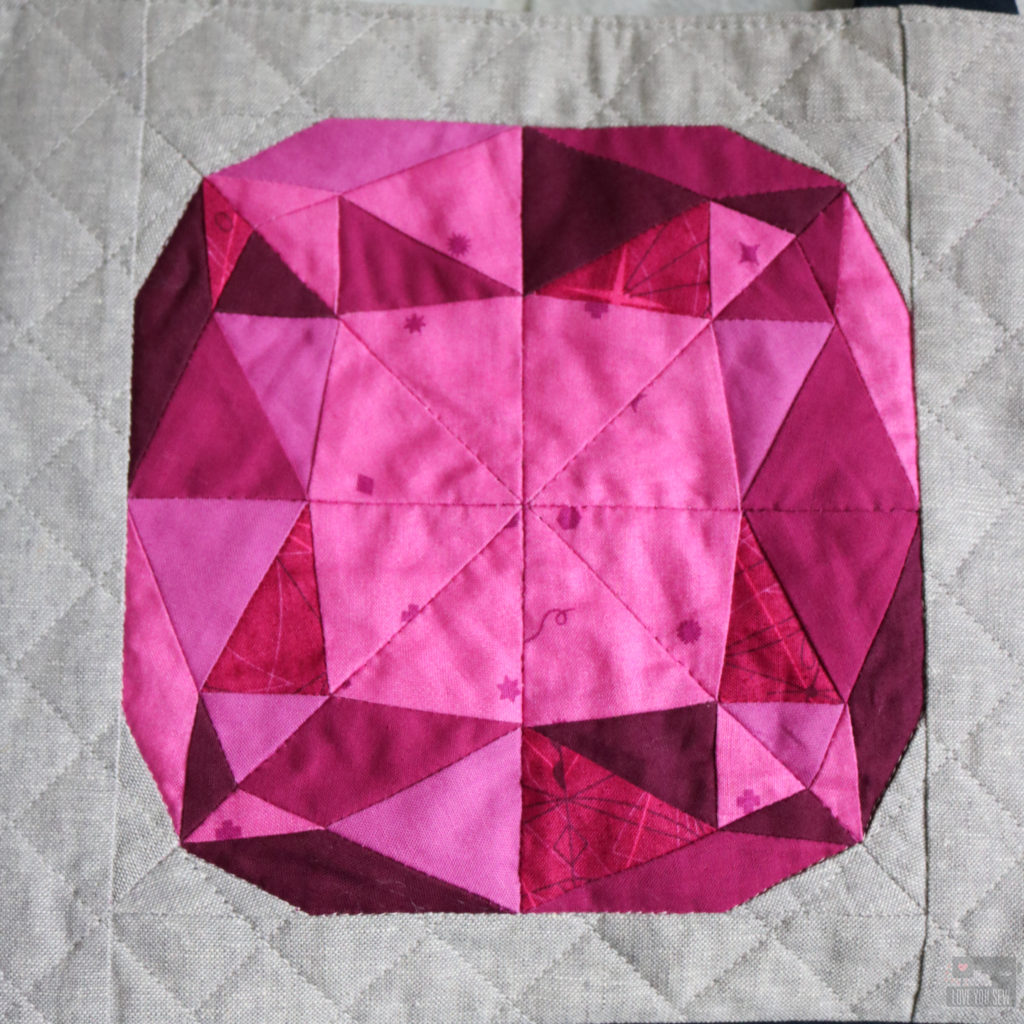
To cut the panel and create equal spacing above and below the block, you find the center horizontally and cut 4 3/4″ below the line and then 5 1/4″ above the line. The measurements are not equal to account for the different seam allowances as written in the Colleen Tote pattern.

Other Modifications
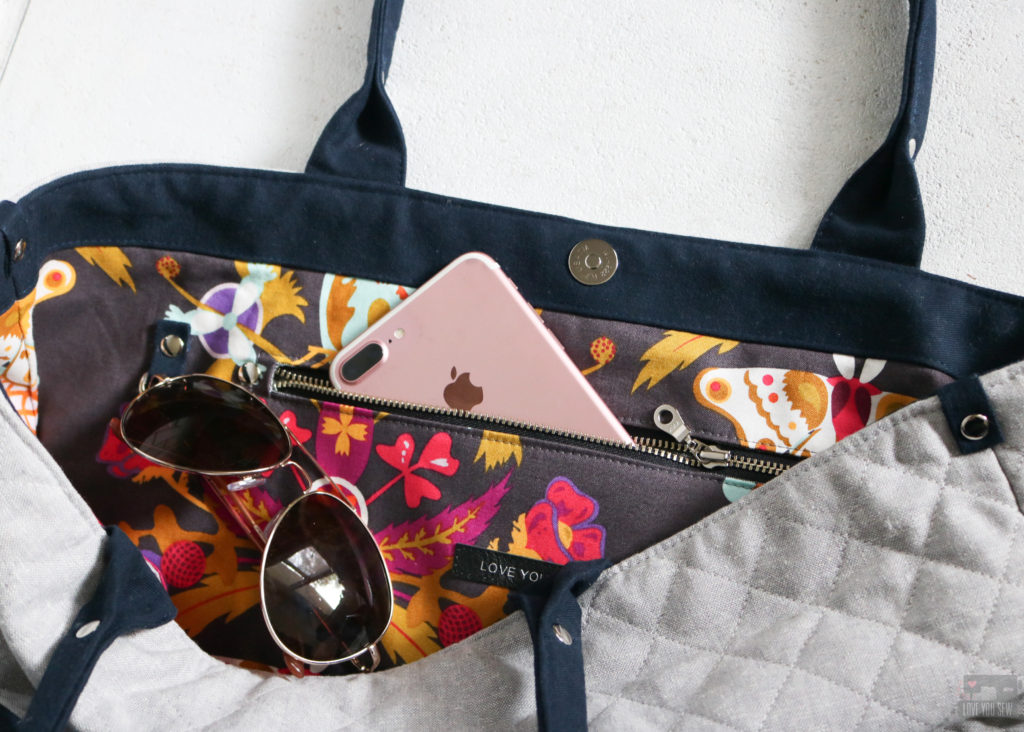
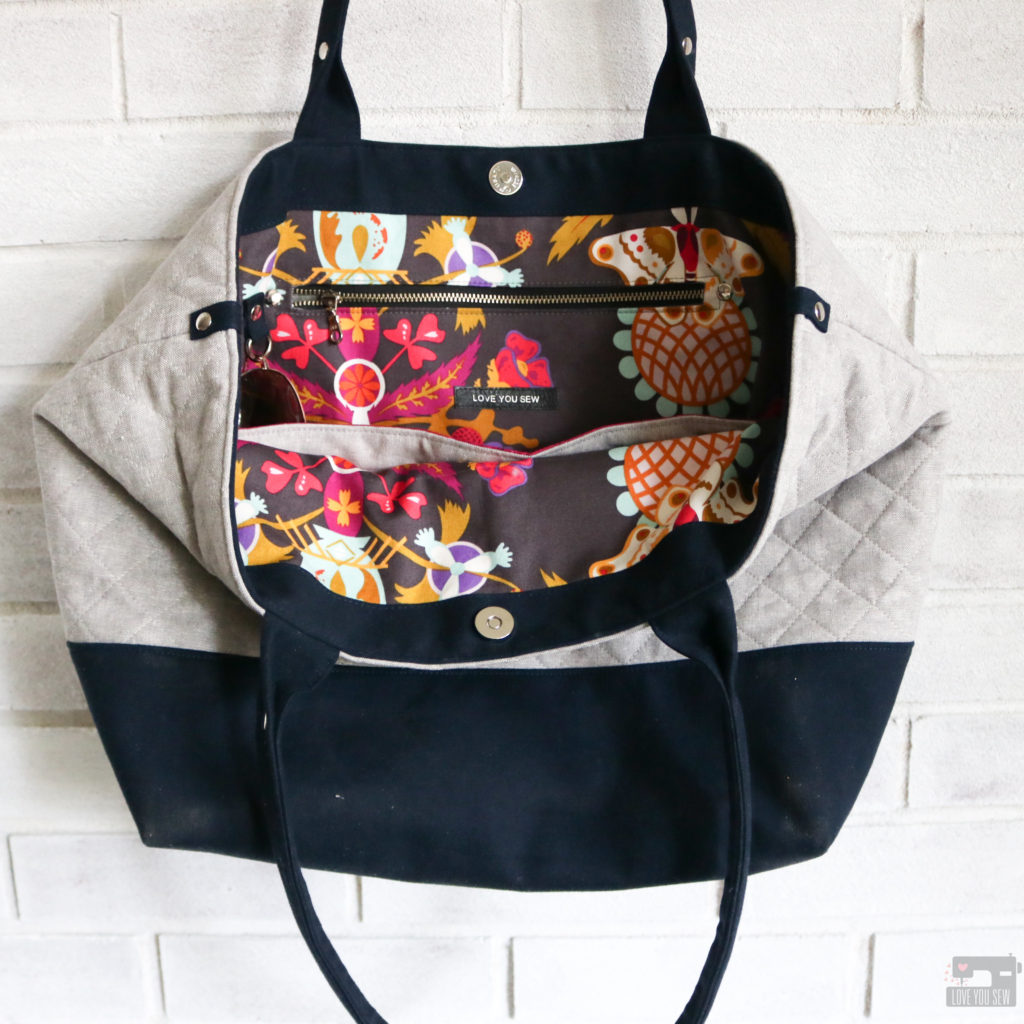
Every time I make a pattern (whether my own or someone else’s) I can’t help but add some different features so each one is unique.  I believe that every bag has it’s own personality and calls out for different features. I made the following changes to this Colleen:

  • Extended the key fob to 16″ in total length
  • Added a interior D-ring
  • Added a magnetic snap to the interior band
  • Pieced the line with some of the Sangria Compass to bring some of the Gem colors to the interior
  • Added Purse Feet following the add-on instructions here.
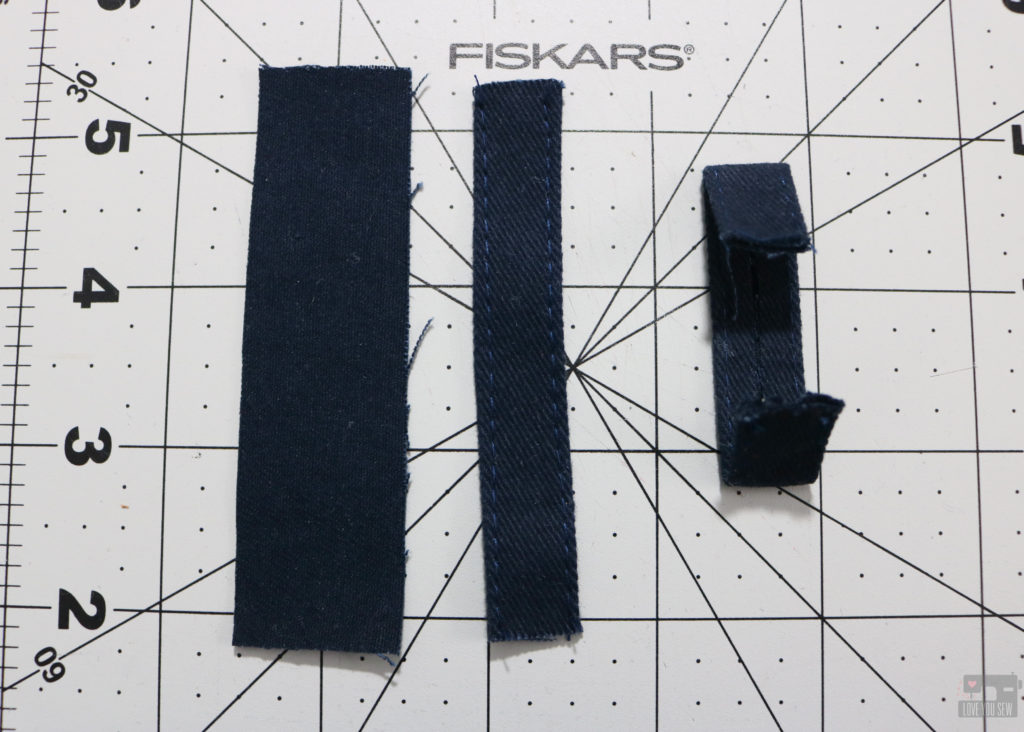
  • Broke up the gray a little more on the exterior with some accent tabs and rivets.
I did this by using the scraps I cut out of the bottom accent fabric.  You will need (2) 3 1/2 x 1″ strips.  Fold each long side to the center creating a single-fold tape and top-stitch 1/16″ along each side.  Fold down each short end by 3/4″ with wrong sides together.
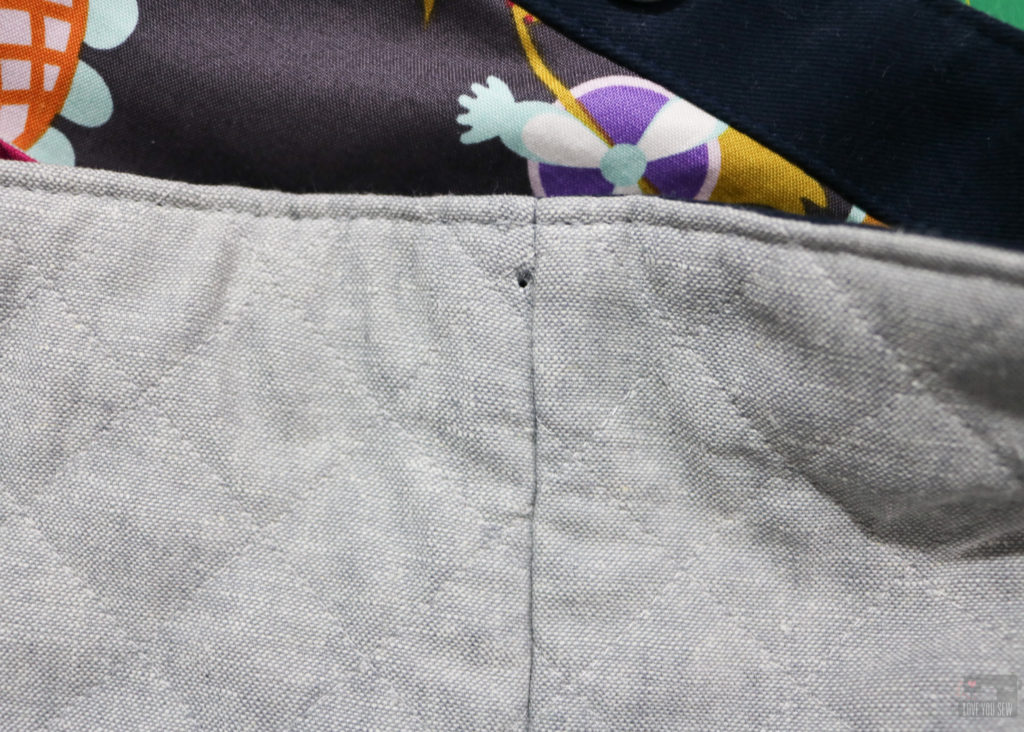
The trick to adding these tabs over the top of the bag is to fold the tab and cut those holes first.  Then place it over the edge of the bag and mark it just to the left of the side seam and cut the hole in the bag.  By moving the hole you won’t cut into the side seam but it will appear that the tab is centered from far away!  Add the rivet and now you have a cute tab that makes this look more high-end.
Please make sure you follow Andrea @3rdstoryworshop to keep up with the rest of the Gemology Blog Tour.  You can find her blog and shop her book here.

Tomorrow, Rebecca Makas is up with her Gemology Project.  Click to find her here.
I hope you enjoyed the new spin on the Colleen Tote Bag and all of the gemstone inspiration from Patchwork Lab – Gemology!


Hugs and Stitches,

Cristy


This post is in collaboration with Andrea Tsang Jackson for which I received a complimentary copy of her book.  //  This post may also contain affiliate links and you can read all the details in my Disclosures here.