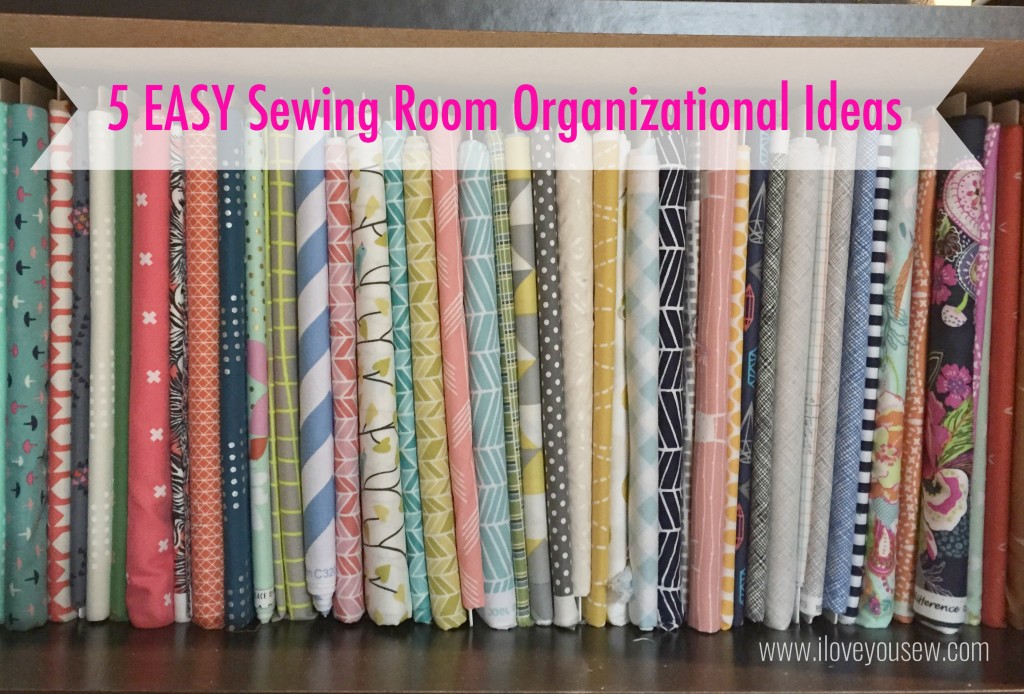
5 Easy Sewing Room Organization Ideas

5 Easy Sewing Room Organizational Ideas

5 Easy Sewing Room Organizational Ideas

I don’t know about you, but my “sewing dungeon” (named because I’m in the basement) is always in need of some organizational help.  I’ve come to terms that my space will ALWAYS be a work-in-progress and I’m okay with that.  It’s my creative space and unfortunately, the physical cannot keep up with my mental states of art 😉  So whenever there is something out there to help me tame my chaos, I’m all ears!  Below are 5 of my personal organizational tips…from one that will require some investment to my favorite…re-purposing!

1.  Mason Jars

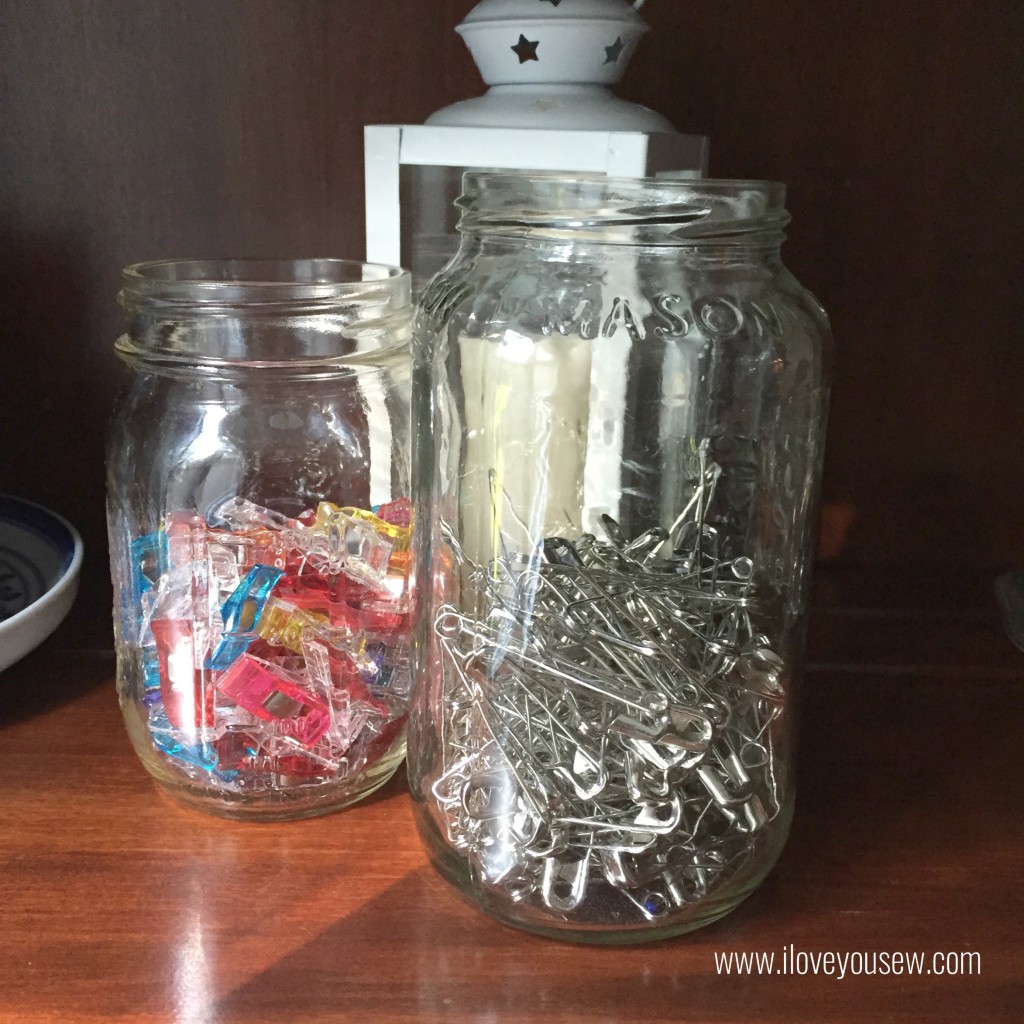
Use Mason Jars for clips and Safety Pins

Use Mason Jars for clips and Safety Pins

Admit it….you have a bunch of these already.  Mason Jars have been quite the decor trend these past few years and I know I’ve received them as gifts and have bought my own as part of plenty of Pinterest projects.  However, you can collect them by just eating!  Many of the pasta sauce companies have beautiful jars nowadays and you just have to clean them out.

I’m a visual person and need to see what I have.  These jars are perfect for keeping my Clover Clips and Safety Pins together.  I like being able to bring the jars wherever I want to work in the house.  The only down-side is that my hand doesn’t fit in the opening, but shaking the items out hasn’t been a deterrent for me.  You could use these for all of your notions….elastic, trim, needles , etc. and to hold your tools such as rulers, scissors, and seam rippers….endless possibilities!

2.  Binder Clips for Zippers

Binder Clips for Zippers

Binder Clips for Zippers

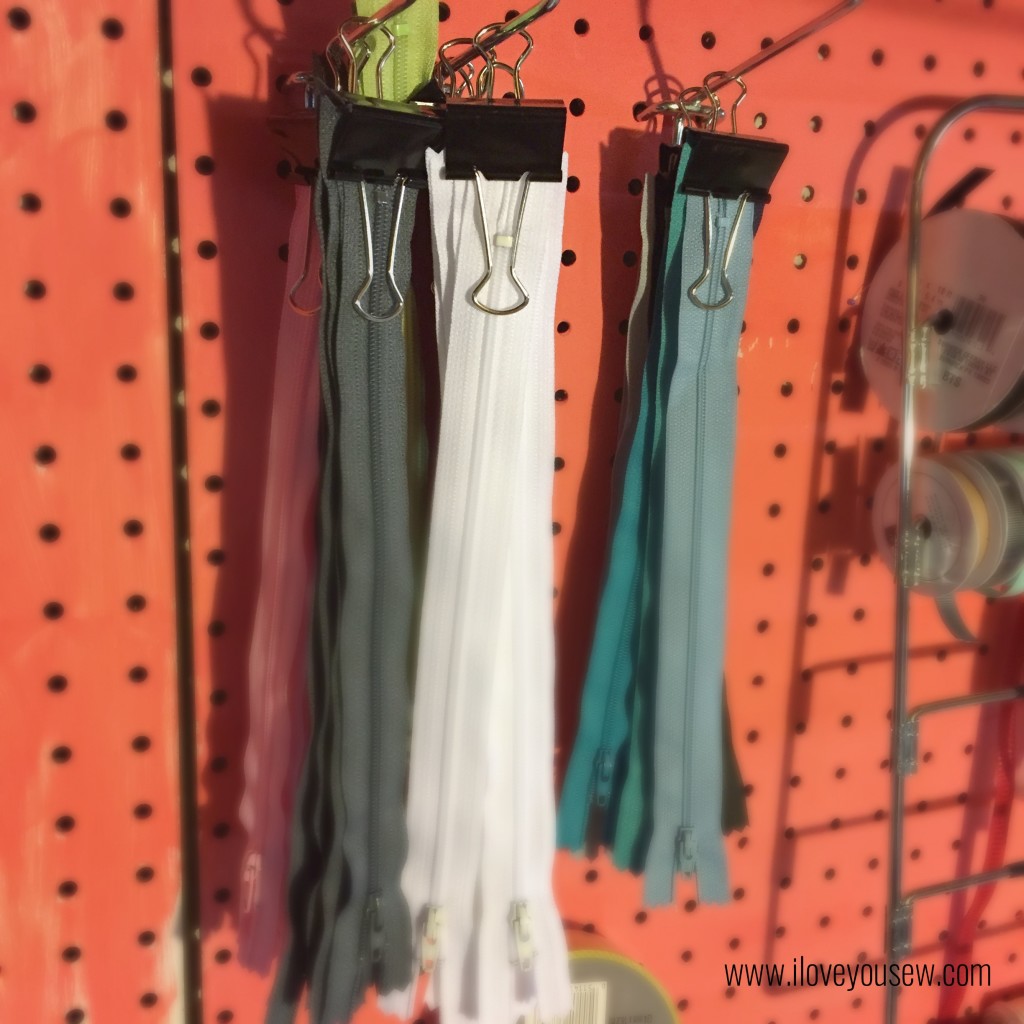
If you have ever worked in an office environment, these Binder Clips have come home with you once or twice…  If not, these are cheap and can be found easily wherever office supplies are sold. I used to have a home office back in my sales days and have a ton of company provided office goodies.  It’s nice to find other uses for these, other than to keep snacks fresh!

These Binder Clips are great if you have a pegboard.  I use them to clip my zippers together by color family so whenever I need one, I can easily make a selection just like a paint swatch ring.  Additionally, I use these to hang up directions/tutorials of projects I sew often.  It’s great to have them accessible right in front of me on the board.

3.  Car Organizer = Ruler and Pattern Organizer

Re-purpose a Car Organizer

Re-purpose a Car Organizer

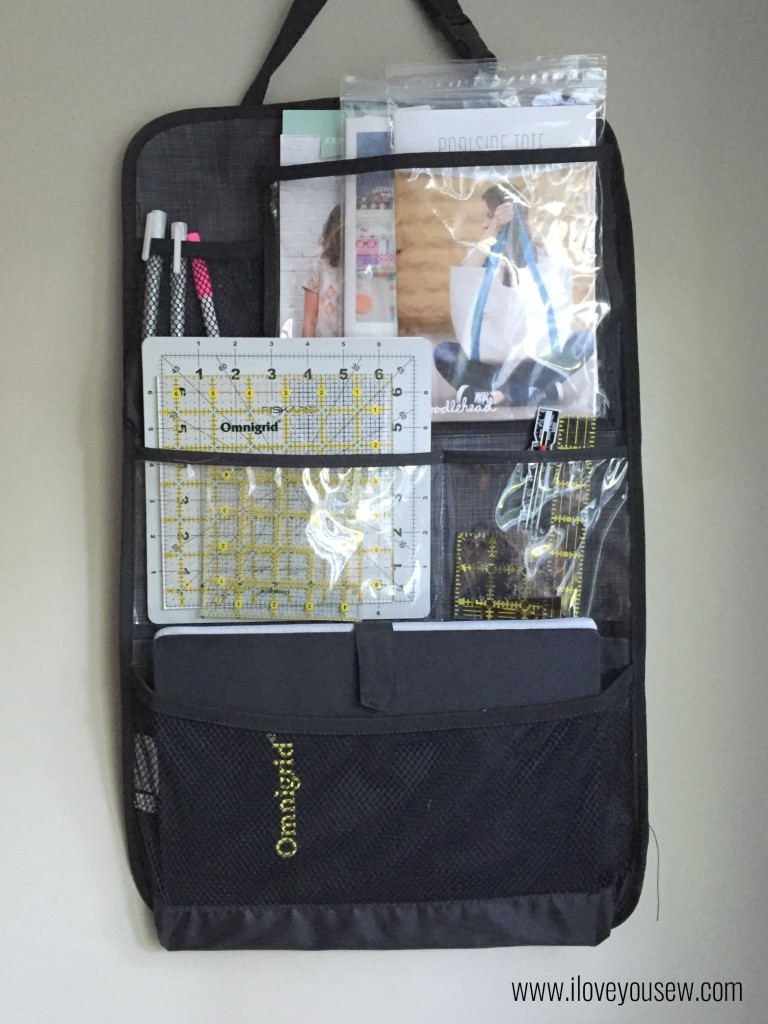
So, I bought this Thirty-One Hang Up Activity organizer with full intentions of actually using it in my car. But it was from a local Buy-Sell-Trade Facebook group (bonus for being cheeeaap!) but required a little stitching to fix a pocket that was falling apart.  By the time I actually fixed the pocket, my boys’ legs had reached the point where they can (and will) kick anything on the back of the driver or passenger car seats.

My awesome score on the BST site was sitting in the back of the mini-van until I realized it could hold all of my “flat” sewing supplies. Yay!!! As you can see, it holds my various rulers, marking pens, patterns and even my Fold-Away station.  This would be great if you are not a pegboard person, but would like to hang some supplies close to your machine without having to take up a lot of space.  You can find a ton of similar versions of this organizer on Ebay for less.

4.  Sew an Hour Basket for Fabric Storage

Sew and Hour Basket for Fabric Storage

Sew and Hour Basket for Fabric Storage

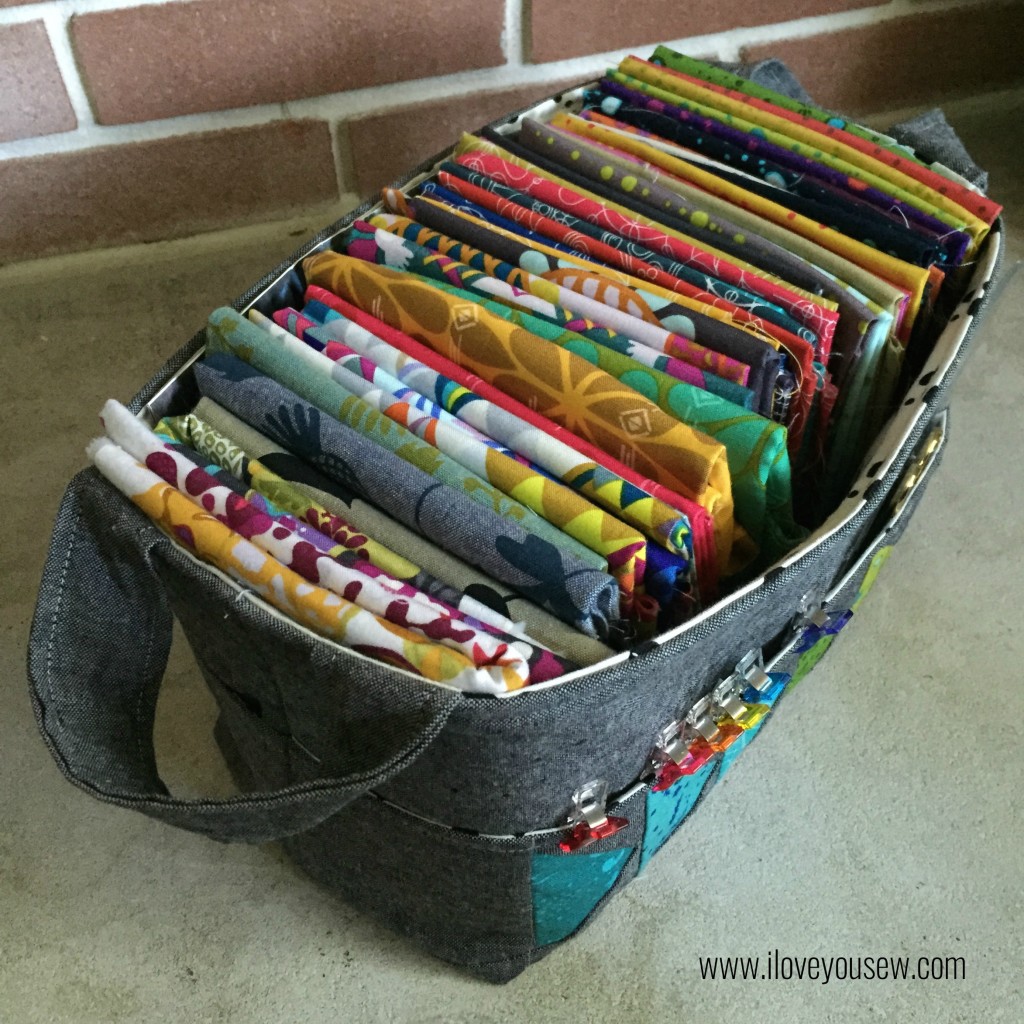
Have you made an Hour Basket yet?!?  Kelby Sews has this great FREE pattern available here in her pattern shop.  I have made quite a few of these baskets but they have all been for gifts and not for myself…cue in the latest IG Alison Glass Mini Quilt Swap.  As part of my swap package, the lovely Kitty from The Night Quilter gifted me this awesome basket.  Not only is it absolutely gorgeous, it has pockets all around…genius!!!

This basket is great for holding all kinds of odds and ends, but I am using mine to hold my beautiful Alison Glass collection.  The finished dimensions are perfect for fat quarters.  As pictured, I have 27 fat quarters and 15 half-yards….ALL in there!  I plan on make a few completely in my favorite designers to hold their respective fabrics (don’t worry you know I will share pics.)

Although this organization idea takes up some fabric and some time, it is great for scraps….which is less evasive on the wallet. Check out #hourbasket on Instagram for ideas on how to design your own!

5. Use Mini-Bolts for Fabric Storage

Before and After making Mini Bolts

Before and After making Mini Bolts

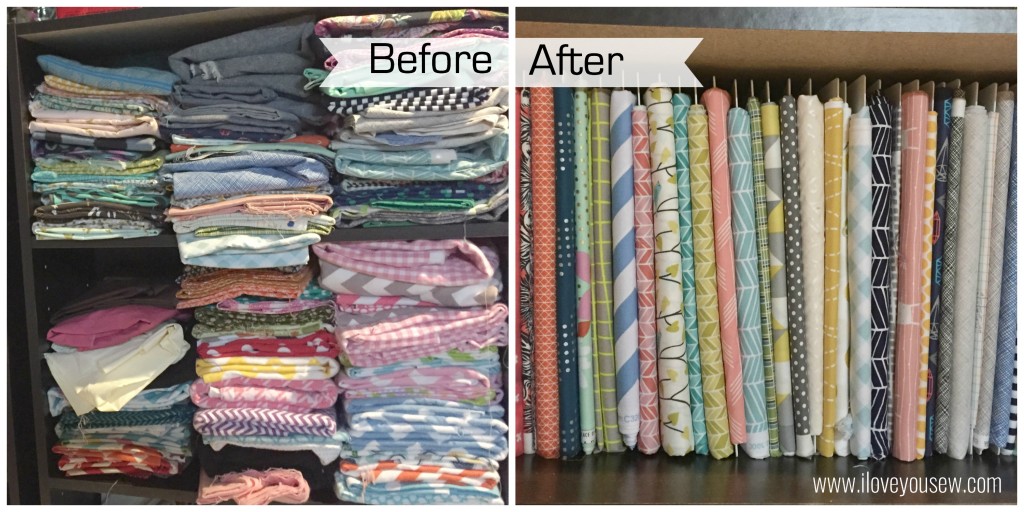
Did you know that Paper Pieces, the supplier of all kinds of English Paper Piecing (EPP) templates, also has a division called Polar Notions?  Well, they have these great heavy duty plastic organizers  (11-3/4″ x 7-1/2″) that can help you create these sweet mini-bolts.  If you have a lot of yardage like me, the original size is for you.  You can take  typical 42-44″ width fabric and fold it into fourths which will be the optimal size to wrap around these boards.

I happen to buy a 50-pack of these guys when Polar Notions was having a ridiculous 50% off sale….so I would suggest either subscribing to their website newsletter and/or following them on Instagram @polarnotions to learn about their sales.

As you can see, my original stash was in pretty poor shape.  And then after, my fabric is just SO pretty.  I can easily see every fabric and not have to run into another incident of  I-gotta-tear-apart-my-whole-dungeon-to-find-this-one-particular-fabric-I-KNOW-I-have 🙂 You know you’ve been there!  I hope this will keep my fabric less wrinkled as well.  I make fabric pulls for my Etsy shop customers all the time and it will be nice to pull smooth fabric going forward.

The only down-side of these boards is that I ran out…a little too quickly.  A 50-pack was not enough…sad to come to the realization that I have a serious fabric addiction…but don’t tell my husband!  He already has seen my full bolt collection increase! Yikes!

>>

I hope these ideas help you keep your space organized….or maybe you are already a sewing cyborg clean freak?!?  Only a myth, I’d say…

What has been the most unusual re-purpose of an item for your sewing space?  I’d love to know!


Keepin’ it (somewhat) clean,

Cristy


*I have not been compensated for use and/or mention any of any items in this post.  All opinions are my own.
I’m a 2015 New Quilt Blogger

Yay! I’m participating in the 2015 New Quilt Blogger Group.  As you all know, this blog is quite new and I’m navigating in uneasy waters…  I consider myself to be semi-tech savvy, but there is just so much out there that it’s hard to keep up.  My brain is keyed on new fabric and sewing patterns, not widgets or coding!  Can I get an “Amen?!?”

2015 New Quilt Bloggers Group


However, I know if I want to help you, I have to help myself 😉  I already have installed a Bloglovin button on the sidebar and on the footer to better help you subscribe to the blog!  In the next few weeks, I hope to learn quite a bit to improve your reader experience!  Don’t worry, you know I will share all the good stuff I learn while in this group 🙂


Wish me luck!

Cristy

Instagram Giveaway for 500+ Followers

  
There ARE some perks to following my different social media outlets…different Giveaways!!!

I have hit the 500 Follower milestone and I really can’t believe it!  It took me awhile to jump on the Instagram band-wagon…mainly because I ran out of memory on my old phone.  Pictures of my kids were WAY more important than any other ones and of course, I couldn’t delete any of my babies 🙂  But after receiving an amazing birthday present (thanks hubs!) in the form of a new smartphone with a ton of extra memory….I revved up my account. I am truly humbled that this many people want to follow my sewing, my life and put up with my ramblings.  But I am honored and hope to add a little life to your feed and inspire some fun sewing projects!  Thank you…thank you..thank you!!!

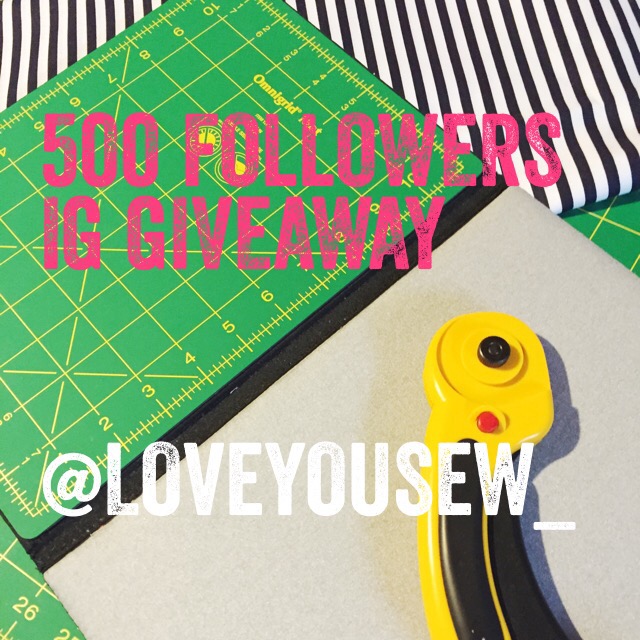
Head on over to Instagram and follow me @loveyousew_ if you are not already and “LIKE” the photo that you see above, plus tag a friend 🙂 One entry per person please.

I’m gearing up to giveaway a brand new Omnigrid® Tote-size FoldAway™ Portable Cutting and Pressing Station! This is an 8.75″ x 11.75″ (22.2cm x 29.8cm) folded gem. It has a black canvas outside cover and Velcro-closure to keep everything together.

It is my favorite tool for Foundation Paper Piecing (FPP) so I don’t have to keep getting up to trim or press my fabric. I keep it to the right of my sewing machine and it allows me to keep my projects moving! I love this size as it is slightly larger than a sheet of paper and travels very nicely, as needed.

Giveaway will be open until June 5, 2015 8pm EST and a random winner will be announced then.

>>Edited>> The contest is now over and winner was announced on Instagram.

***This is not endorsed by Omnigrid® or by Instagram. Open to US and international parties. If you are outside the U.S., you are agreeing to pay your own shipping minus $5.50USD and any associated insurance, tariffs, customs costs etc.


Enjoy!

Cristy

Love You Sew

Ten Feet of Color…Theory

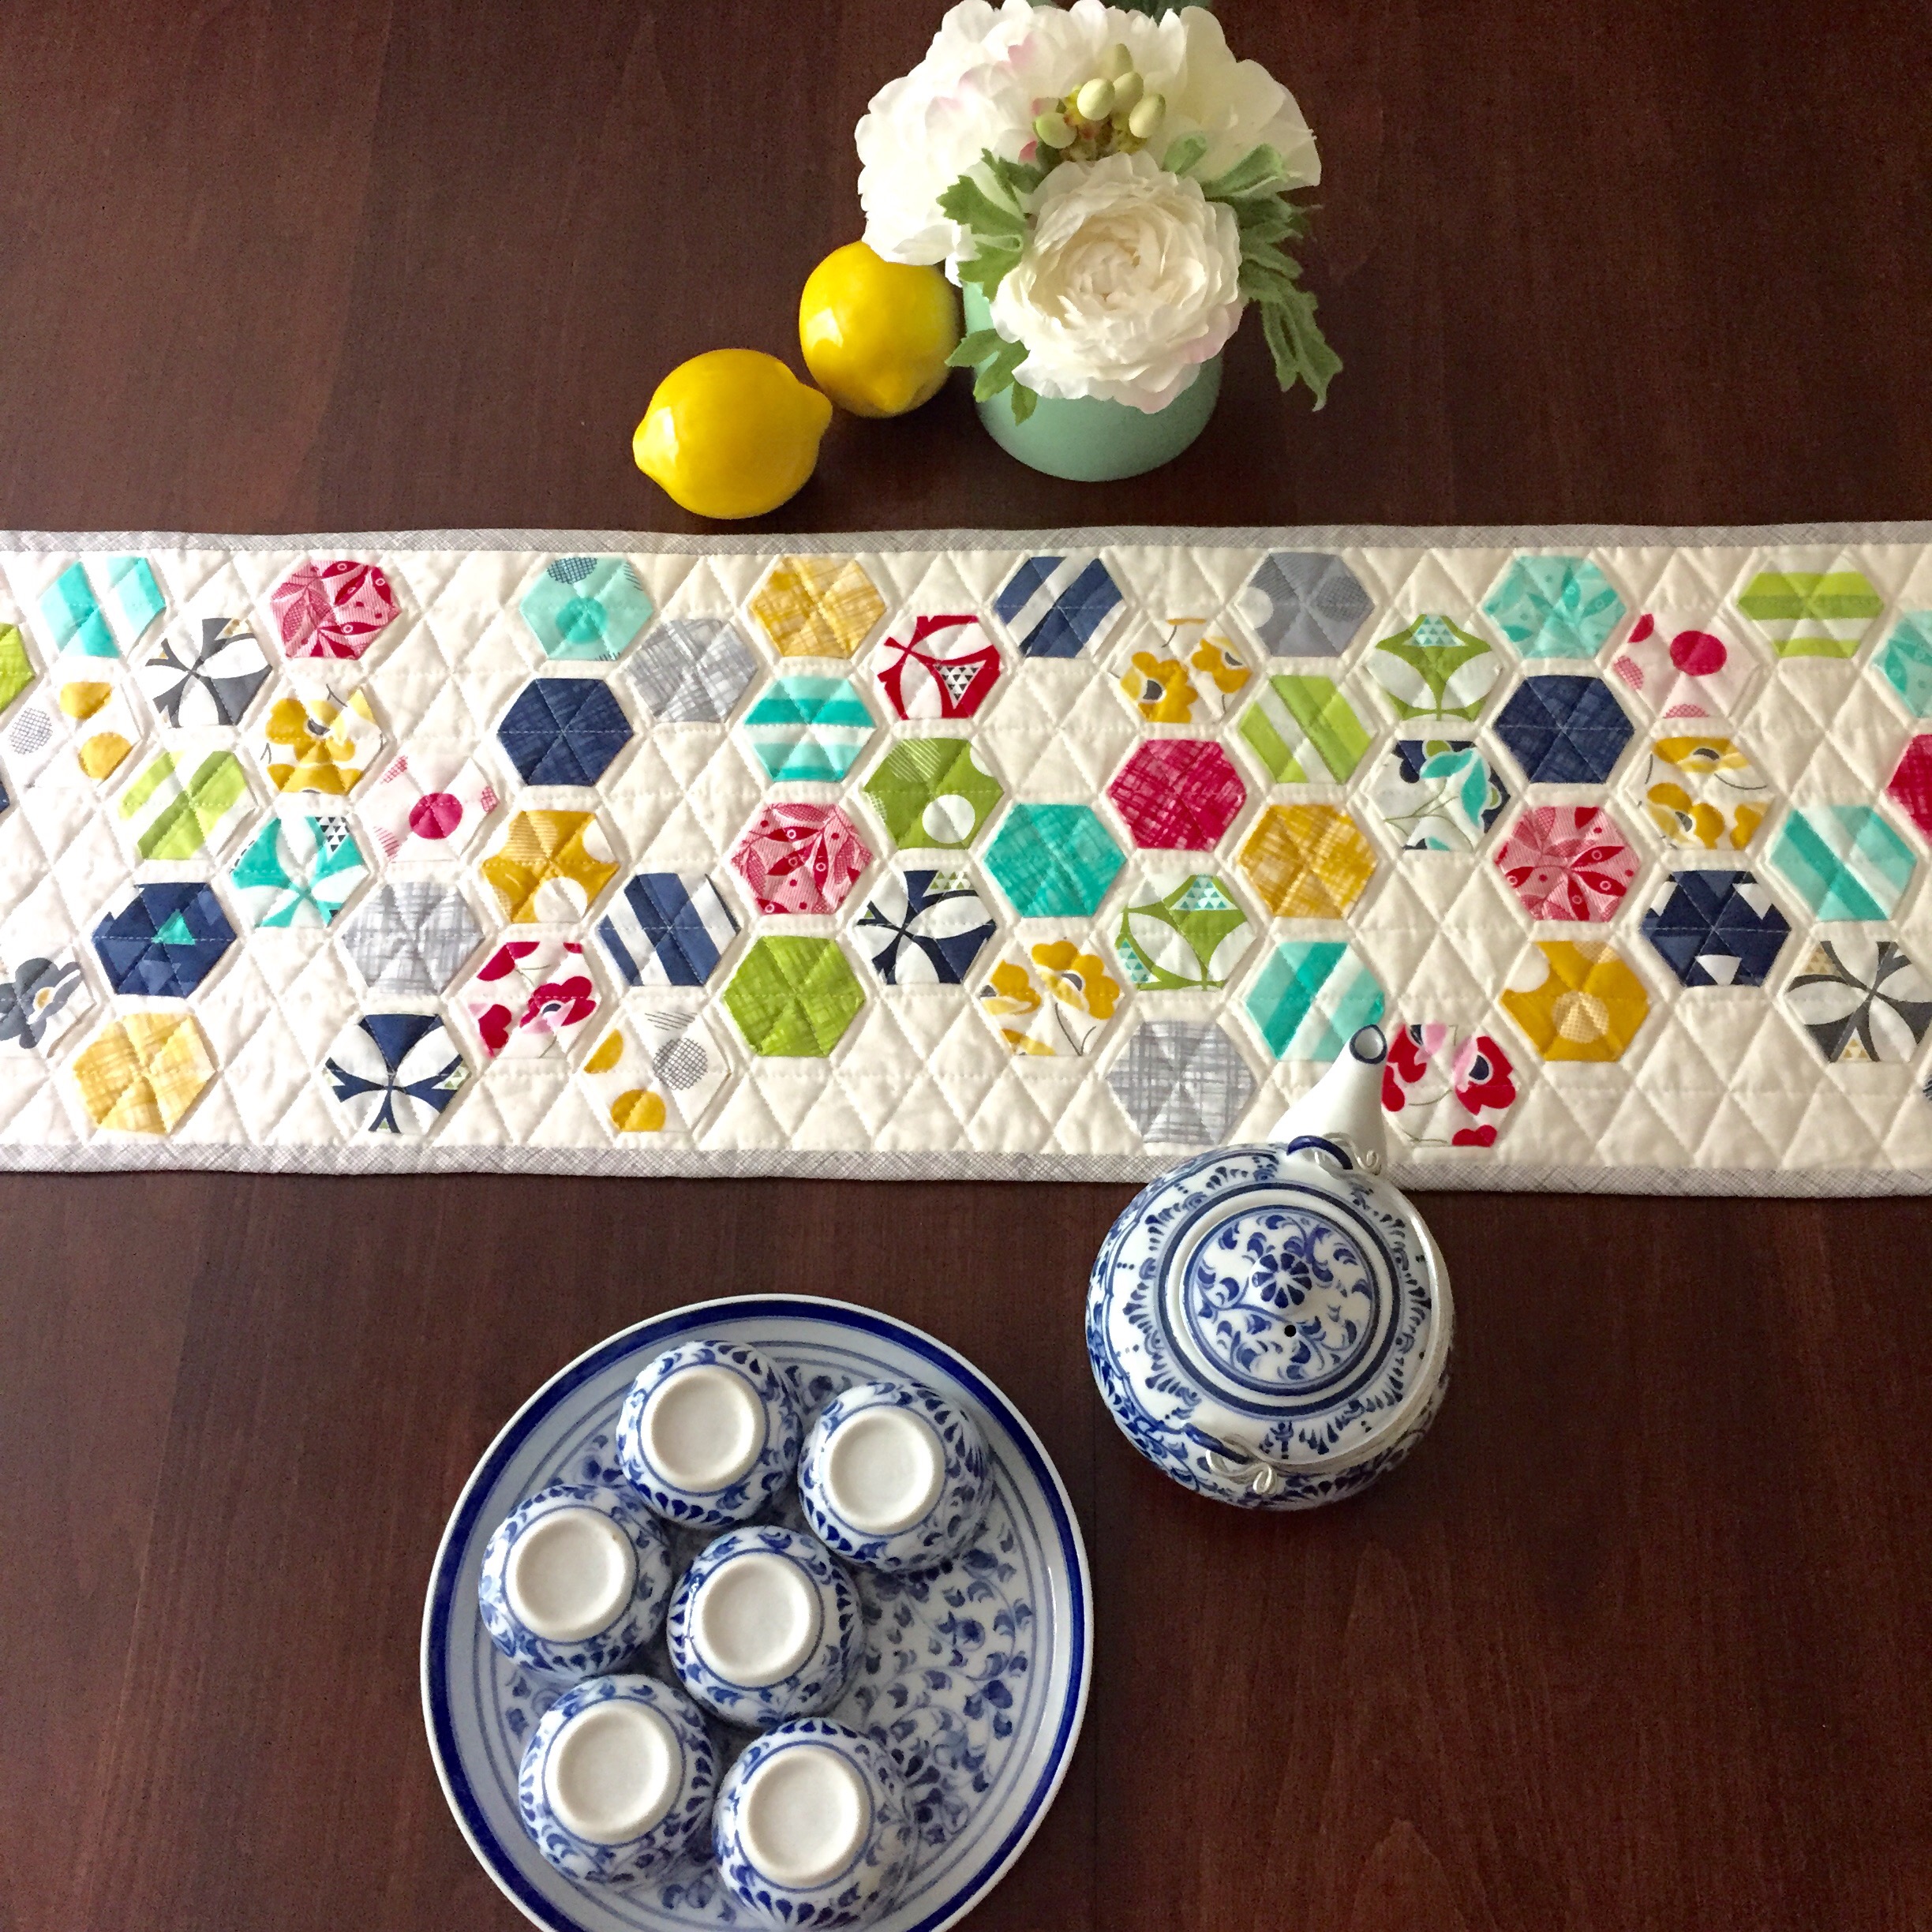
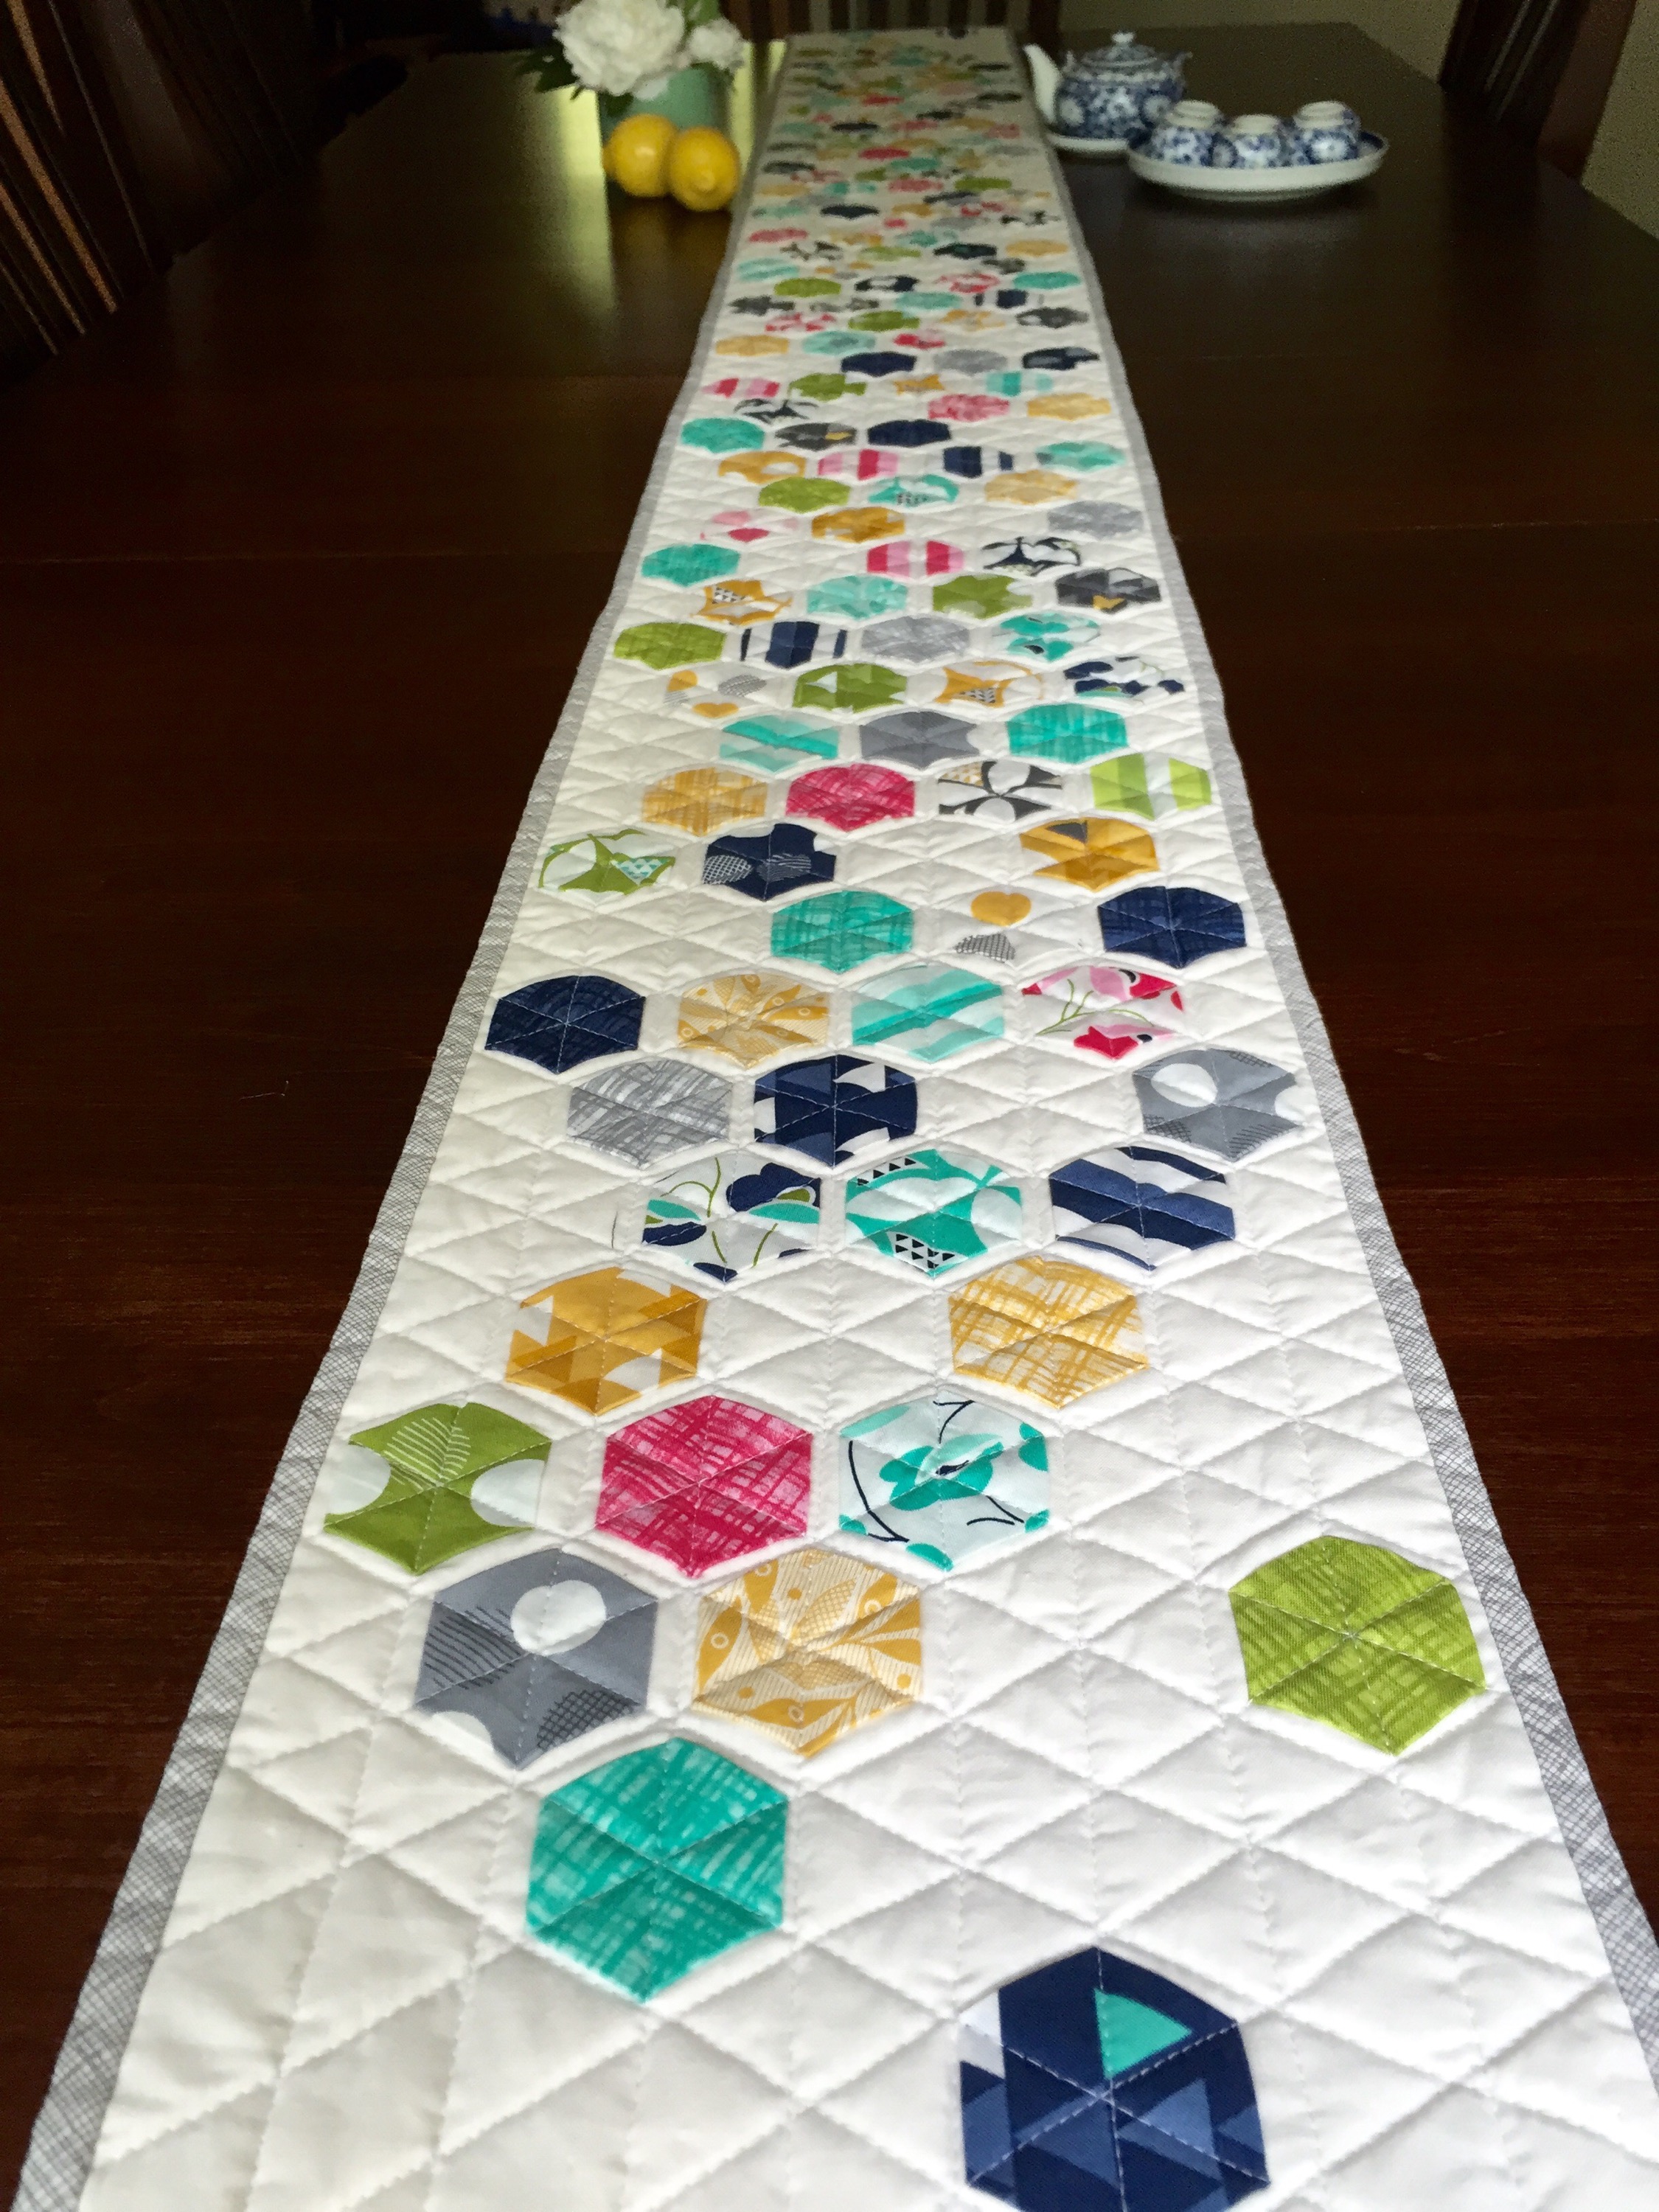
I know a 10-foot Quilt isn’t all that special for a king-size bed, but for a modern hexie table runner, it seems pretty long to me!

When my husband and I first moved into our house, we knew we needed a proper dining set.  We searched all over Columbus and online for the perfect table, but my husband (coming from a large family with 10 brothers and sisters!) wanted something big.  Our searches would turn up with a table that was long enough, but too narrow…or vice versa…wide enough but not long enough.  After exhausting almost every option, we decided to go to the Amish.  A family friend suggested we go to Miller’s, where you can have 100% solid wood furniture custom built and stained.  I was skeptical…thinking the designs were outdated…kinda like the horse and buggy, but we were pleasantly surprised!  They had tons of modern pieces in the showroom.  We could get this work for less than the high-end furniture stores AND you know buying local is THE best! Sold!!!

Our table is 96″ long, but can be extended out to 108″ if we’re entertaining a crowd.  Since we were going custom, we figured we might as well throw in that option if we are ever fortunate enough to have the room…or just turn it around to straddle our dining and living rooms!!!  It is also a generous 36″ wide for ample tabletop space.

So…. we have our perfect table, but getting coverings for it has been even more limited.  We are running into the same issues and I end up using tablecloths that barely hang down either sides.  Luckily, our chairs help hide the “short-comings.” I knew I needed to make something myself to be both stylish and fit the dimensions of our XXL table.

First thing’s first. What dimensions did I want? Did I want the runner to hang off or be a little shorter that the table length?  I decided on 120″ so 12″ can hang off both ends.  I love seeing the bare wood of our table, so I figured 10″ wide was enough to leave some eating space and show off our furniture.

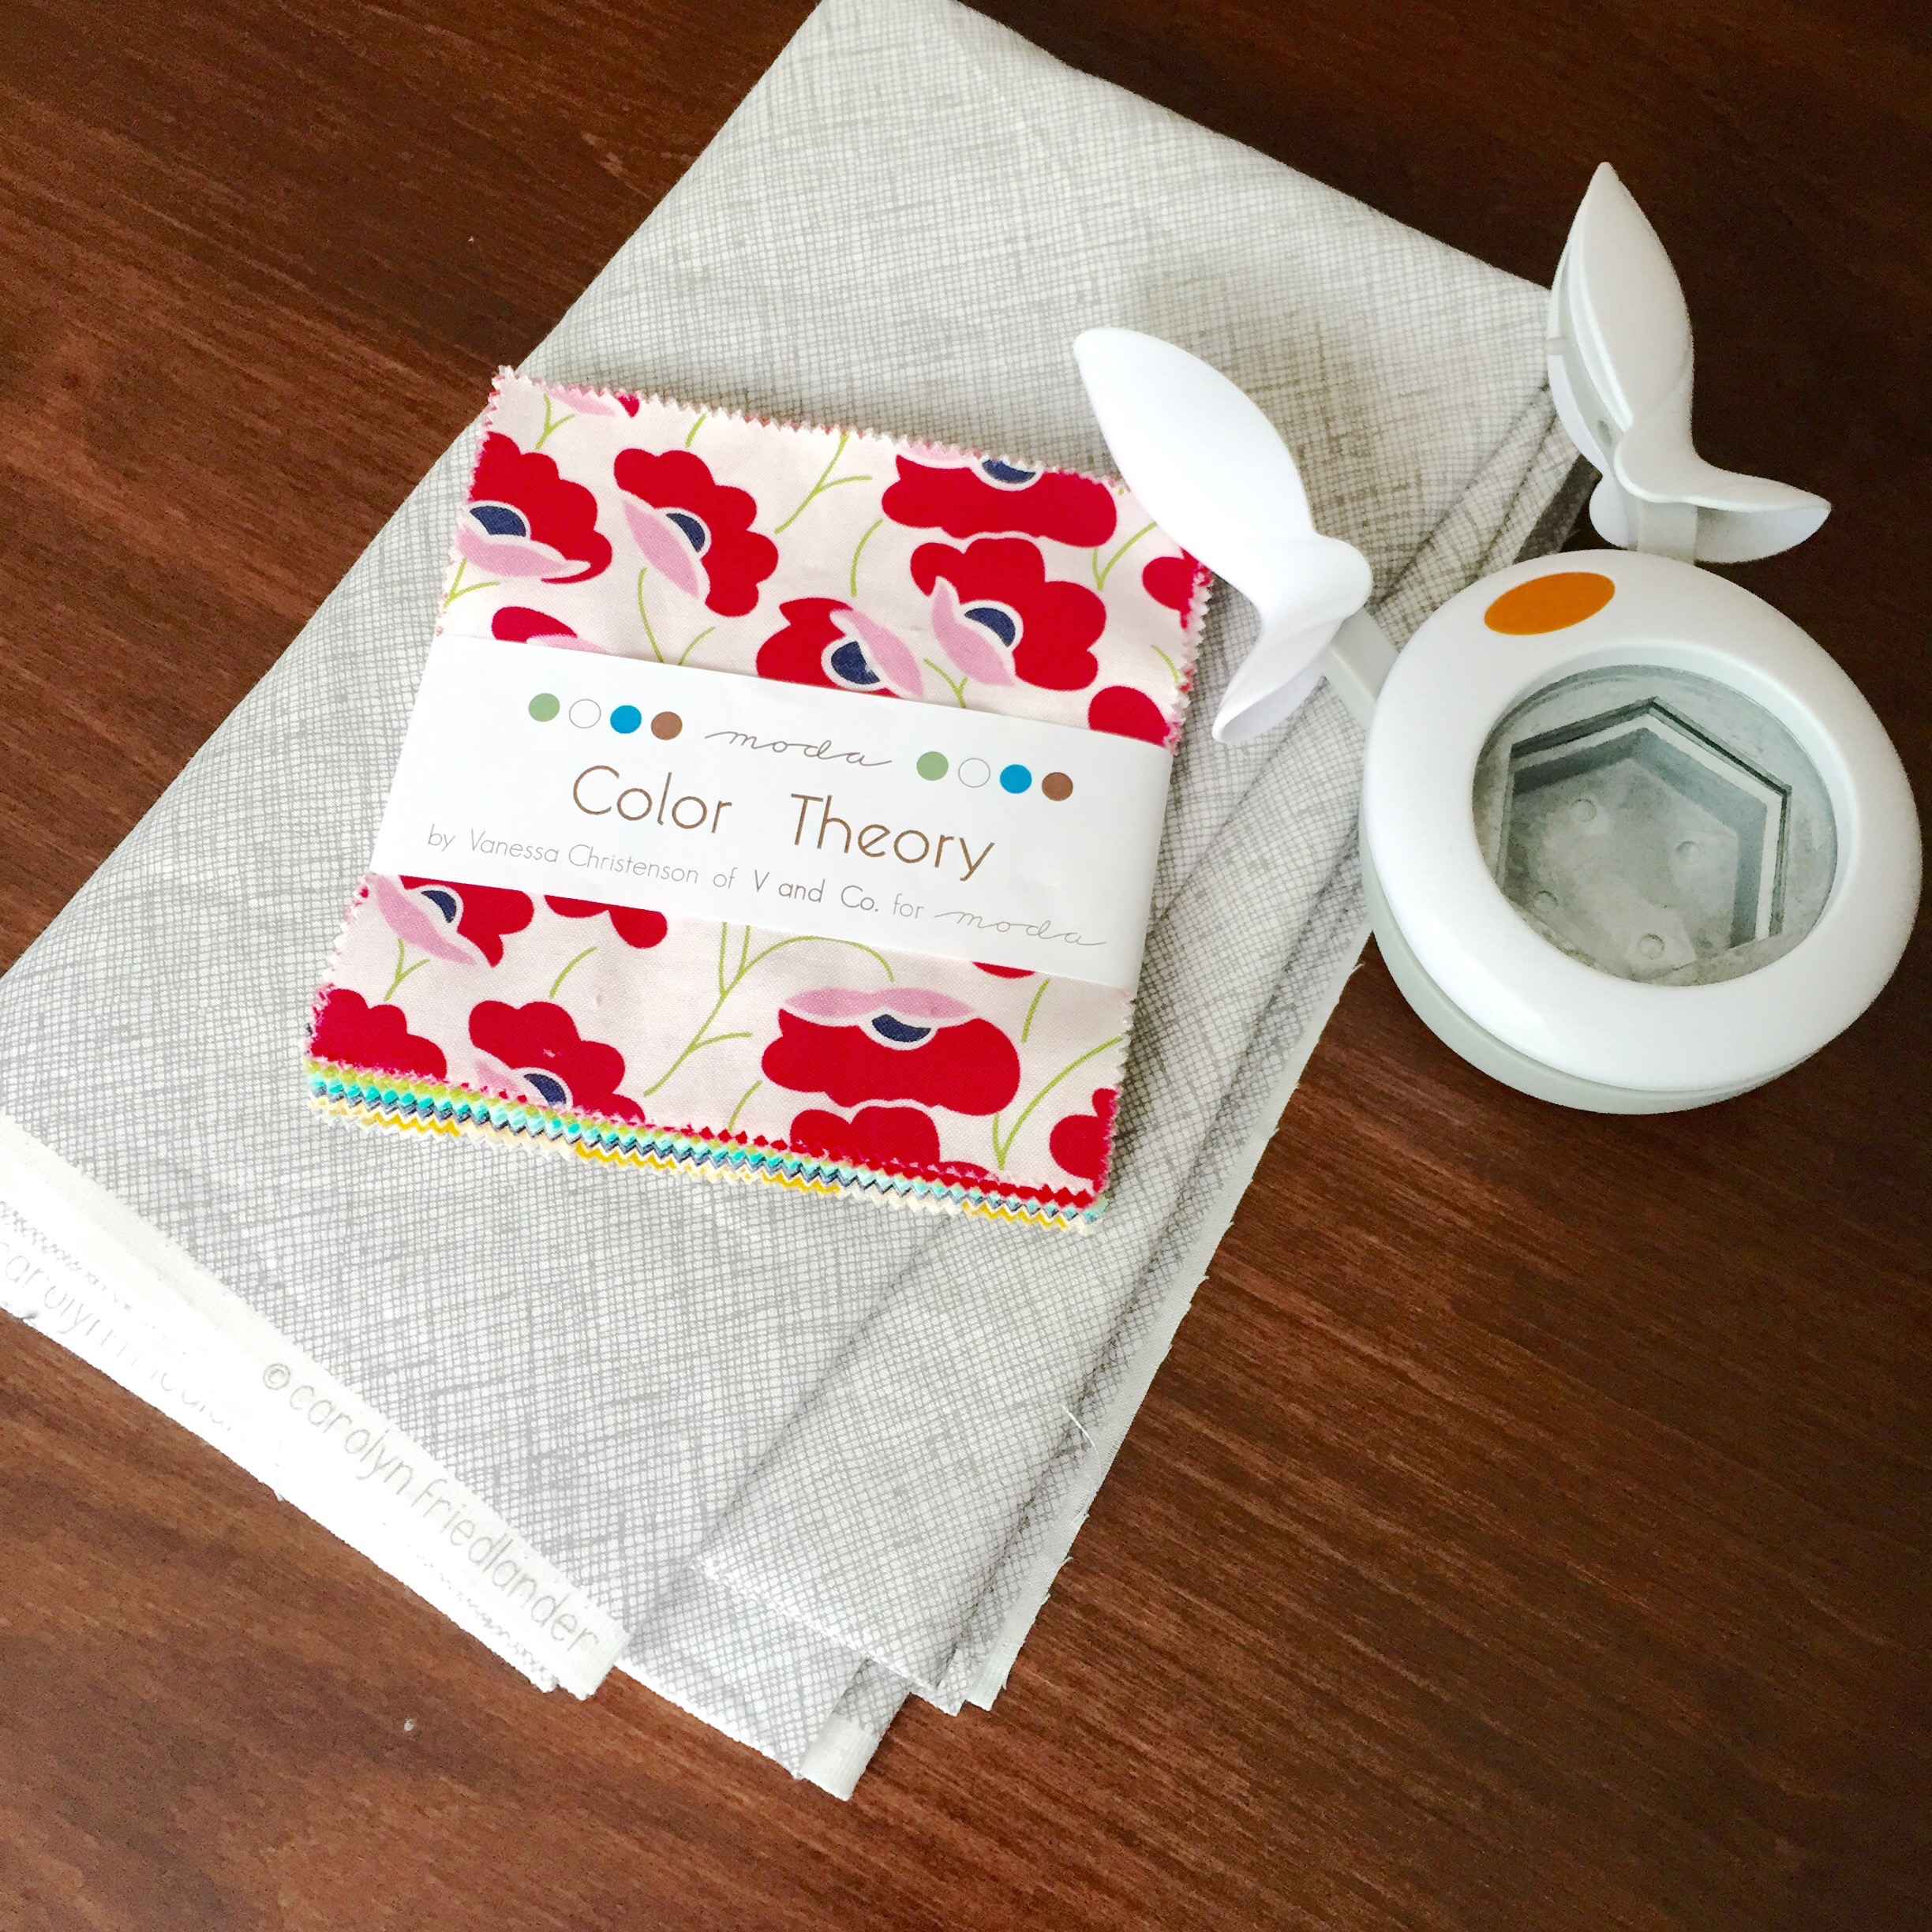
The hexie fabric for this runner is Color Theory by Vanessa Christenson.  The collection is full of gorgeous cheery colors in a spring palette.  I love all of her fabric…swoon…  It is just the perfect fabric to offset the table’s dark finish and bring some color to my house!

Can you believe that I only used only ONE charm pack to yield all of the hexagons on the runner?  I sure can’t! I had two charm packs ready to go for this project, but only needed the one…so I’m thinking maybe placemats maybe in my future?!? Hopefully, I can get those done before the summer is over….

The hexagons were placed against Kona cotton in Snow.  This was a continuous 3 1/3 yard cut. I didn’t want any seams on the front and you know I can ALWAYS find more uses for leftover Kona white!

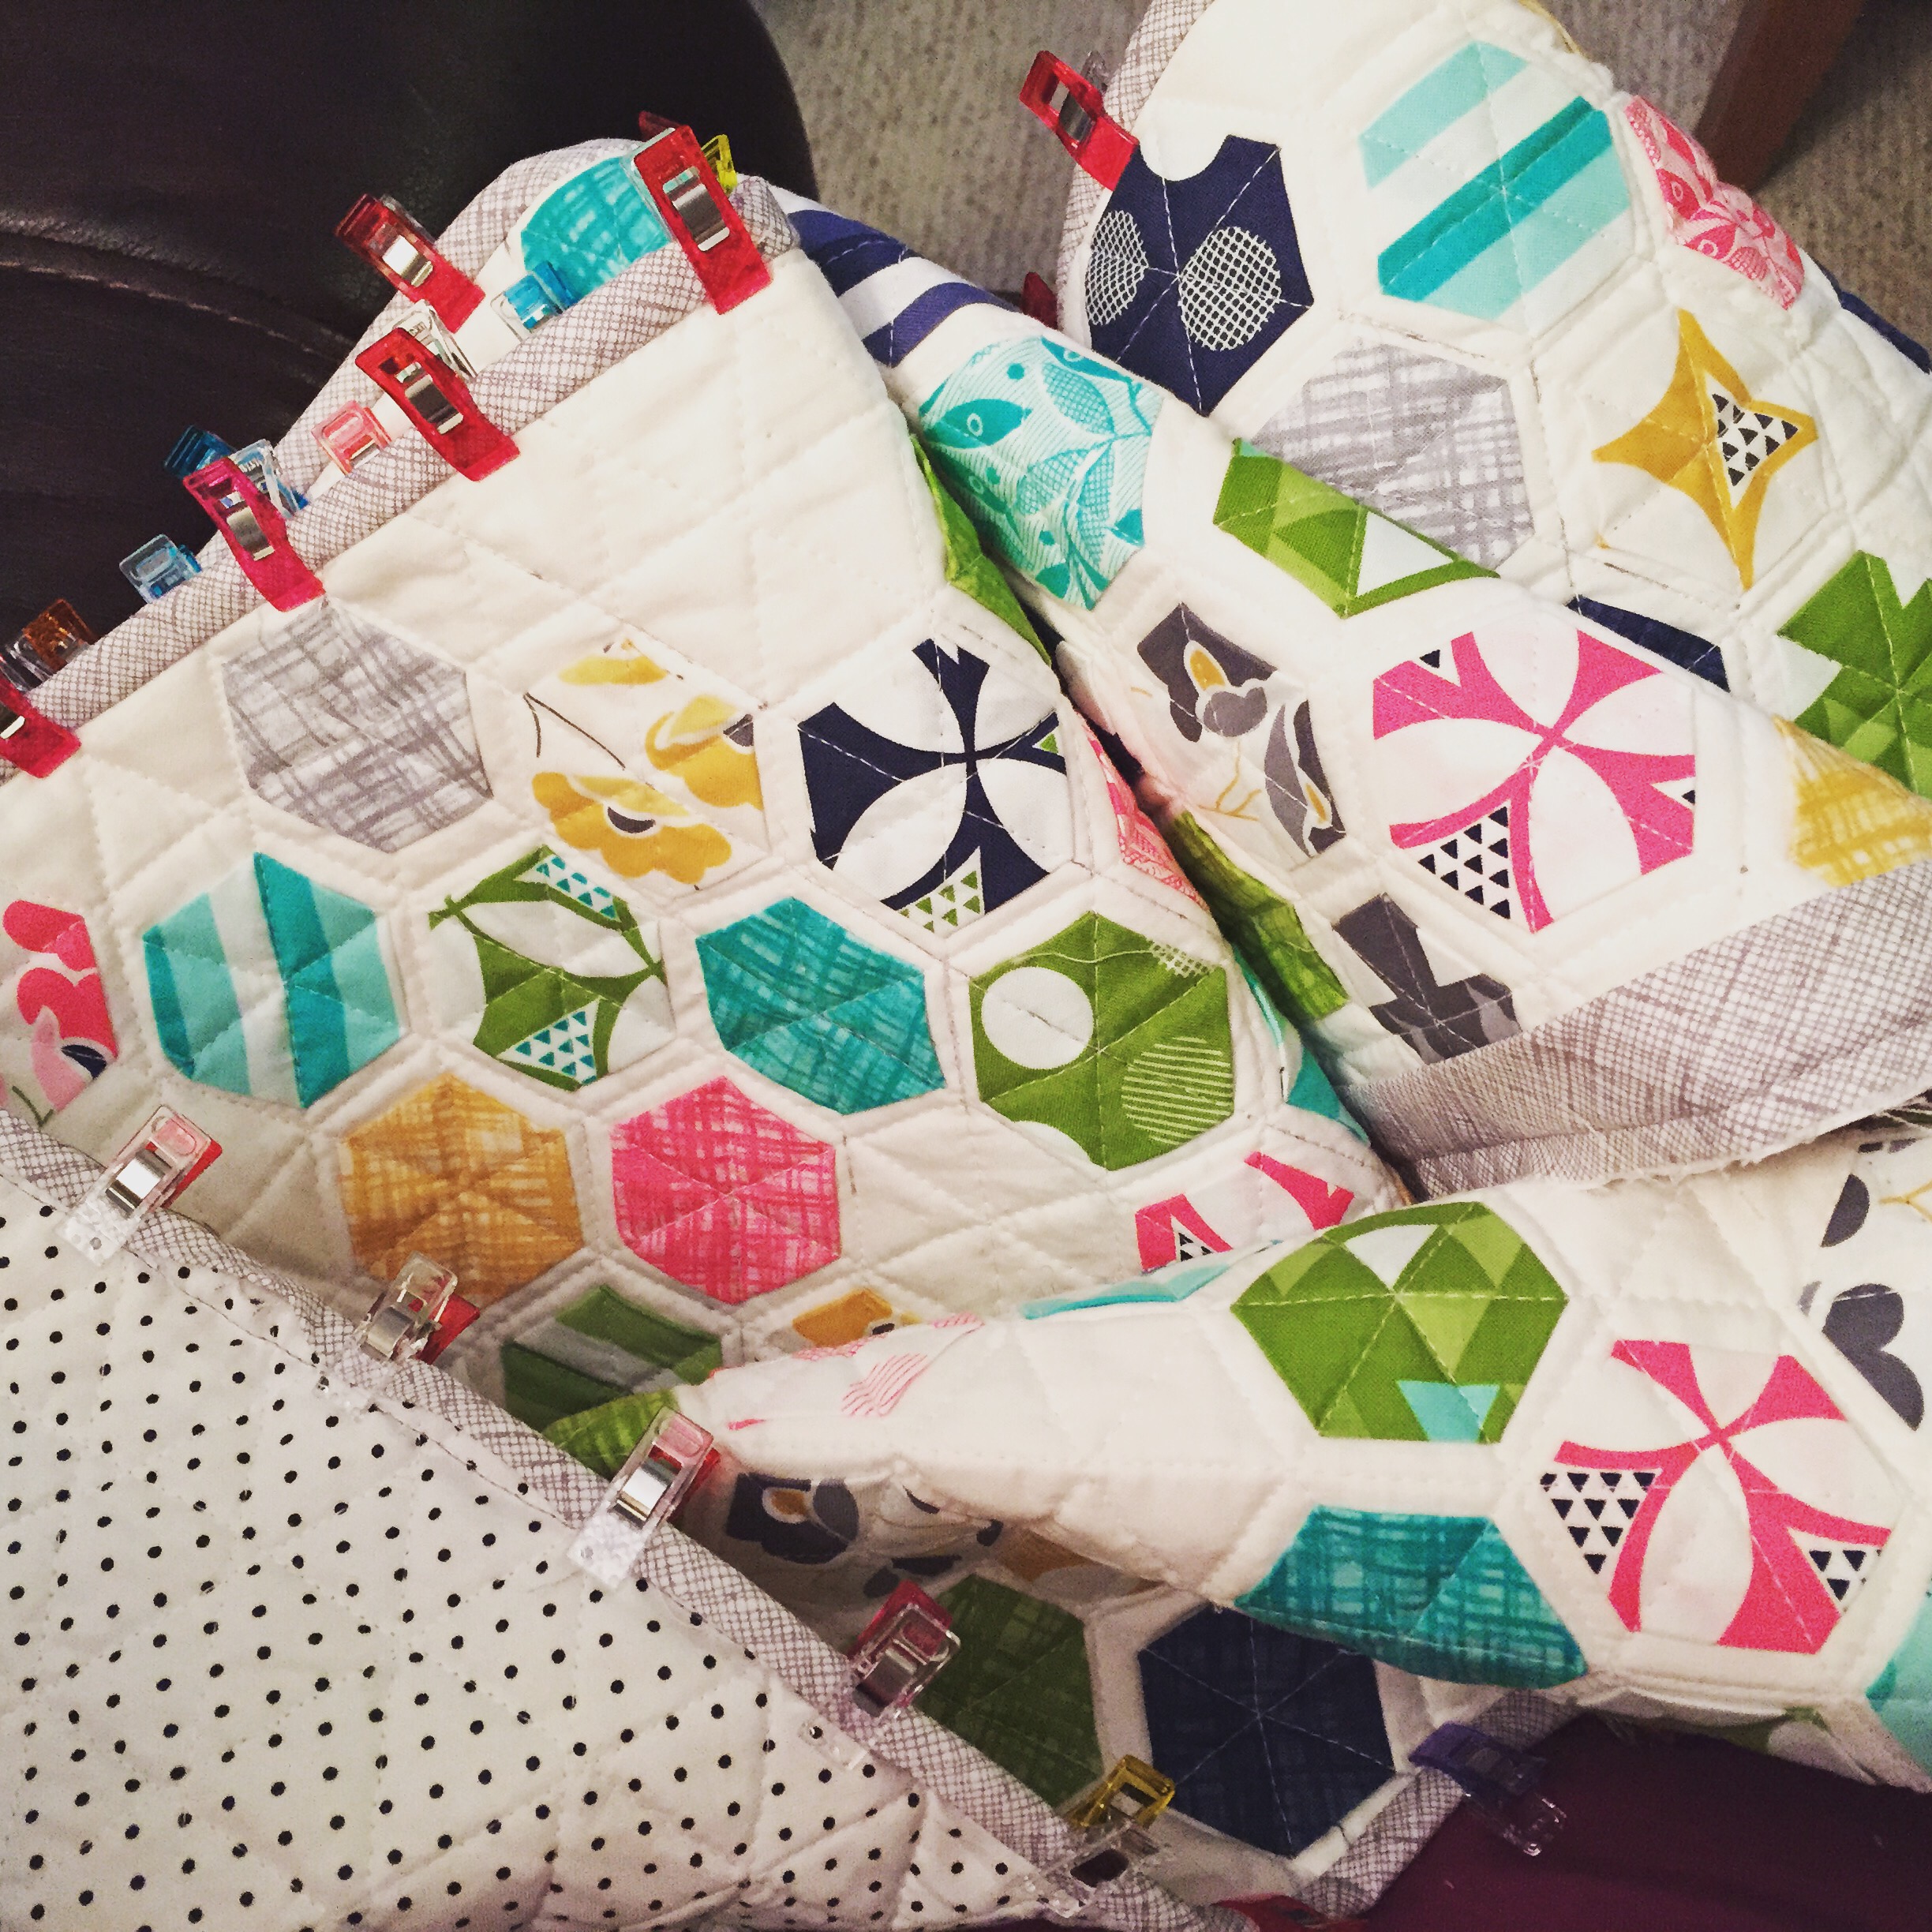
For the backing, I used Riley Blake Design‘s Swiss Dots in Navy on White. However, I did piece three cuts together since no one would see much of the back. I used my go-to binding fabric…Architextures Grid in Shadow. It just goes well with so many different fabrics and the design isn’t too distracting but is interesting enough.  I used about 7.5 yards of binding around this puppy.  I always machine sew the binding to the front and hand-stitch it to the back so you do not see any thread.  It’s a longer process, but I like the clean look…well worth the time in my opinion 😉

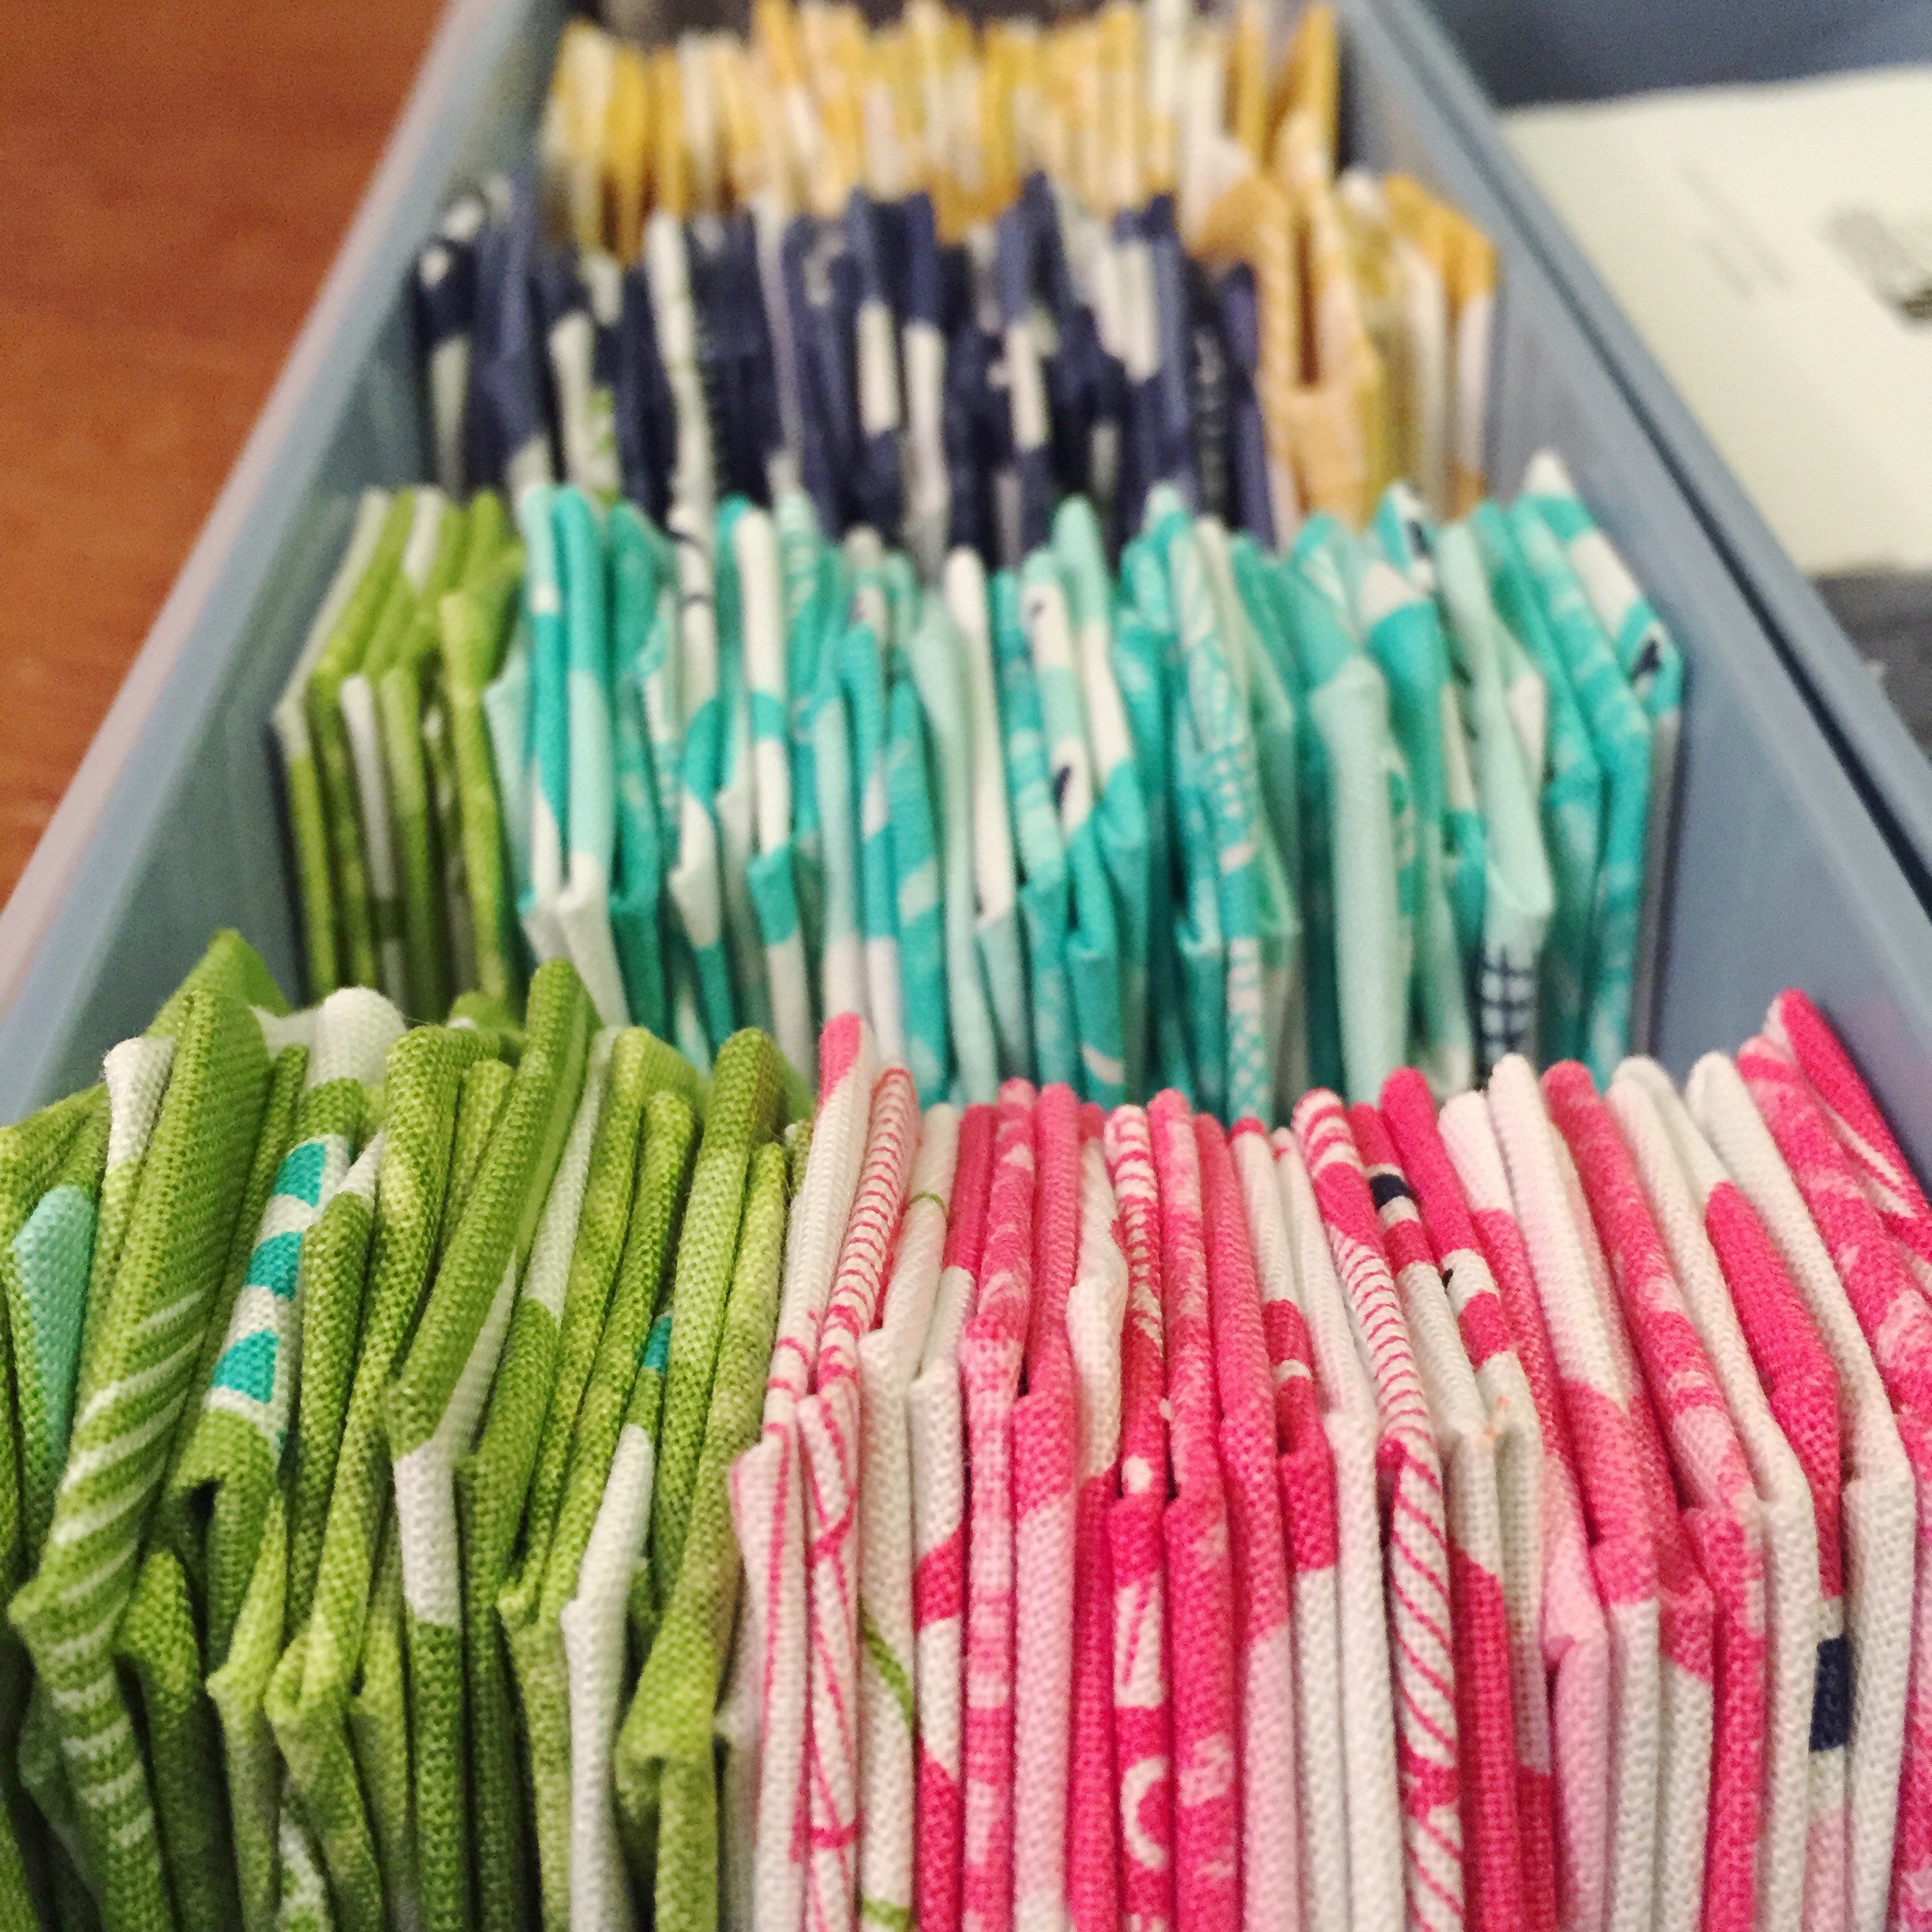
The inspiration for the table runner is all the Modern Hexie art by Modern Handcraft. You can go to her blog for a full tutorial of the process. You can buy precut hexagon templates, cut your own by hand or using a die cutter, but I use Fiskars extra-large hexagon punch. My hexagons are made of junk mail flyers that I punch out…so if I have to throw any away, I don’t ever feel bad about it.

Tips:

  1. For such a large project, mark a grid (1″) to place the hexagons…you will be be happy you did once you have to quilt.  After some experience and especially on smaller projects like pillow and placemats, you’ll be able to eyeball it 😉
  2. On white and light backgrounds, I like to use a water-soluble pen vs. Frixion since the latter leaves a “ghost” mark behind after ironing. Just make sure you DO NOT iron on top of the water-soluble pen, else it will set.
  3. Since this is a narrow runner, it’s important to quilt in the same direction if you decide on straight lines.  You risk pulling, which can turn your straight sides into a wonky mess.


Please share any of your hexie table runner projects with me!  You know I love to see them 🙂


Happy Stitching!

Cristy

Love You Sew

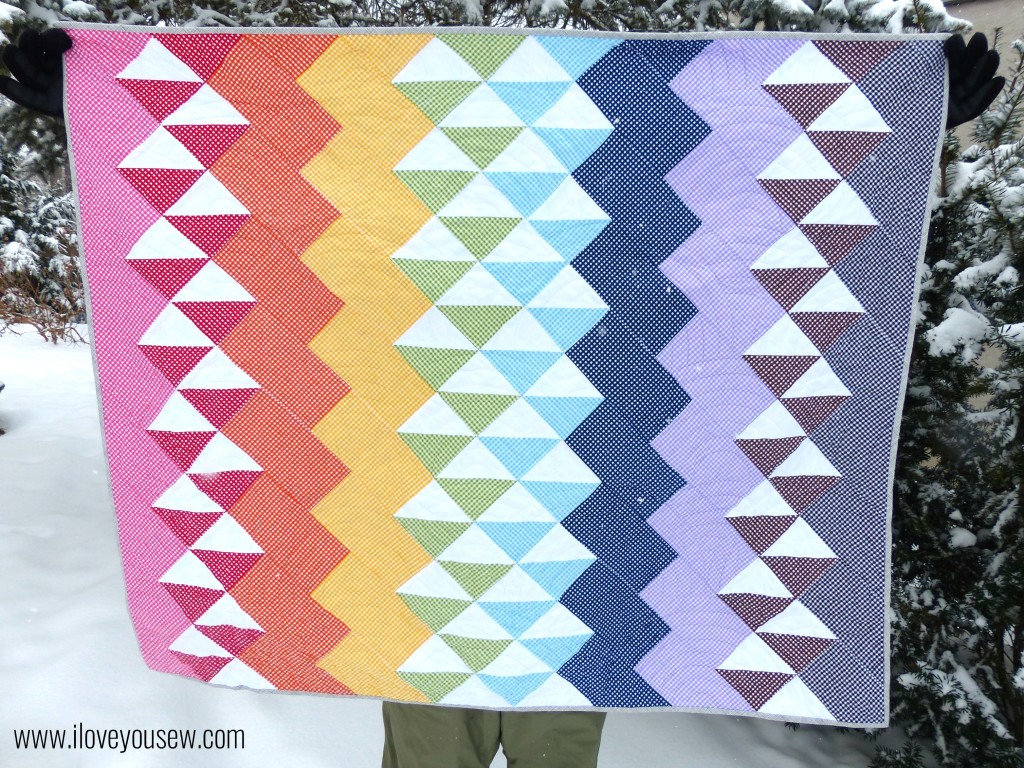
A Spectrum of Gingham Quilt

Spectrum Quilt

Spectrum Quilt using RBD Small Gingham

I know it’s summer already, but I gotta catch up on all of my quilt posts 😉

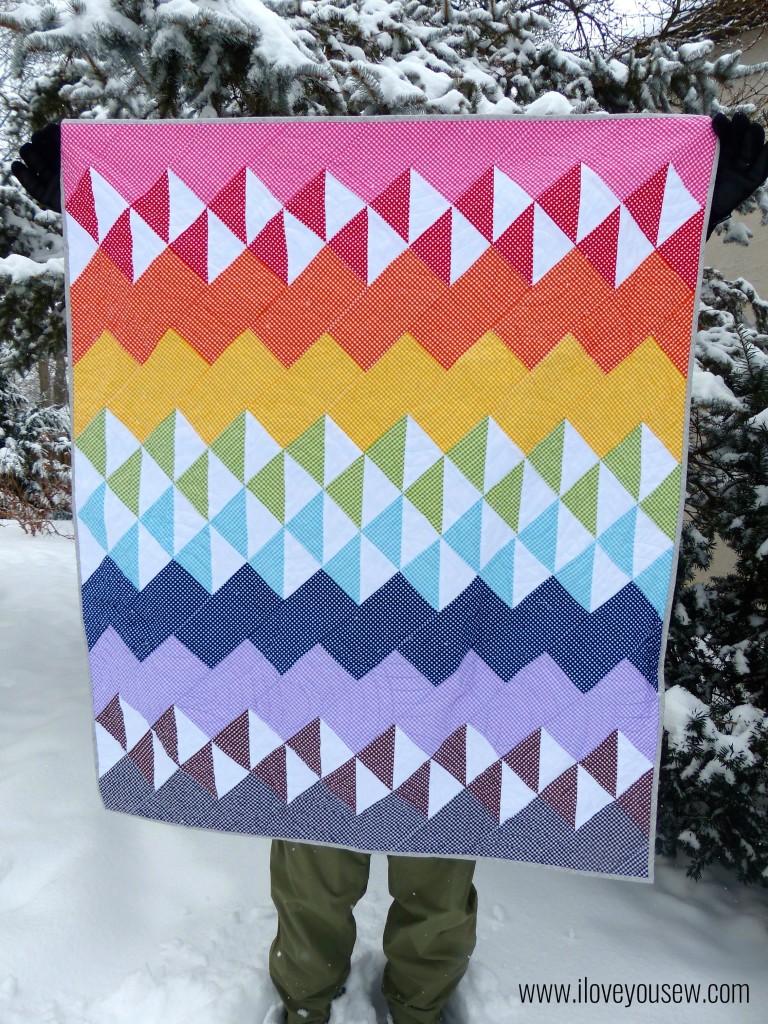
It was the dead of winter here in Columbus and I was in desperate need of a pick-me-up. The Spectrum Quilt pattern popped up on Riley Blake Designs (RBD) blog and I knew it was going to be my next project….especially since I had a FQ stack of Rainbow RDB Gingham sitting on my shelf!  (*Make sure you scroll down through the comments on the blog post. There is an edit to the instructions there!)

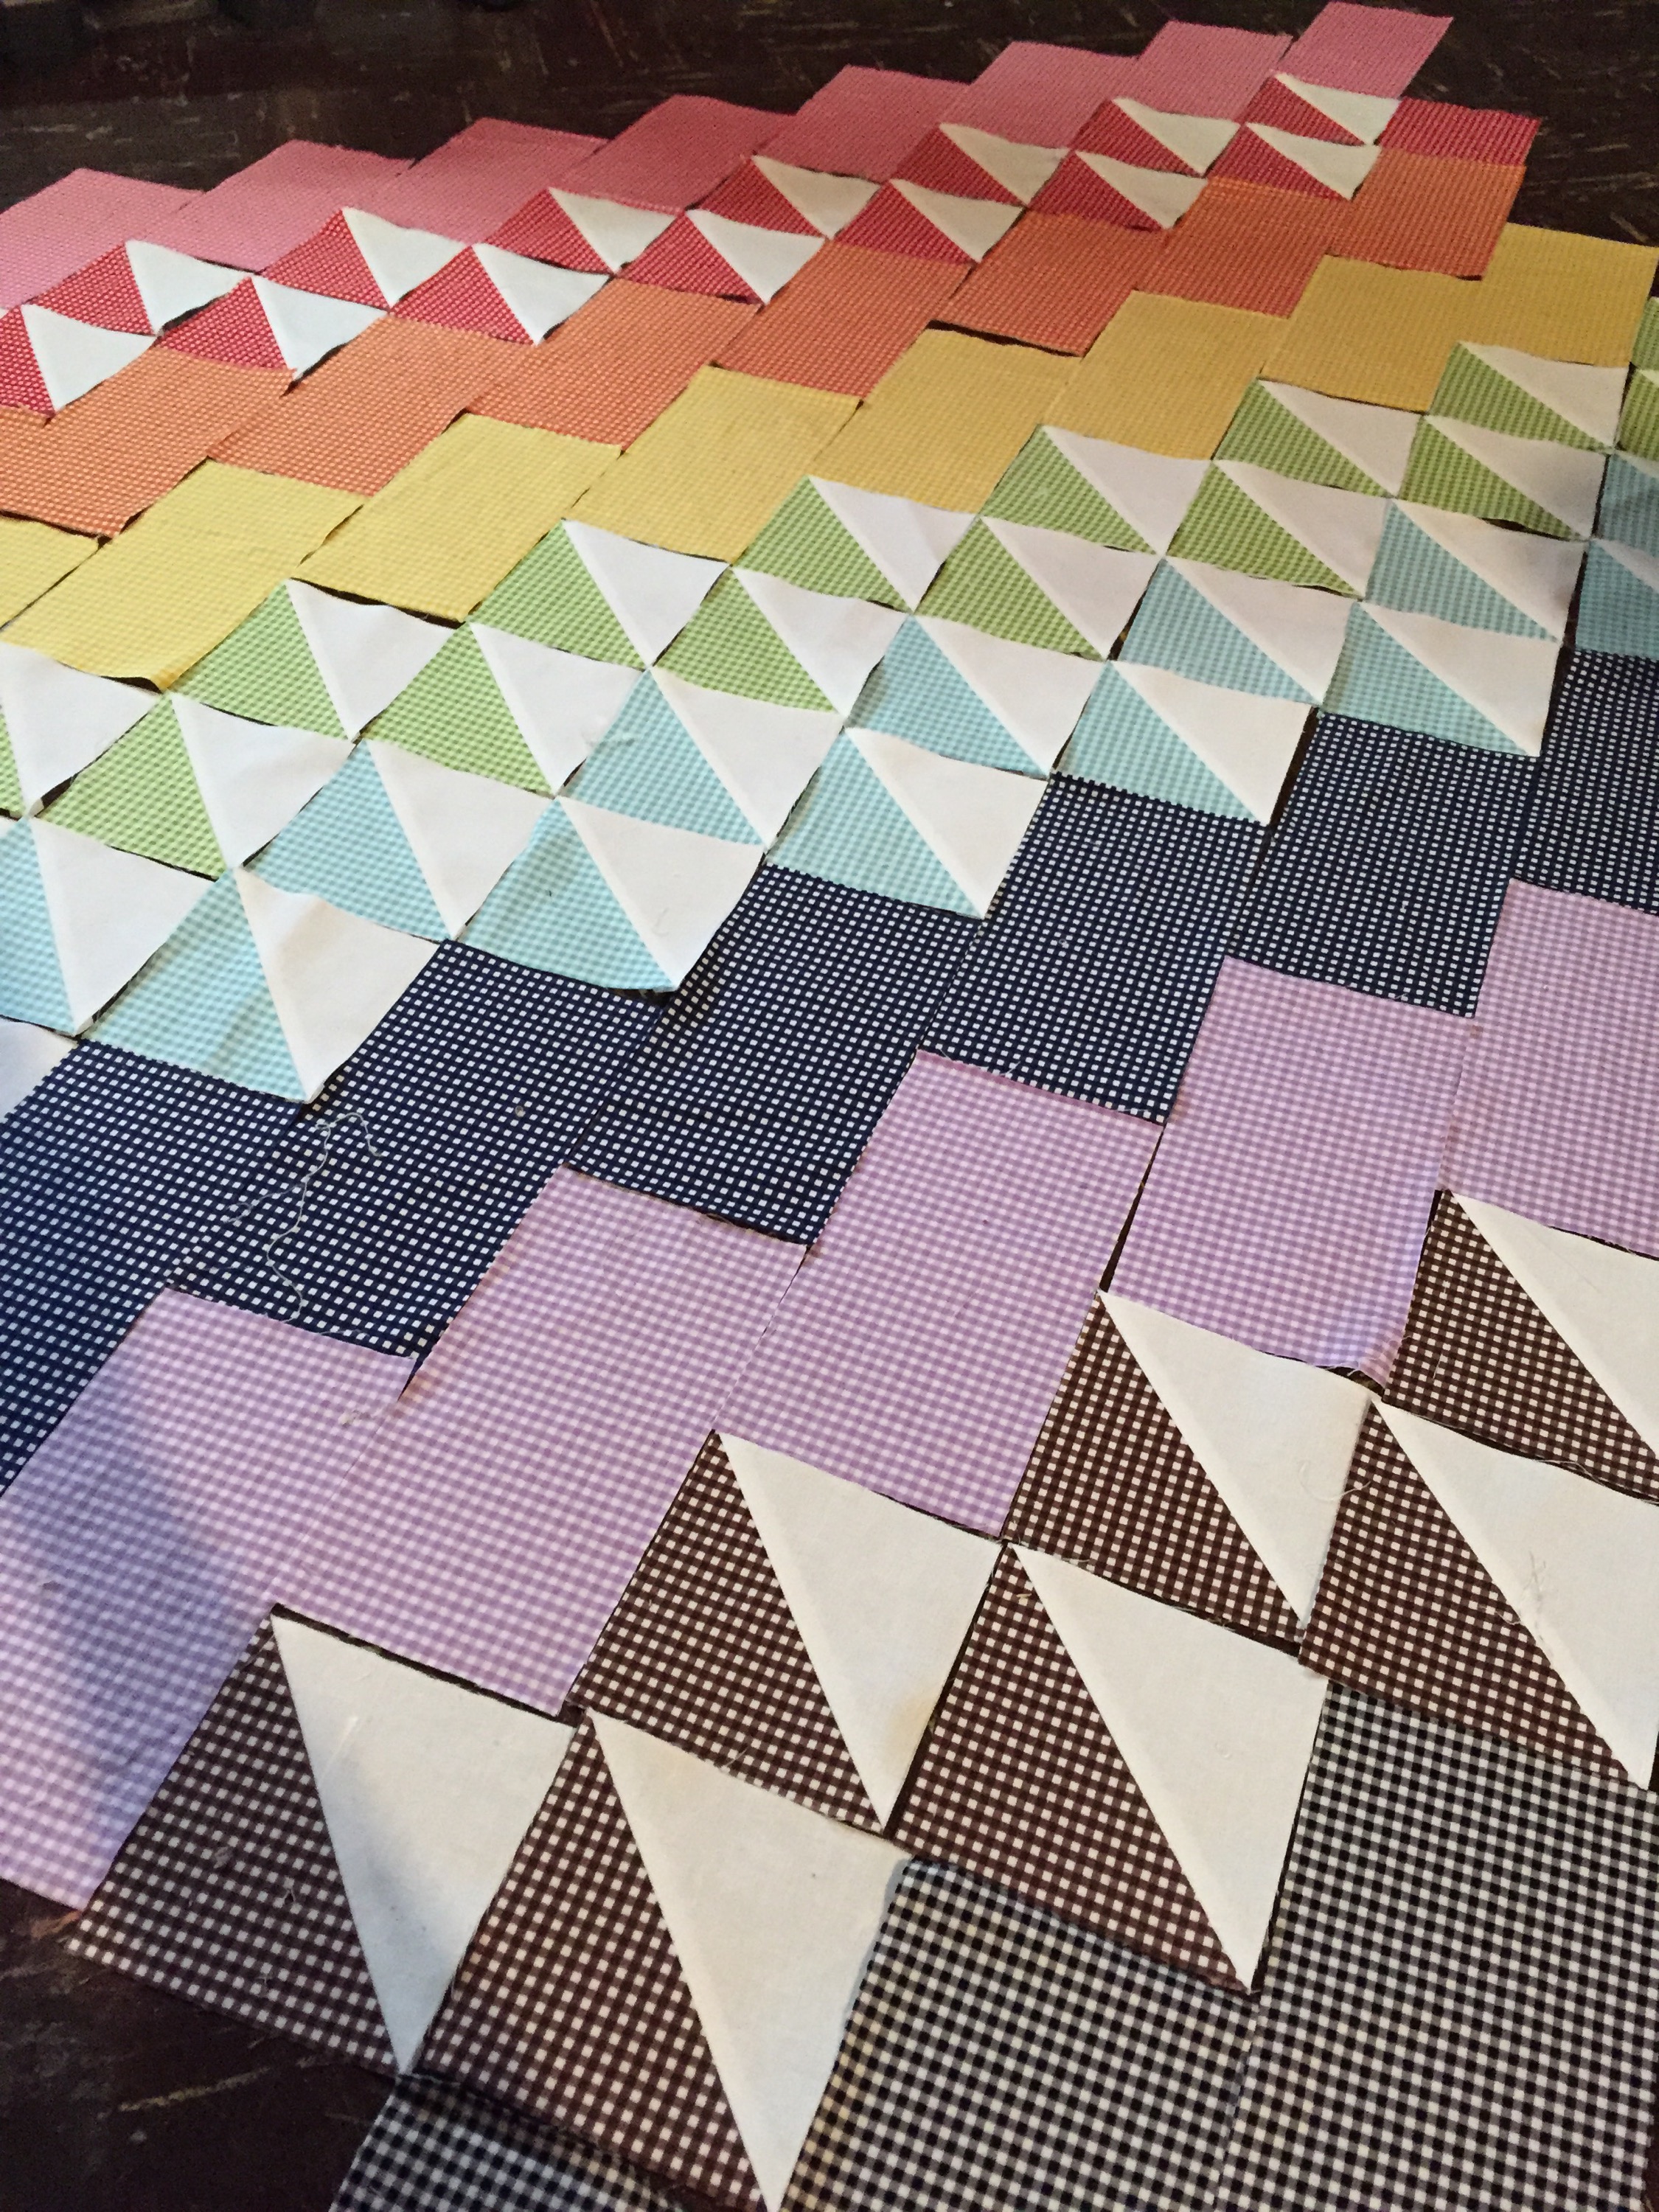
This is a perfect project for a beginning quilter…Lots of plain squares and enough Half-Square Triangles (HSTs) to challenge you. But the quarter turn of the squares make it so visually interesting and sets it apart from “another” block quilt. You eventually have to cut off a bunch of triangles to square the quilt off, but I’m sure the more ambitious can bind around all the angles…not me yet!

Laid out and Ready to Piece

Laid out and Ready to Piece

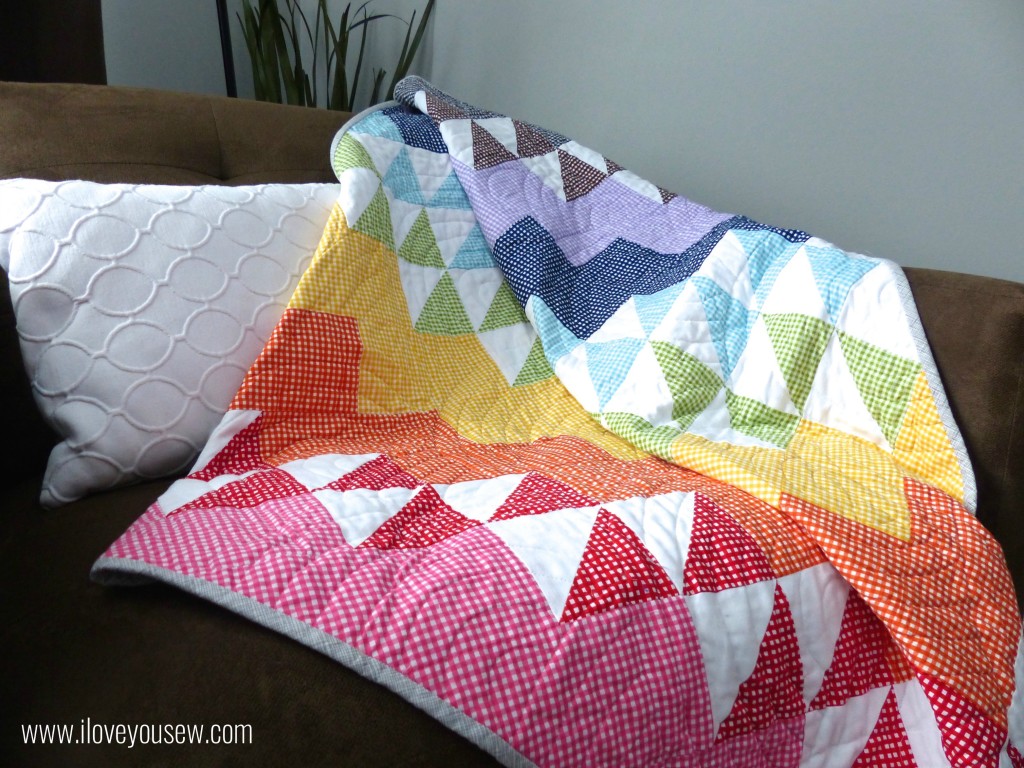
An Aqua Medium Chevron Wideback (not pictured) from RBD was used as the backing. It was so perfect because the Aqua gave the Rainbow a “Sky.” The binding was made of Architextures Grid in Shadow by Carolyn Friedlander for Robert Kaufman. The binding reminded me of the clouds and was a great neutral for all the colors in the quilt.

Spectrum Quilt Close-Up

Spectrum Quilt Close-Up

The hardest part of this project was the quilting for me….it’s always the quilting! I’m not very good at Free Motion Quilting (but I’m working on it!) and thus why you see lots of straight-lines in most of my other projects. In this case, I used a template to draw out all of my “Rainbow” curves. It was long and tedious. Using my waking foot to quilt this all was even longer…I’m talking the entire winter season. No joke.

In the end, I love this quilt. It’s a bright and cheery rainbow….and who doesn’t love a rainbow?!? However, my most important lesson learned: I need to find a long-arm quilting friend ASAP…or work on my FMQ skills 😉

P1050165

Spectrum Quilt Side-view

This quilt has been donated to my dear childhood friend, Capri, who is raising money for the Leukemia and Lymphoma Society‘ Eastern Pennsylvania Chapter and is a finalist for their Man/Woman of the Year Campaign. It will be on silent AND online auction at the Grand Finale Gala on June 13, 2015. If you are interested in donating to the cause, please visit Capri’s donation page here….

This is truly the best part of sewing.  I love being able to use my craft to give back.  How have you used your sewing to give back???


Hugs and Stitches,

Cristy

Love You Sew