“Jacks” Quilt is Complete

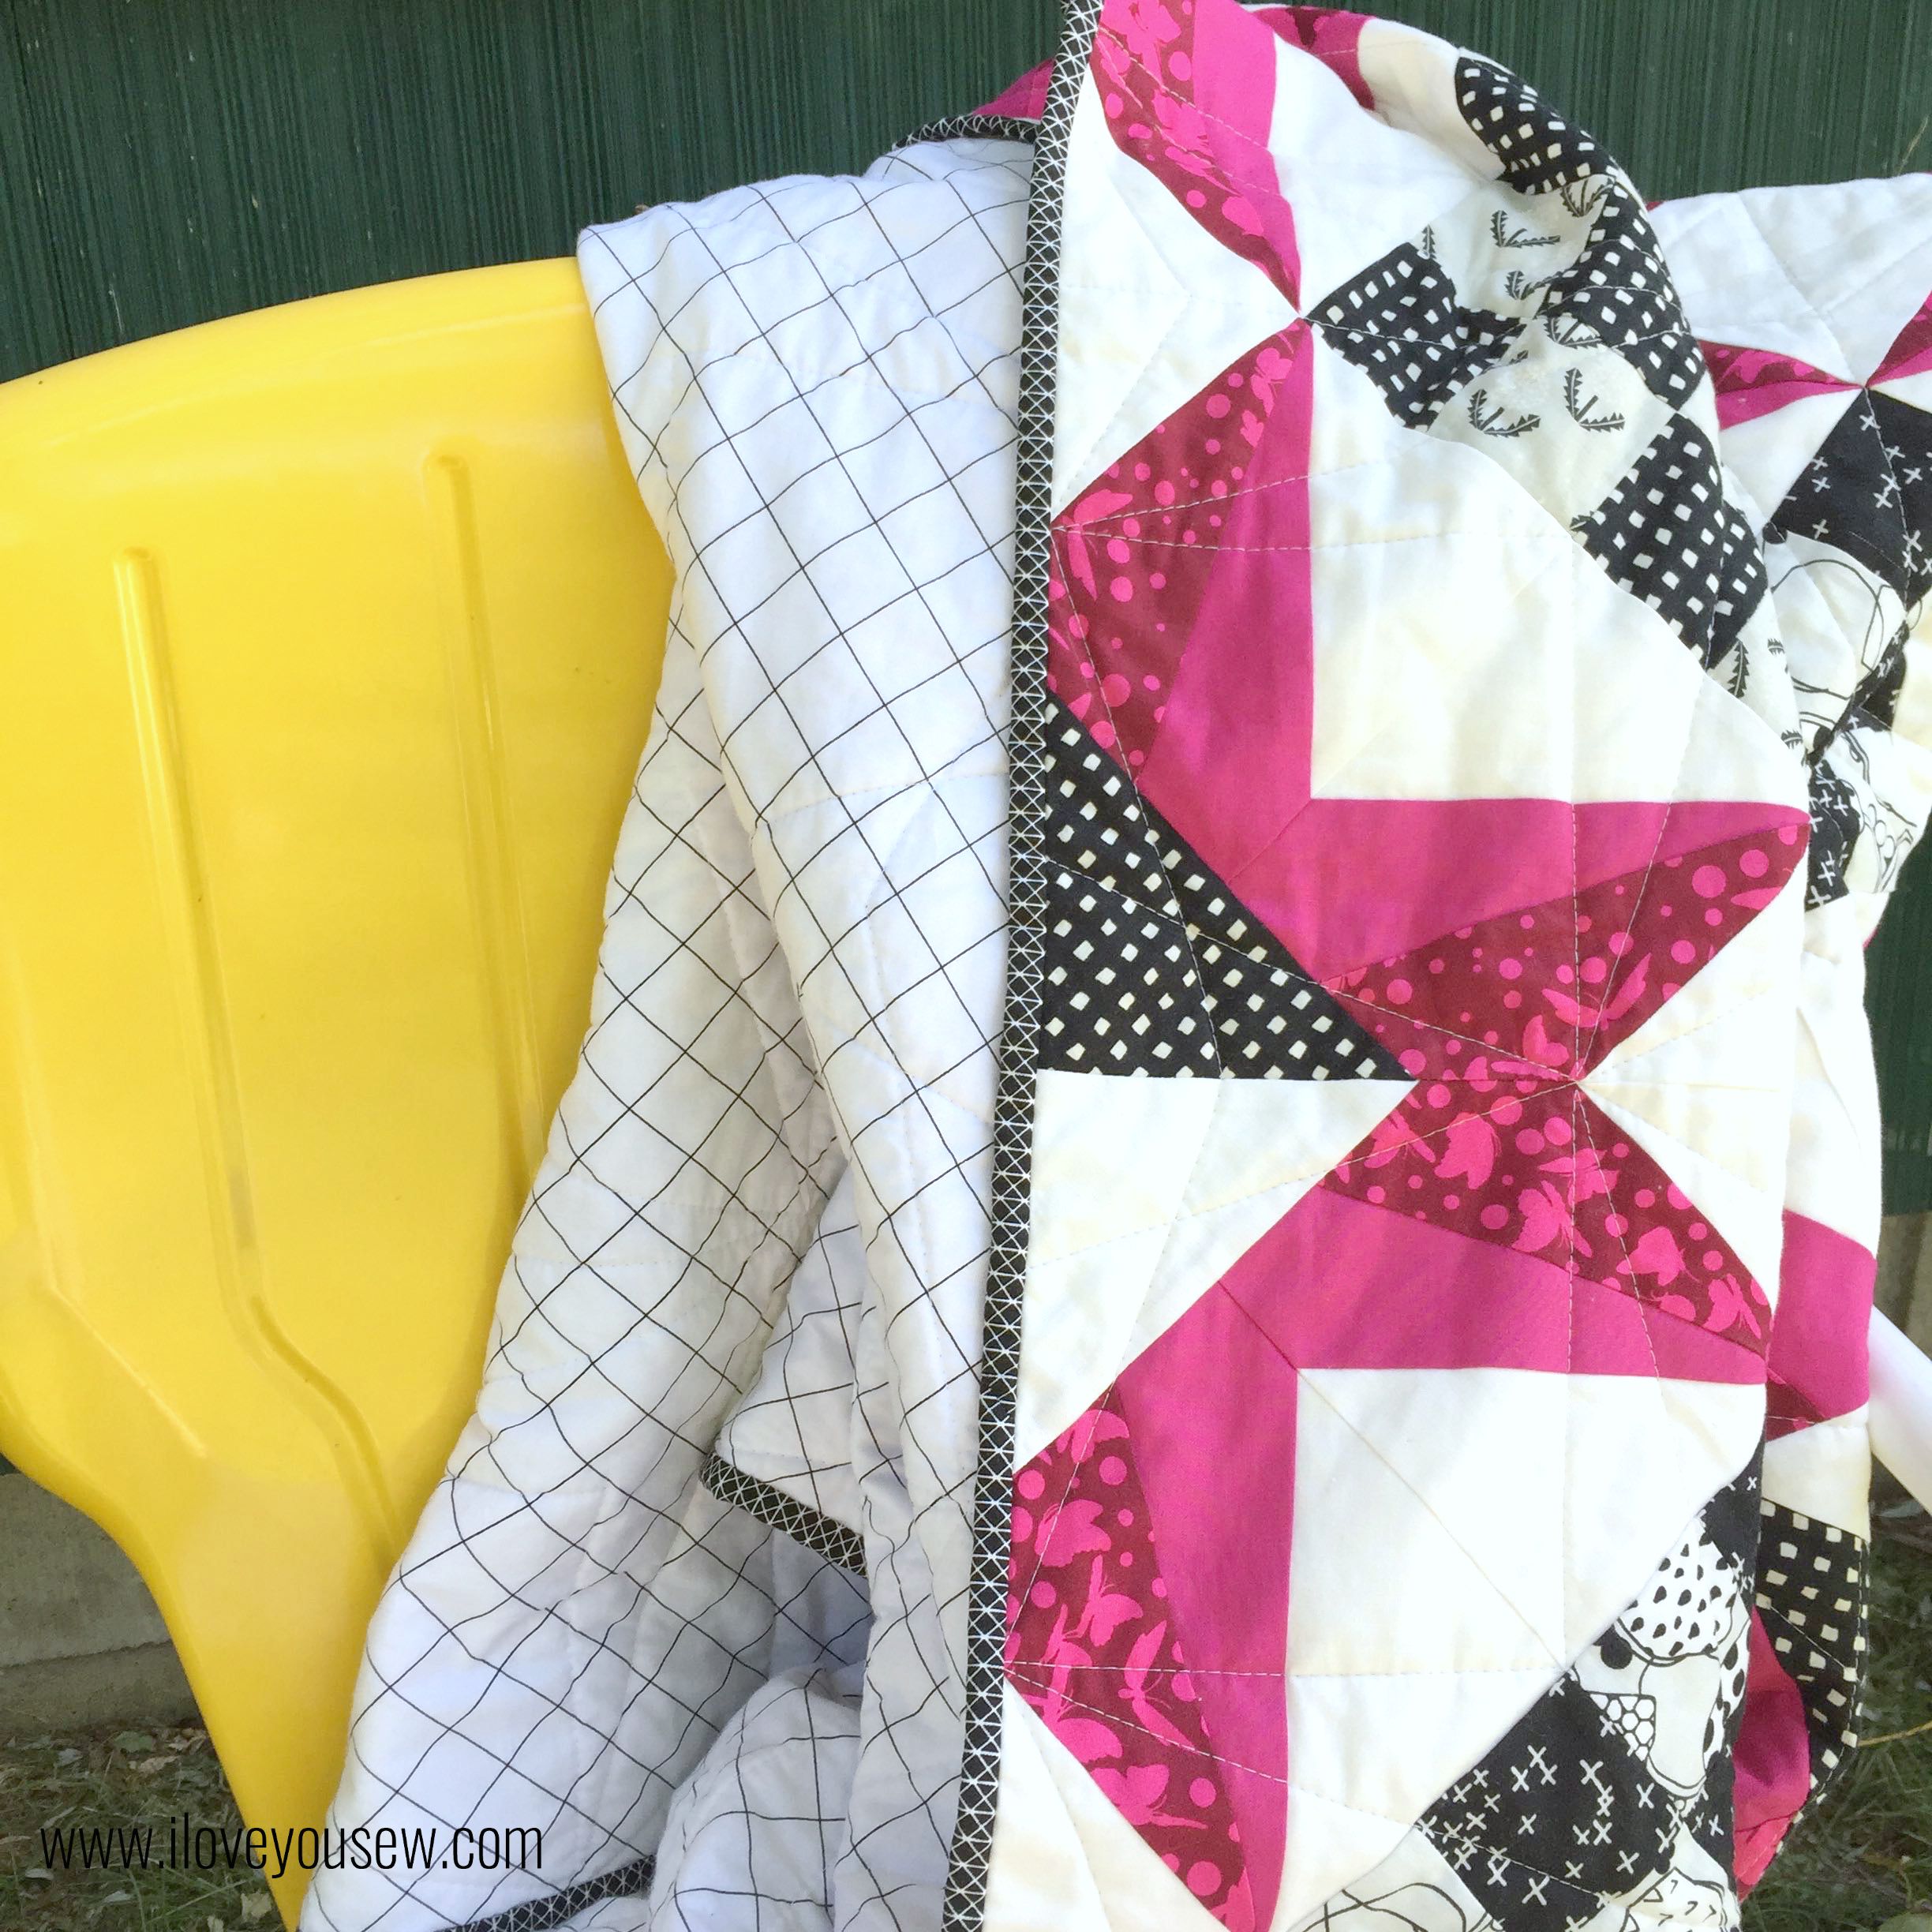
DrapedOnChair

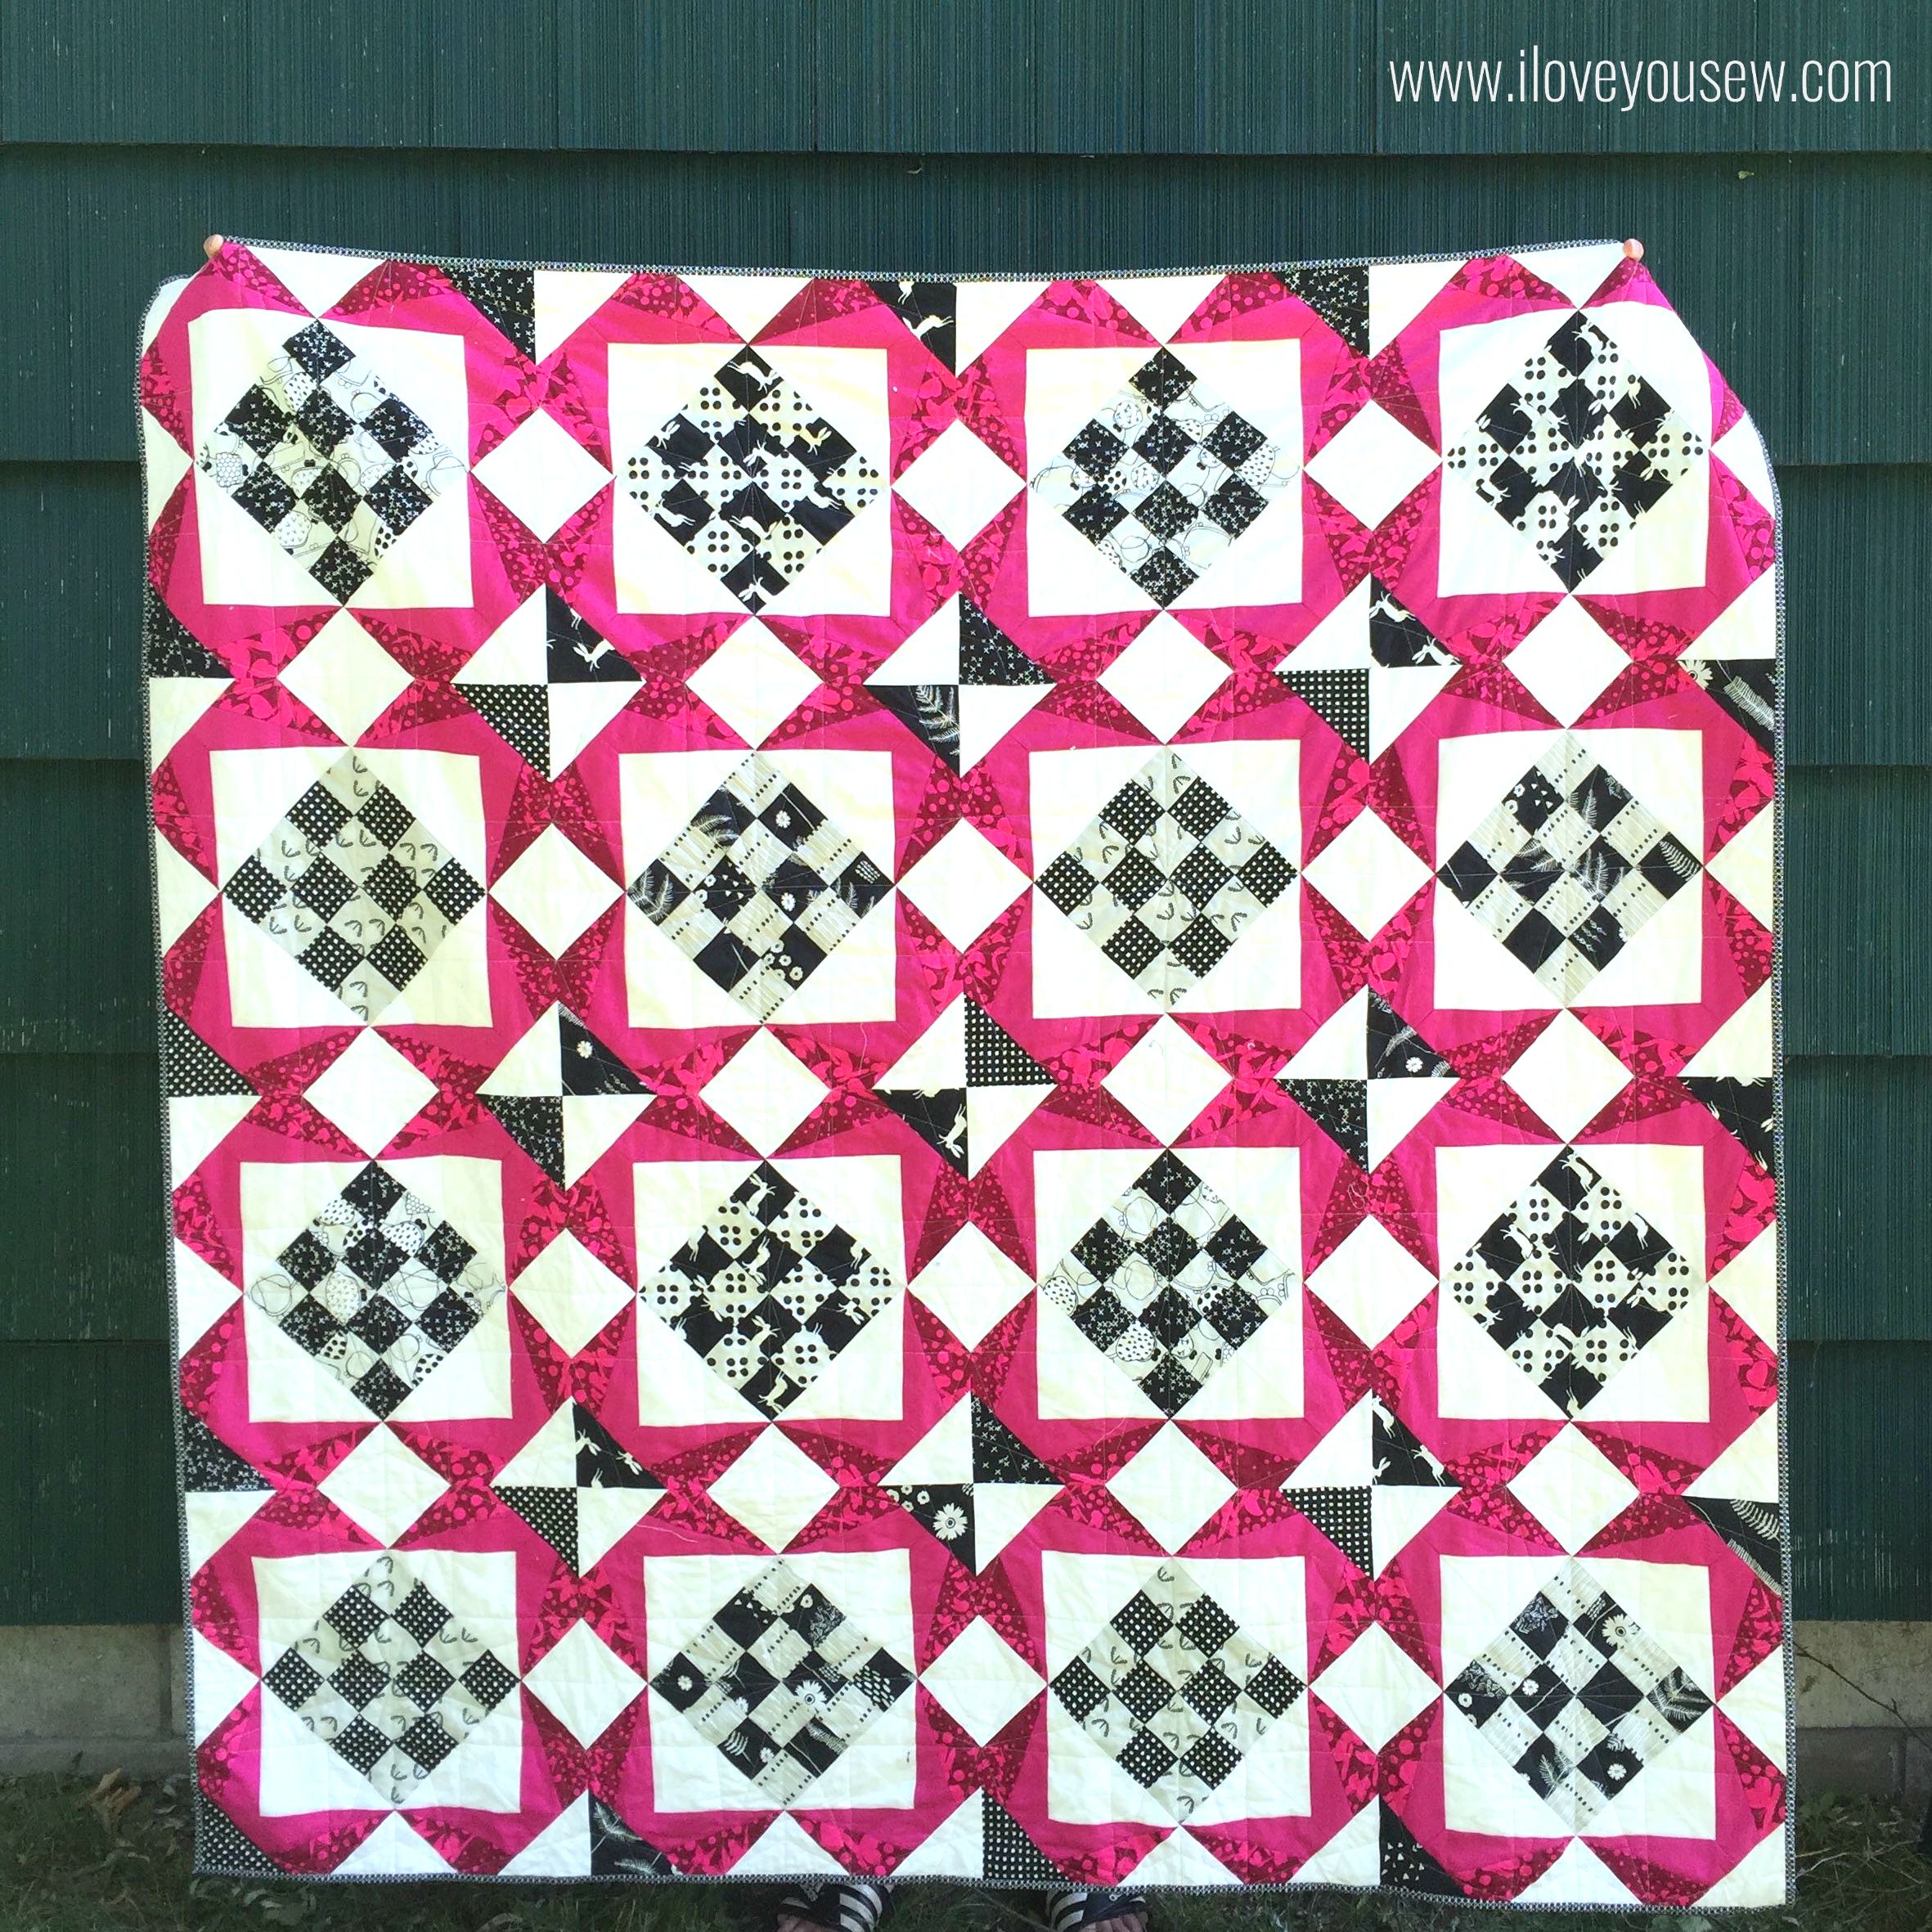
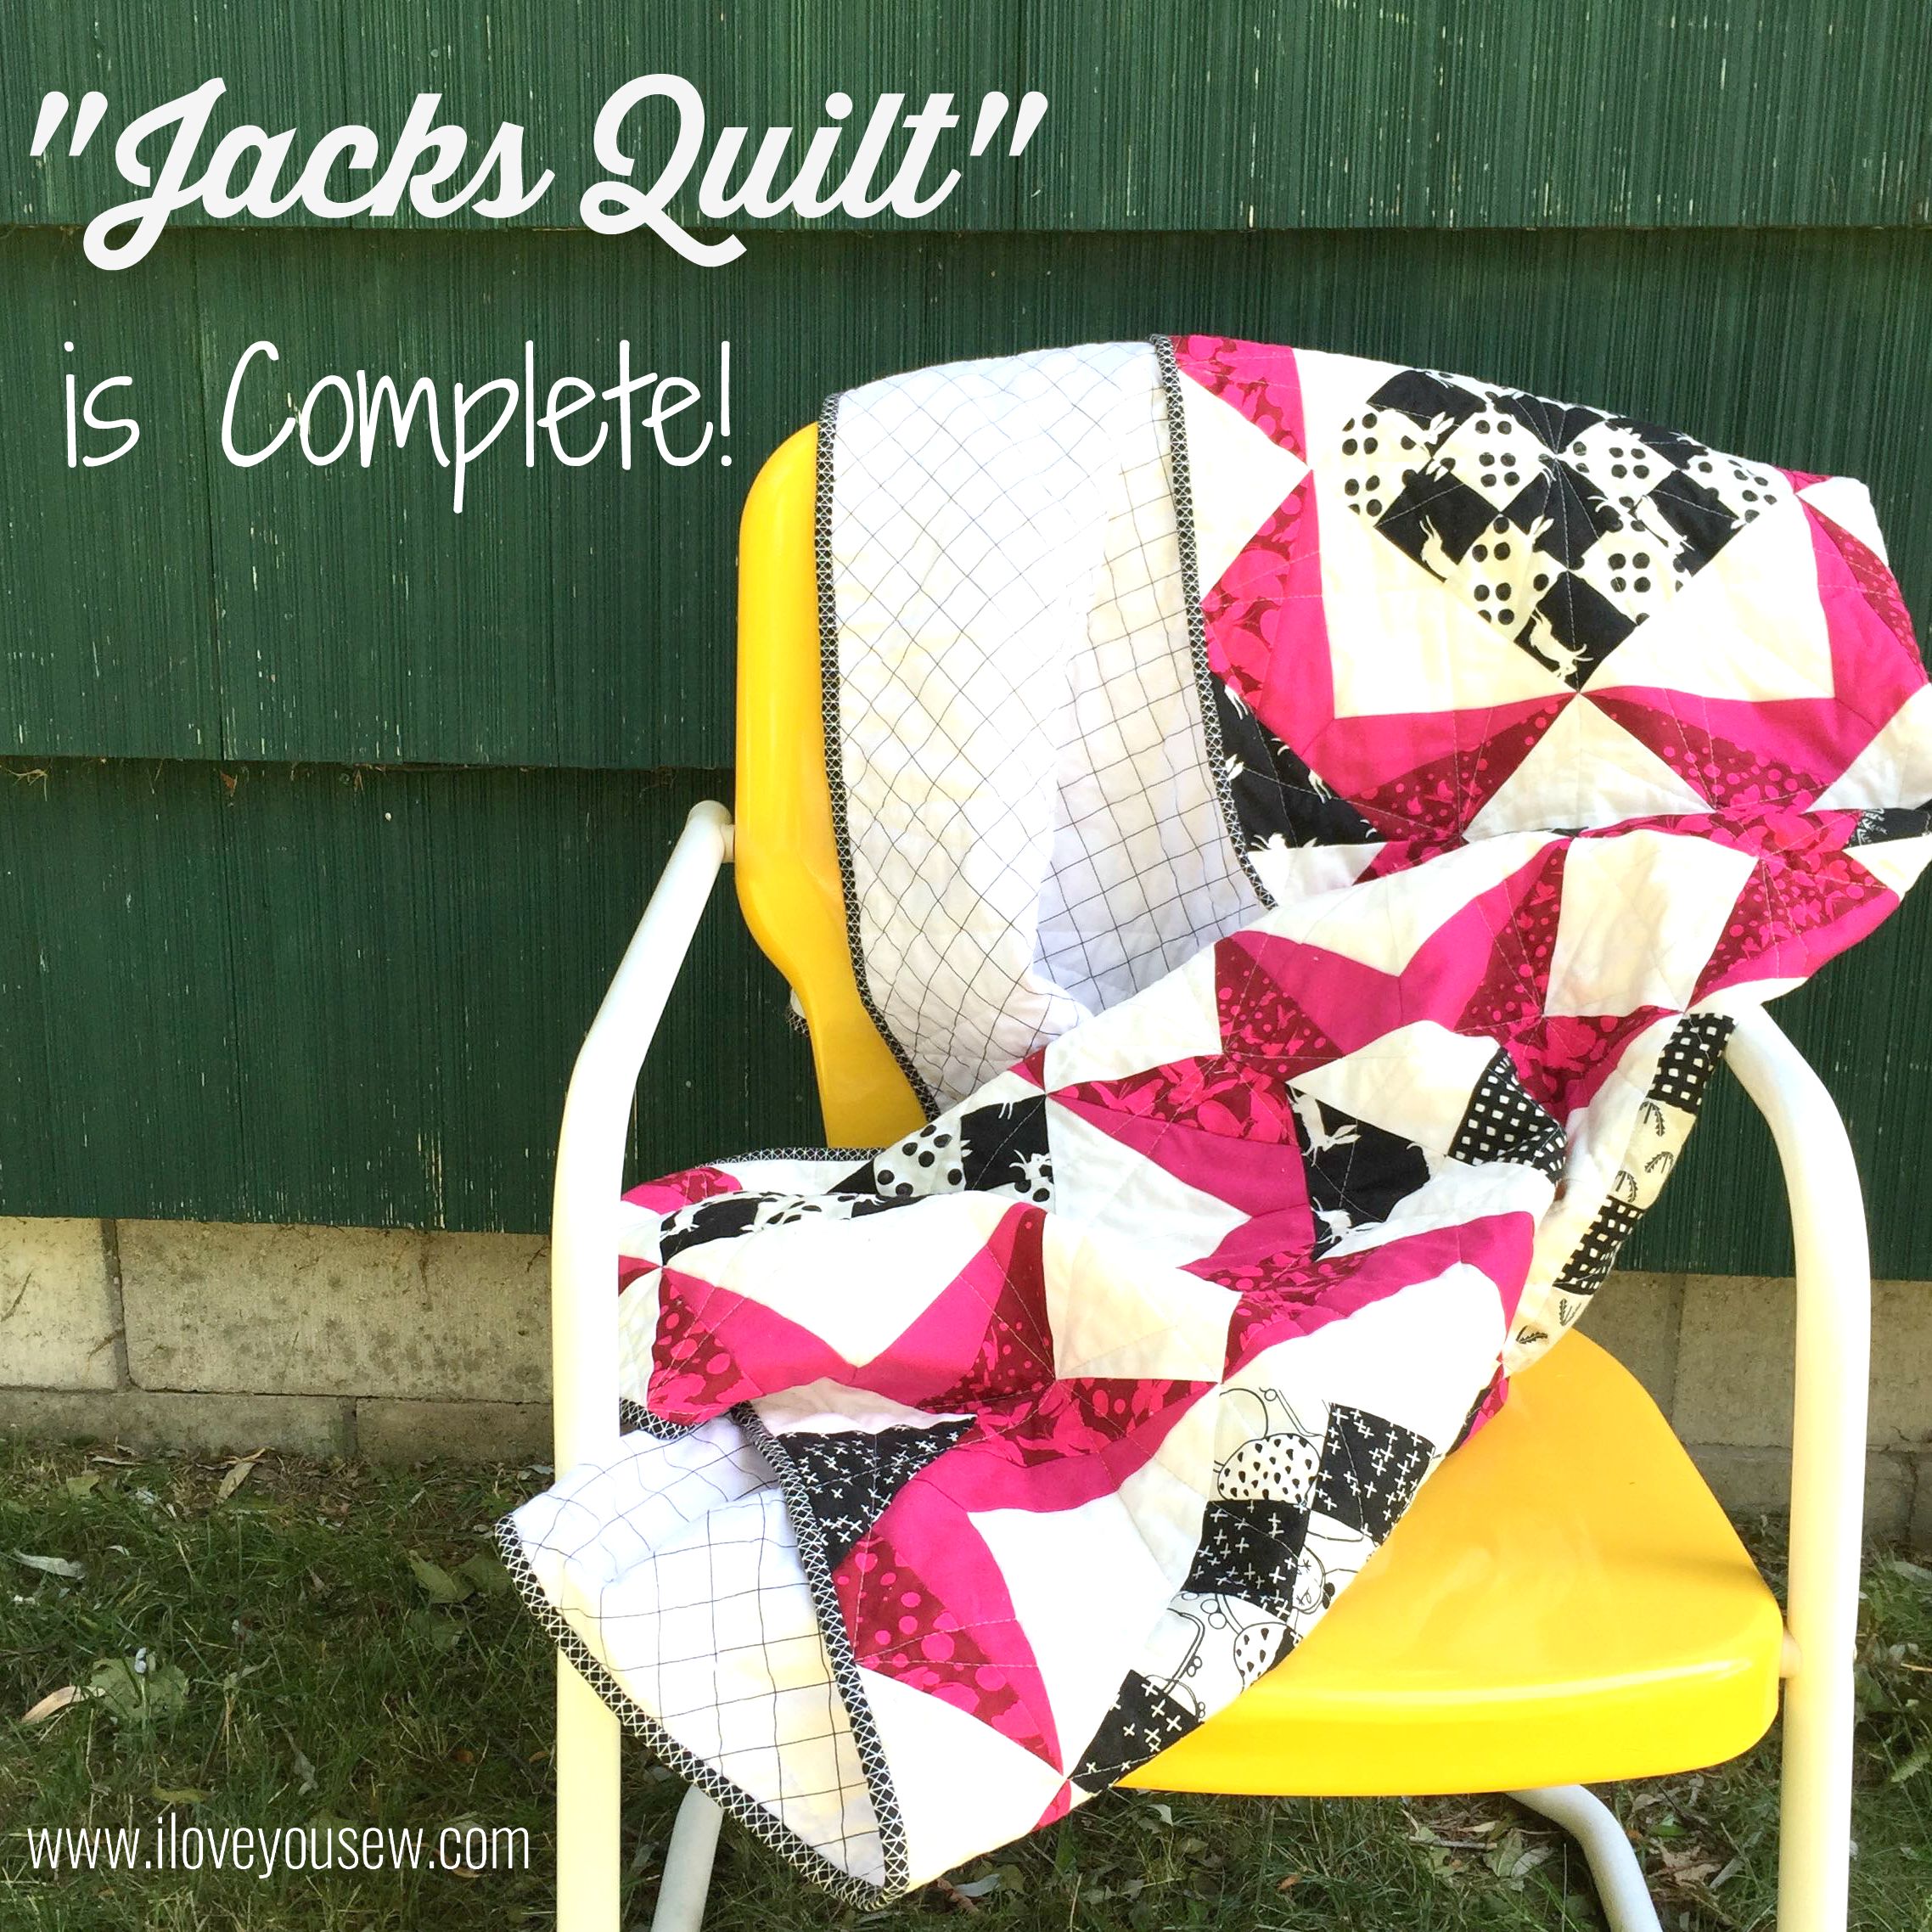
Remember the “Jack’s Quilt” Pattern I posted a few weeks back by Bryan House Quilts?  I’ve finally quilted and bound it…plus, I have a bonus project using scraps from the paper-piecing!

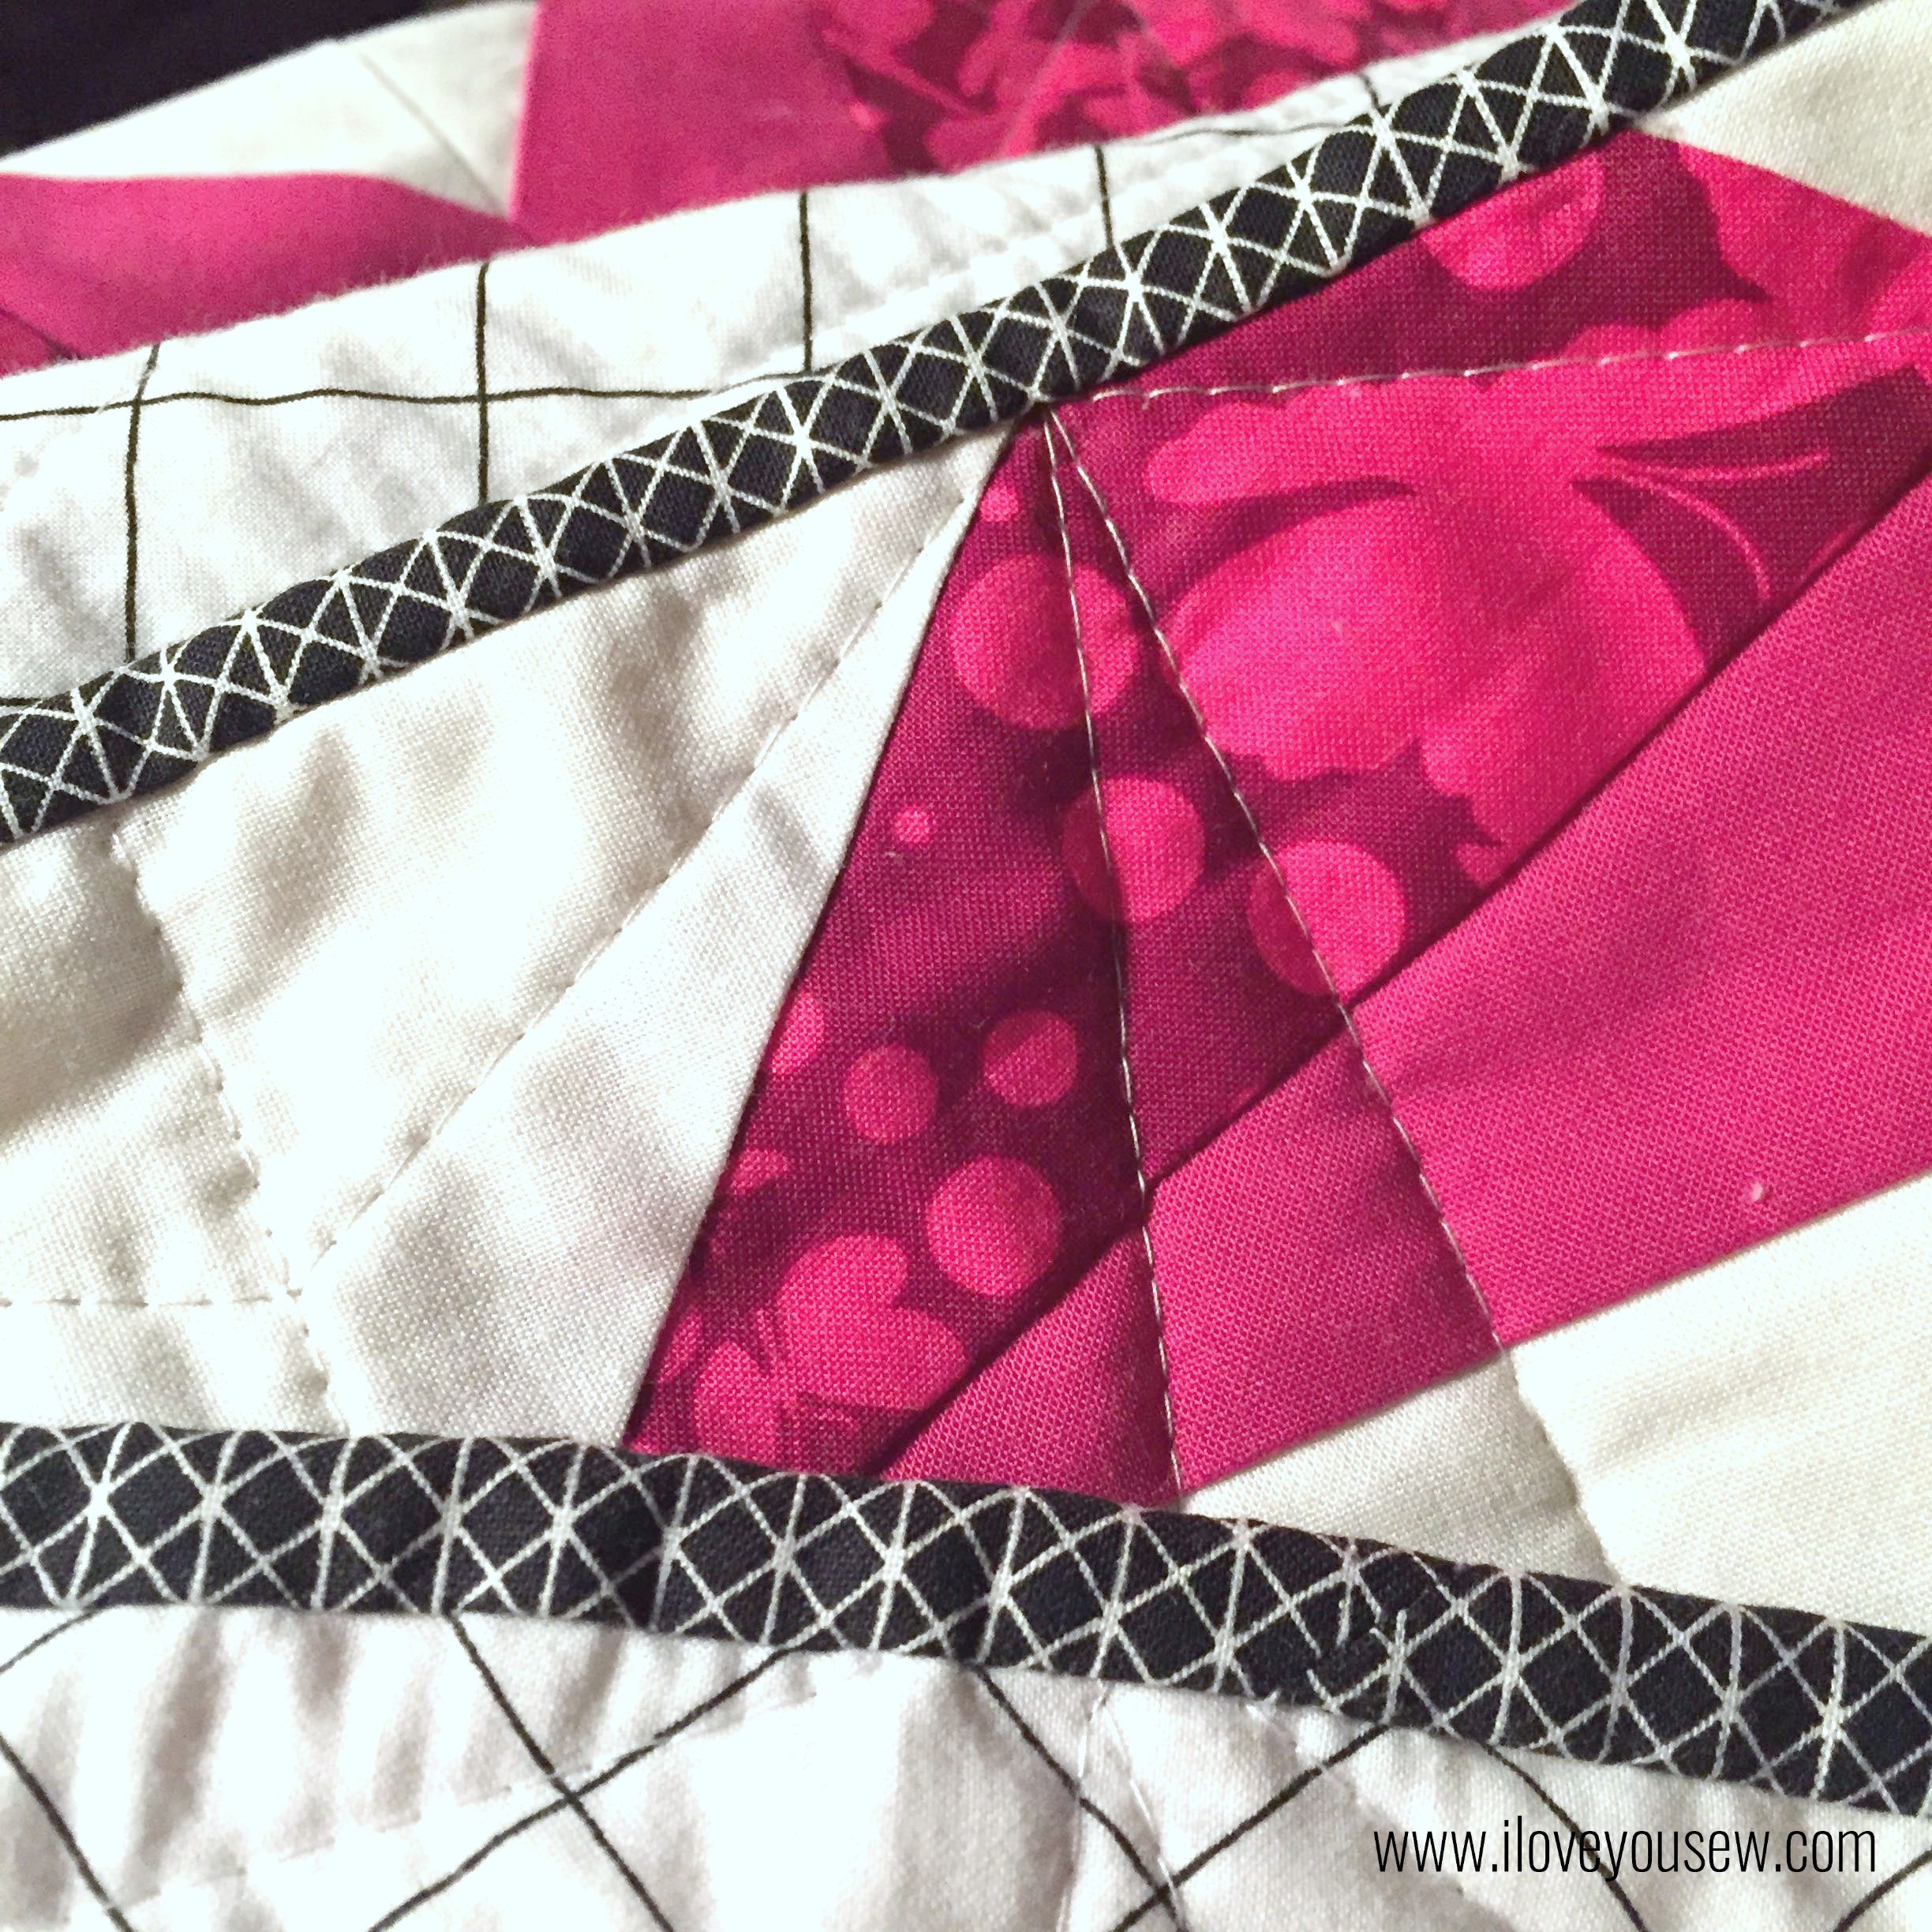
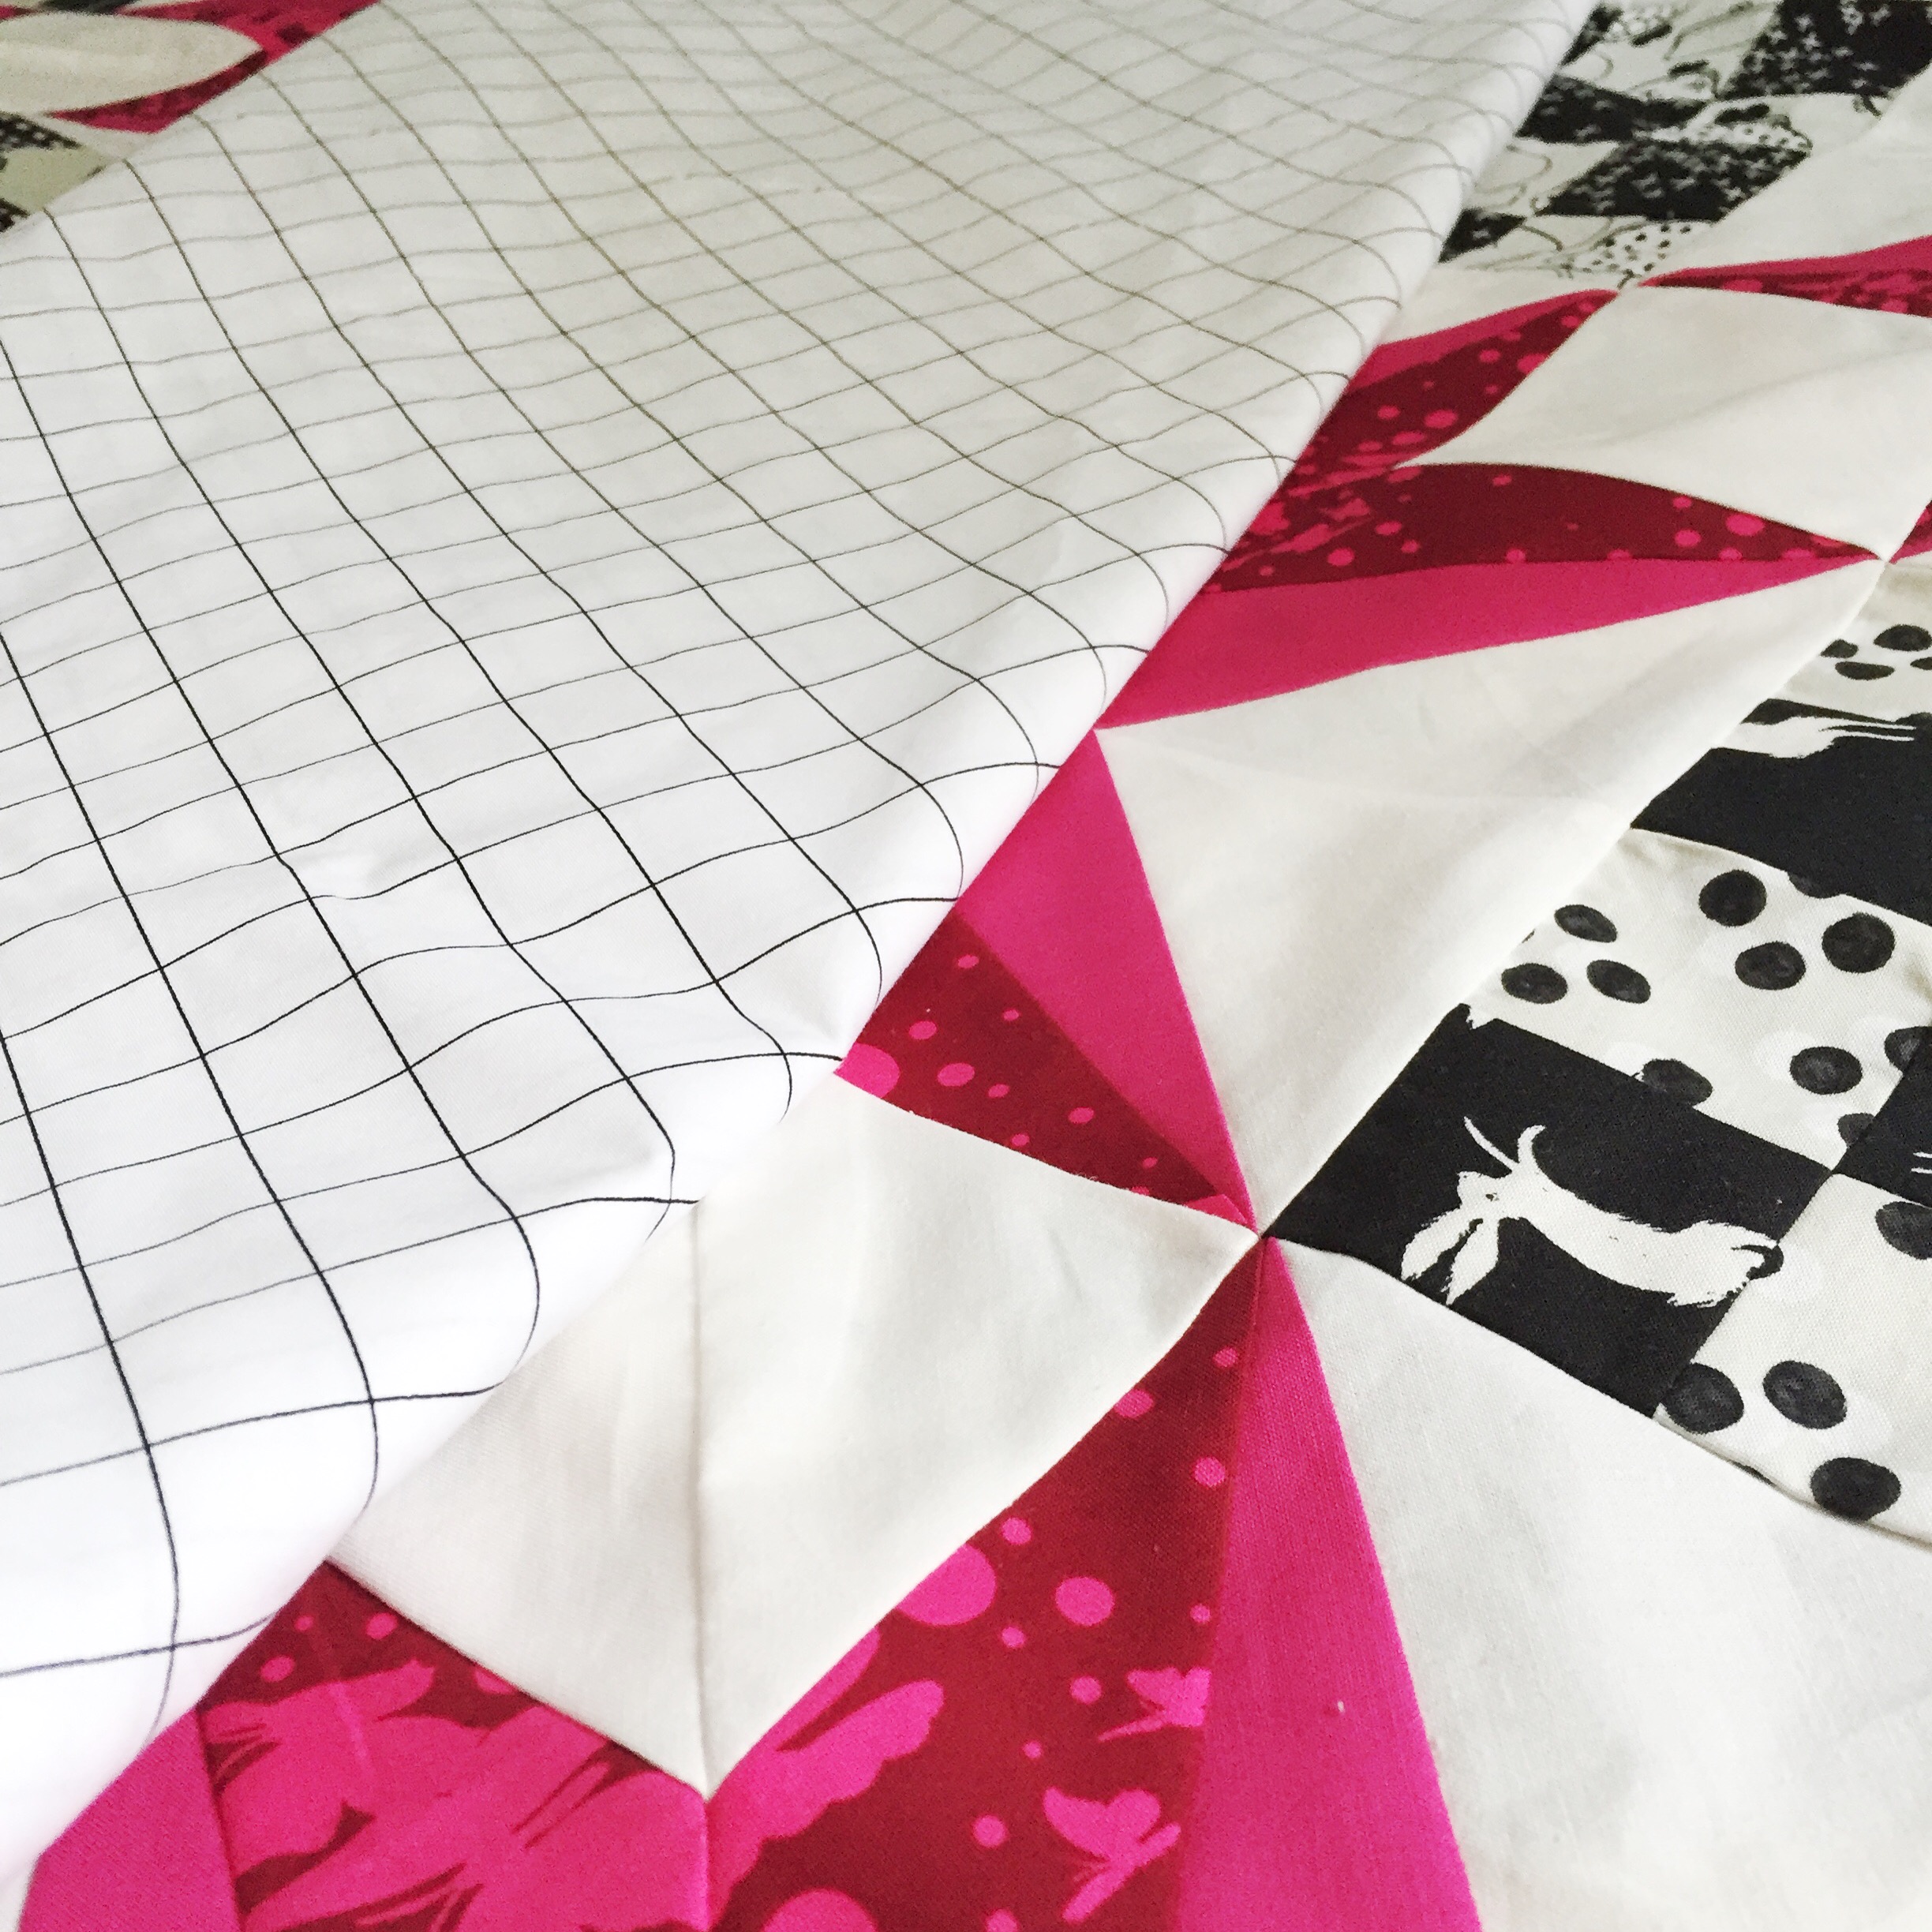
Widescreen

With the strong fuchsia colors in my quilt, I wanted to balance it out with more black and white.  Carolyn Friedlander’s Widescreen in white fit the bill perfectly. The gridlines play well with the graphic piecing and who doesn’t love a wideback?!?  I MUCH prefer a single wideback fabric panel than piecing a few together.

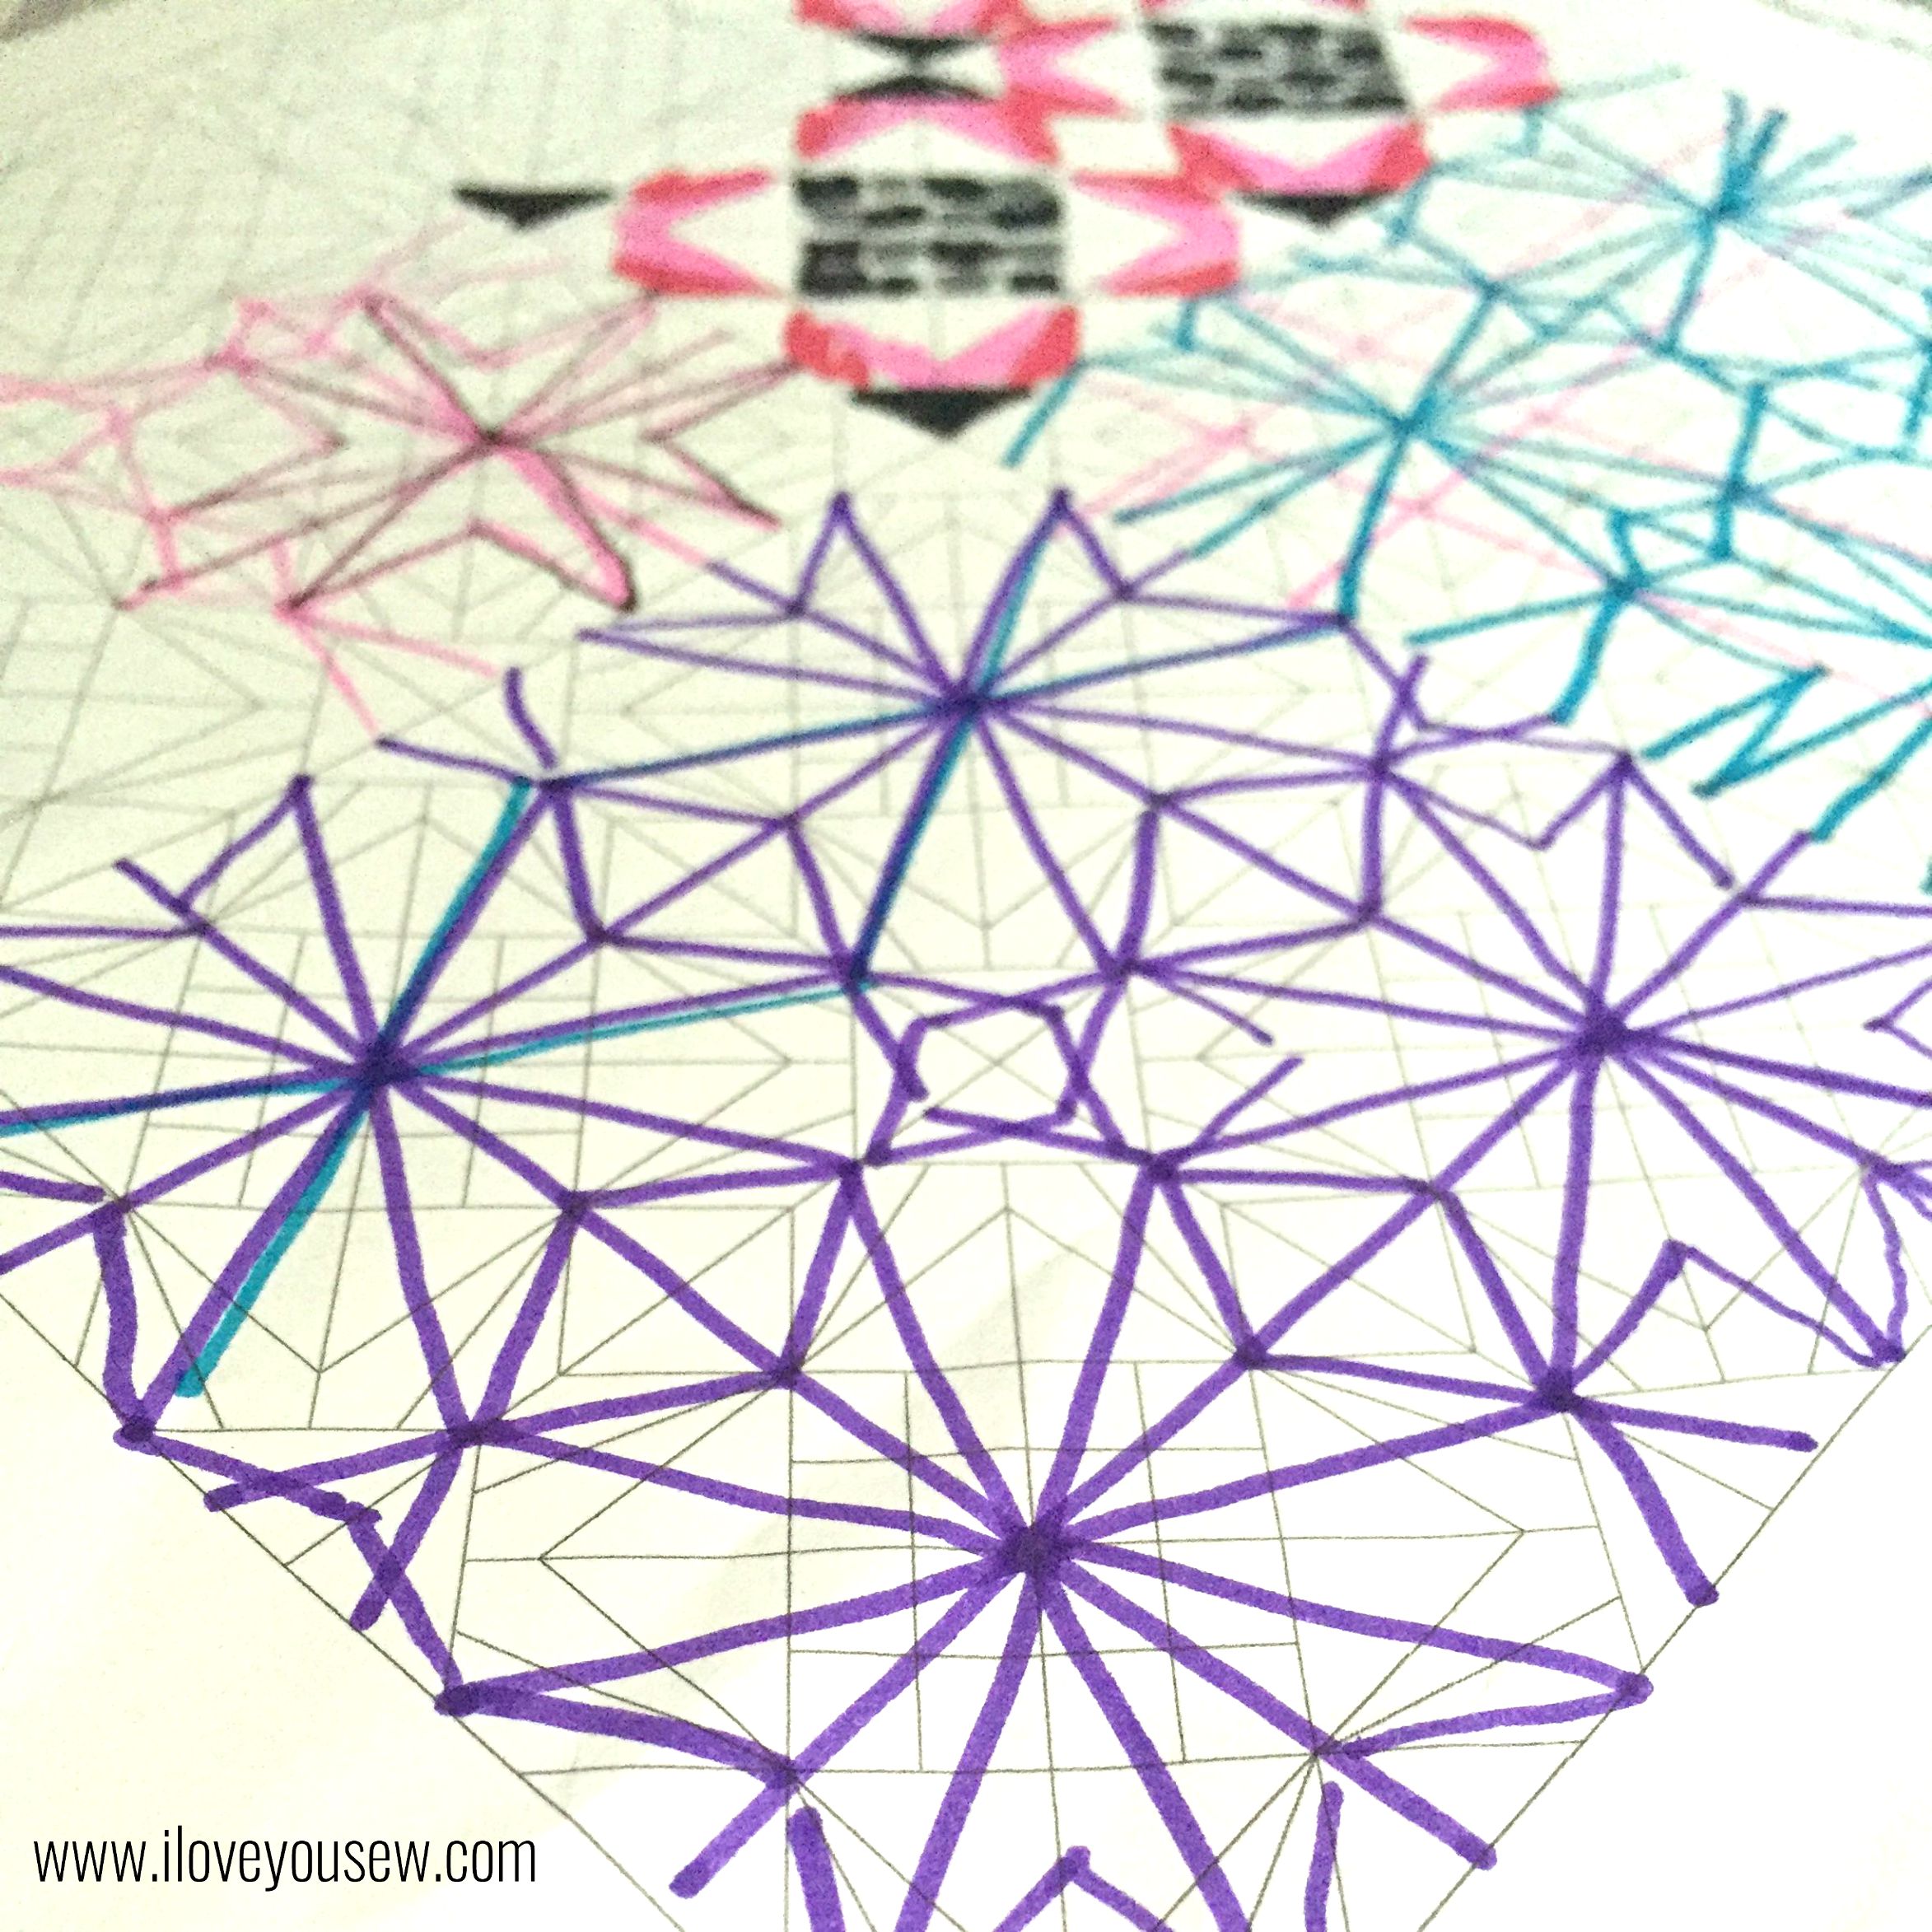
ColoringSheet

Did you know when you purchase this quilt pattern, it comes with a coloring sheet?  I LOVE having coloring sheets to help me pick out colors and fabrics.  Best of all….it helps with figuring how I am going to quilt everything together!  I’m all about straight-lines and I wanted to follow the star spokes.  I tested a few designs and settled on this purple one.  I wish coloring sheets came standard with ALL quilt patterns 🙂

QuiltingCloseUp

This simple quilting was exactly what I wanted…something to extenuate the pattern design without being too busy AND with lines that could continue from end to end of the quilt.  I am definitely not a fan of burying threads, so I try to avoid it whenever possible!

Sunset

We had a family trip coming up while I was working on this quilt, so I knew I needed to quilt it quickly and attach the binding so I could hand finish it while we were vacationing.  I don’t know about you, but I always like to have some hand-sewing around whenever I’m away from home. You never know when you have some free time…and I was able to sew on the binding right on this hammock watching the sunset! {Heaven}

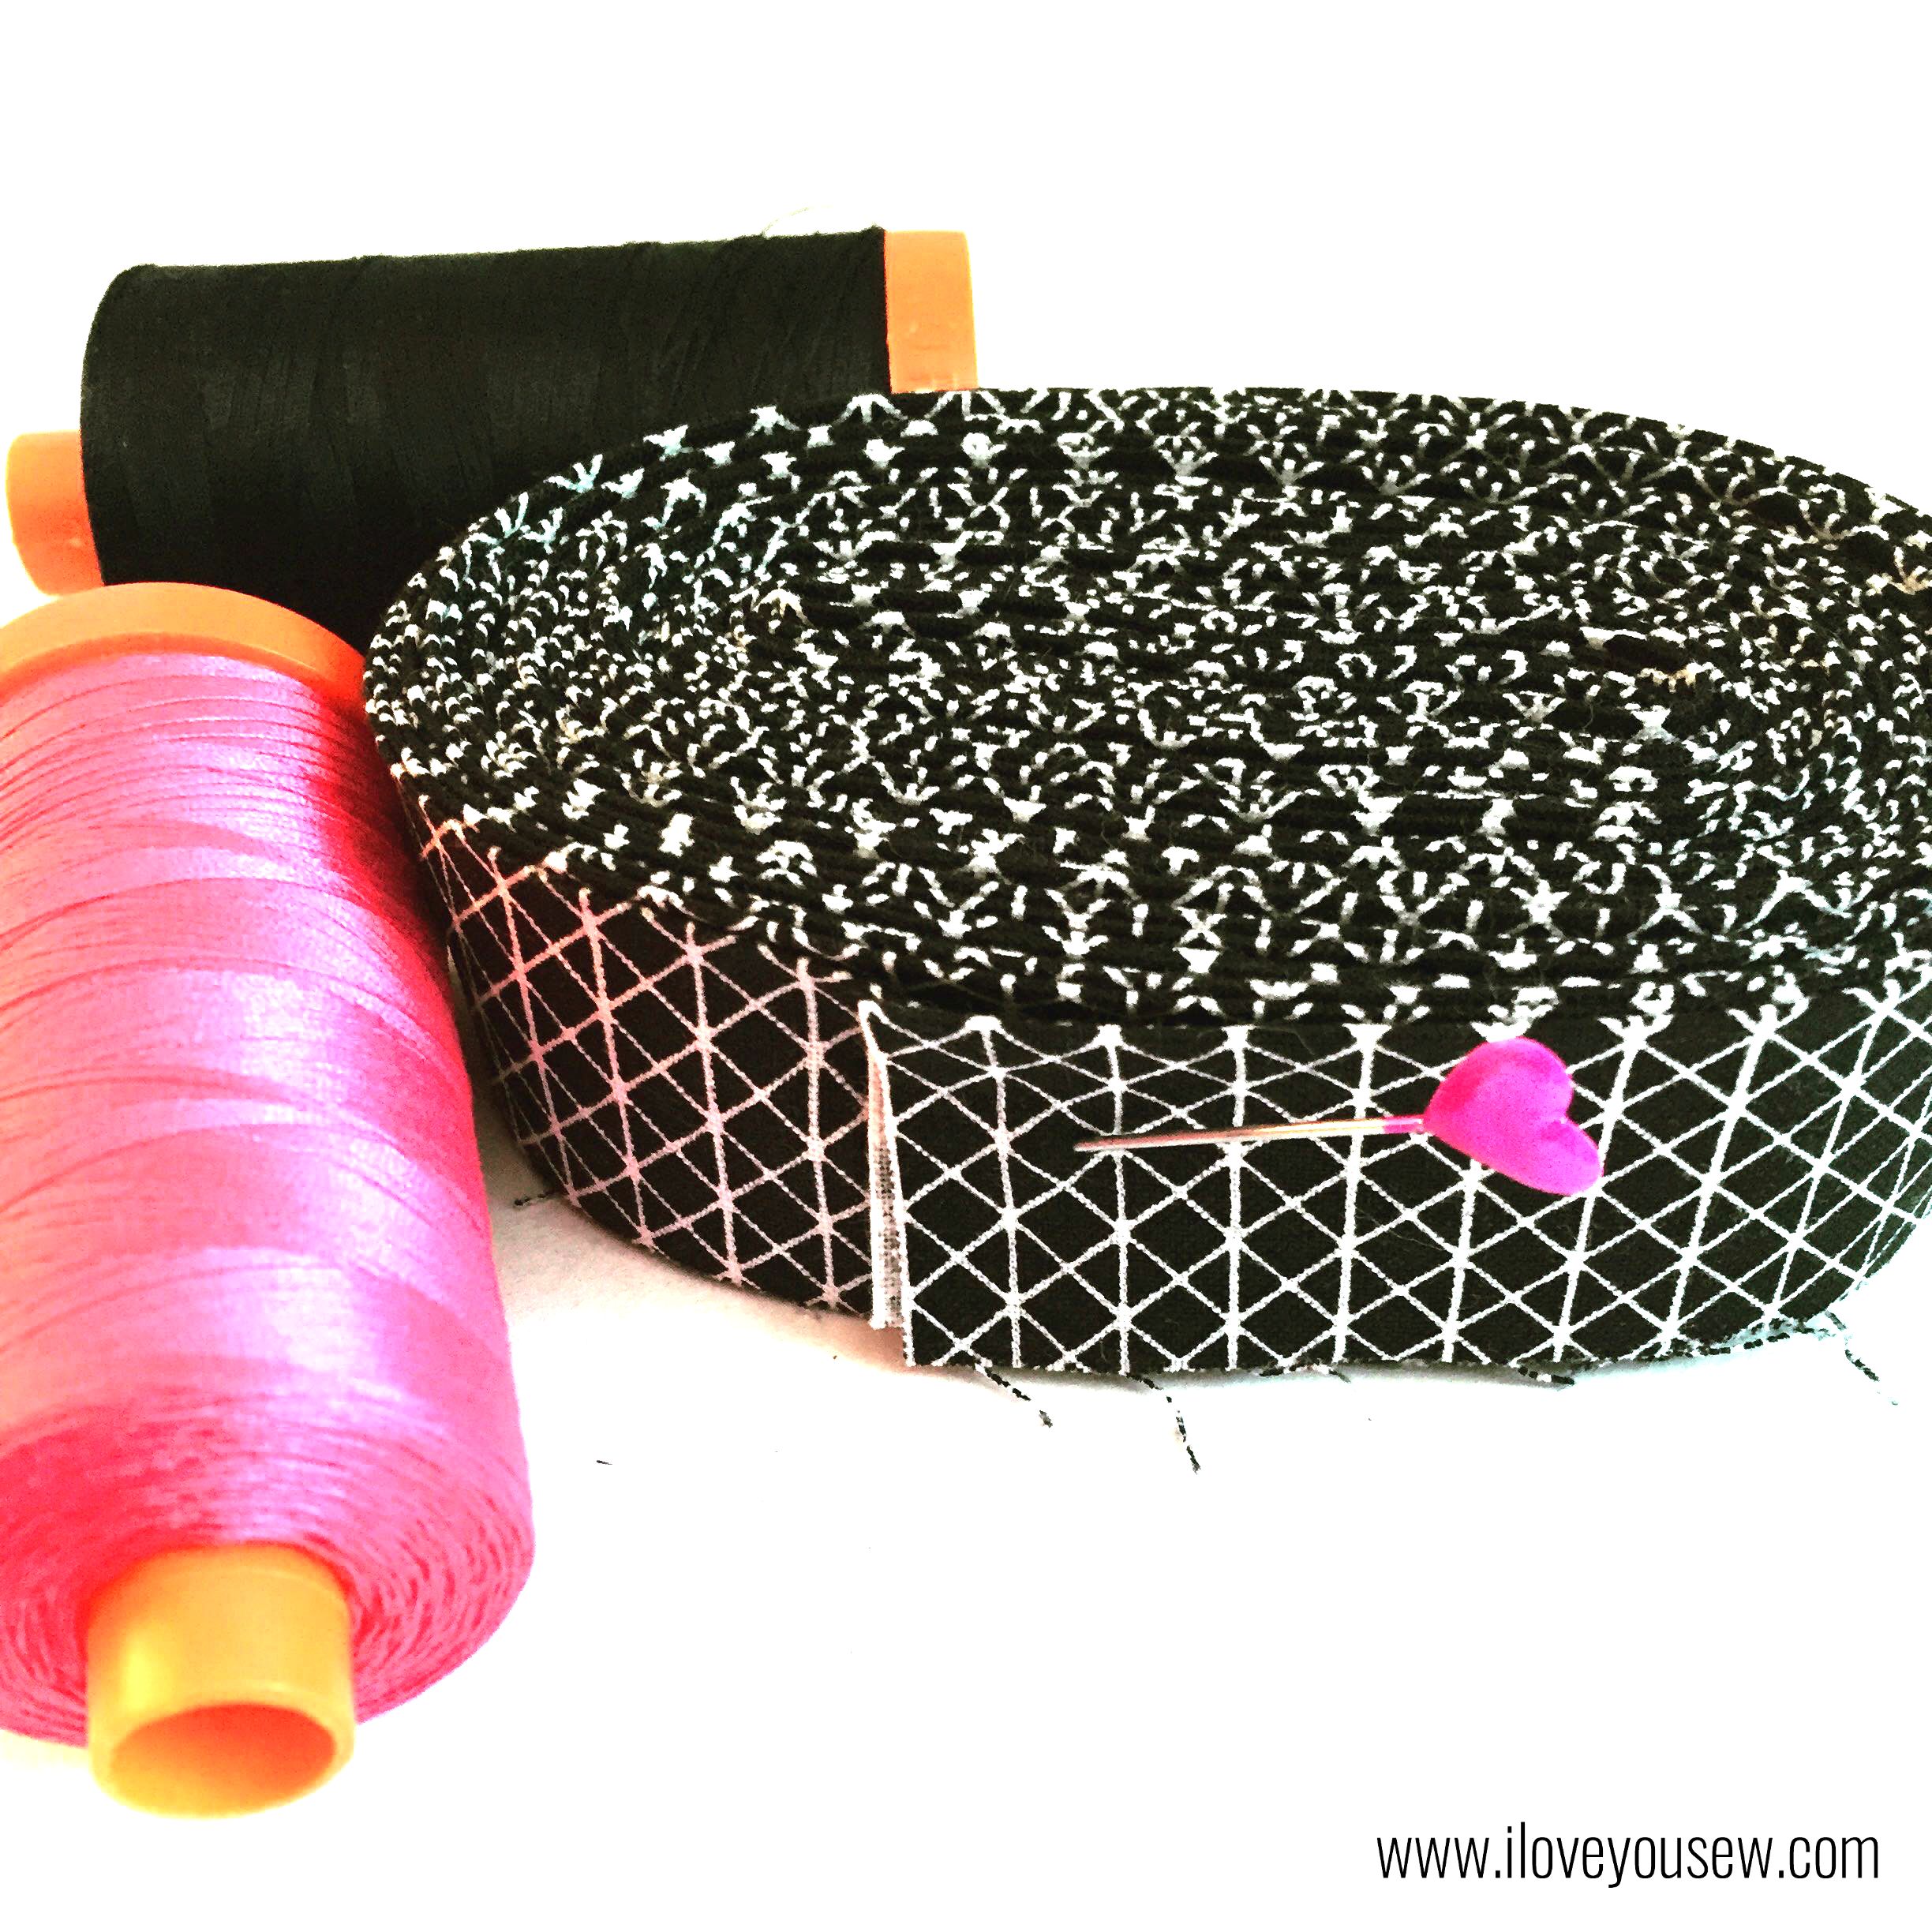
CSBinding

For the binding, I initially thought I would use Carolyn Friedlander’s Architextures Grid in Black.  But since the lines are more “free-hand,” the irregular lines didn’t go together with all the strong shapes of the quilt and backing.  I played with stripes and dots, but ended up with Cotton and Steel’s Netorious basic in Black Cat.  The lines in this pattern are graphic and matched the overall feel of my quilt.  The black binding really made the fuschia pop as well!  I really love how it all came out.

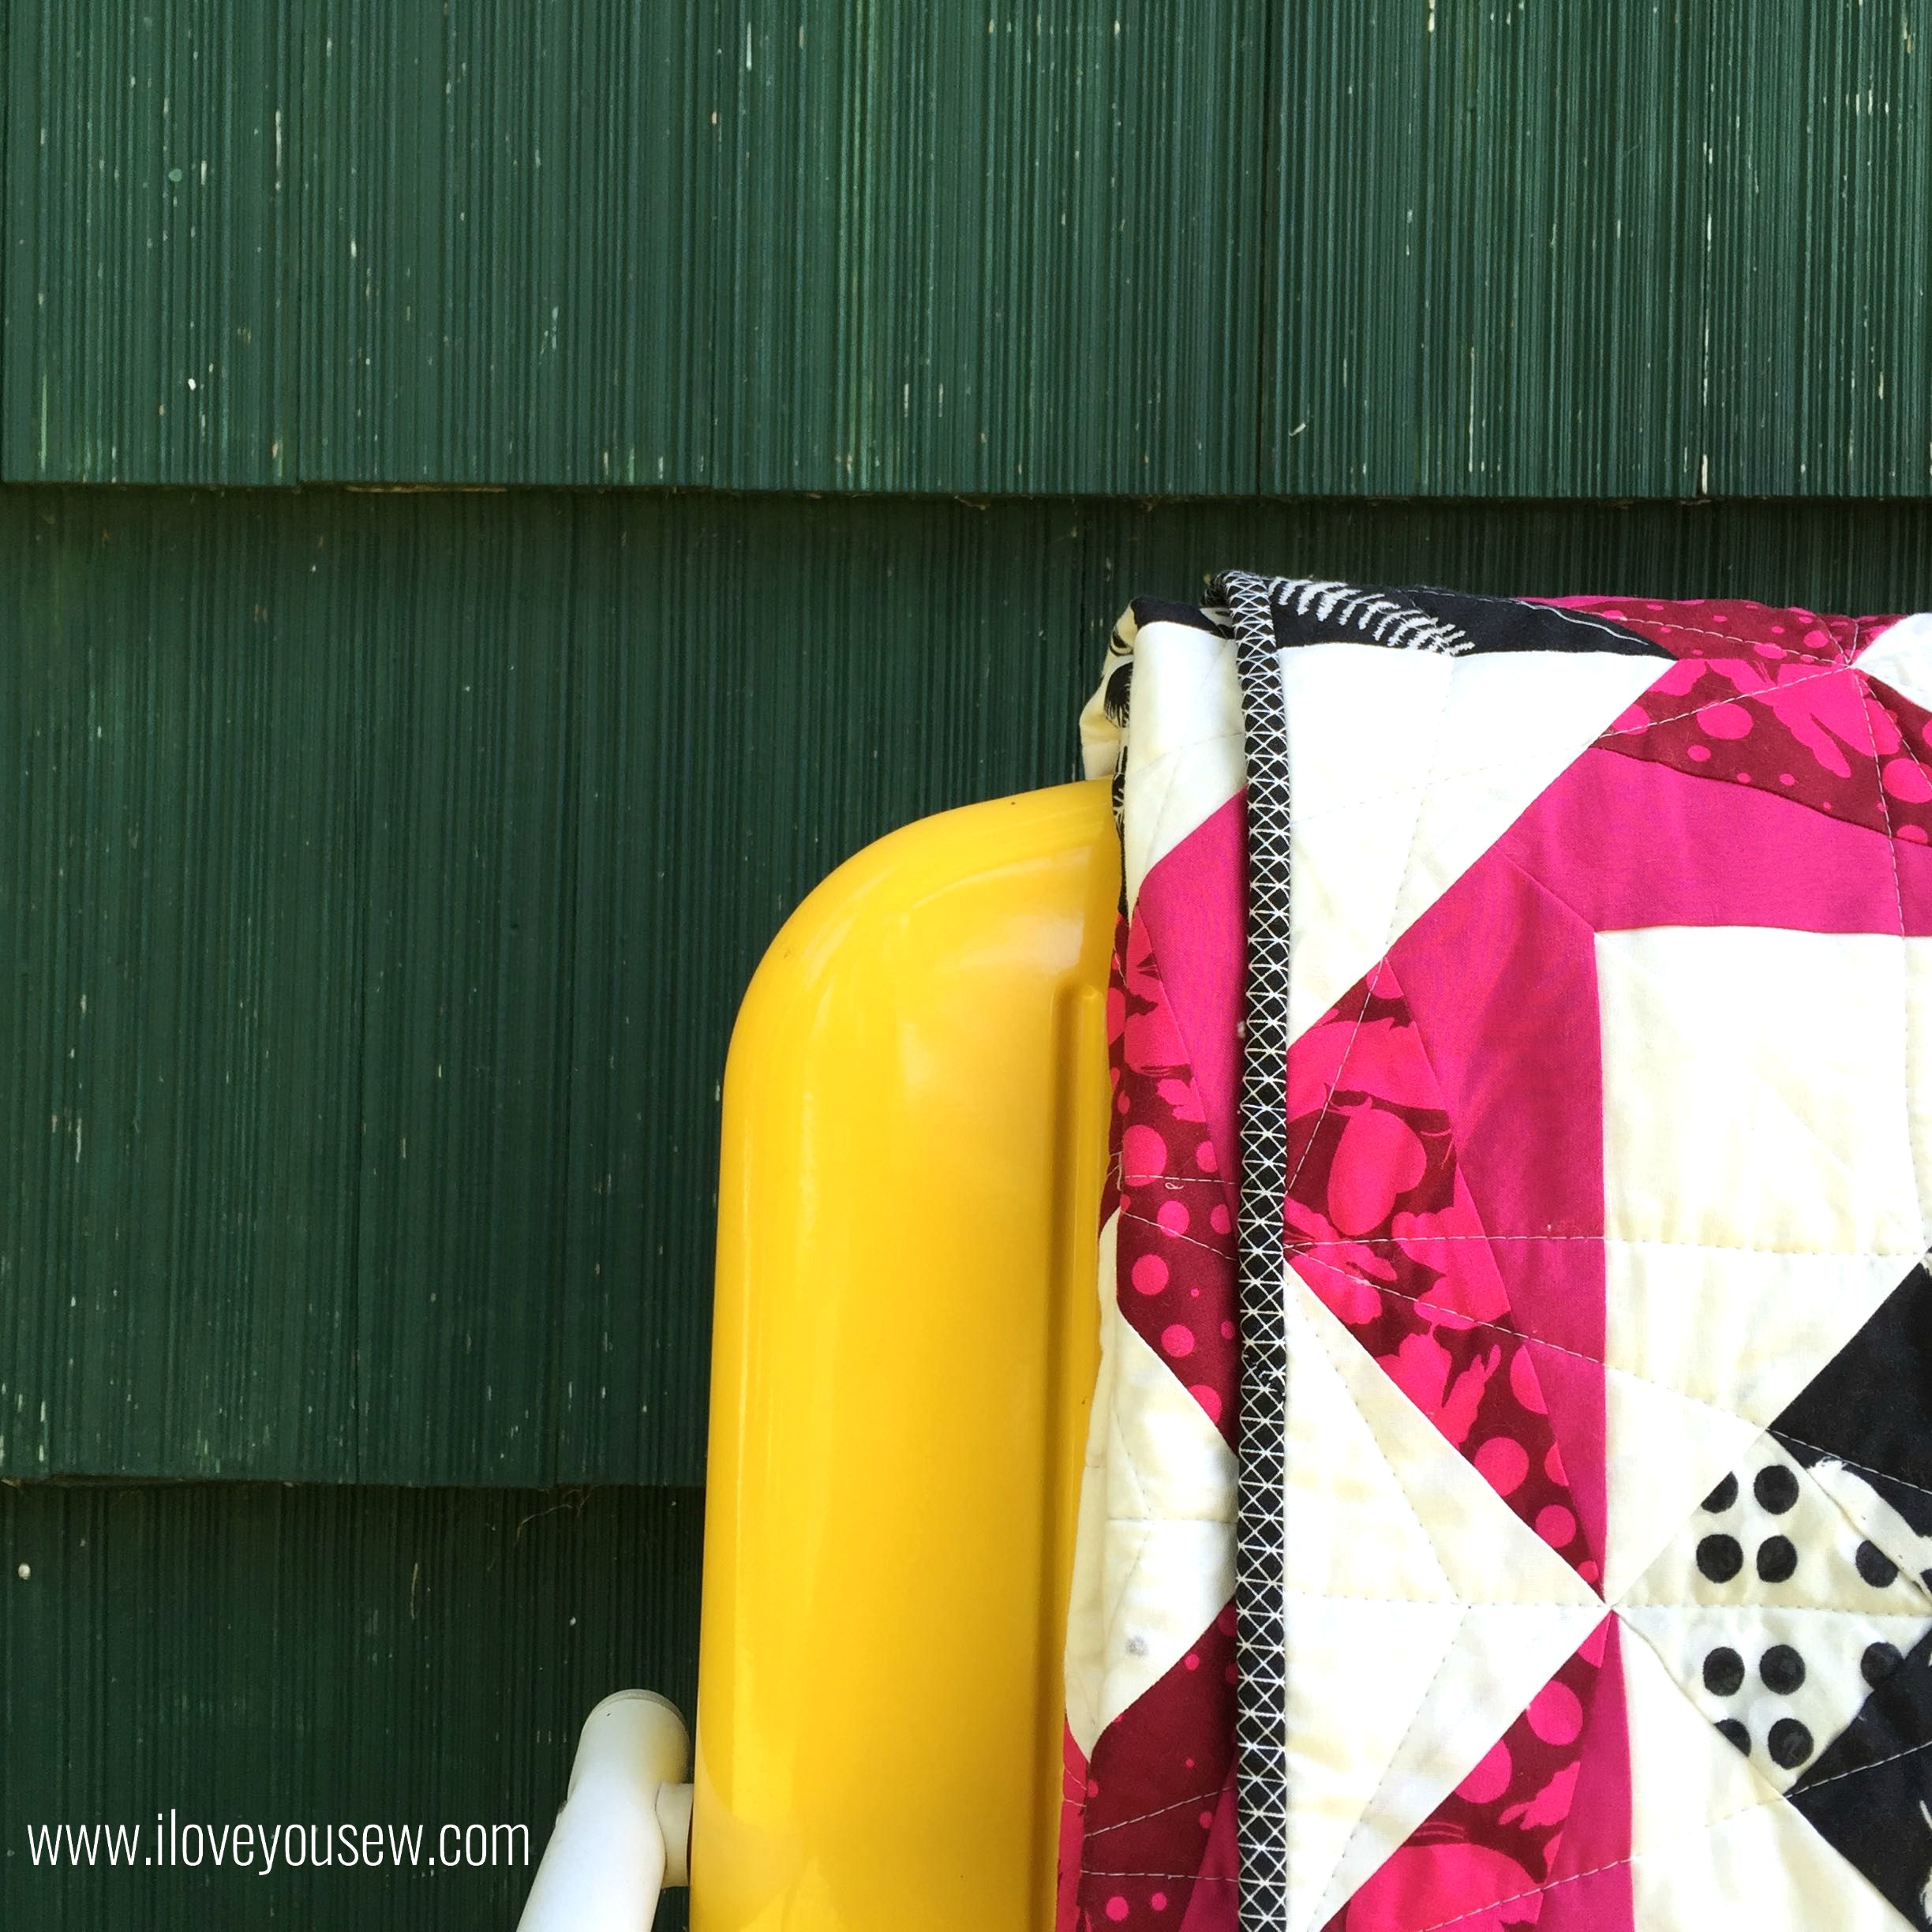
Corner

If I’m working on a quilt, I like to take that along in case any perfect photo opportunities present itself as well…you just never know.  It’s turns out I didn’t have to go far to find some great backgrounds and props.  This is the exterior of my in-laws cottage and they had these great bright yellow “vintage” inspired chairs.  The sharp color contrasts with my quilt were just stunning!  

CloseUpOnChair


FullQuilt


As mentioned above, I have a BONUS project from the quilt pattern!

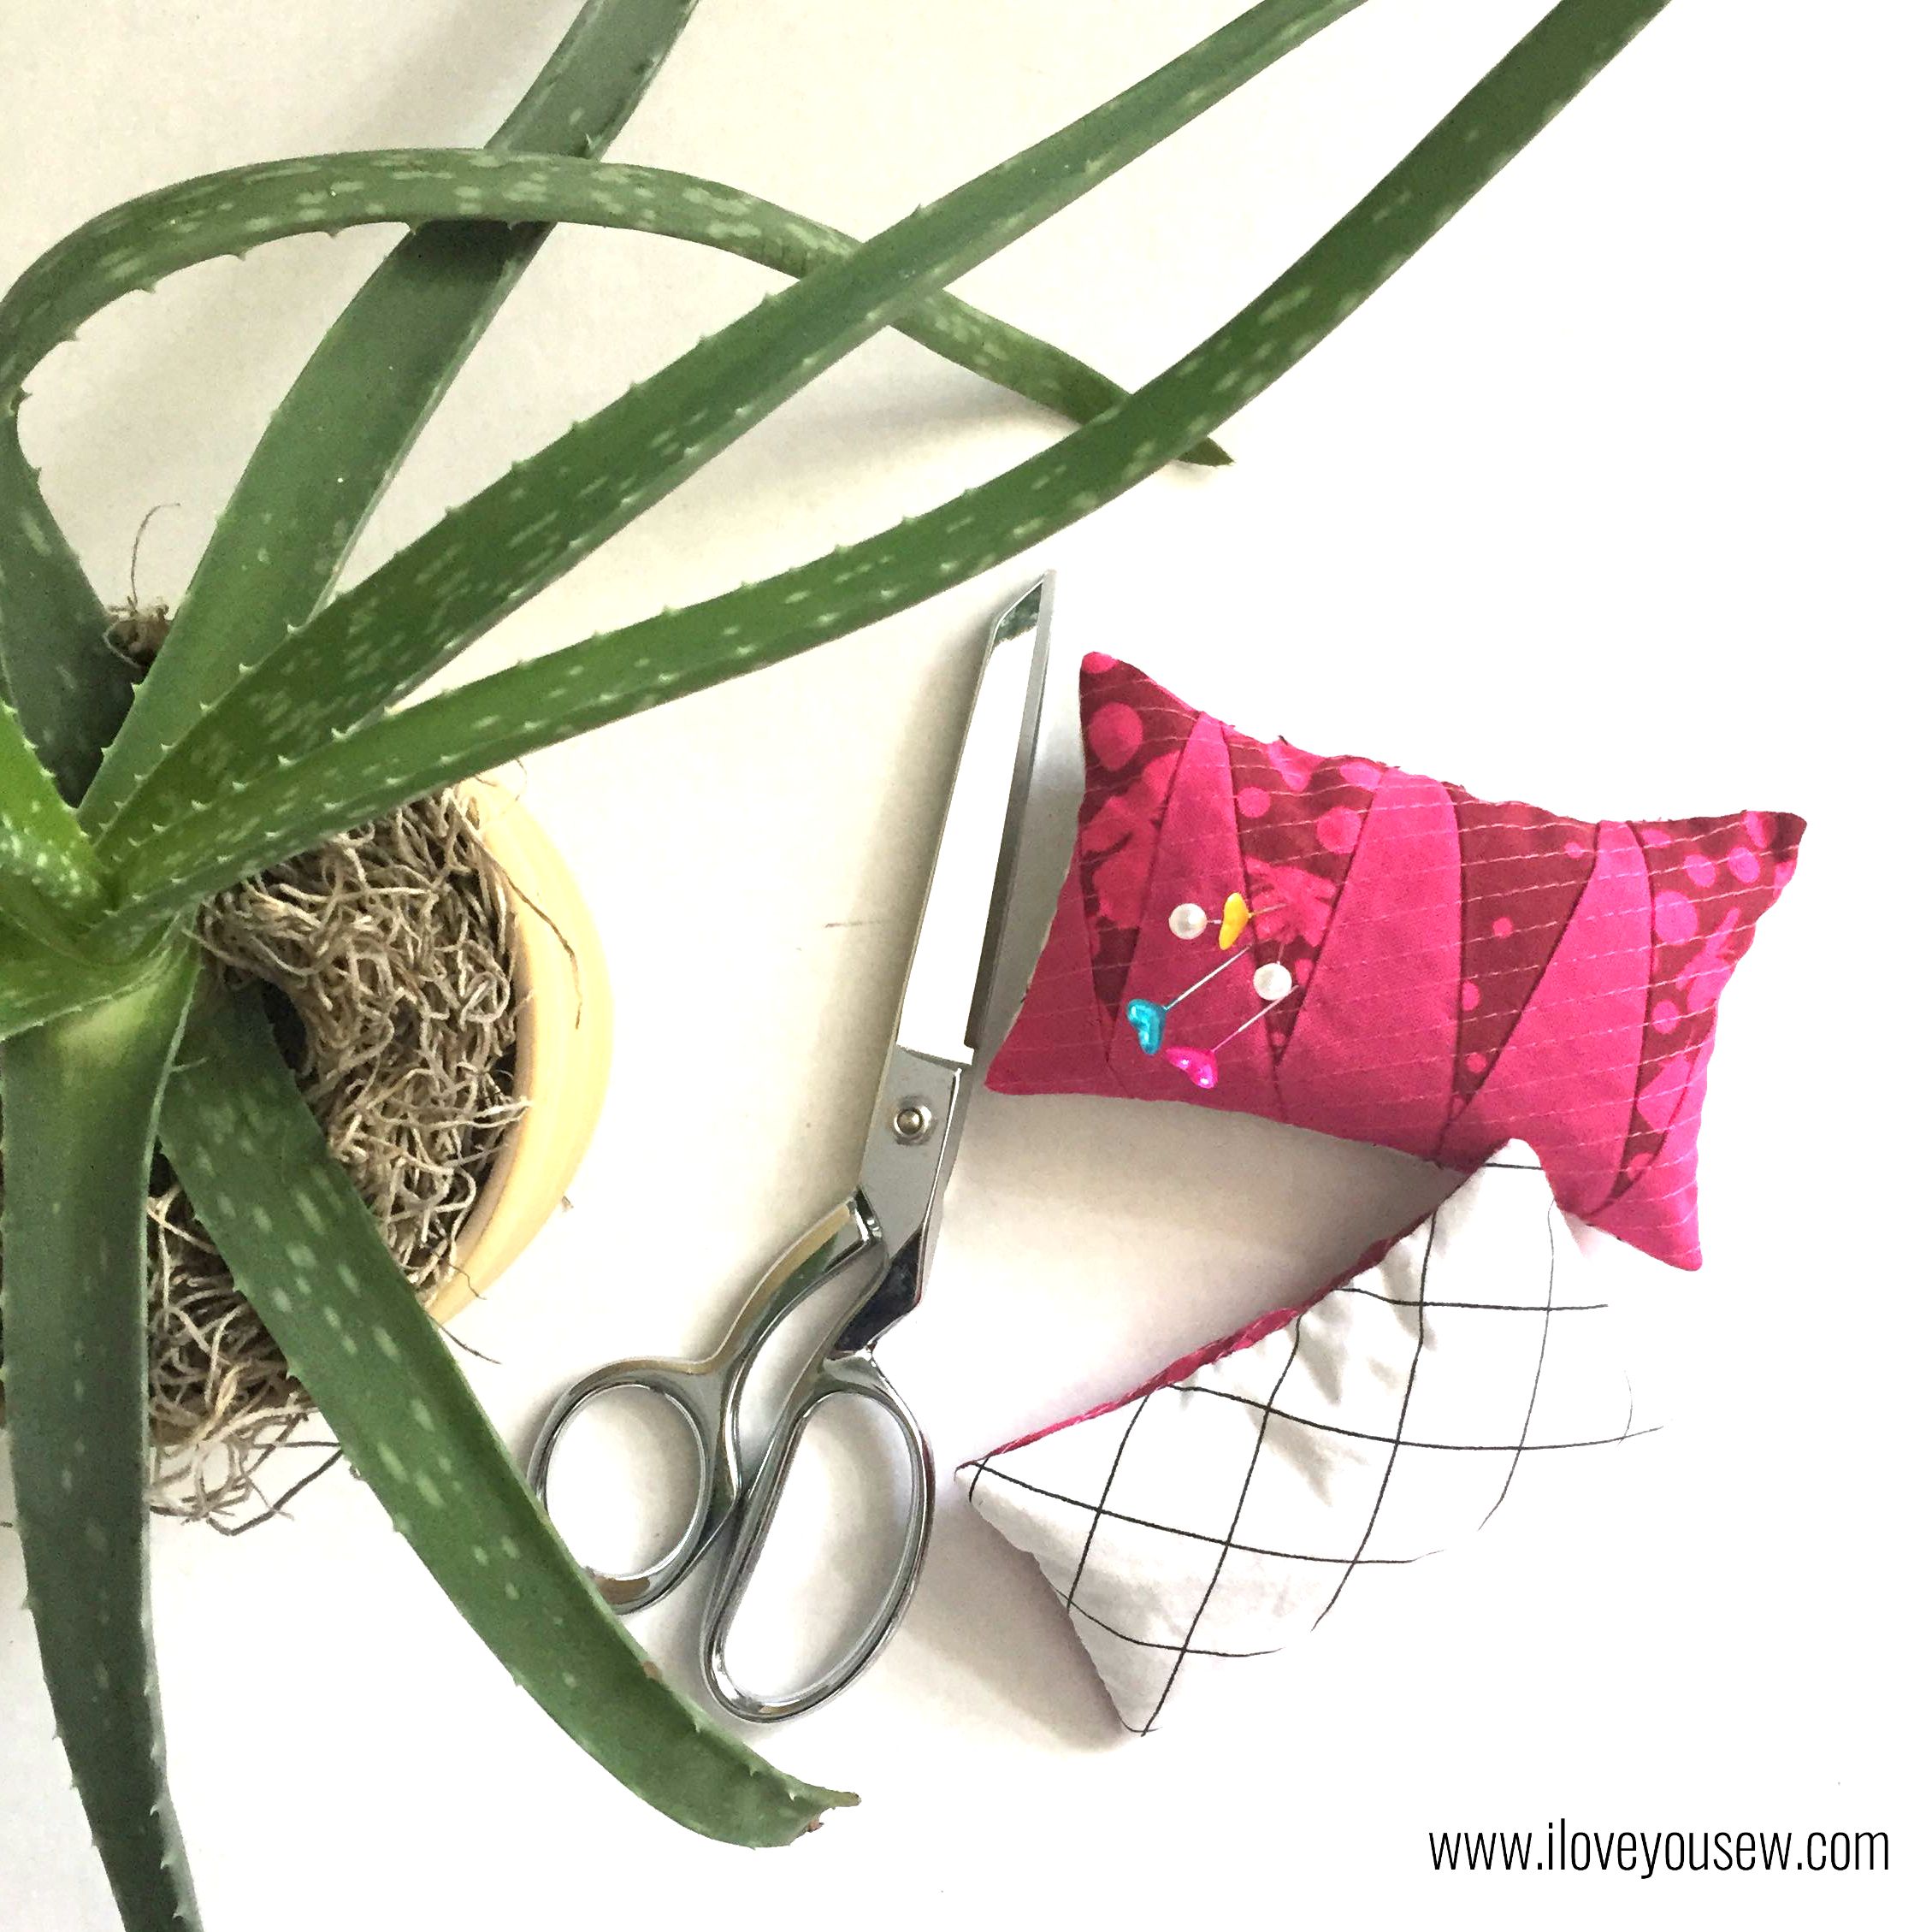
PinCushion

The paper-piecing of the spokes produces a good bit of triangular scraps.   I used them to improv a pincushion.  I just alternated the direction of each triangle of similar sizing and then trimmed the piece to a rectangle.  There was plenty of scraps from the backing as well, so I used the Widescreen to back these and filled them up.  You could make the improv piecing larger and also make mug rugs and even pot holders!

What fun secondary projects have come out of your quilt scraps?


Happy Quilting,

Cristy


The pattern was provided by Bryan House Quilts as part of testing. All material was purchased and selected by myself. All opinions and comments are my own and have not been influenced by 3rd parties.
Macrame School with Natalie Miller

Macrame School
This past weekend, I had the ultimate fiber arts experience with famed Aussie artist, Natalie Miller.  I took a 3-hour Macrame Wall-hanging workshop and it was all here in beautiful Columbus, OH.  Honestly, I still can’t believe I had the chance to take this class without having to leave home!

image5

Natalie resides in gorgeous Kangaloon, Australia and has the most visually delicious Instagram feed.  It is filled with colorful images of her home along with all of her amazing weavings and macrame.  You can even pick up all the supplies you need from her online shop…which includes her hand-dyed wools!!!

I initially discovered this class through my friend, April Rhodes.  She co-hosted with Sam Van Der Puy and Michelle Parson to organize  these workshops. April is a big fan of macrame and suggested I follow Natalie on IG….I’ve been drooling over her work ever since.
Unfortunately, two days of classes overlapped with my family’s trip up north to Lake Leelanau, MI.  I really wanted to try tapestry weaving…especially with the wool roving (swoon!) but they were both on Friday and Saturday.  Luckily, I also wanted to try macrame and decided on the wall-hanging course.  My house is still in need of serious decor even after 5 years of habitation….so this was perfect!

Bellini and Rope

The workshop started with (a bellini!) selecting the colors of 100% cotton rope shipped directly from Natalie’s supplier in Barcelona, Spain.  In addition to natural rope,  we were asked to select one more color…and boy, they were all calling my name.  It was hard to select one.  I ended up with a navy…a safe neutral that would stand the test of time.  After everyone had their turn, there was ample leftover rope so I was able to select an additional color. *SCORE* I selected a warm mustard to go with my vision and was not disappointed at all.

image7

We learned basically three knots and the different variations of them to create our own design.  I’m still trying to get over the fact that macrame is based on only a few knots!  Who knew?!? I stayed with a bunch of square and diagonal half hitch knots on mine.

image6

Natalie brought us some macrame “bling” to sauce up our hangings.  There were choice of wooden and copper pipe pieces.  I selected the smaller copper ones to add some bold contrast.  I thought after my pegboard, I was done with the hardware store…but now I have another reason to go!

Necklace

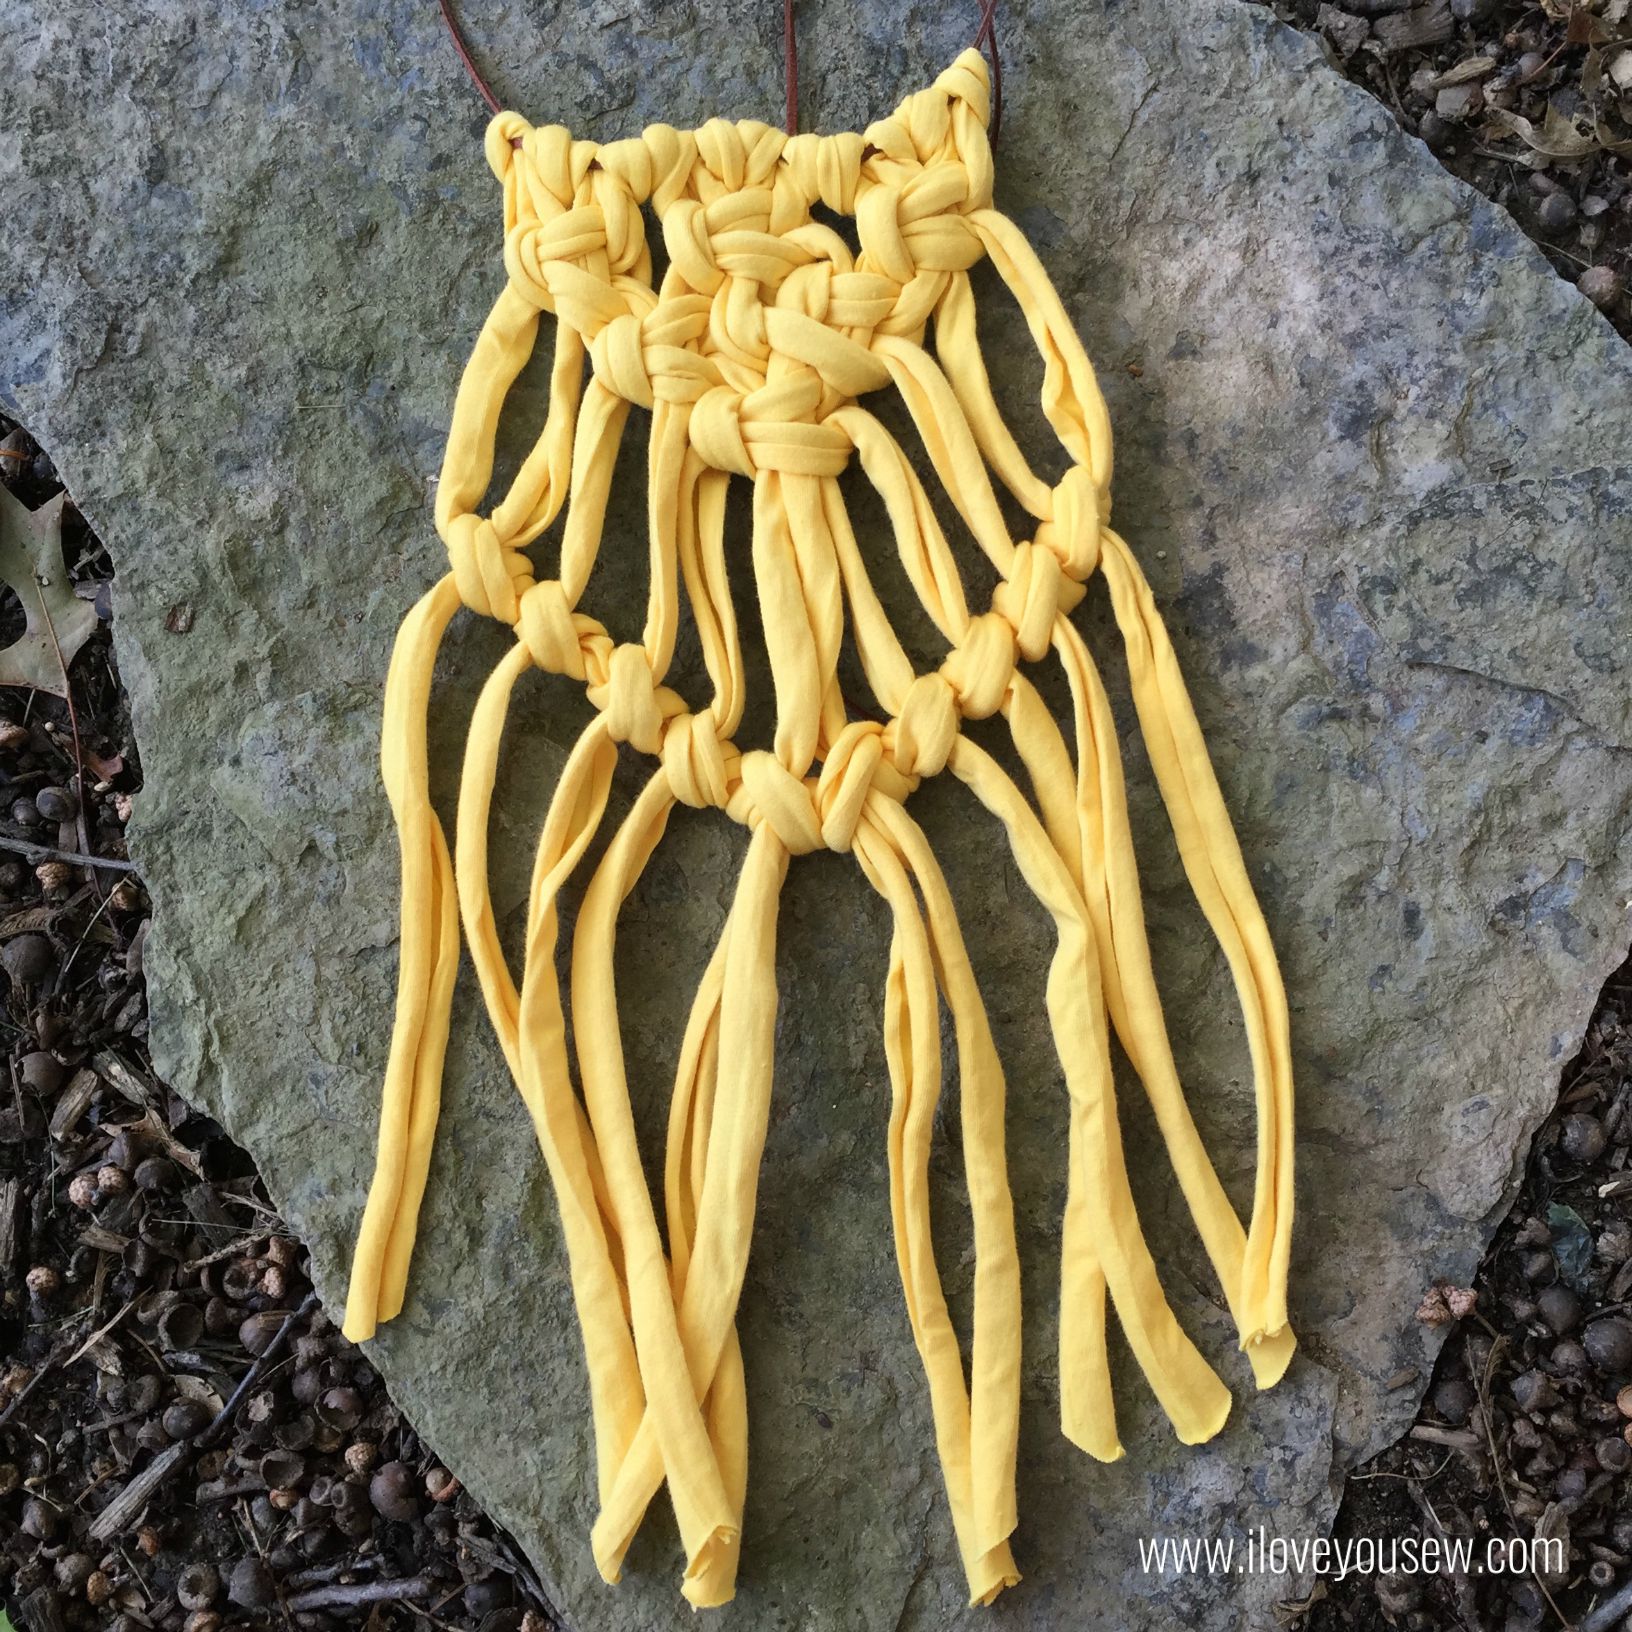
Many of us were able to finish with some time leftover.  While we were enjoying our bellini’s and snacks, Natalie broke out a bonus project for us….bib necklaces!  These all use the same knots as our hangings but we used different “fabric” rope instead. Some of my classmates chose an almost shoelace (but thinner) rope and I selected a thick recycled jersey knit for mine. Can you say, “scrap buster project?!?”  I’m in LOVE!

LYS and Natalie

Wow….what a day…I’m still reeling over the fact that I got a once in a lifetime opportunity to learn from such an amazing artist and person.  Most importantly, I learned macrame was WAY easier than expected!  I want to make more of these wall hanging and necklaces in the future.  Yes, I totally snagged a frame (IKEA clothing rack) from the workshop too 😉

image1


Still knotting on a Macrame Cloud,

Cristy xx


Quilted Toddler Sleeping Bag

SleepingBagTitle

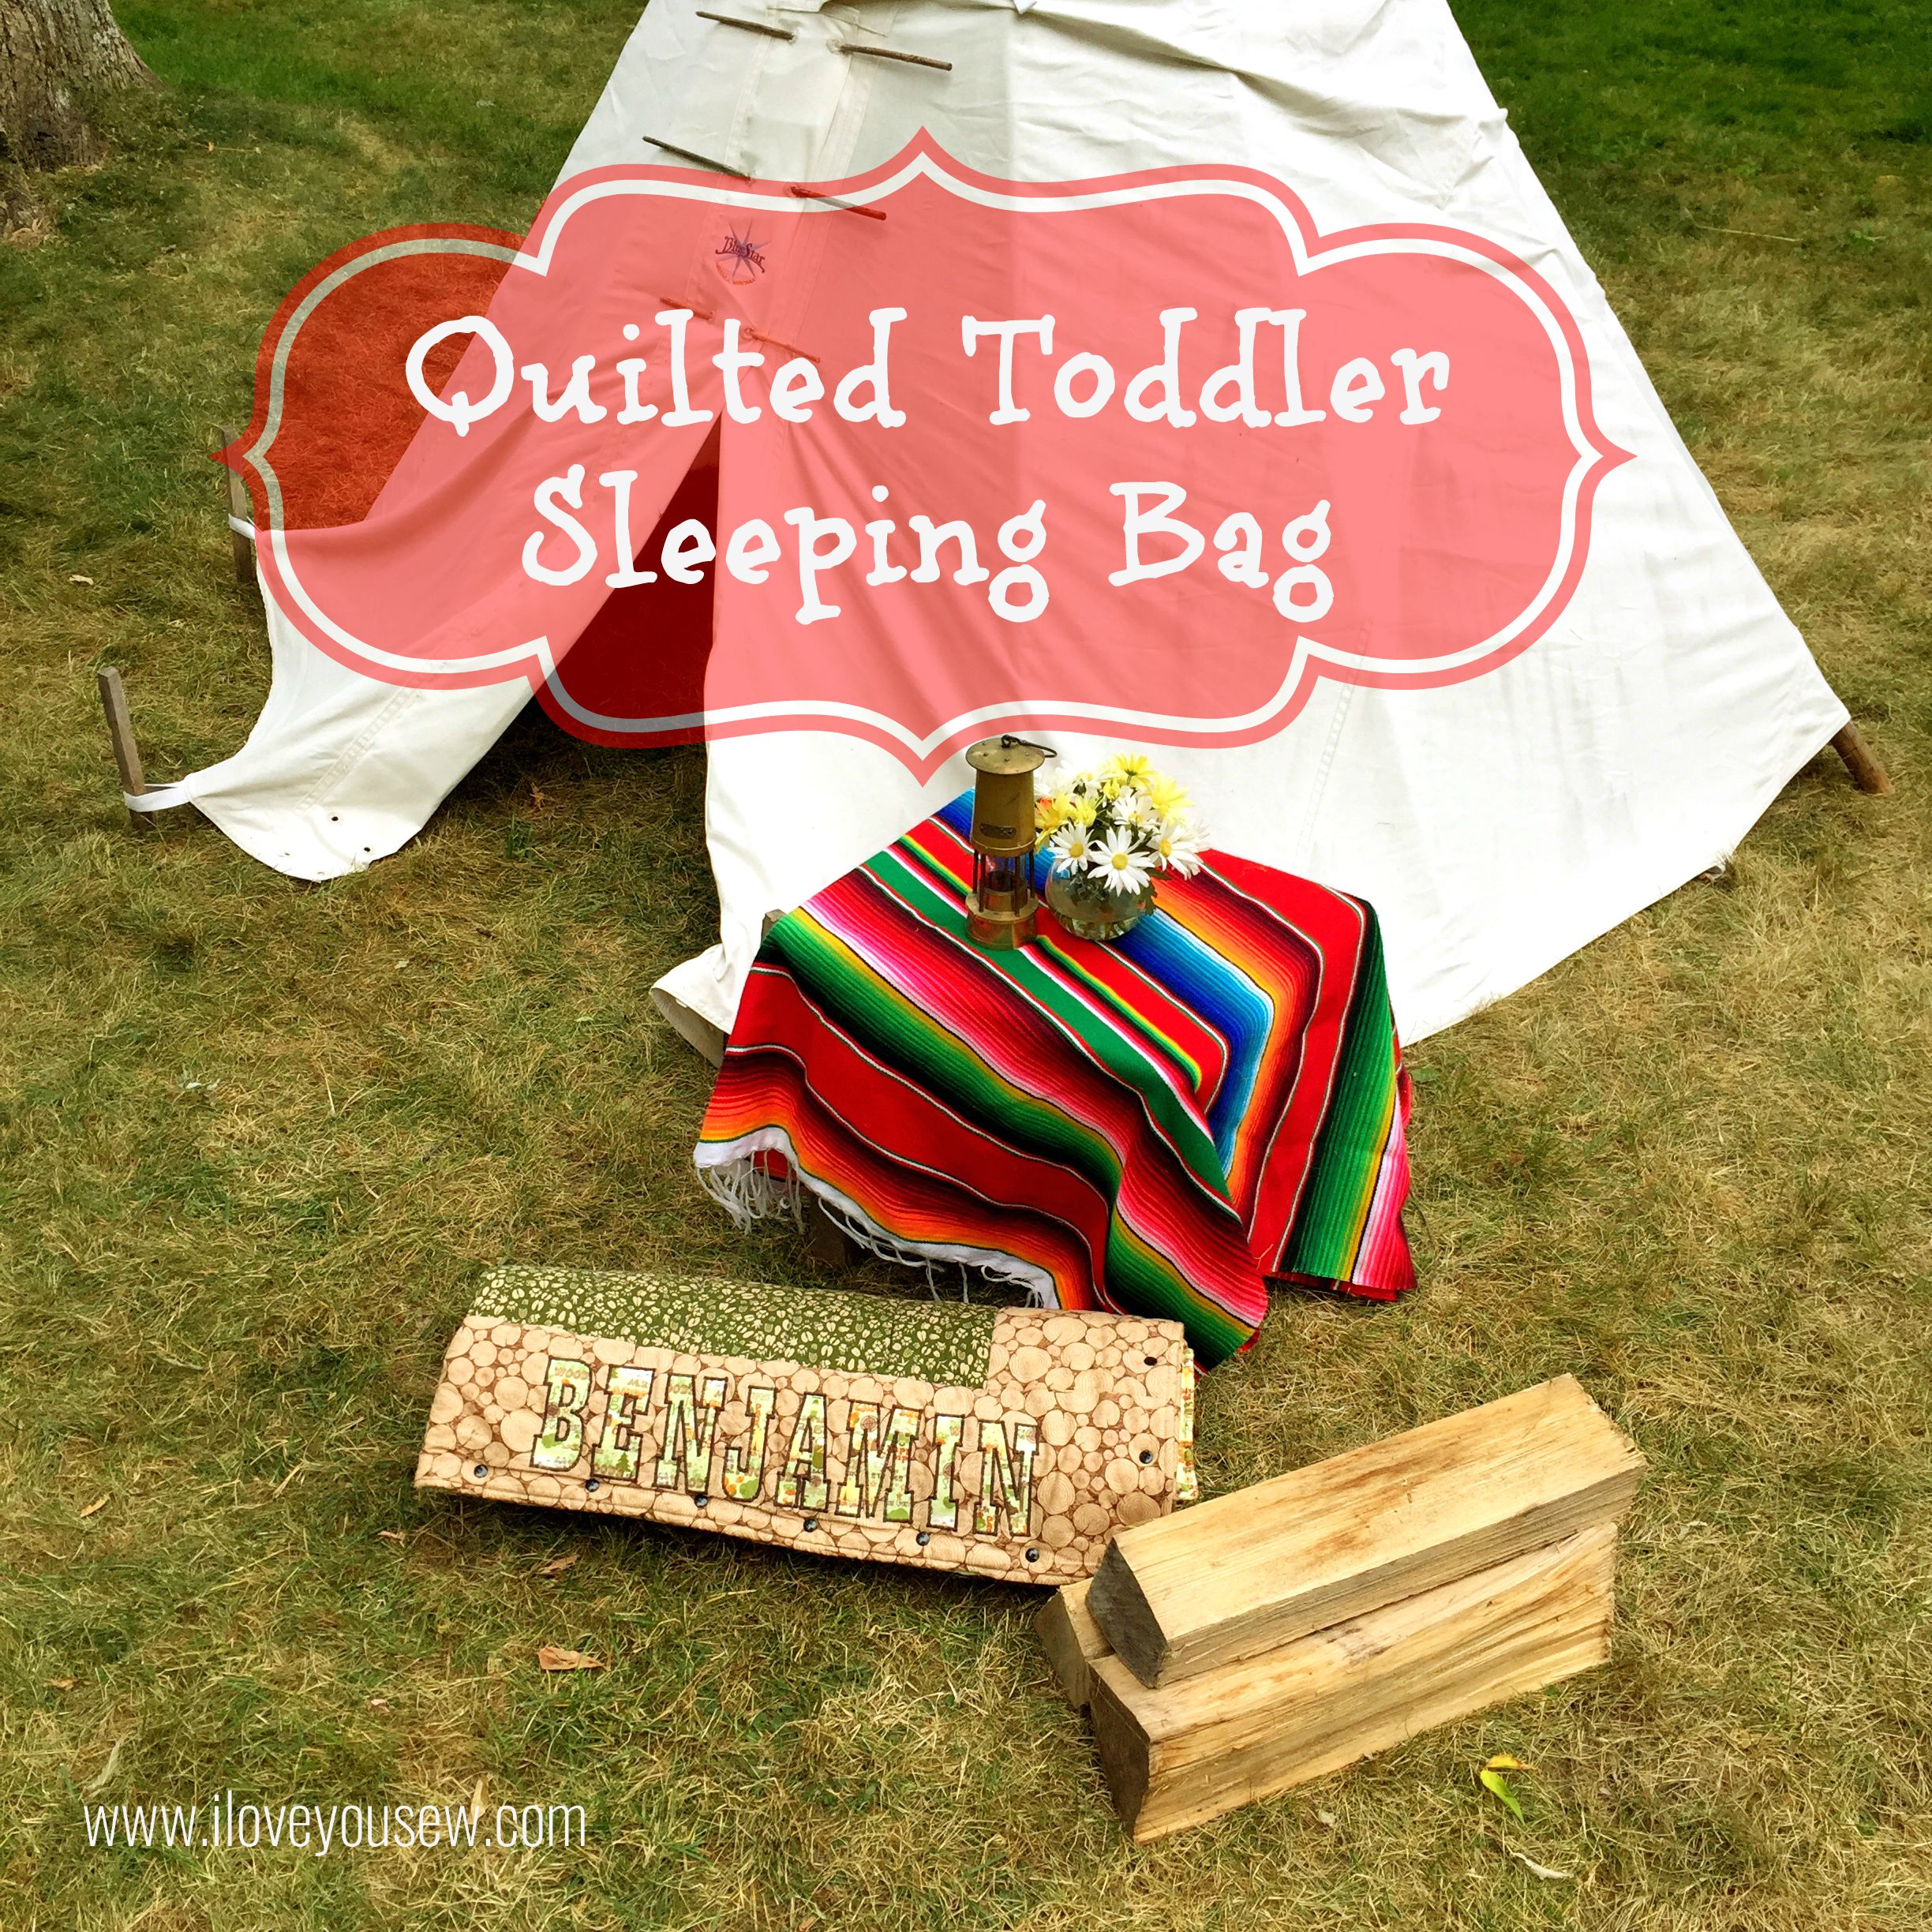
This week, I’m doing a little throw-back of toddler sleeping bags I made for my boys last year.  I wasn’t a blogger then and figured I’d write a post in honor of our annual trip to the lake.  We brought these puppies along for each of our sons and I couldn’t help take some fun new photos along beautiful Lake Leelanau in Northern Michigan.

SleepingBagHalfOpen

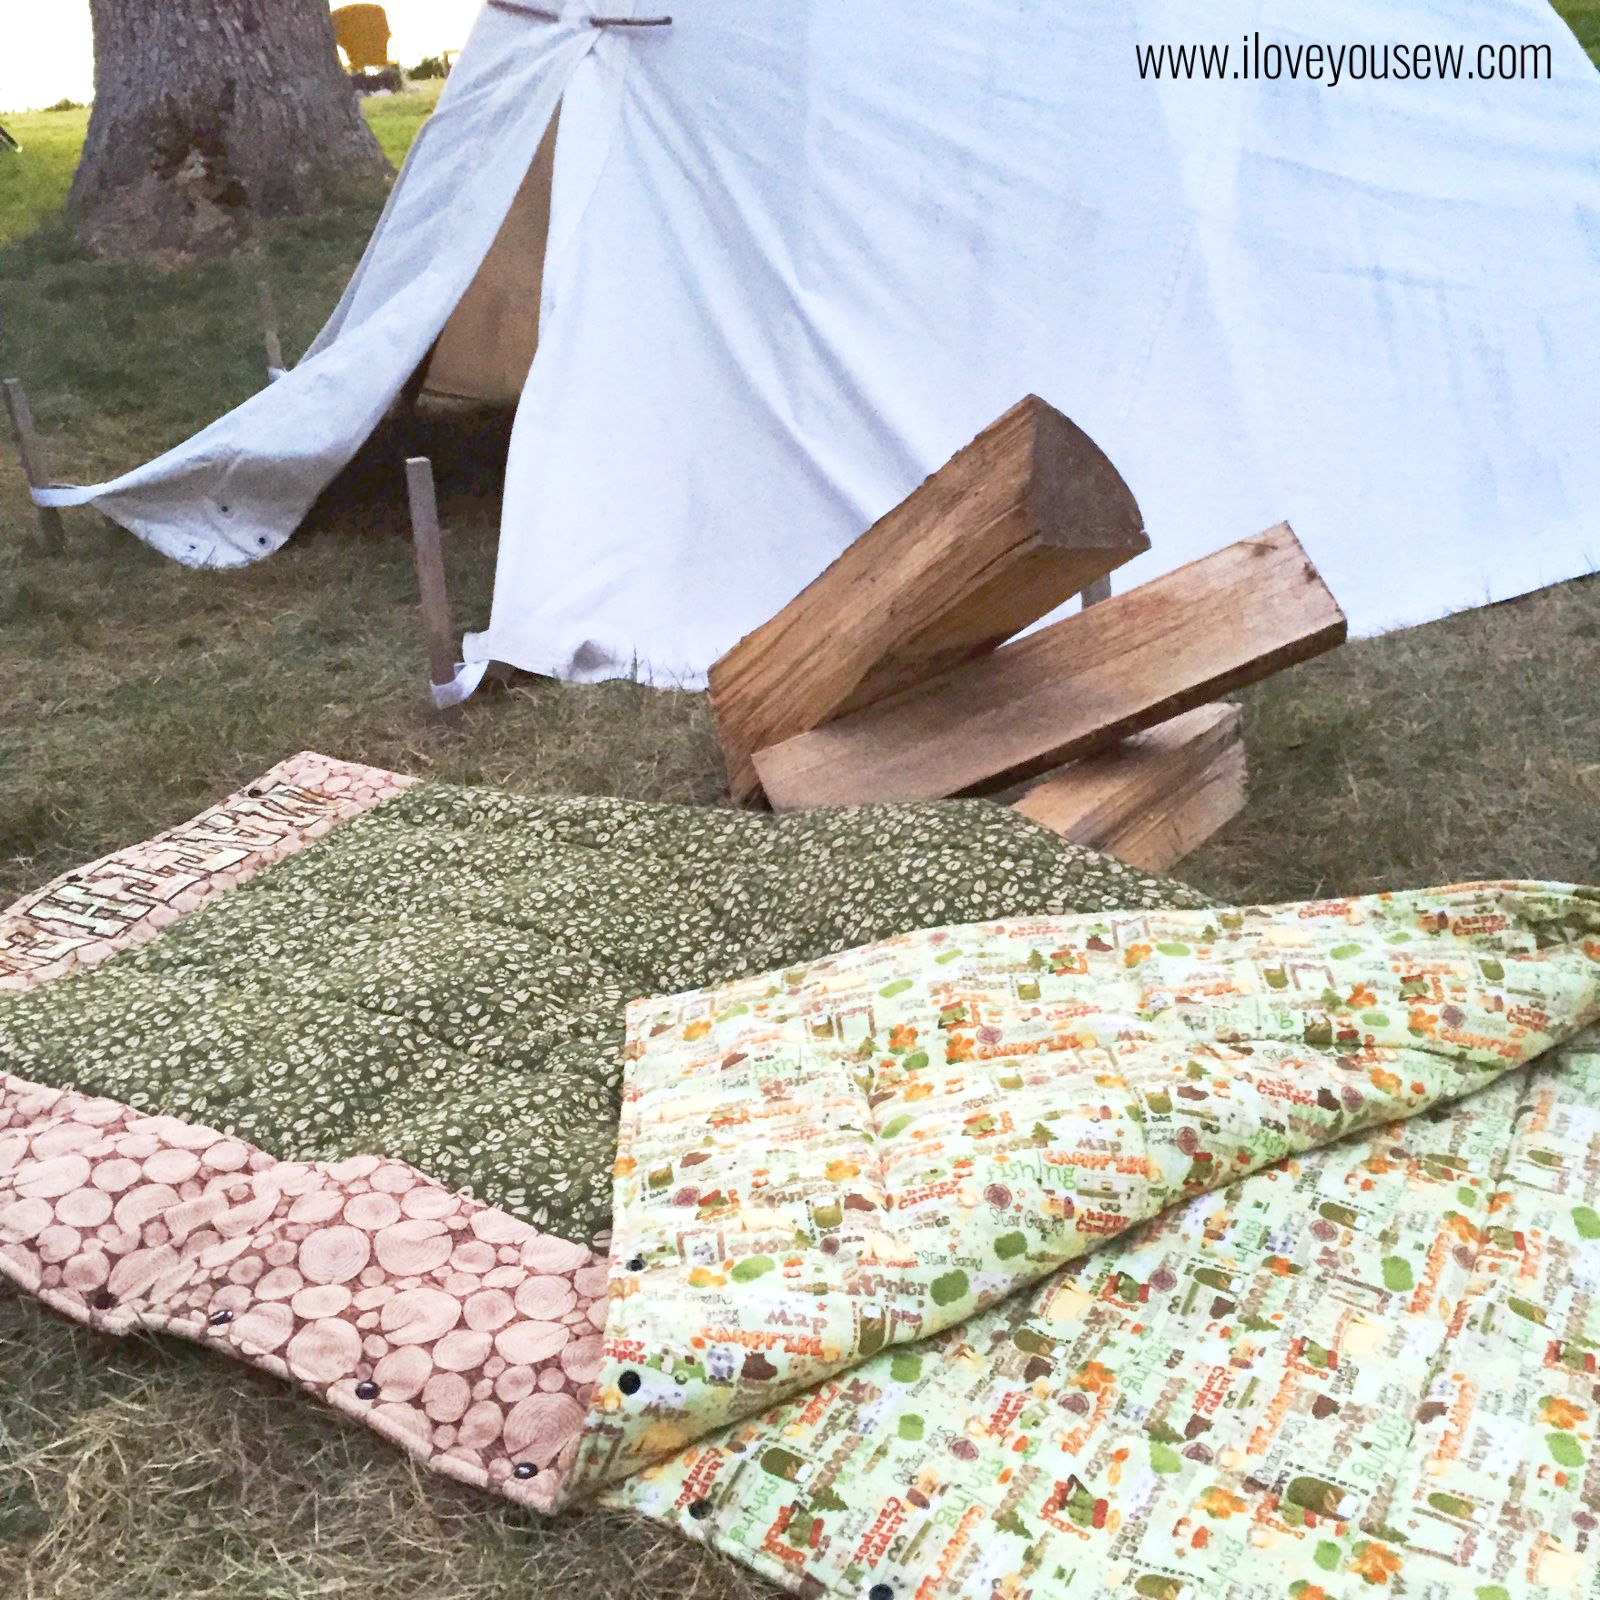
My boys are at a fun age when we can now have little sleepovers in the family room.  This adorable sleeping bag was exactly what I wanted for each of my kids to have their own.  I LOVE the idea of having the sides snap so that you can pull them apart and have a great throw blanket!  Duel-purpose items are key!  The pattern and tutorial can be found on The Sewing Rabbit’s blog.

SleepingBagOpen

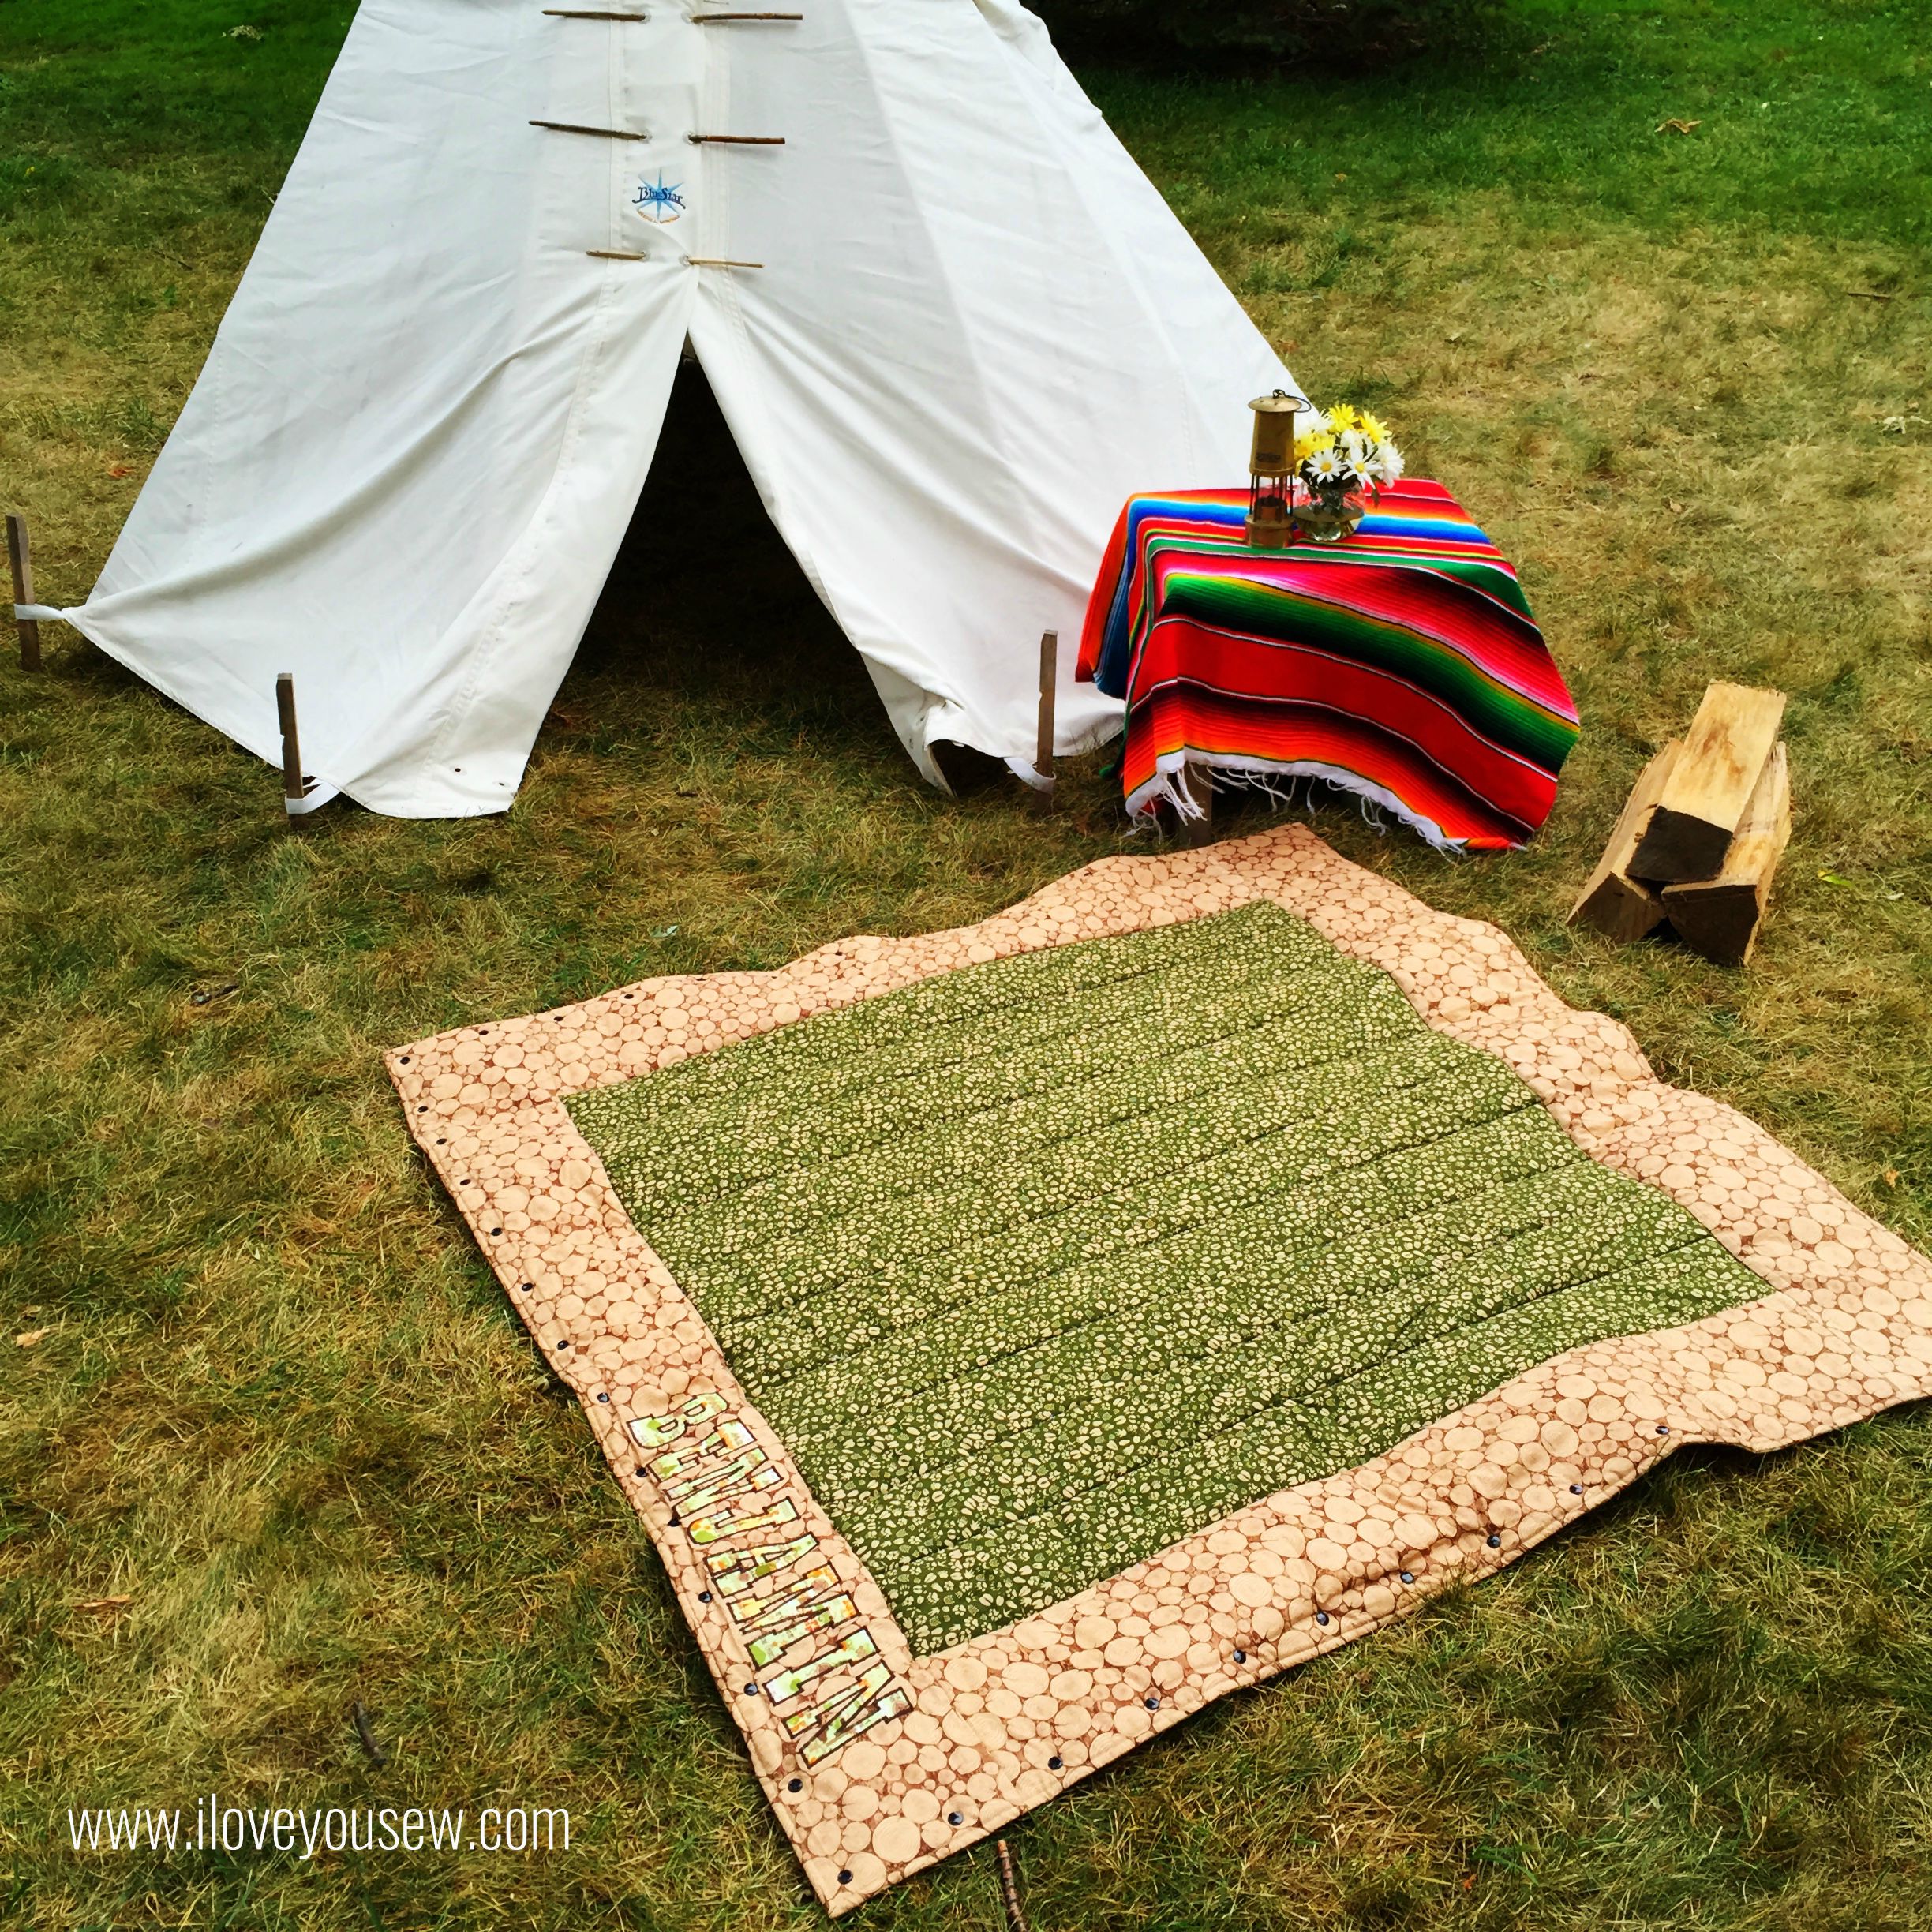
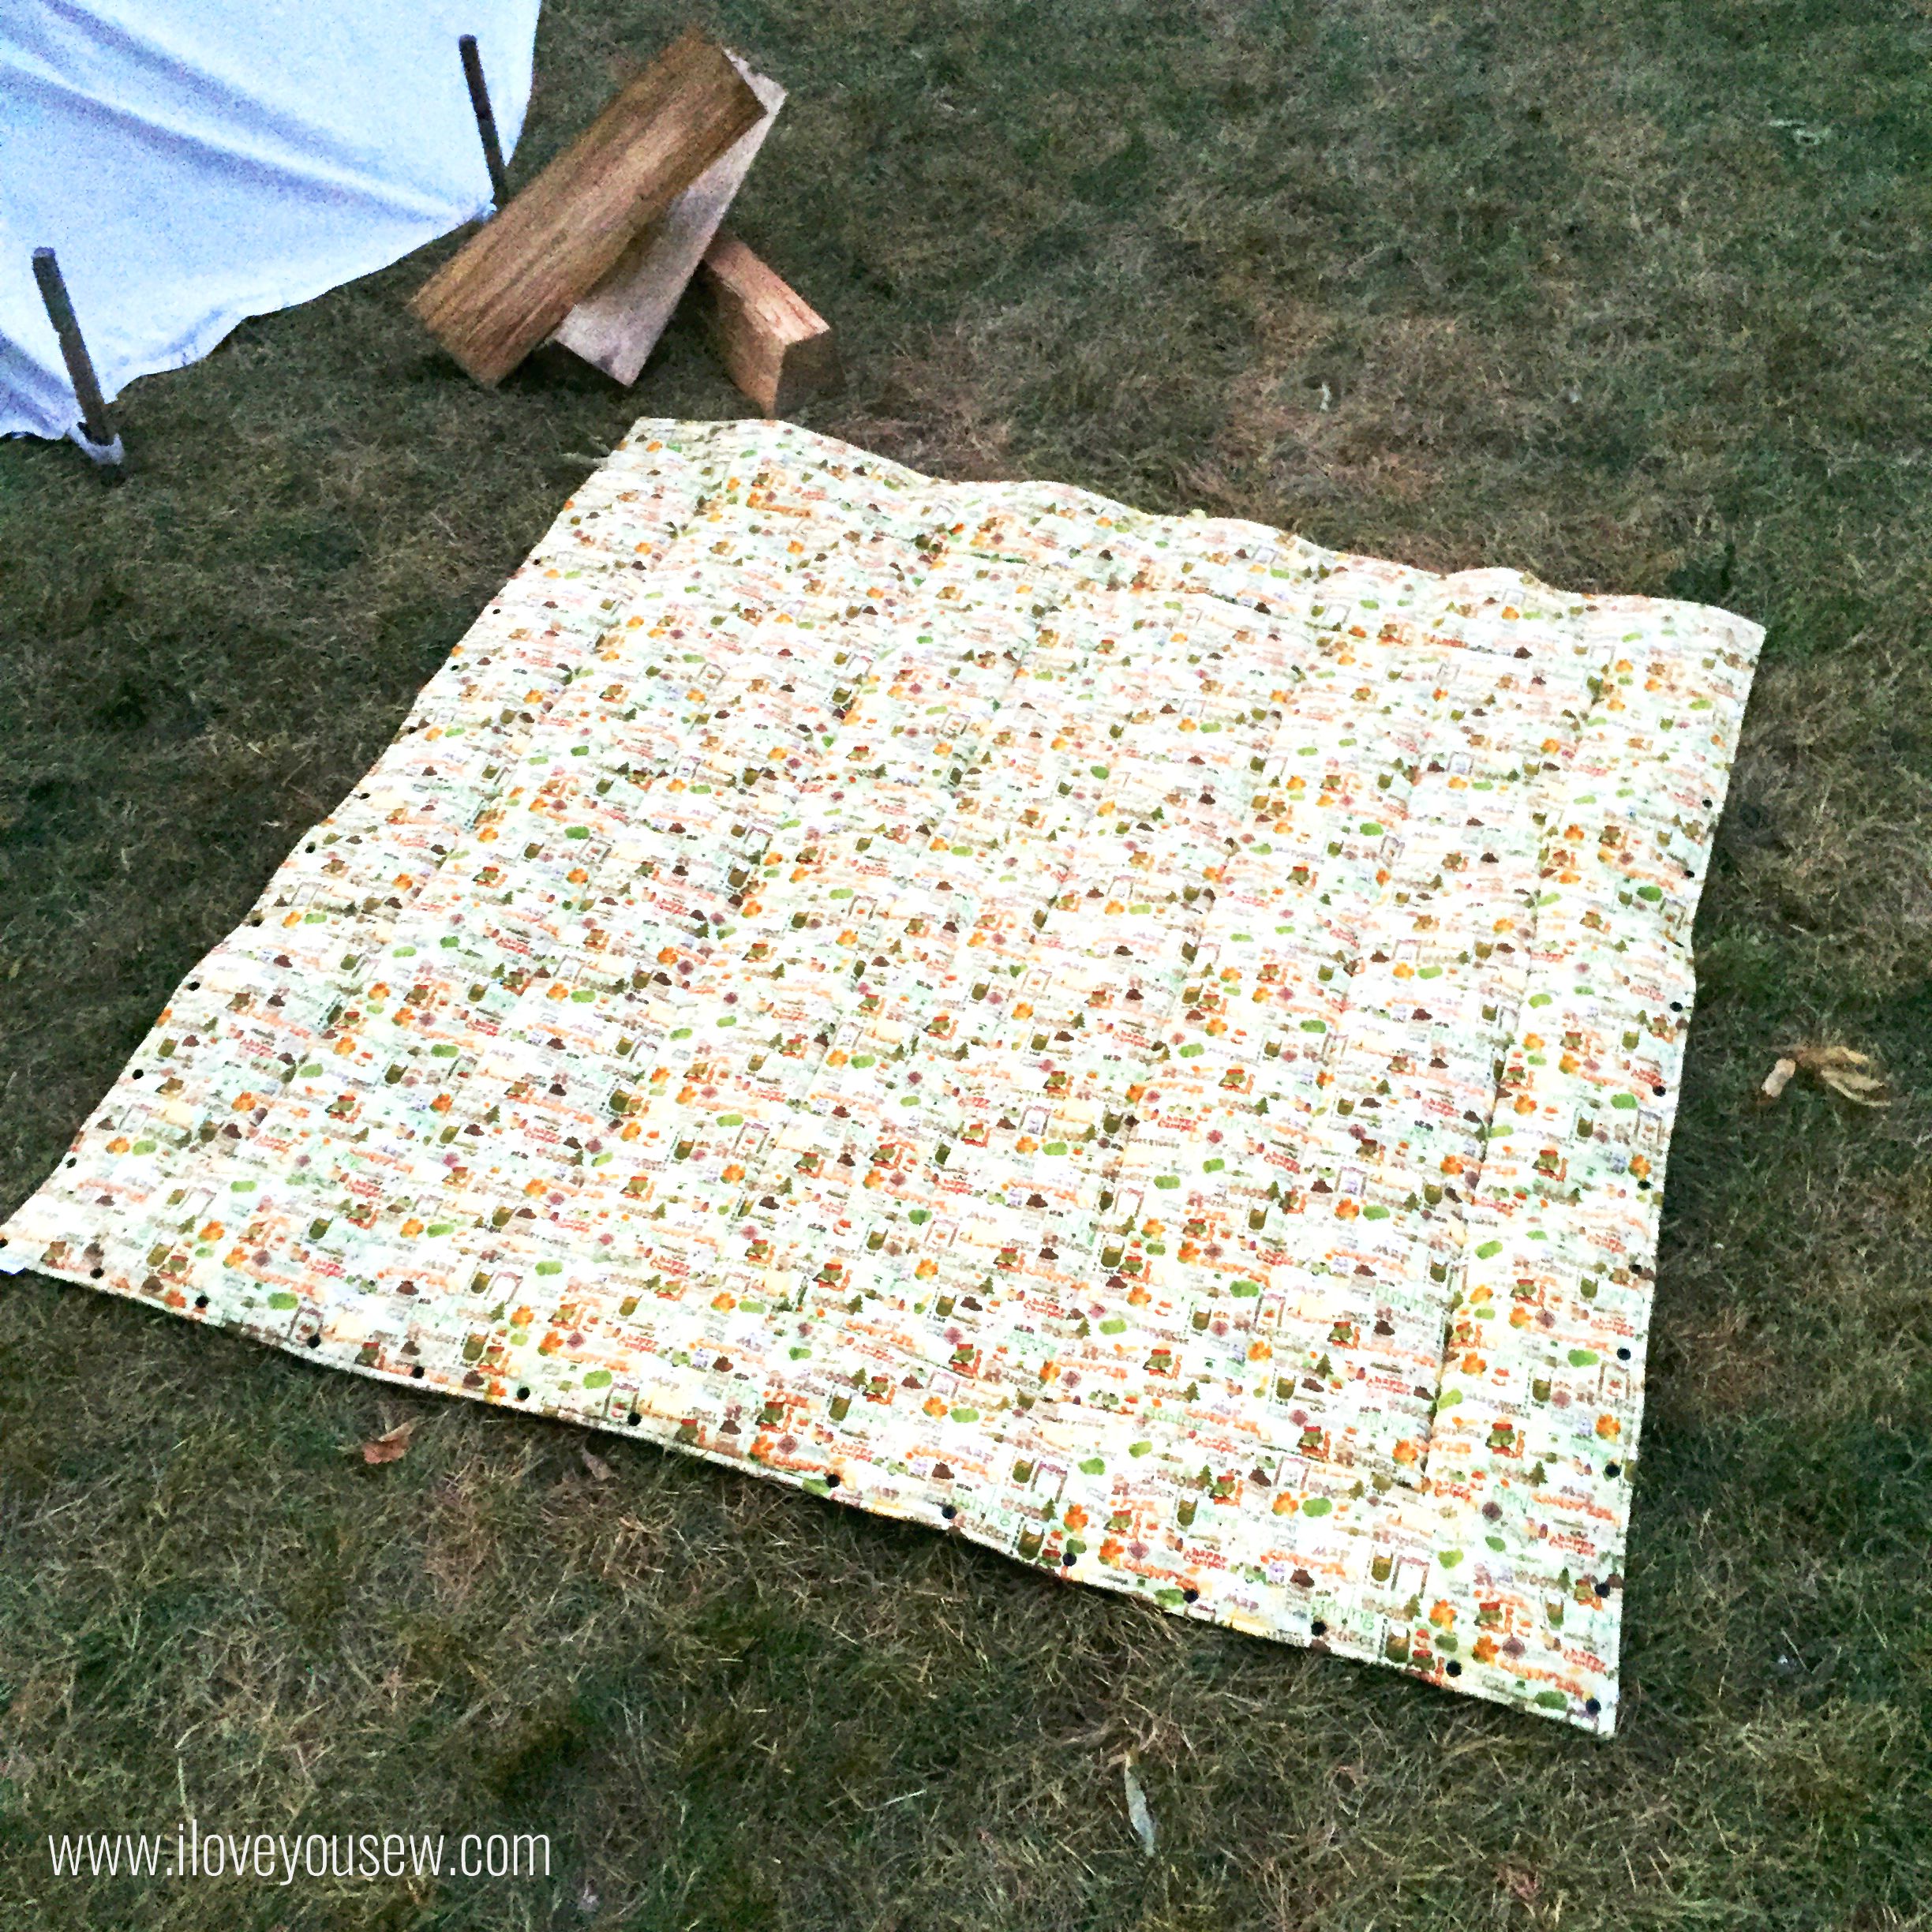
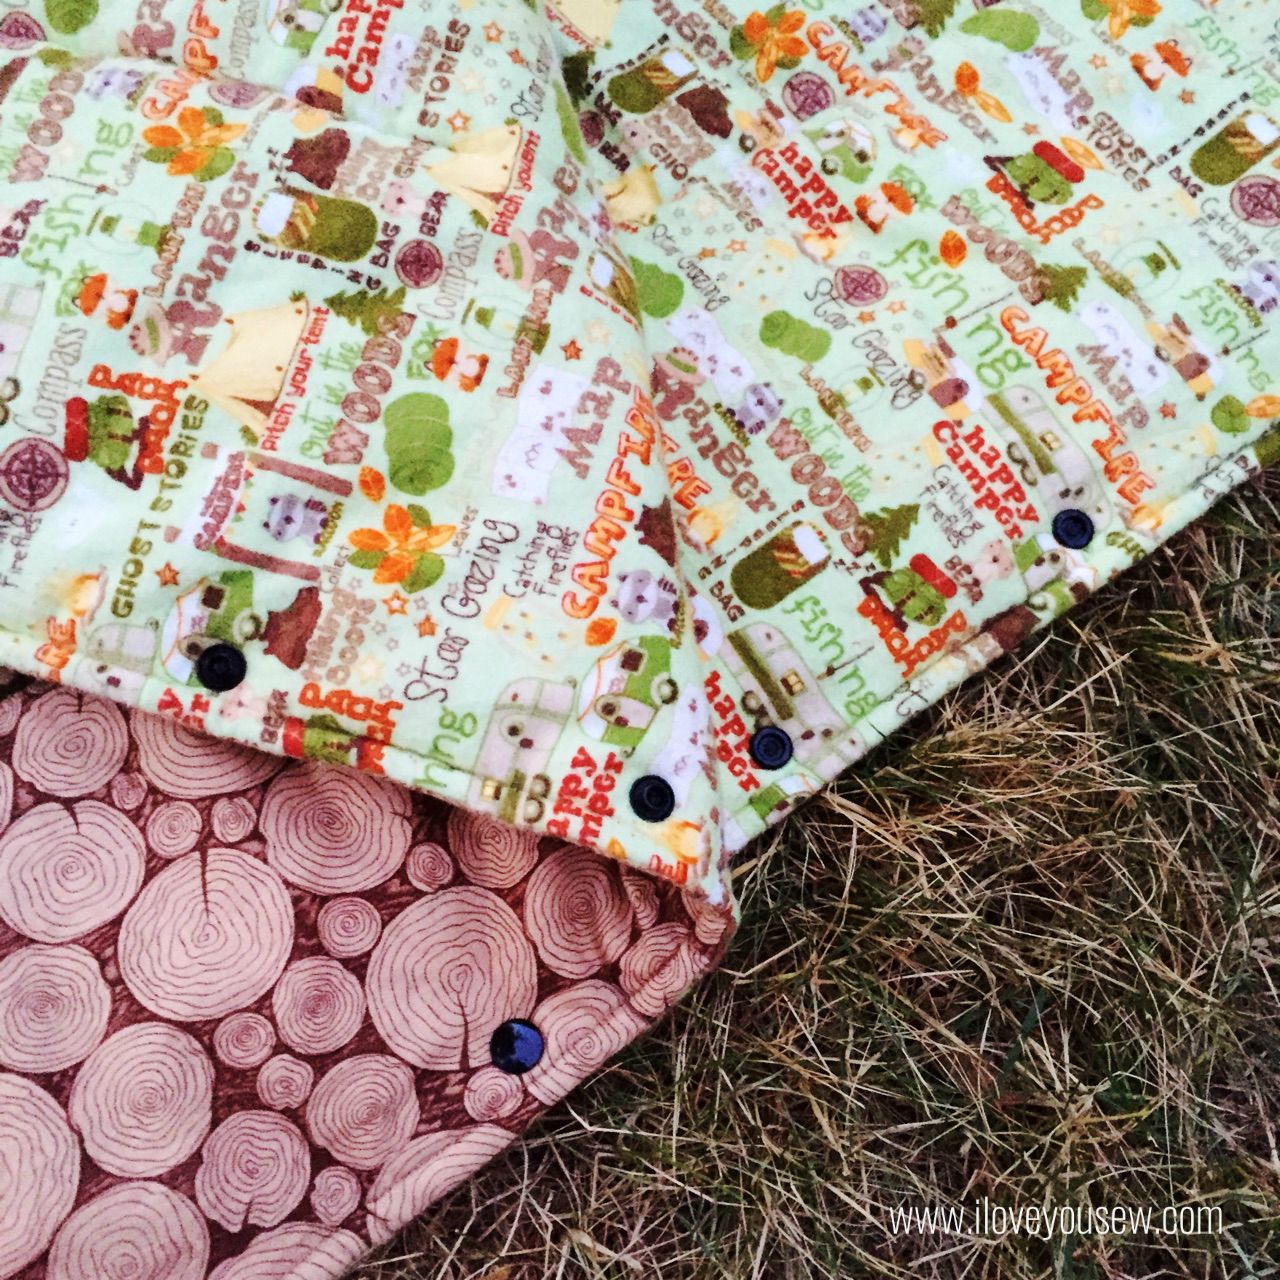
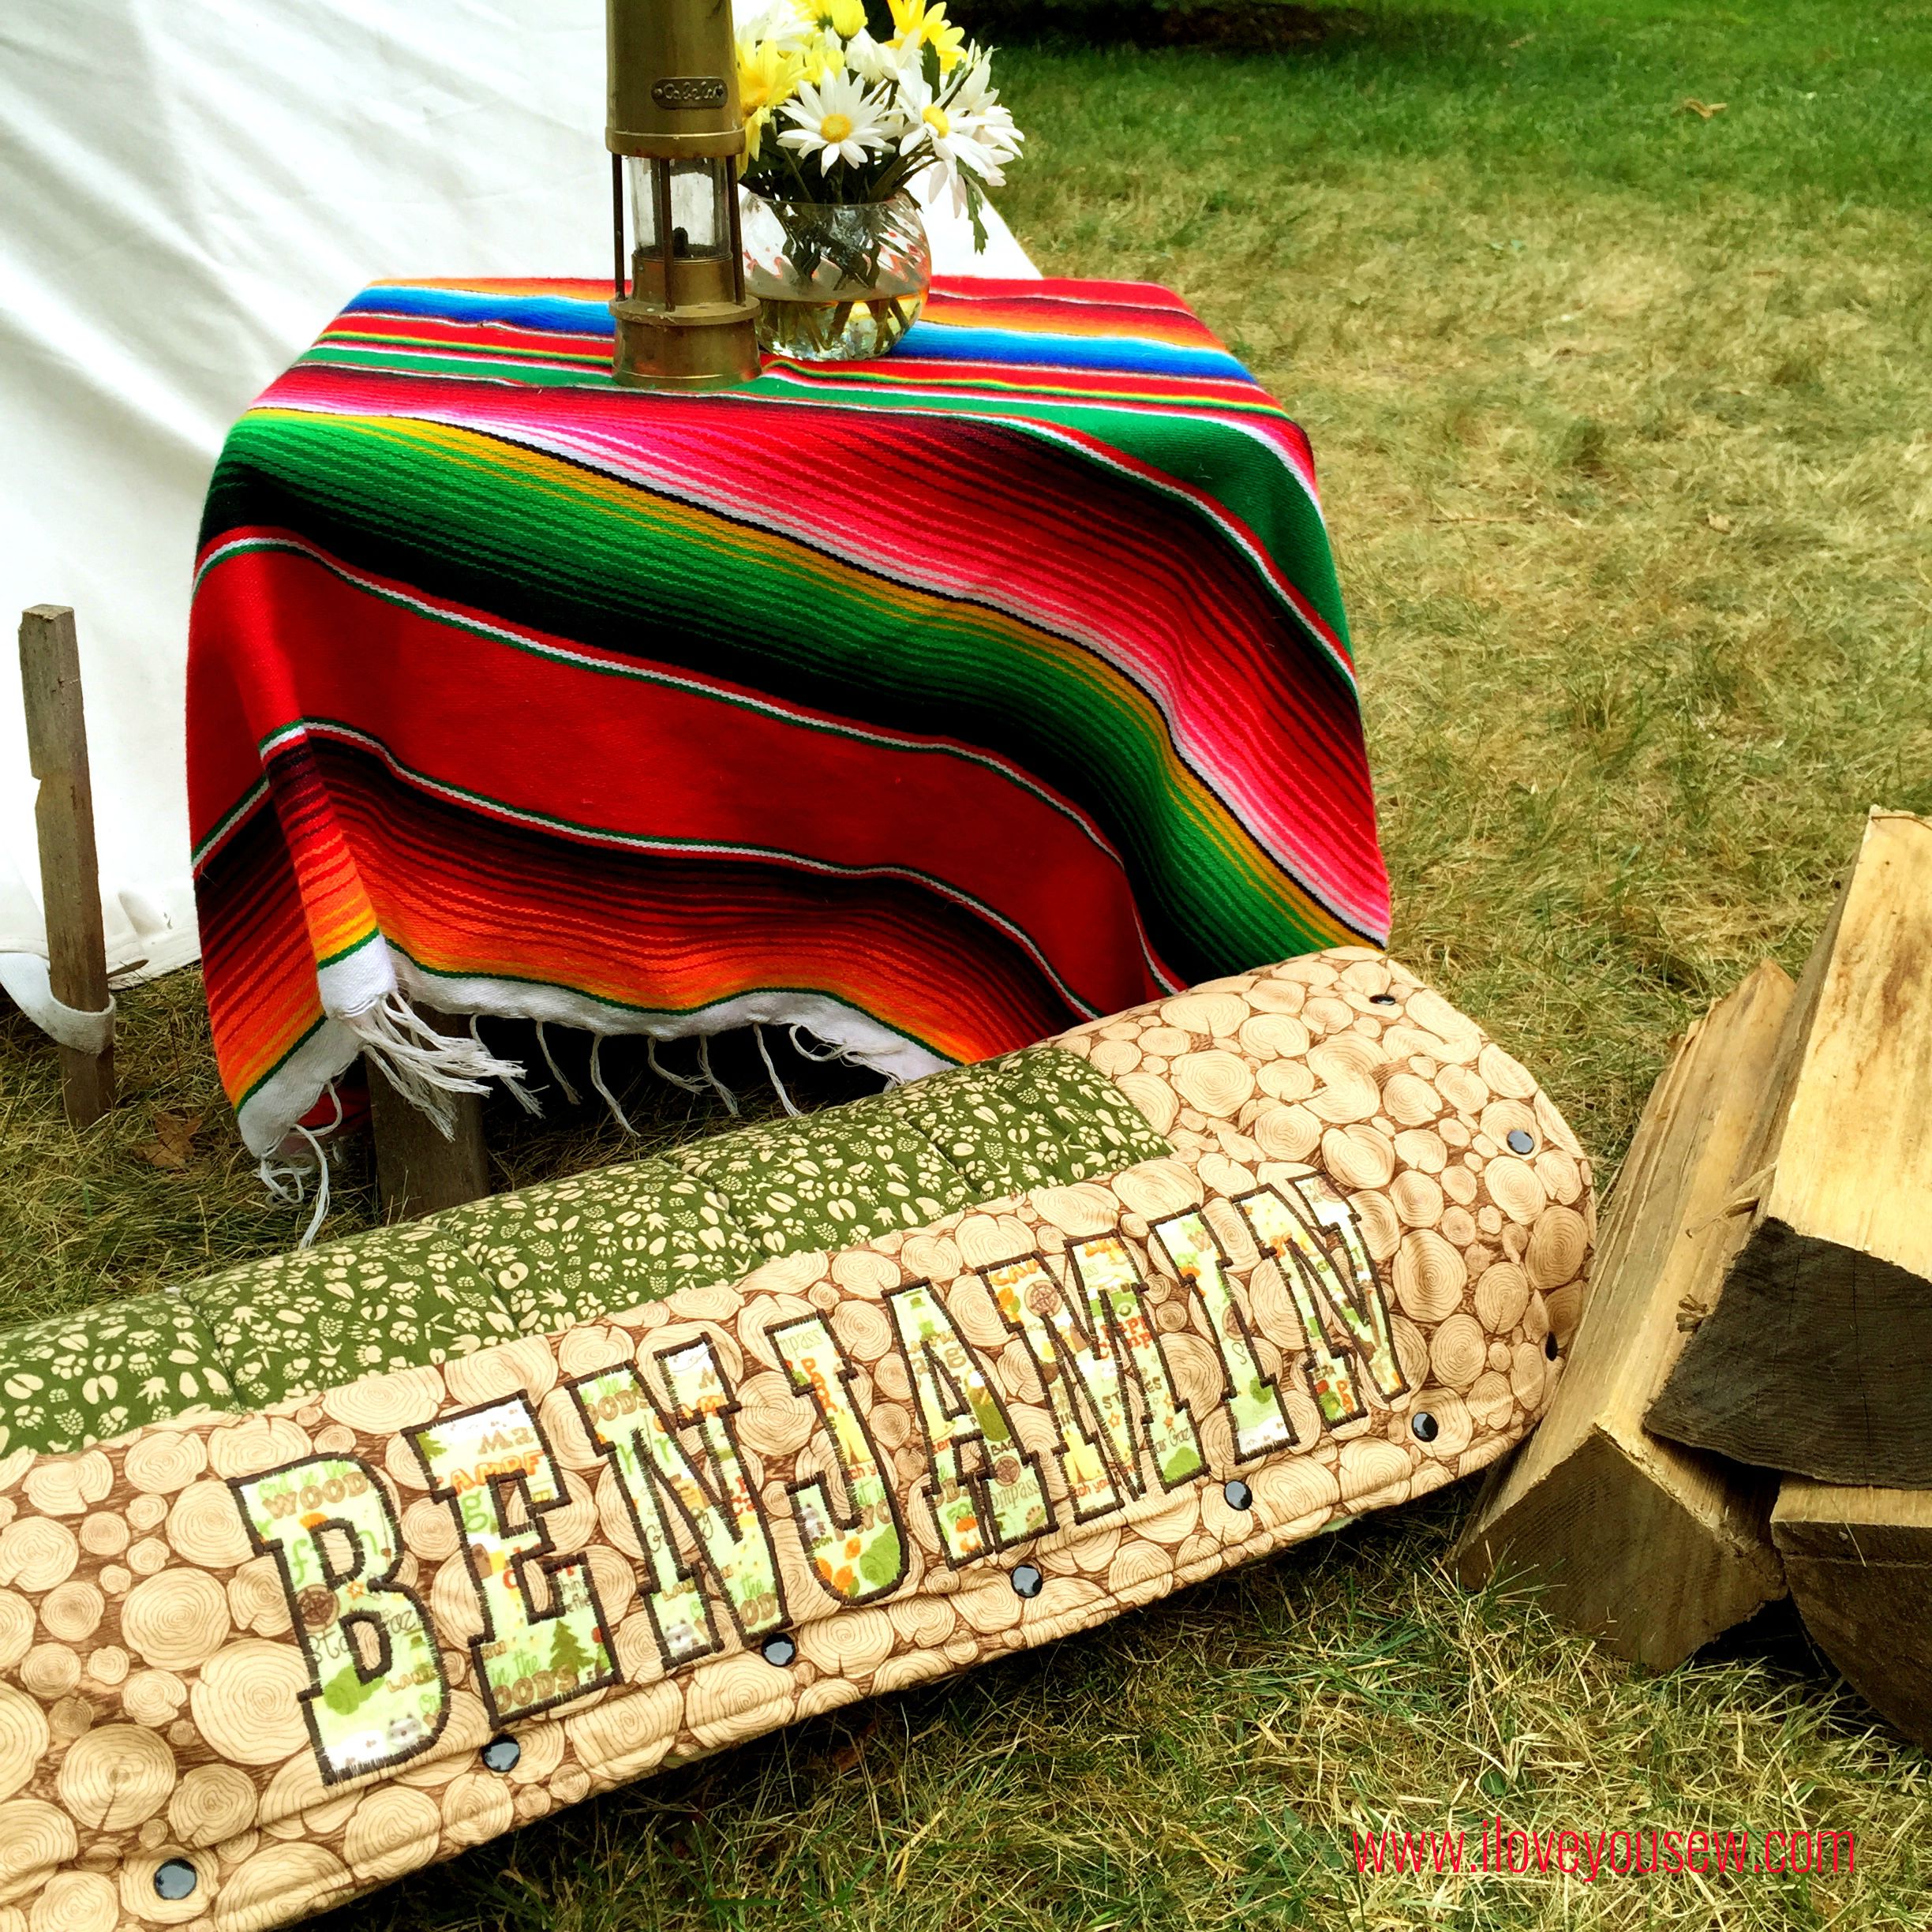
For the fabric, I used some fun outdoor-inspired designs from the Camp-A-Lot collection by Bo Bunny for Riley Blake Designs.  Unfortunately, all of the fabrics are out of print (OOP) but you can still find certain patterns online.  I used quilt weight Firewood in chocolate for the border, Tracks in green for the center and then Main in green flannel for the backing.

SleepingBagInterior

My boys are still young and I wanted fun patterns for them that weren’t too mature.  They are already growing up too fast!  Plus, I just loved the flannel backing. It makes for an awesome “I Spy” game…bonus!!!  These sleeping bags should last them awhile for indoor fun, but I know we’ll have to get them “real” outdoor ones soon enough.

SleepingBagSnaps

Luckily, I’m a very loyal fan of KAM Snaps.  If there is a reason to use them, I do!  I was so happy to see them in this tutorial because I have a ton of colors in my craft stash.  They hold well, but are easy enough for little hands to fasten together. There is spacing in between that allows air to come through on the bad, but remember, these are not intended for outdoor use….so I’m perfectly happy to use them!

SleepingBagRolledCloseup

The only modifications I made to the tutorial were increasing the width between quilted lines to about 4″ apart.  As you know, I’m not a fan of actual quilting, so this made for light work!   I also added appliqué letters to personalize each bag.  As a mom, I know how important it is to avoid any fights and keeping each boy accountable for their own stuff helps!  And yes, monograms are also super cute and special 🙂 To attached the appliqué letters, I used a tight zig-zag stitch to cover the edges and to mimic embroidery.  This process takes awhile but the results are worth the extra time!

I hope you are all enjoying your summer (northern hemisphere, peeps!) and get to make a special little person one of these sleeping bags!  Back to some family fun for me…


Hugs and Stitches,

Cristy


Sew It Yourself Kimono

Kimono Title

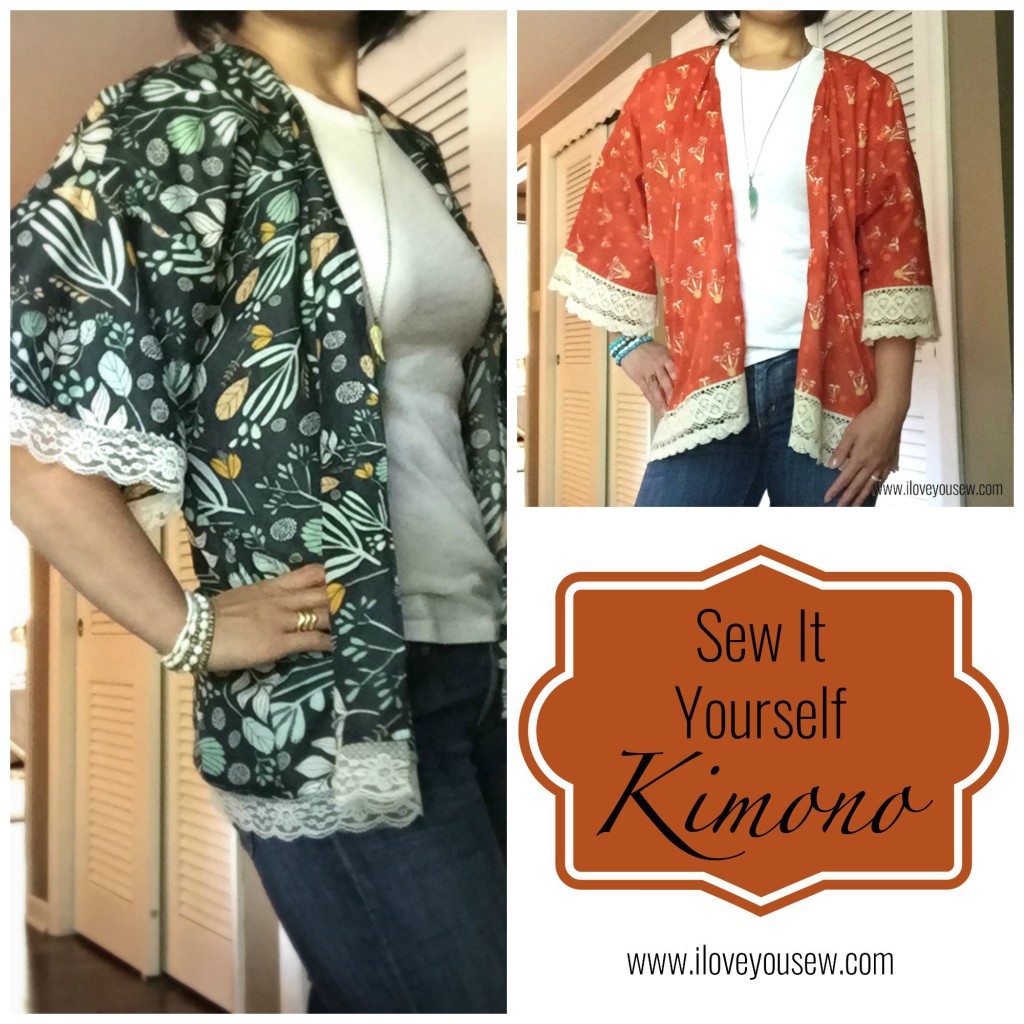
Boho style is all over the place right now and I thought I’d try to catch up with this Sew It Yourself Kimono.  The wrap is part of the Bohemian Chic trend which is all about being unconventional, artsy and spirited. To me, it’s a very relaxed and airy style but the “chic” part keeps it classy.

I’ve been in a fashion rut ever since having my little guys. I’m much happier (and more comfortable) in my yoga pants and a t-shirt any day. But whenever I have a “girls trip” with my hip city friends, I feel like the frumpy charity case…so I decided to do something about it!

I’ve been eying up Kimonos for awhile, but when Sew Caroline had a post referencing her FREE pattern on IG one day, I knew I had to suck it up and make my own. The pattern is one size fits most and being a whopping 5’3″, it was good for me 😉

KimonoFabric

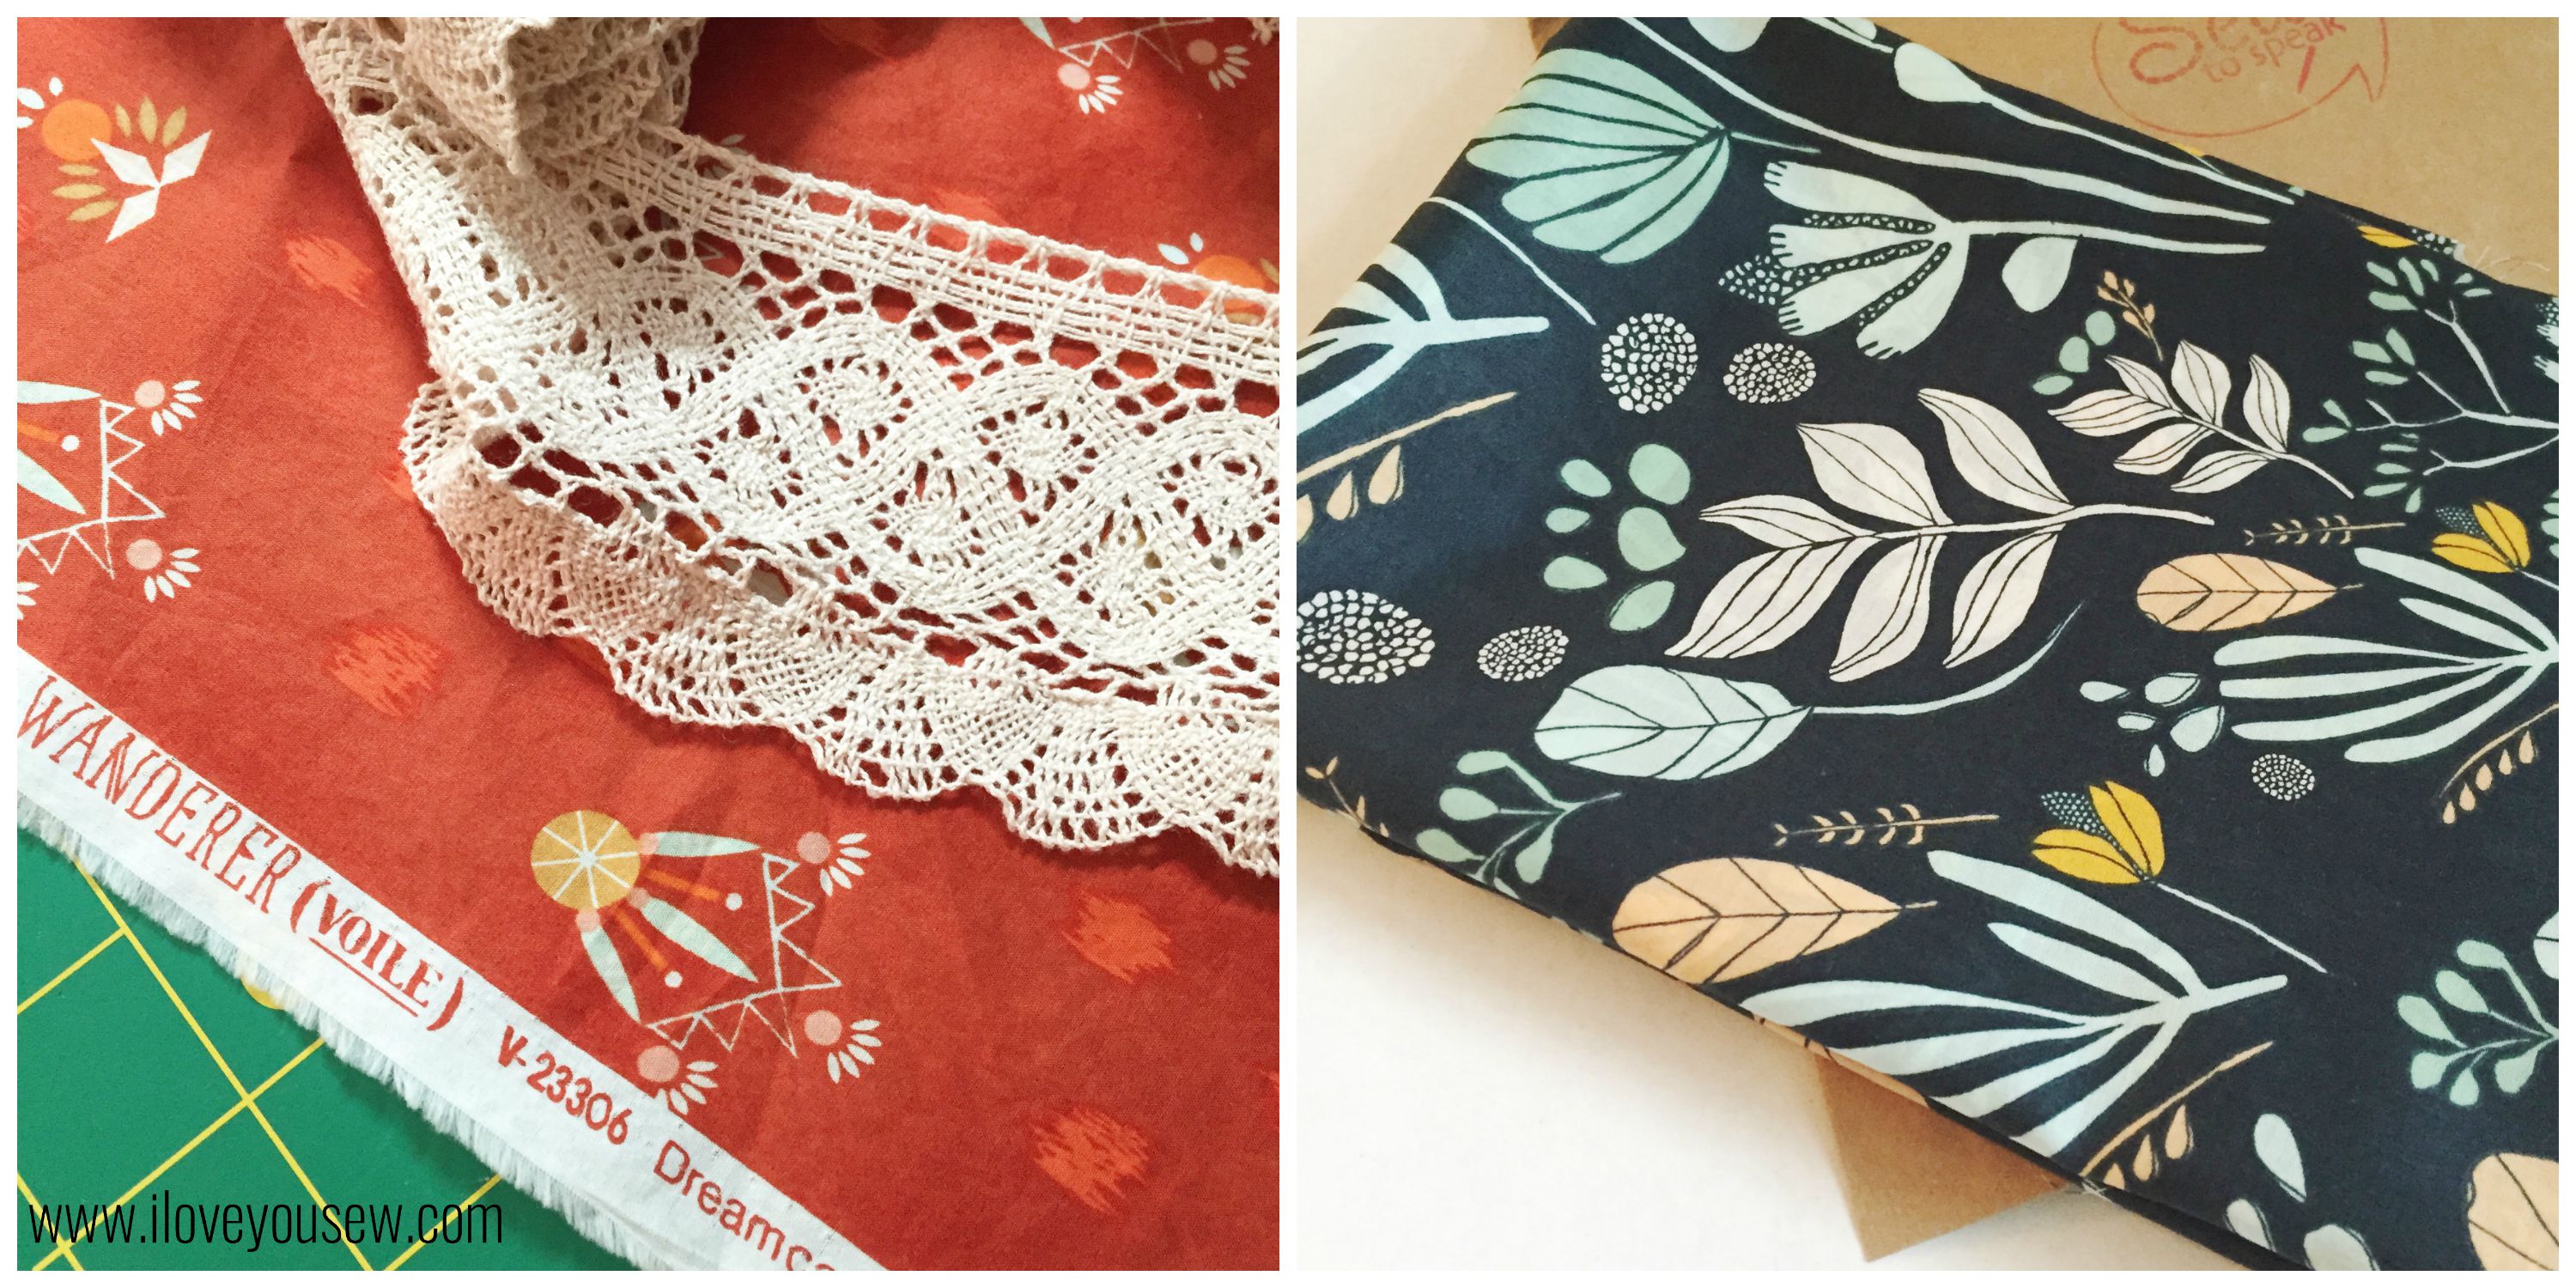
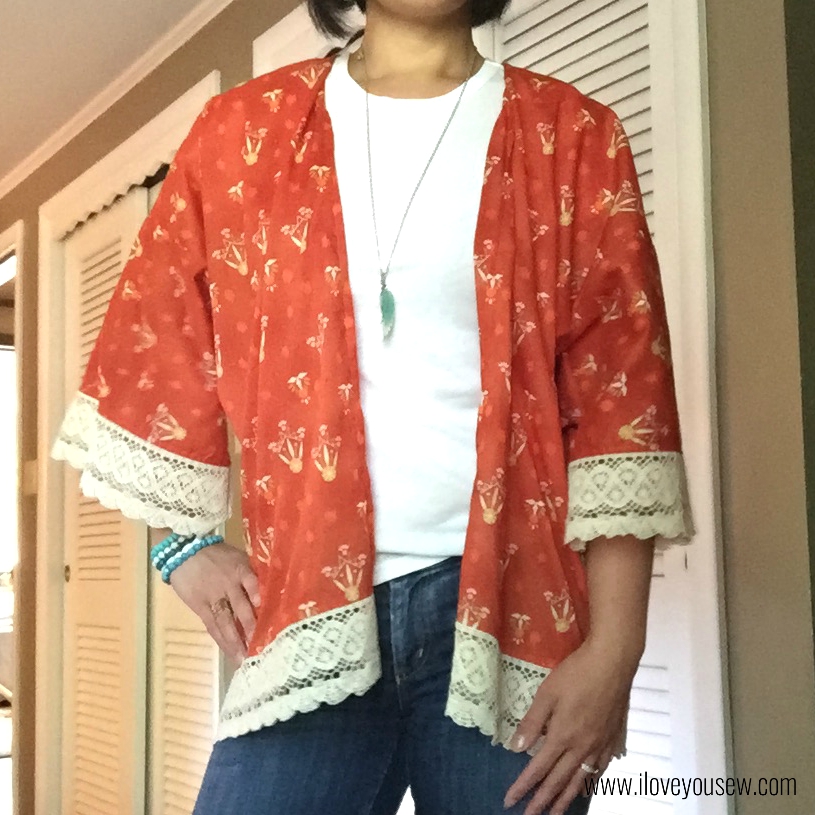
When selecting fabric for a Kimono, you need some good drape.  I knew anything from April Rhodes, was gonna be perfect.  Luckily, one of my favorite prints came in voile, so I snagged up Dreamcatching Flare from the Wanderer collection right away.  For trim, I wanted some earthly lace.  I tried to get a friend to crochet some for me (hehehe,) but ended up at my local JoAnn’s!  Who knew they had such a selection?!?  As I was gathering supplies, I thought I should make two styles….so I picked up Leah Duncan’s Bare Nopal Gloom from Morning Walk in voile at my Local Quilt Shop (LQS).  For the trim on this one, I used some delicate vanilla lace from my stash to complement the steely blue.

Version A- Morning Walk:

Morning Walk Finished Side

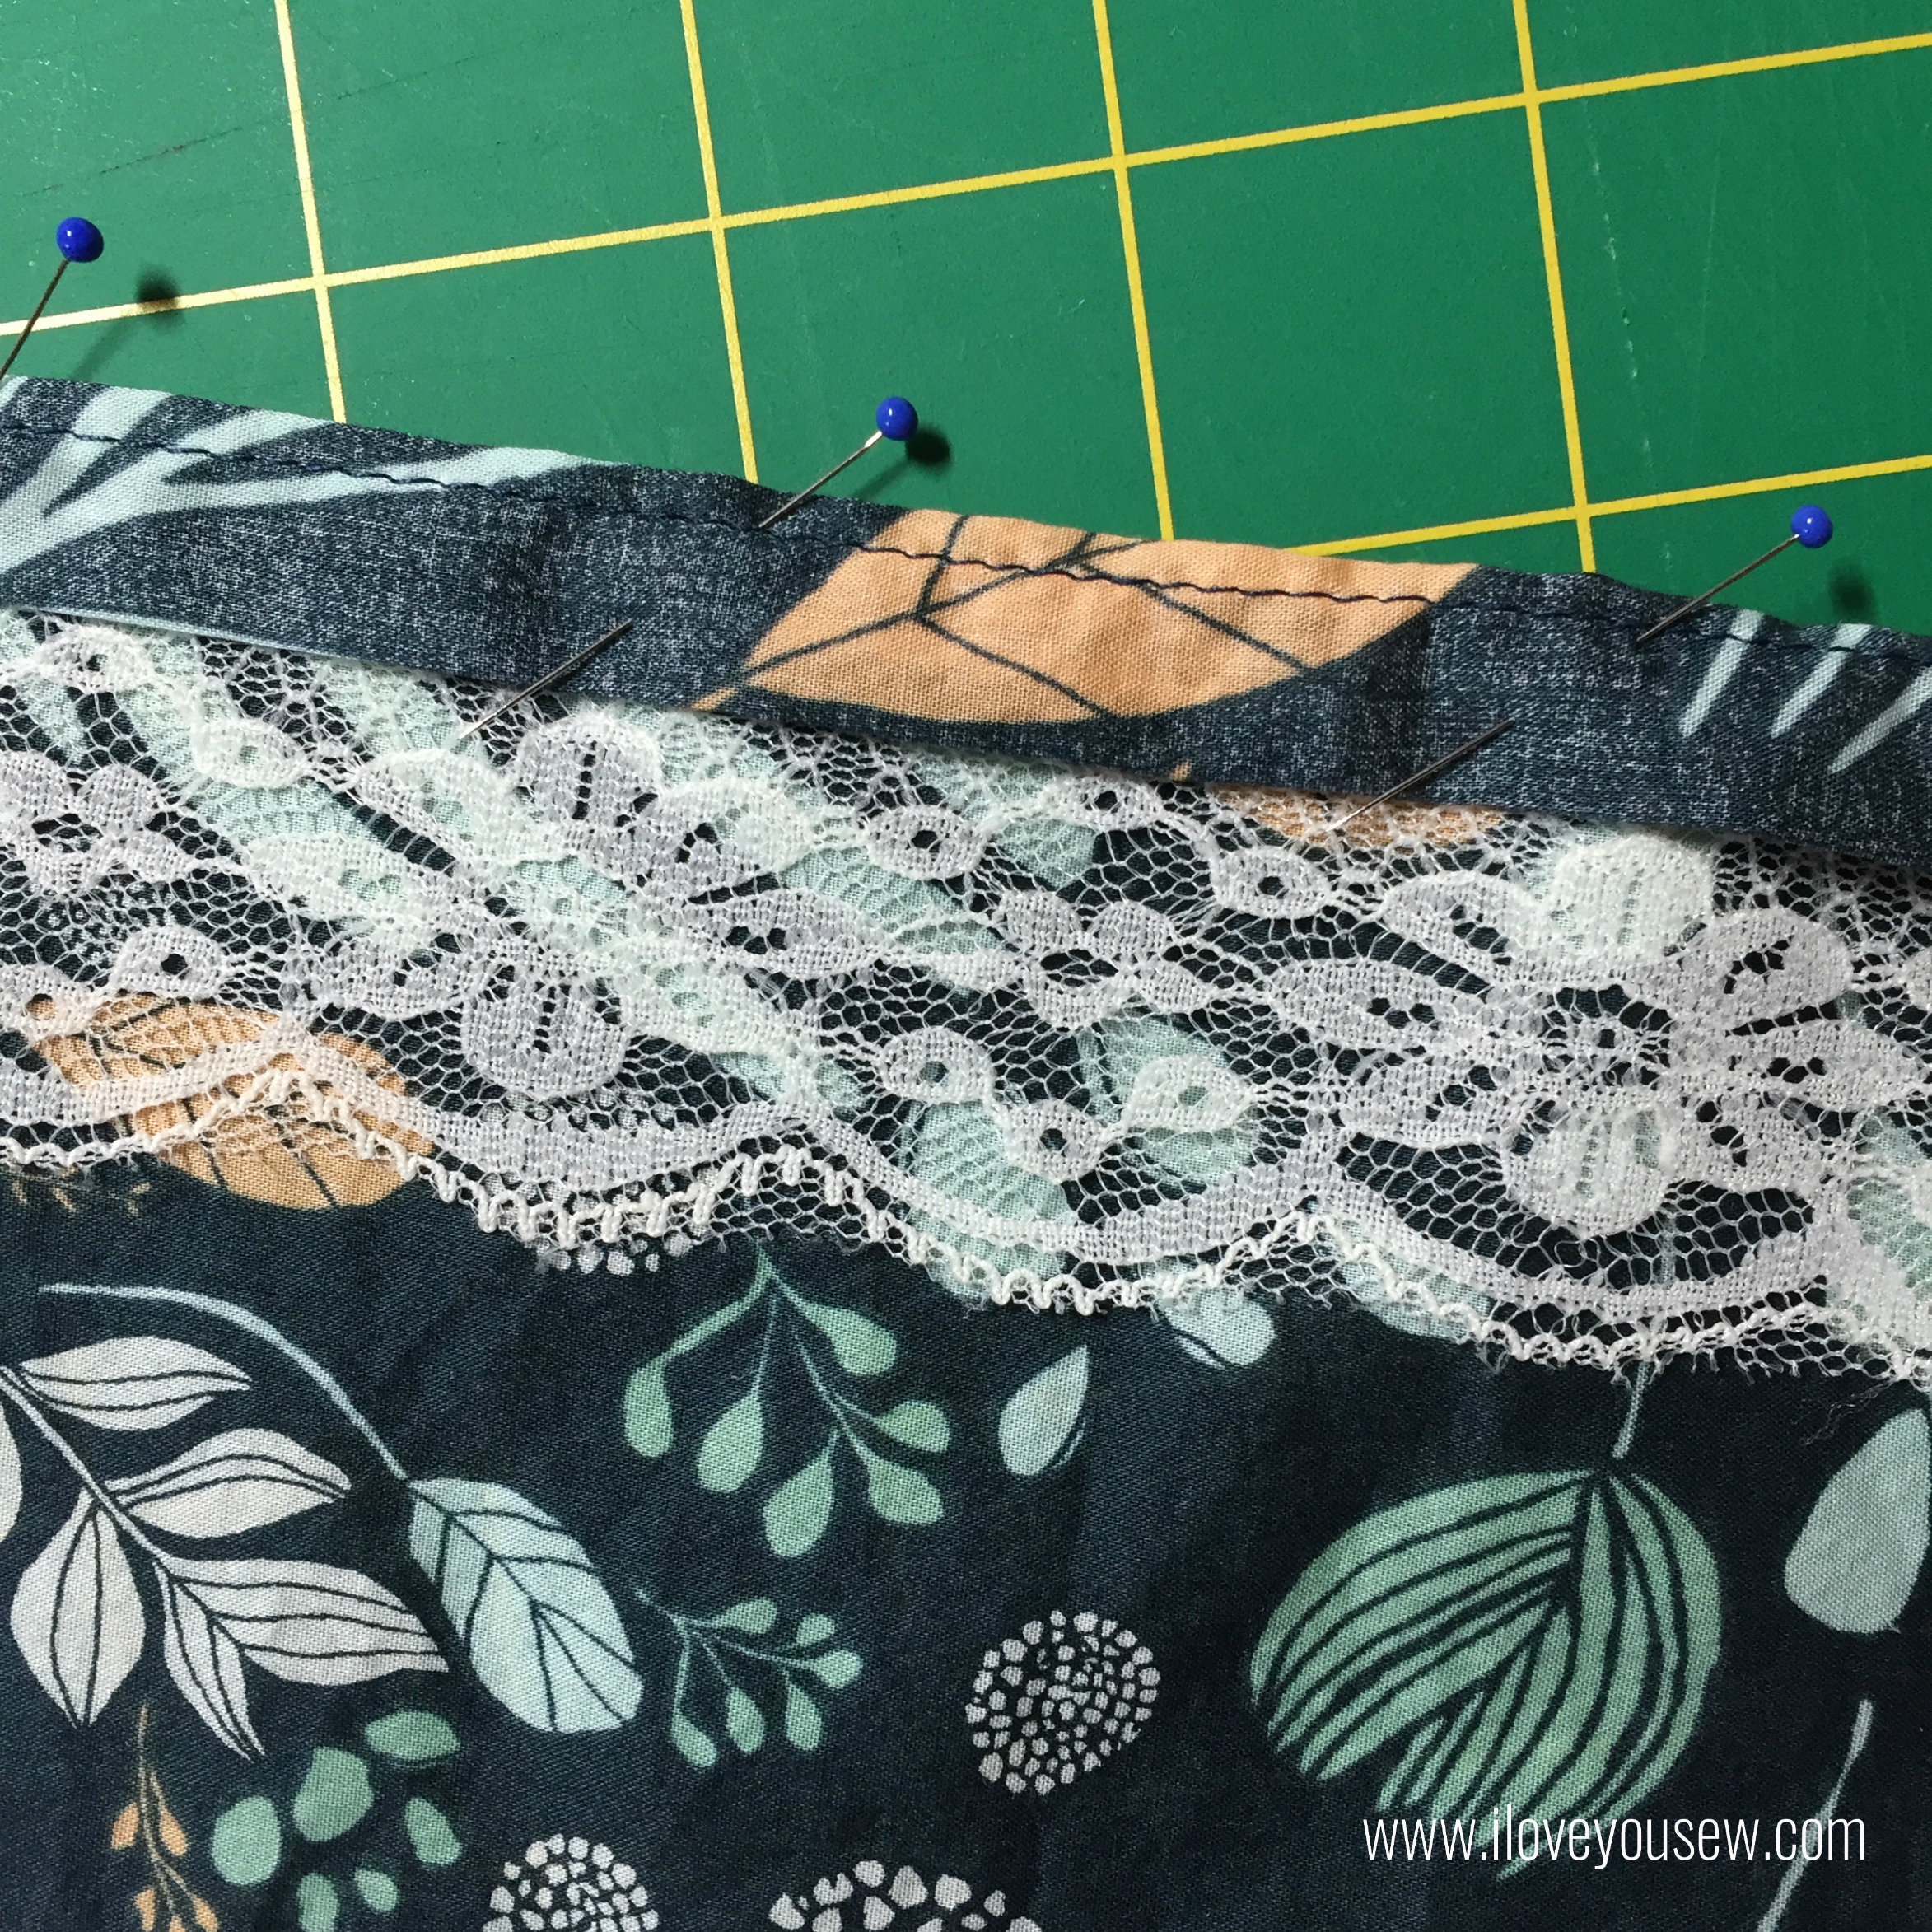
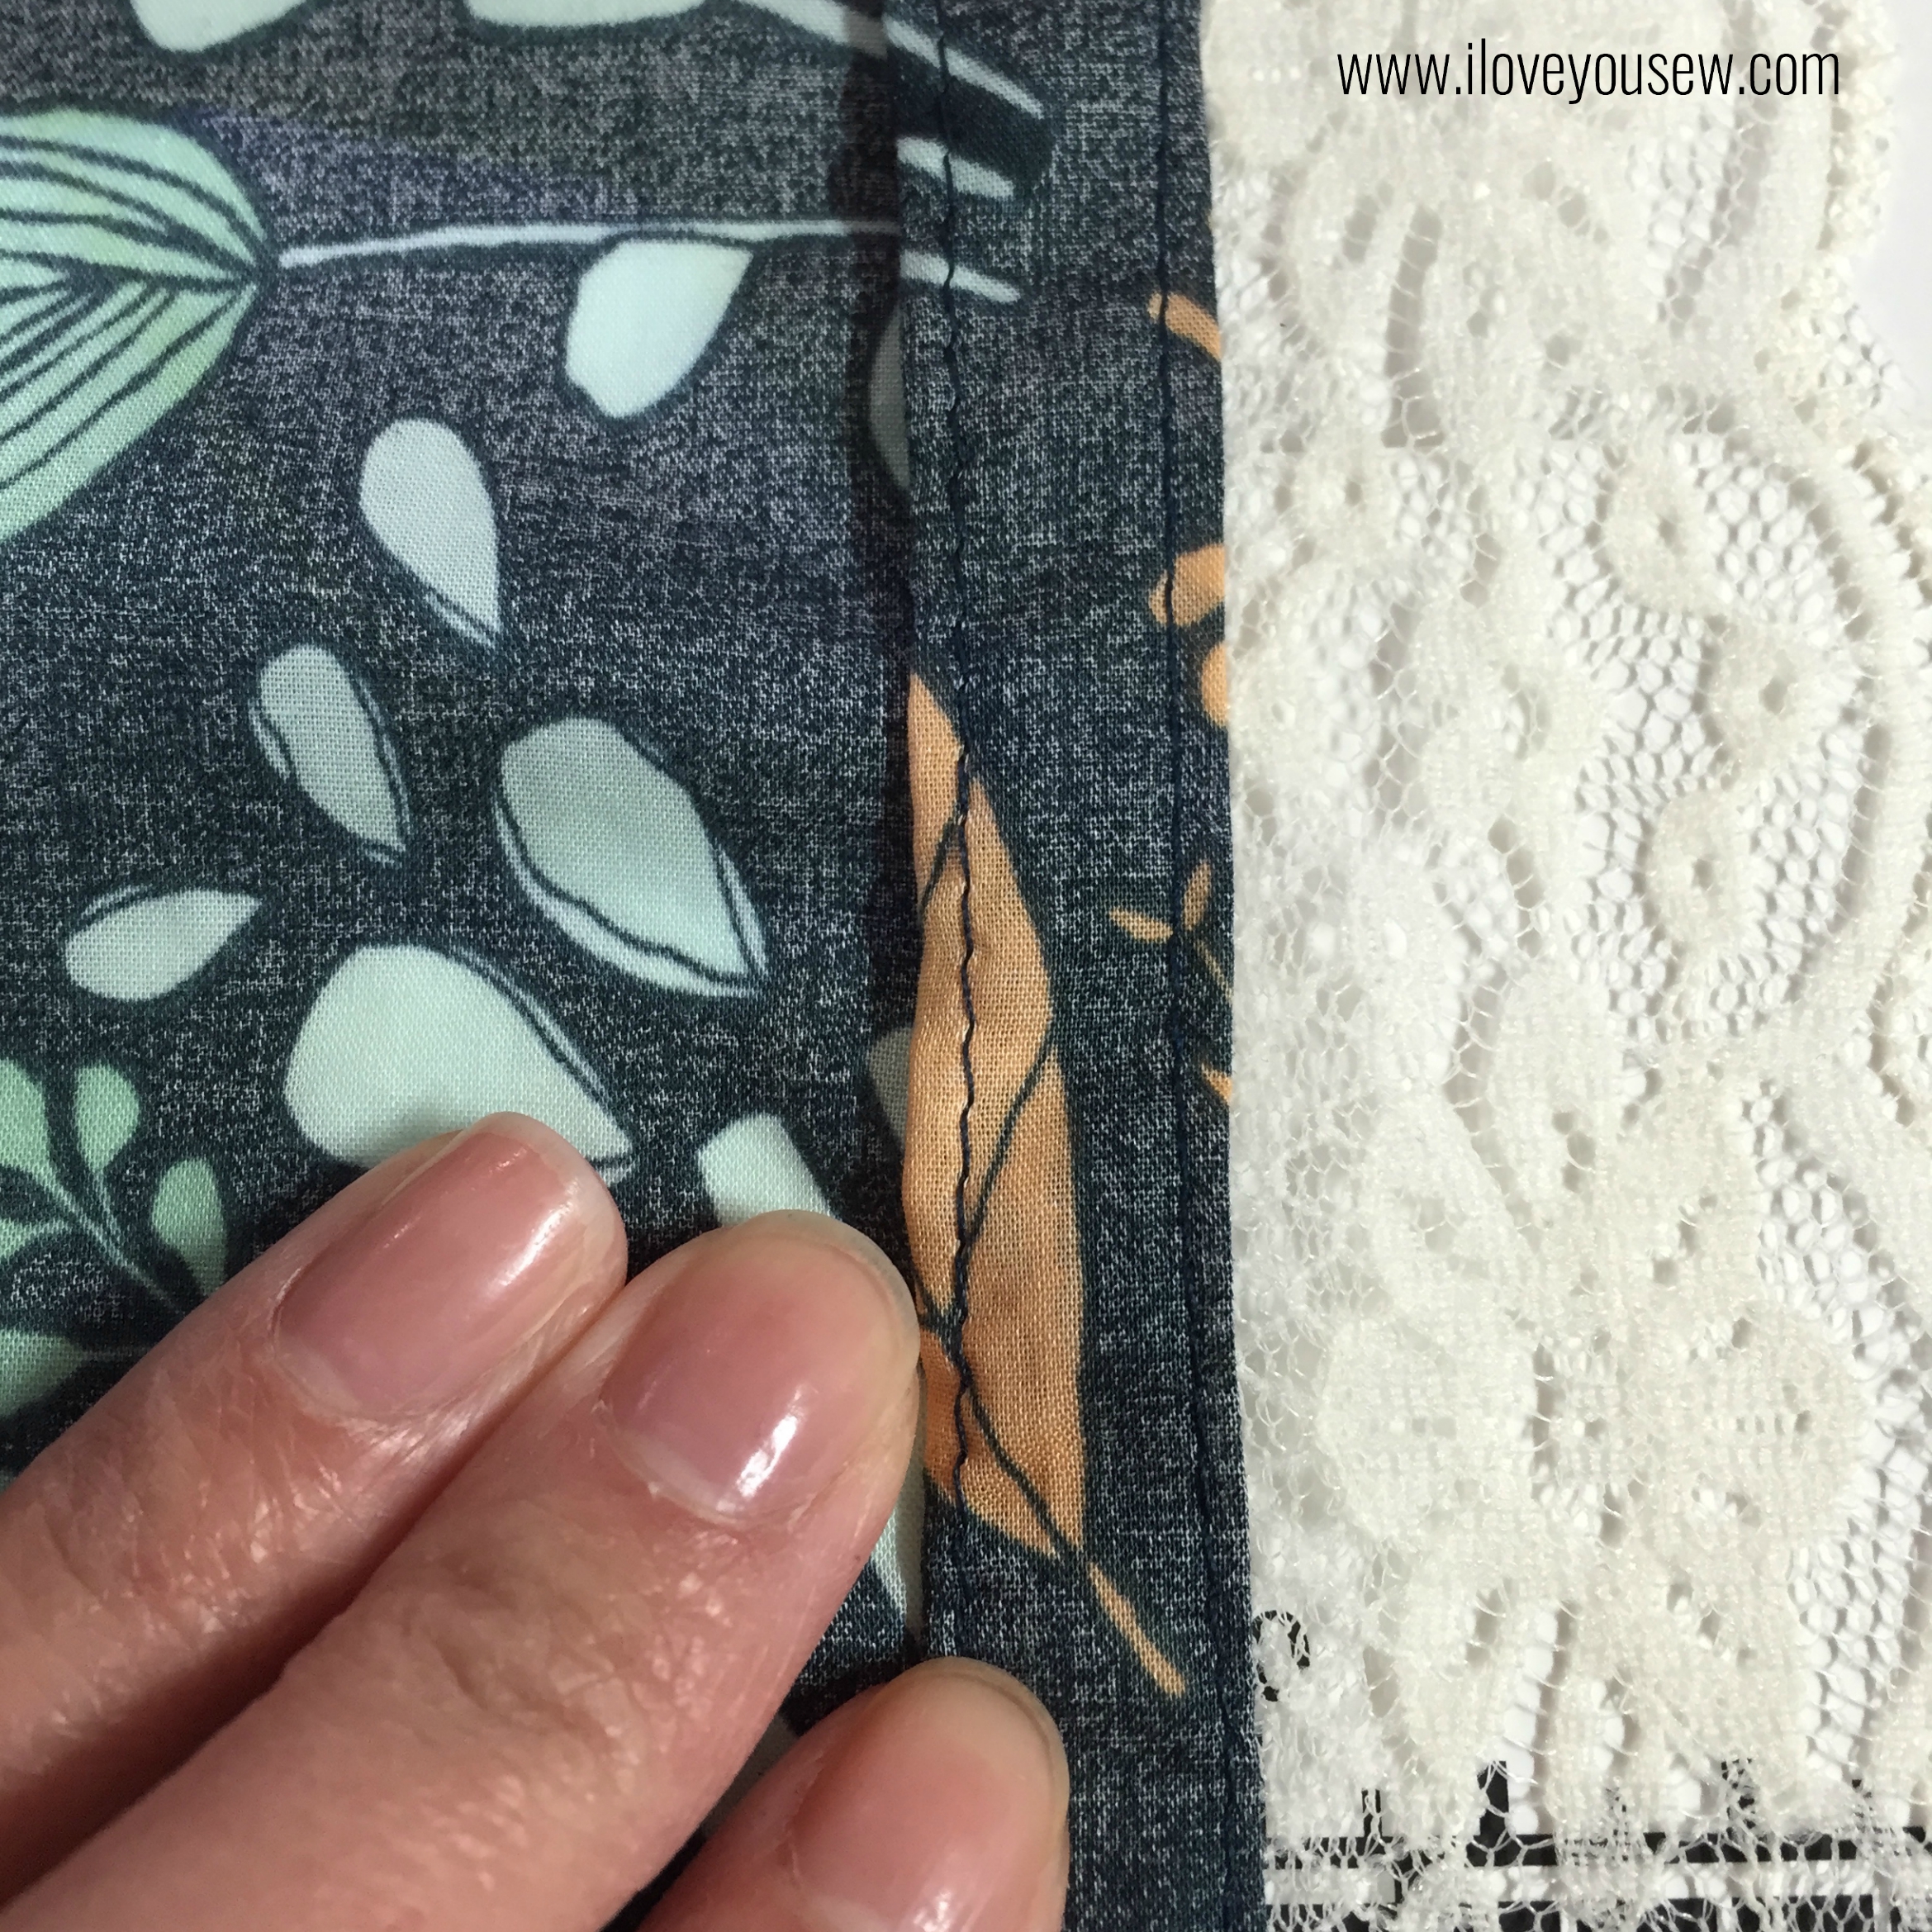
Sew Caroline‘s pattern and instructions are pretty straight-forward and simple.  However, I did get hung up on how she attached the trim to the sleeves.  I tried to find some pattern reviews online to show me how, but couldn’t find any (at least without having to pay subscription fee.) The following are the steps as I interpreted them so there would be some pictures out in cyber world 😉

Encased Trim 1

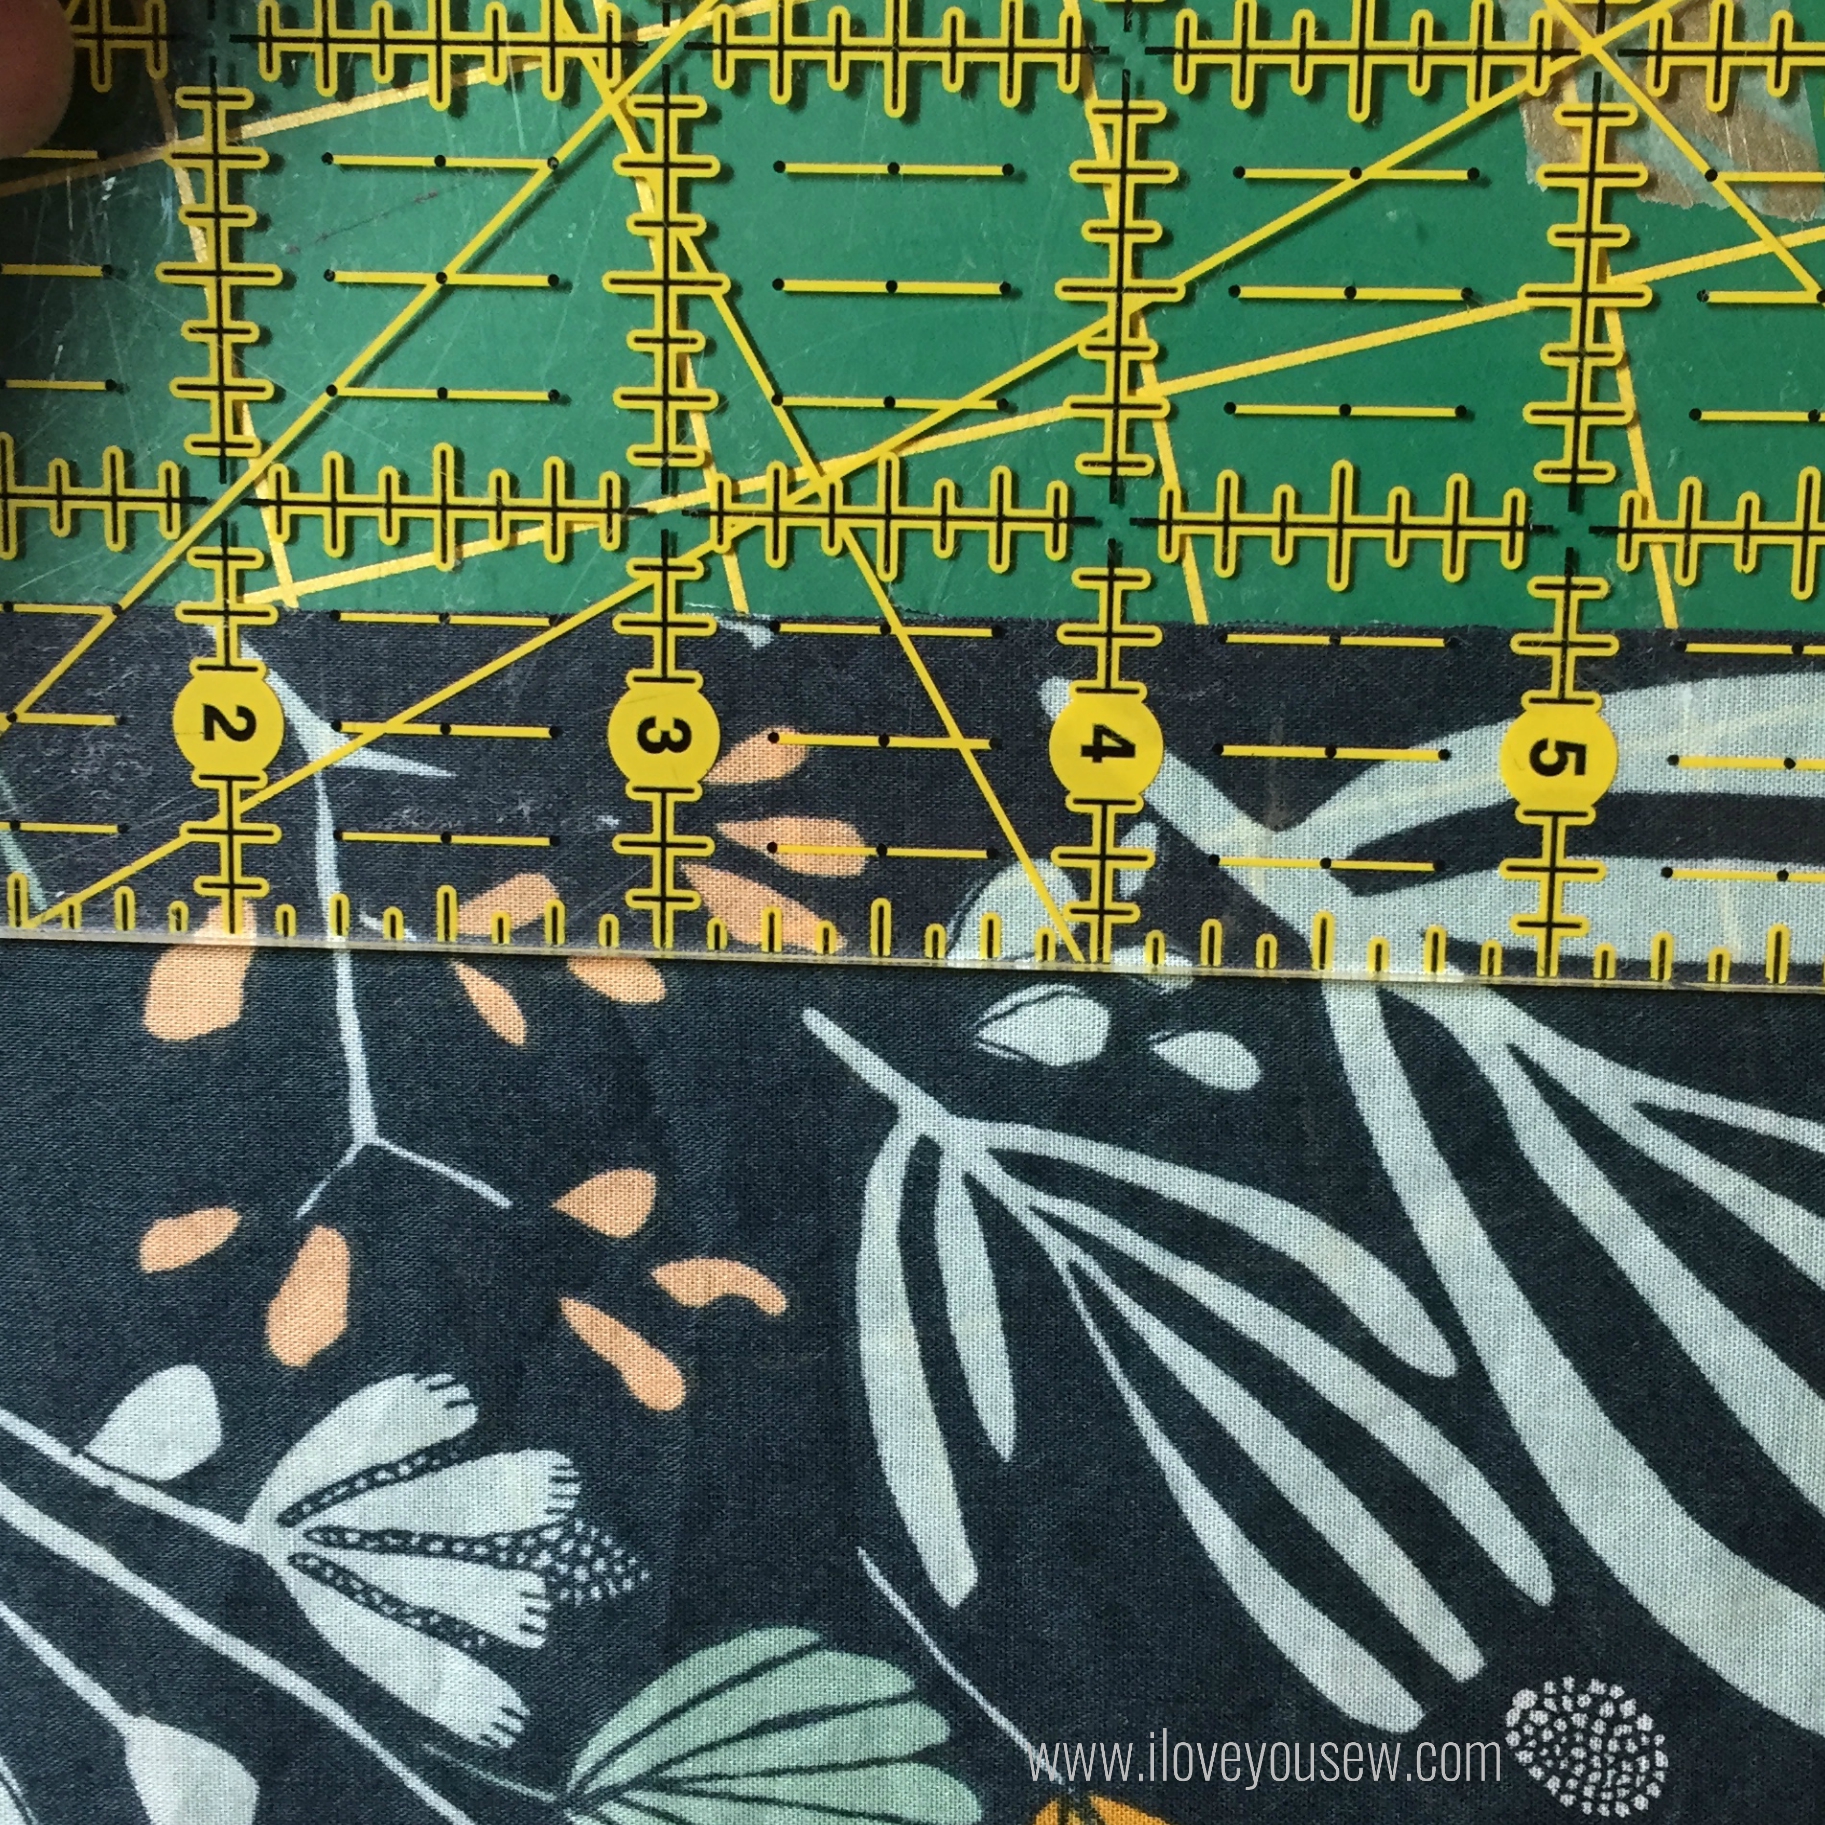
With the right-side facing up, measure 3/4″ down from the end of the sleeve and mark.

Encased Trim 2

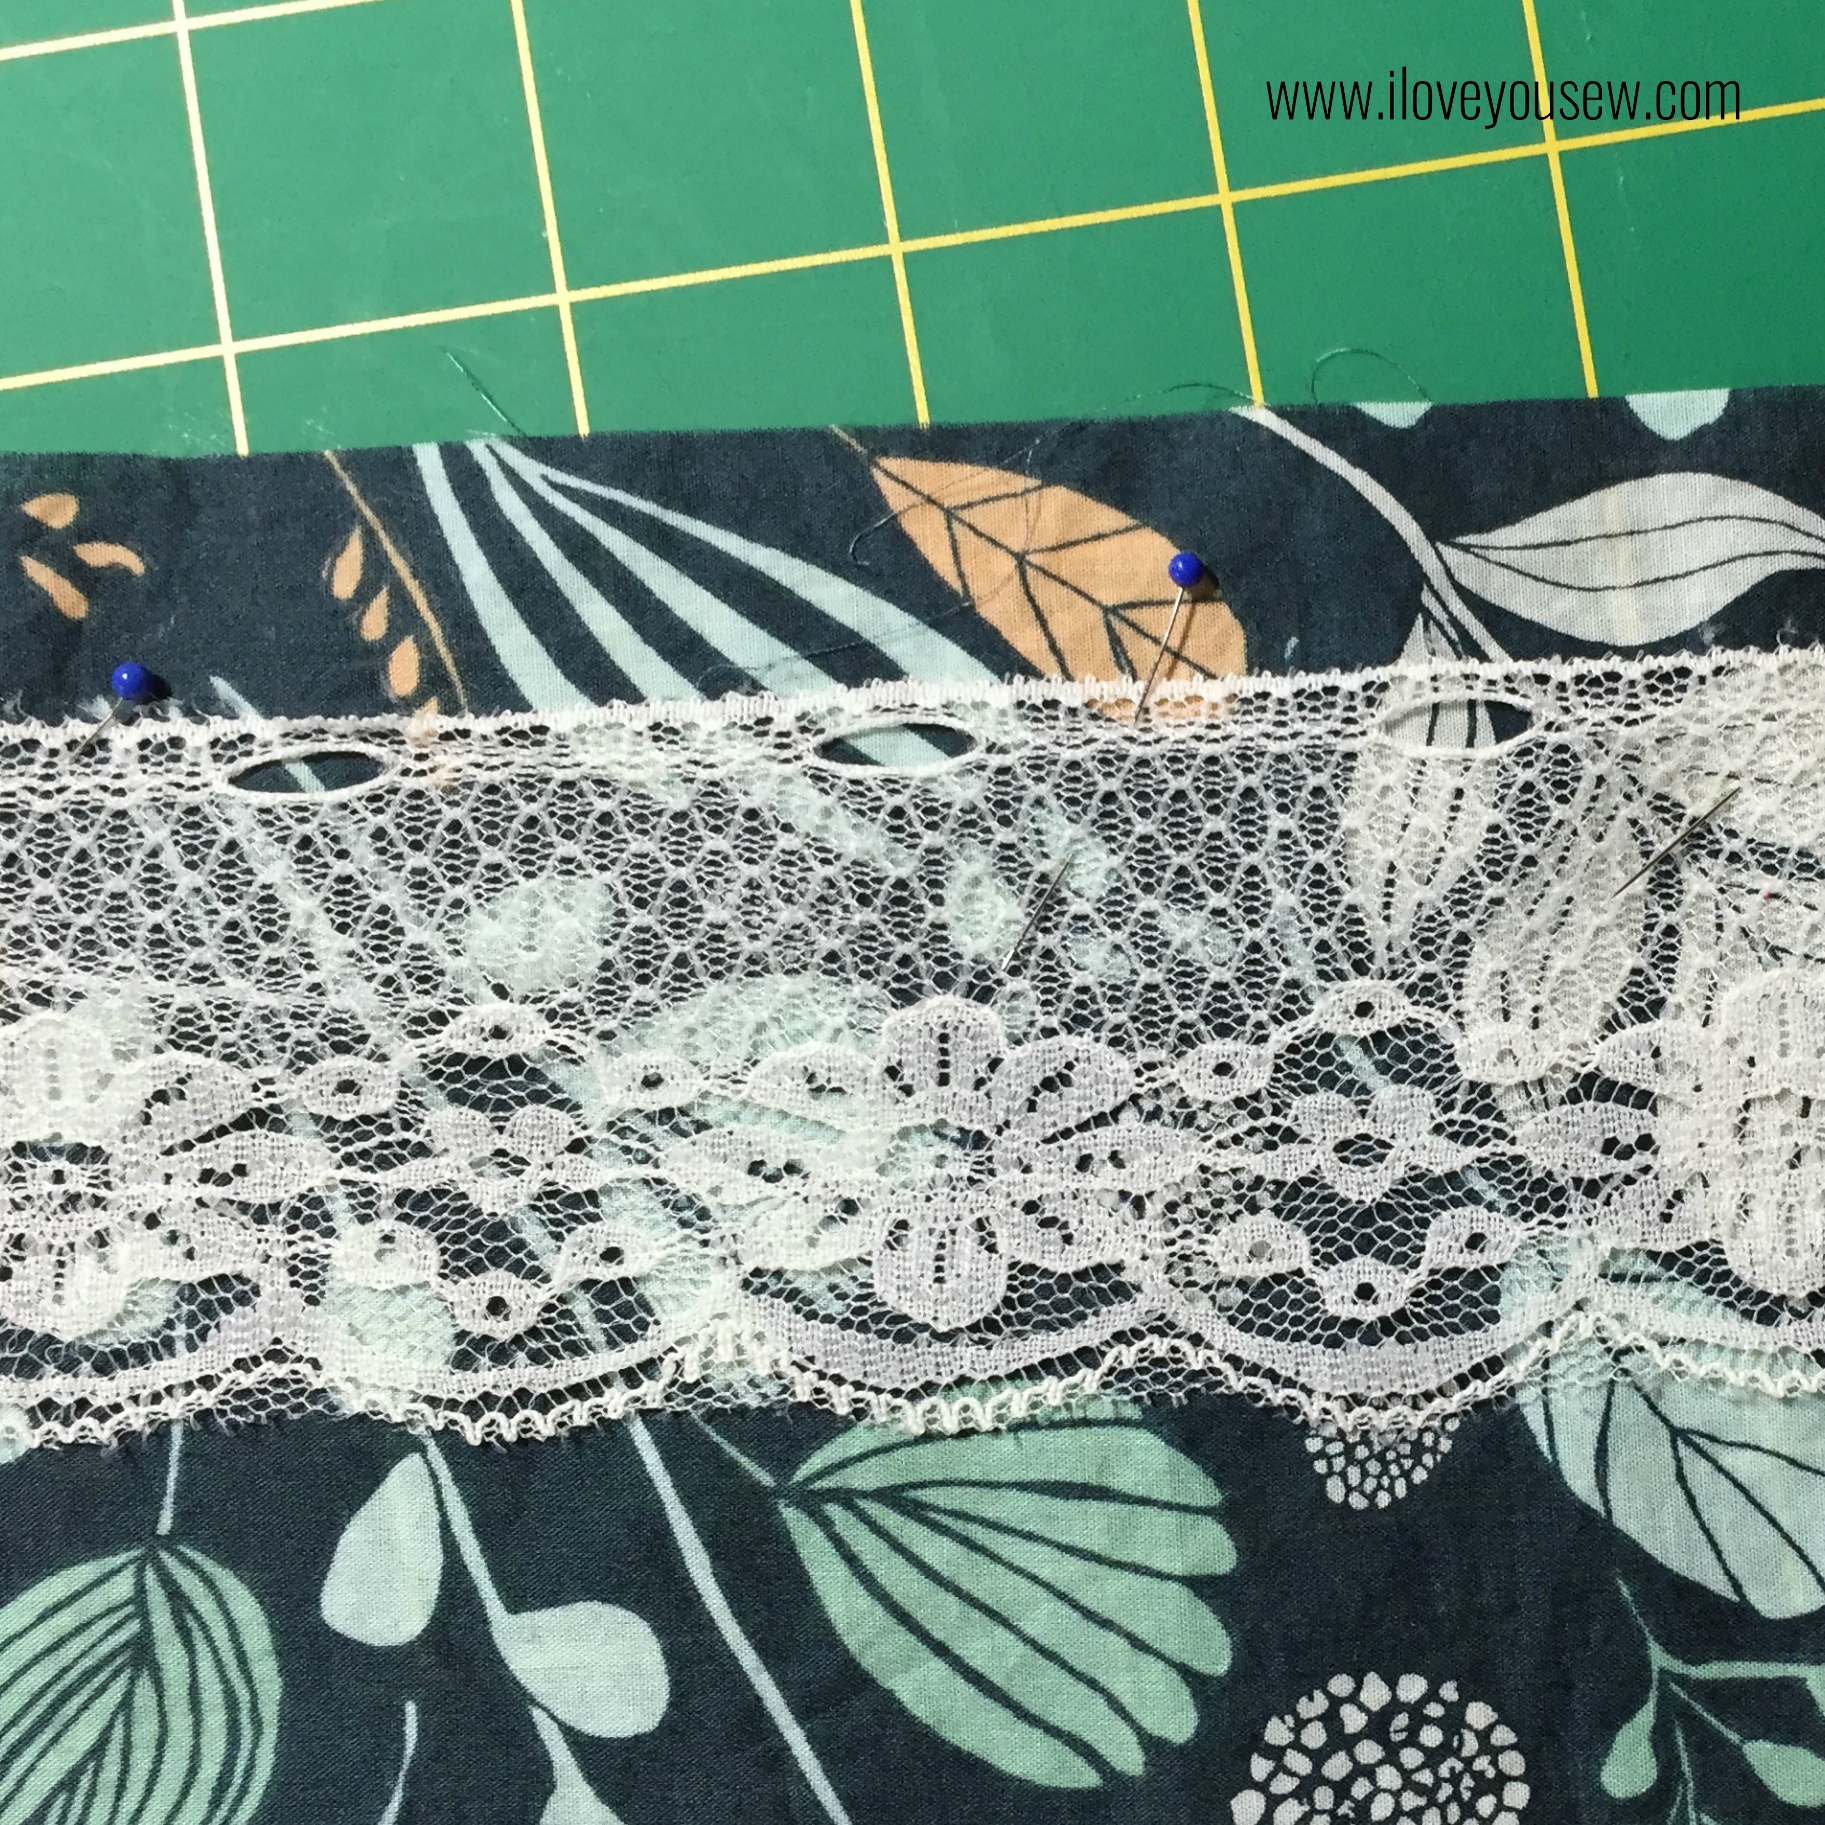
Pin the trim right-side facing the sleeve fabric on the line marked.

Encased Trim 3

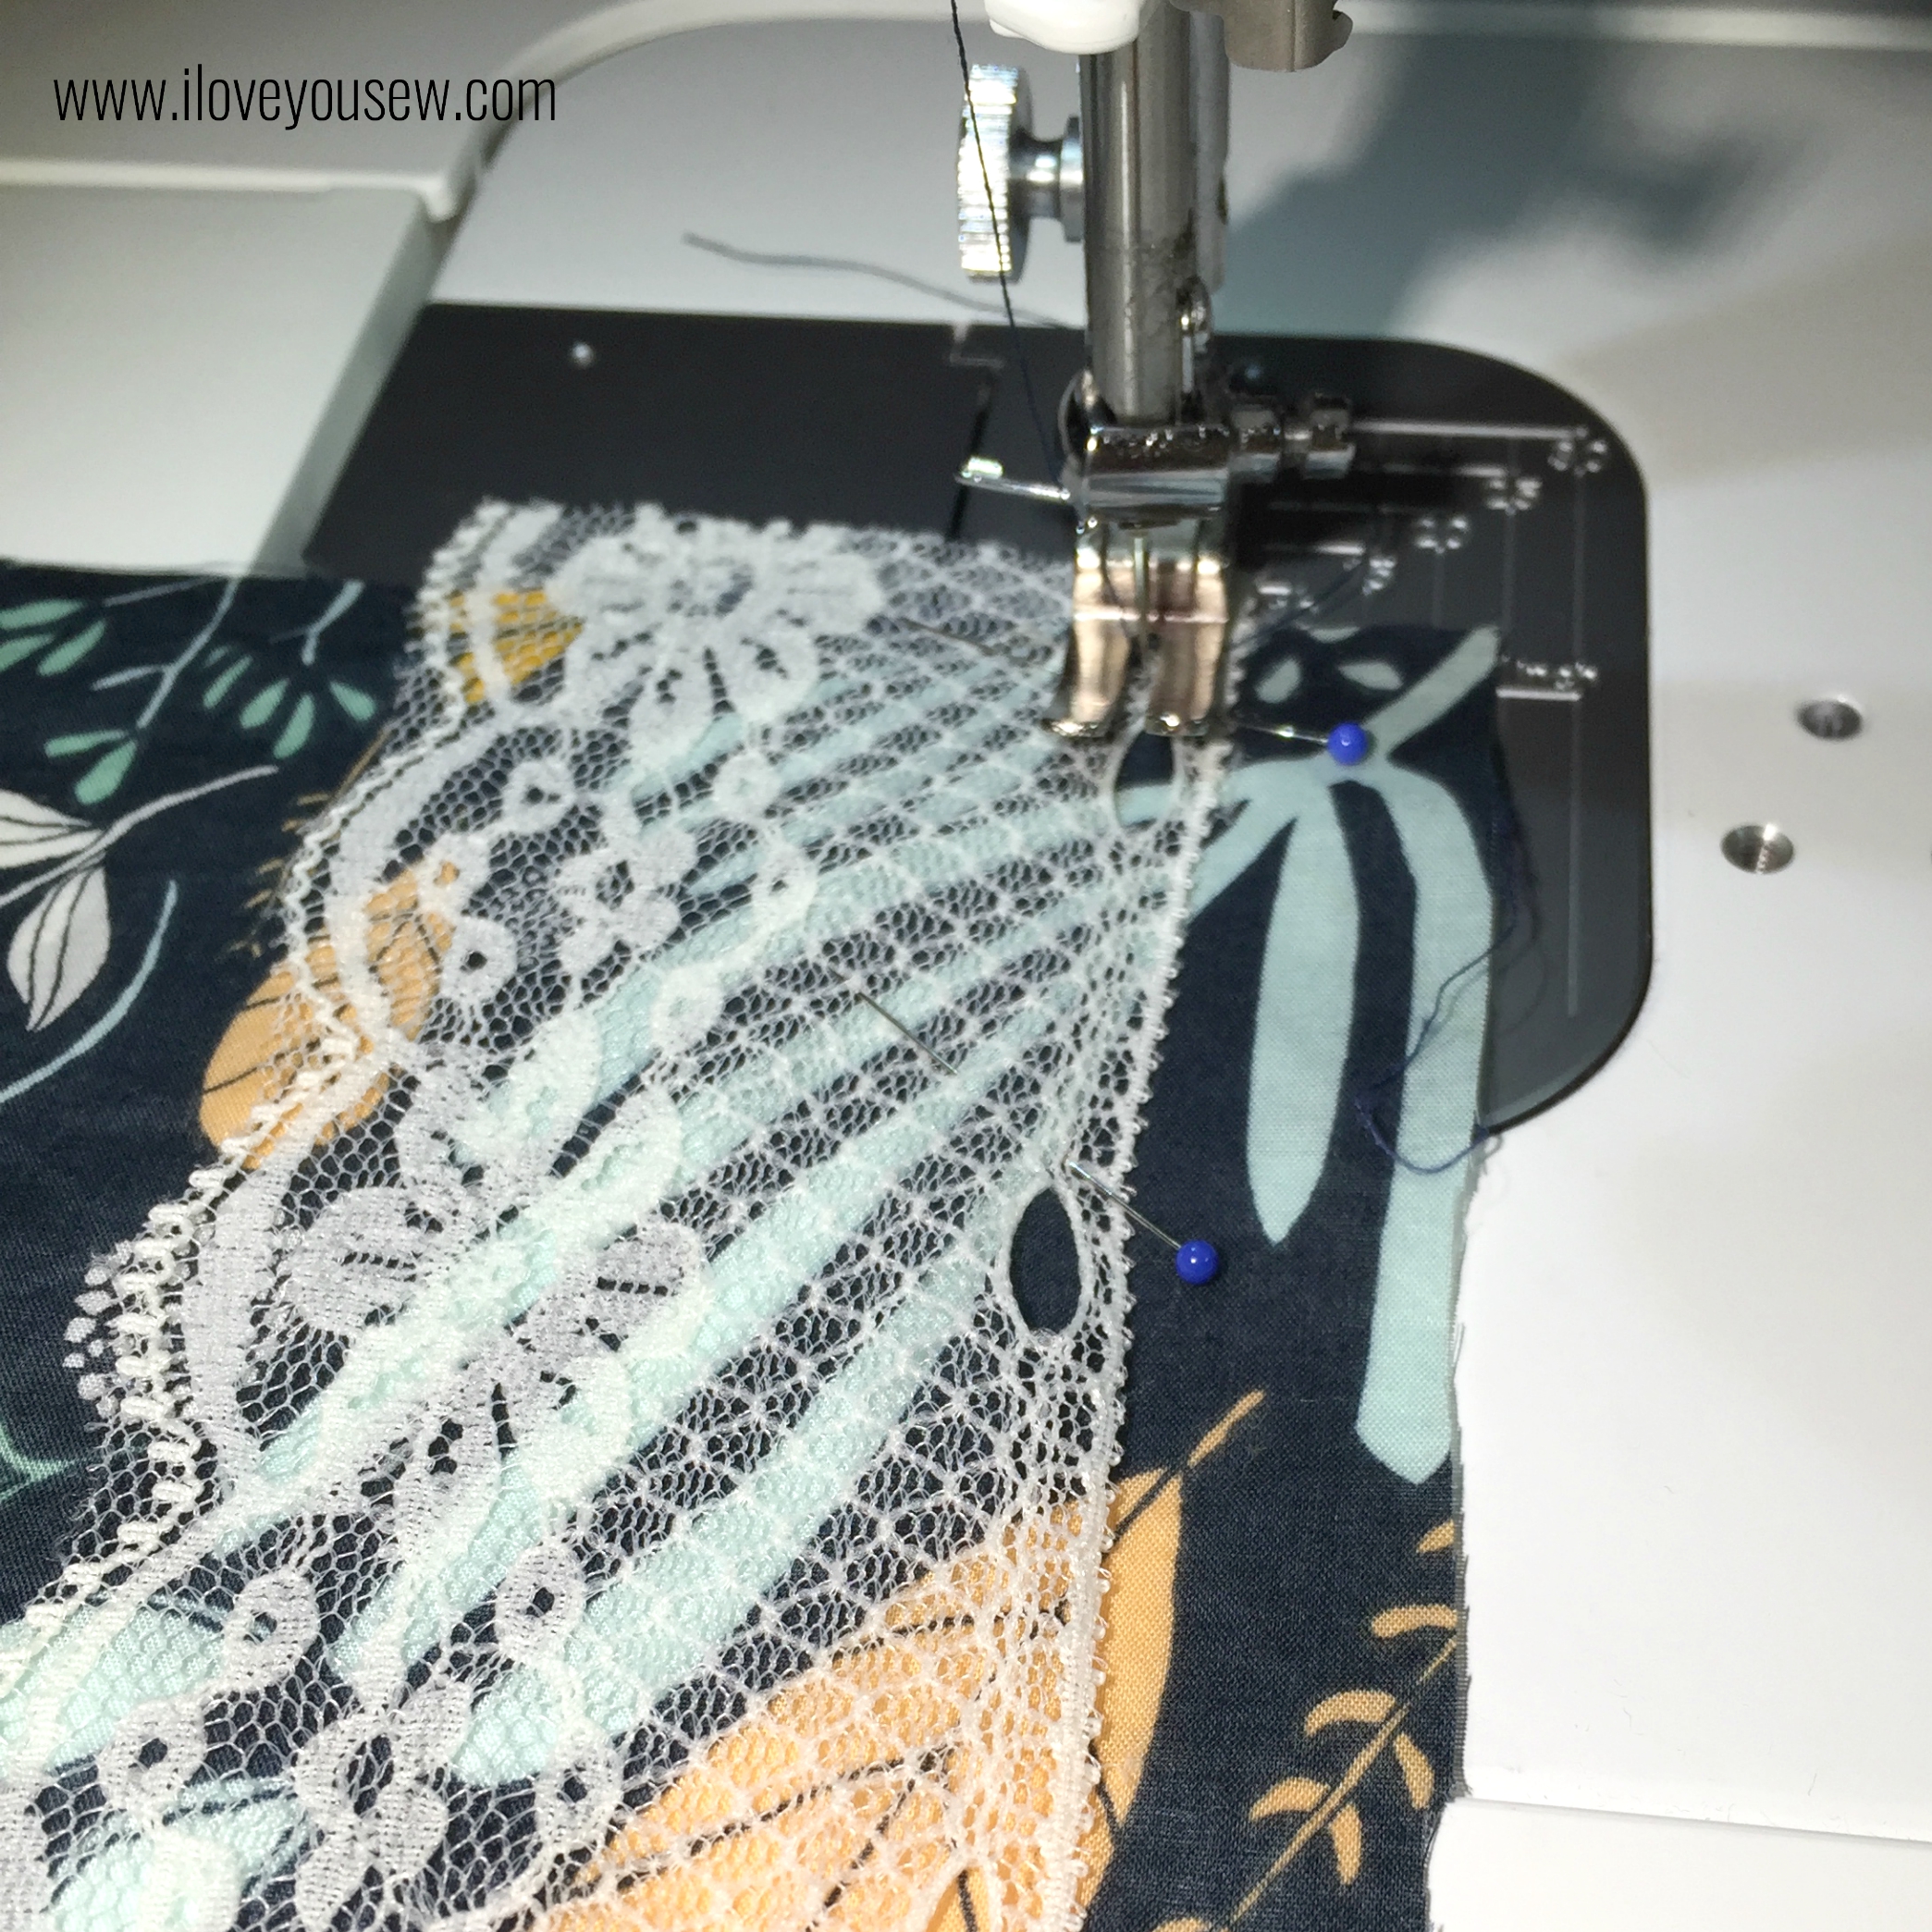
Sew the trim onto the sleeve with a 1/4″ seam allowance.

Encased Trim 4

Fold the end of sleeve up 1/2″ and press (not pictured.)  Fold up another 1/2″ press and pin in place. Sew 1/8″ from edge fold next to lace.

Encased Trim 5

Fold the entire casing to the inside of the sleeve and press.  Sew on top of the inside seam (under my index finger) to secure .

After I added the lace on each sleeve, I tried on the Kimono and wasn’t 100% happy with this technique.  The sleeves “belled” out on their own and didn’t lay down as nicely.  The extra folding and all the seams made the sleeves stiffen out a bit.  However, I left the sleeves be and hoped that some washing will soften them out.

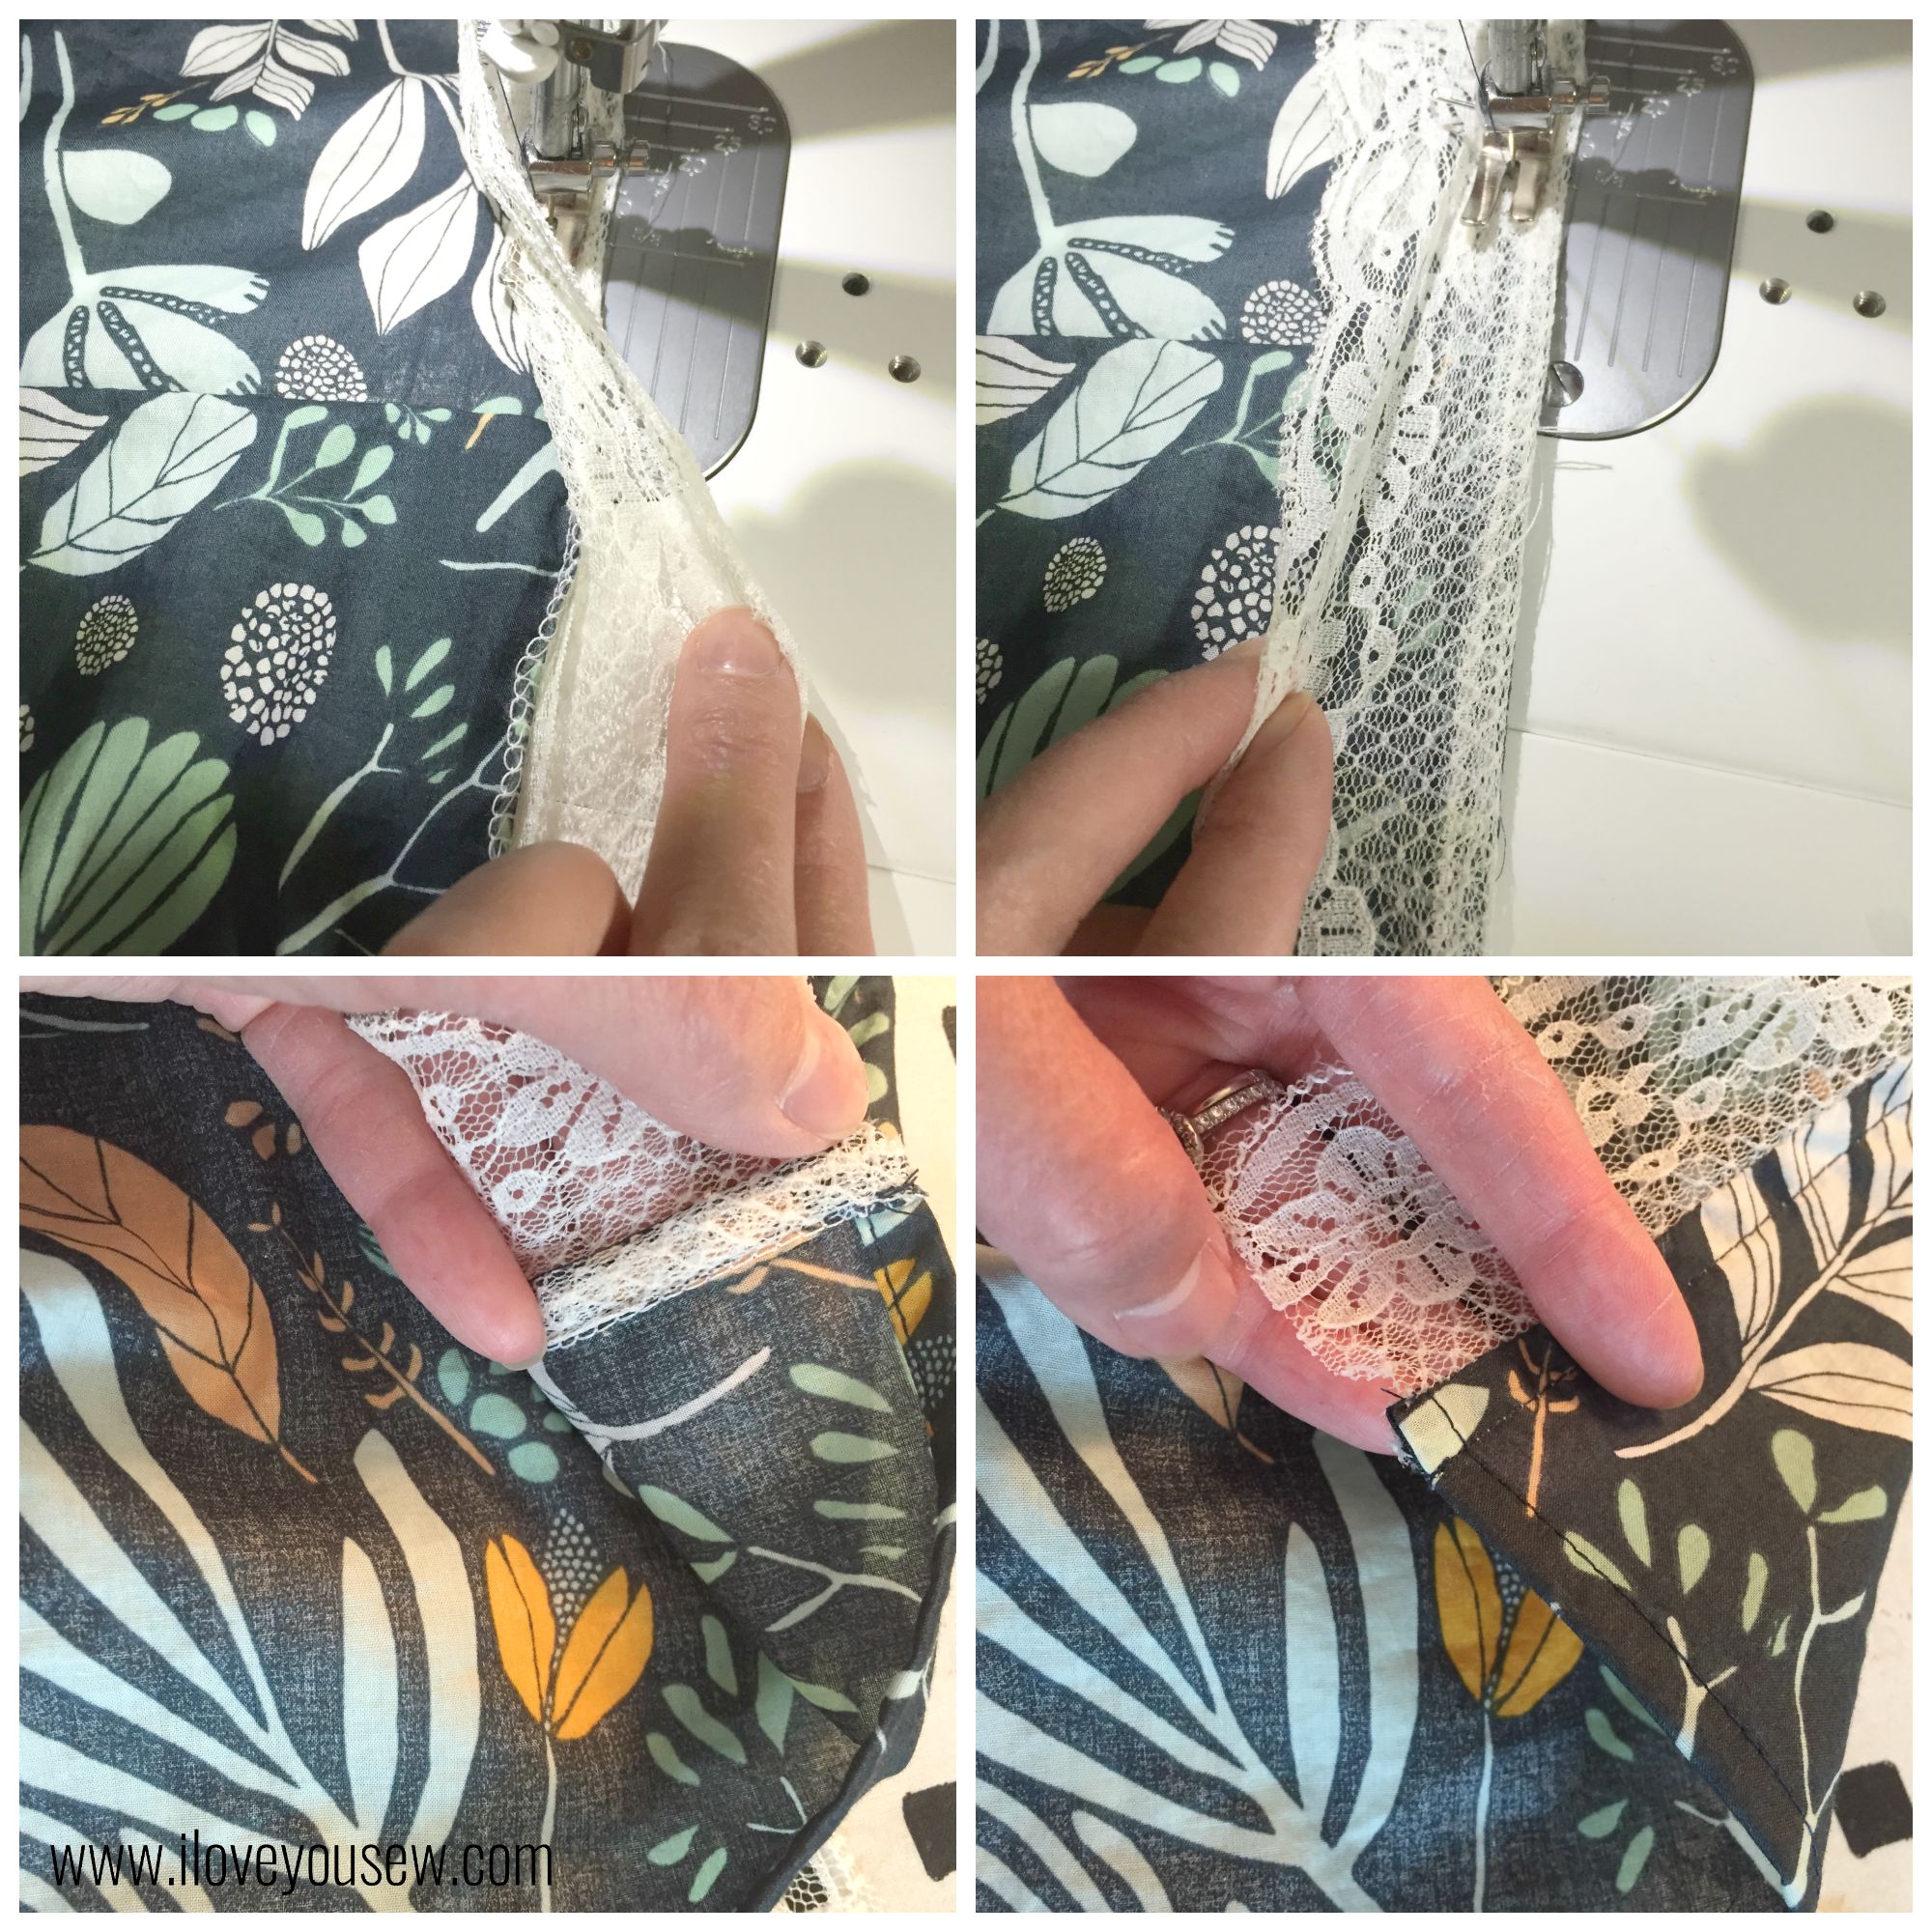
With the lace on the bottom of the Kimono, I decided to test out a French Seam technique that would drape more and allow for more of the lace to show.

FrenchSeamCollage

Clockwise from top-left:

  1. Serge or straight-stitch with wrong side of fabric and lace together.
  2. Fold the seam over with fabric and lace are right-facing.  Press and sew 1/4″ seam
  3. Fold lace out and press. Sew seam in place.
  4. Outside of Kimono finished.


Version B- wanderer:

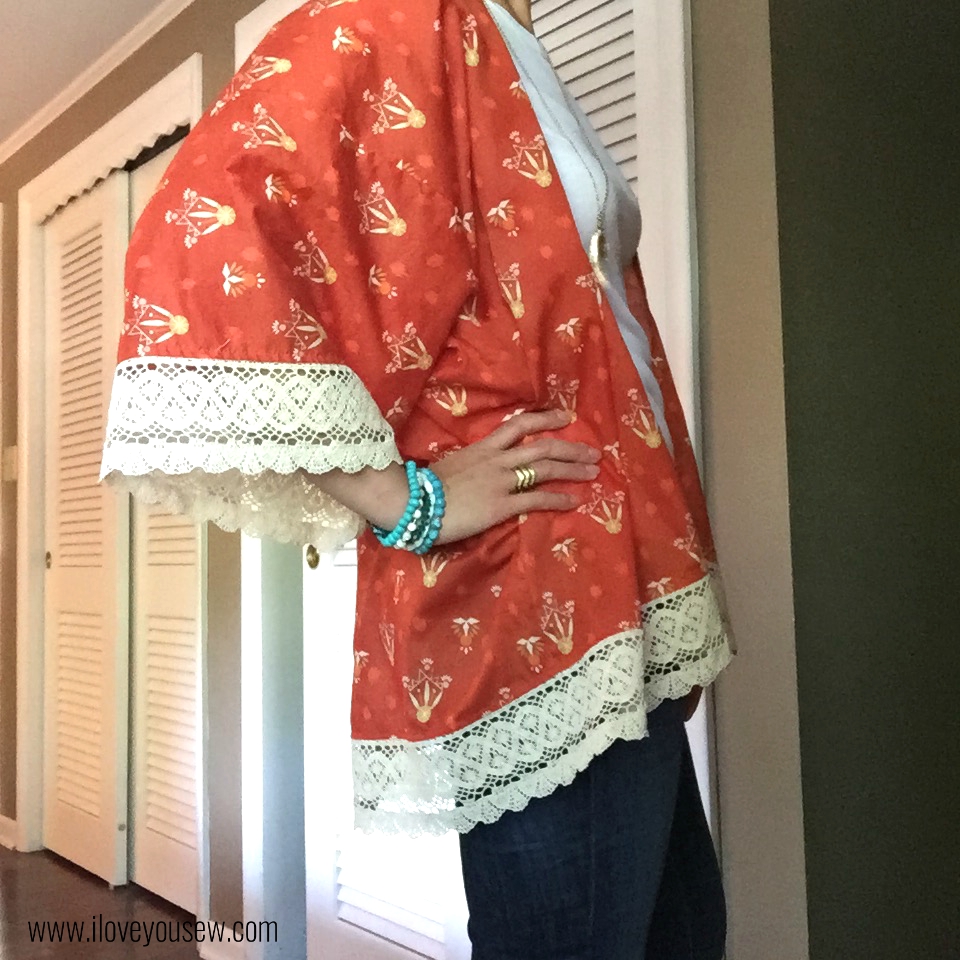
After making the Morning Walk Kimono, I made a few adjustments with this Wanderer one.  The first adjustment was to make the back a little longer with the colder autumn season quickly approaching.  I’ll wear this with denim jeans and leggings to go along with the amazing burnt orange color.
Dreamcatcher Finished Side Arm Down


I cut the back piece 2″ longer than the pattern piece.  After attaching the front pieces to the back, I folded the entire Kimono in half and made a cut connecting the original length of the front pieces to the longer back.  This made for the nice drop to hide my bum 😉

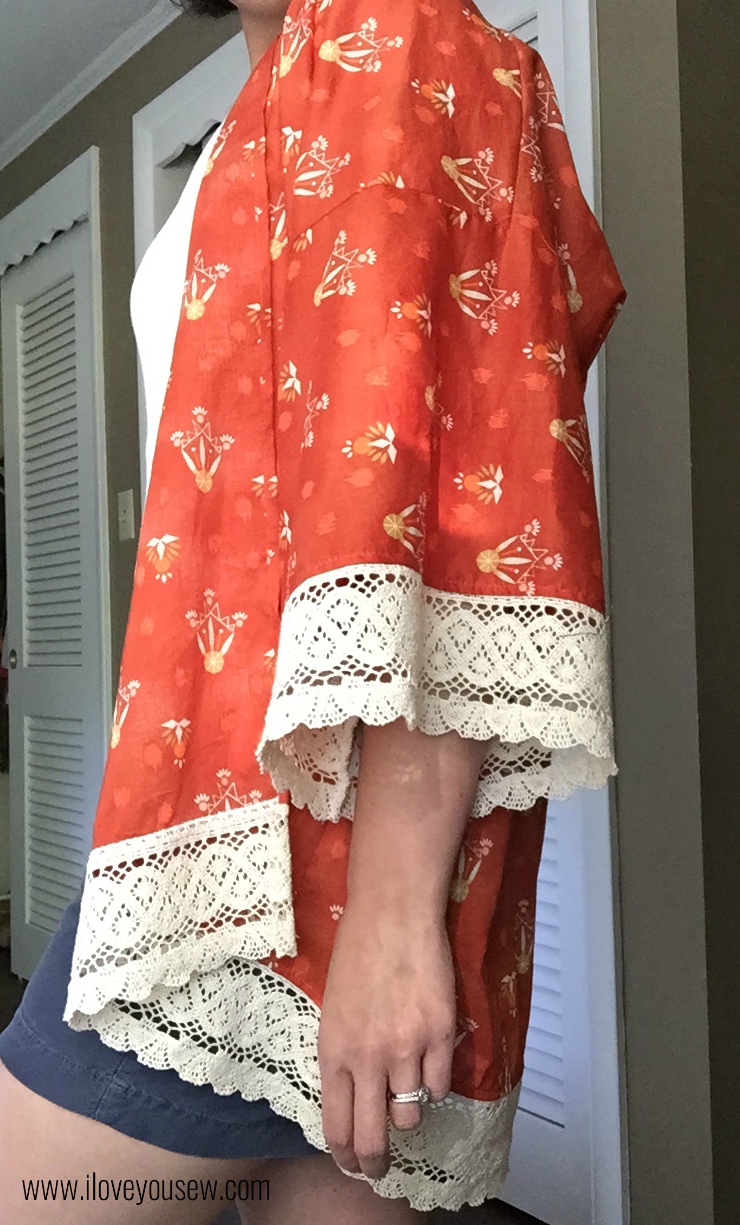
Dreamcatcher Finished Side

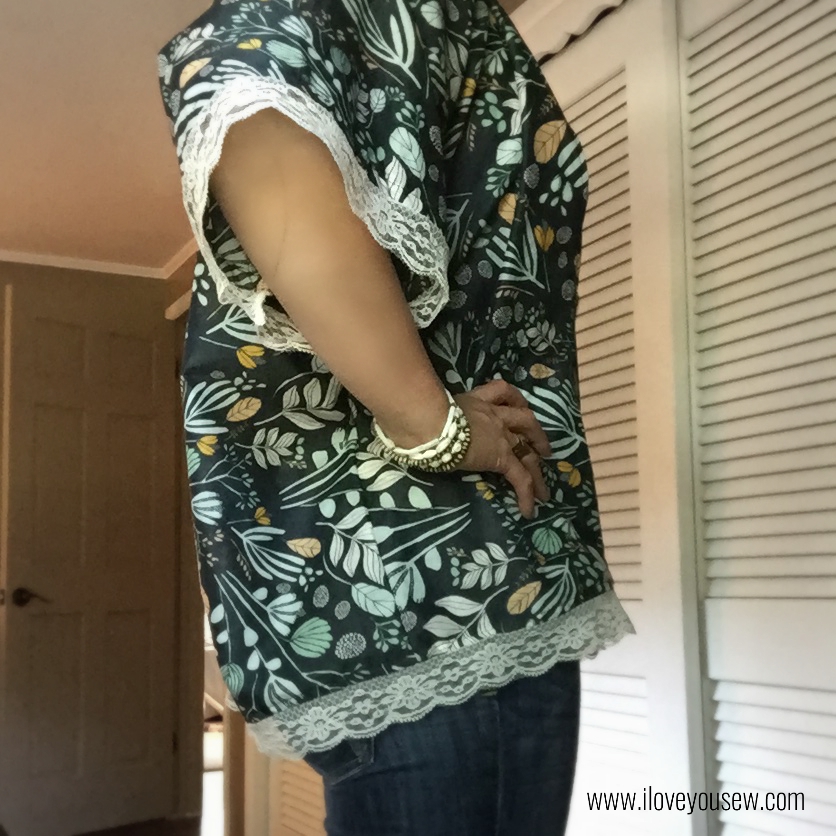
The second change I made was how I attached the lace.  I wanted to have as much of the lace showing because it’s just gorgeous and I didn’t want to stiffen up the sleeves like with Morning Walk. The lace was attached with my serger (blade disengaged) and then I top-stitched it into place.

Dreamcatcher Finished Front

The interior isn’t as pretty as the original pattern instructions, but I don’t mind one bit.  I got all the extra length and flow I expect from a Kimono.  The width and the weight of the lace will most likely keep the inside seams hidden away…

I absolutely love both versions of Sew Caroline’s Kimono pattern and definitely recommend this as a beginner garment.  I can’t wait to strut around with some more Boho Chic style this season 😉  What are you making this fall?  I need some suggestions for some future wardrobe fillers!


Happy stitching,

Cristy

Testing the “Jacks Quilt” Pattern

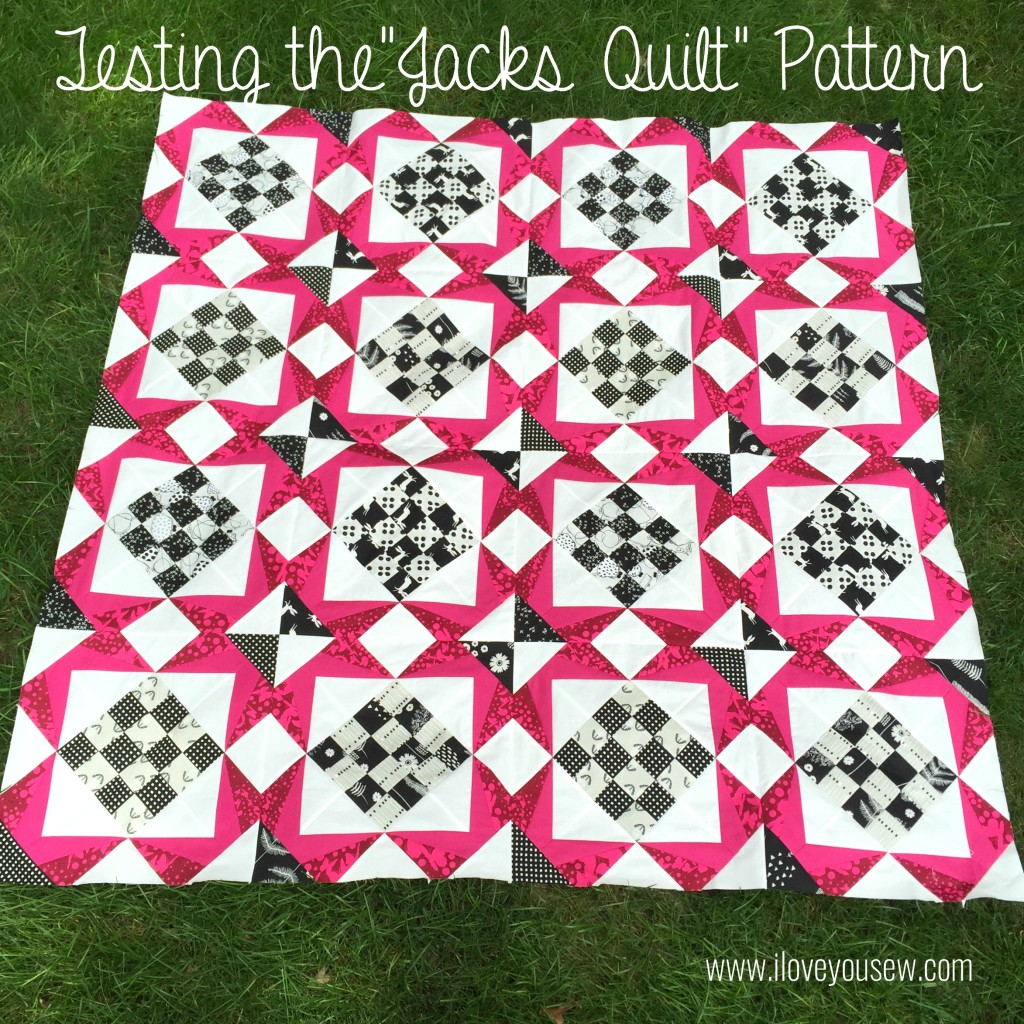
Jacks Quilt Top

The “Jacks Quilt” pattern has just been released by Bryan House Quilts and I was fortunate enough to be one of the testers.  I’m SO excited to finally reveal my #SecretSewing project!  It’s tough not being able to show what I’ve been working on lately…especially since it’s just so darn pretty 🙂

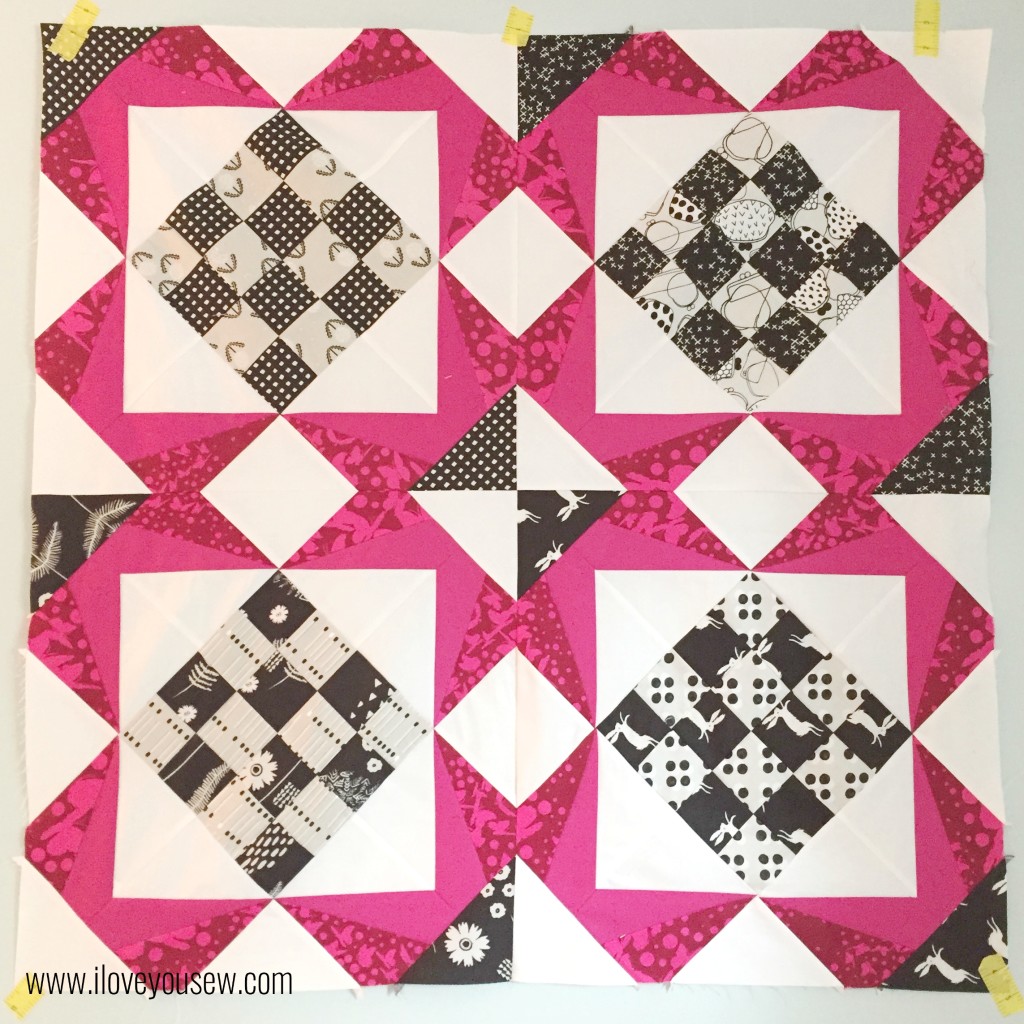
This quilt pattern is gorgeous!  You can find the pattern in Becca’s shop currently for 30% off as part of it’s new release (discount code on her blog.)  This design is based off of a 16-patch and paper-pieced stars and has so much versatility.  You can omit the patches and play with the number of blocks to have completely different looks.

2x2 Mini

There are five different sizes you can make.  I opted for the throw, which is a 4 x 4 block.  It’s a generous size and I could (always) use another couch quilt 🙂  Not mentioned is the possibility to make a mini with a 2 x 2 block (approx 34″ x 34″.)  This would be a perfect baby quilt or stroller blanket.

Fabric Pull

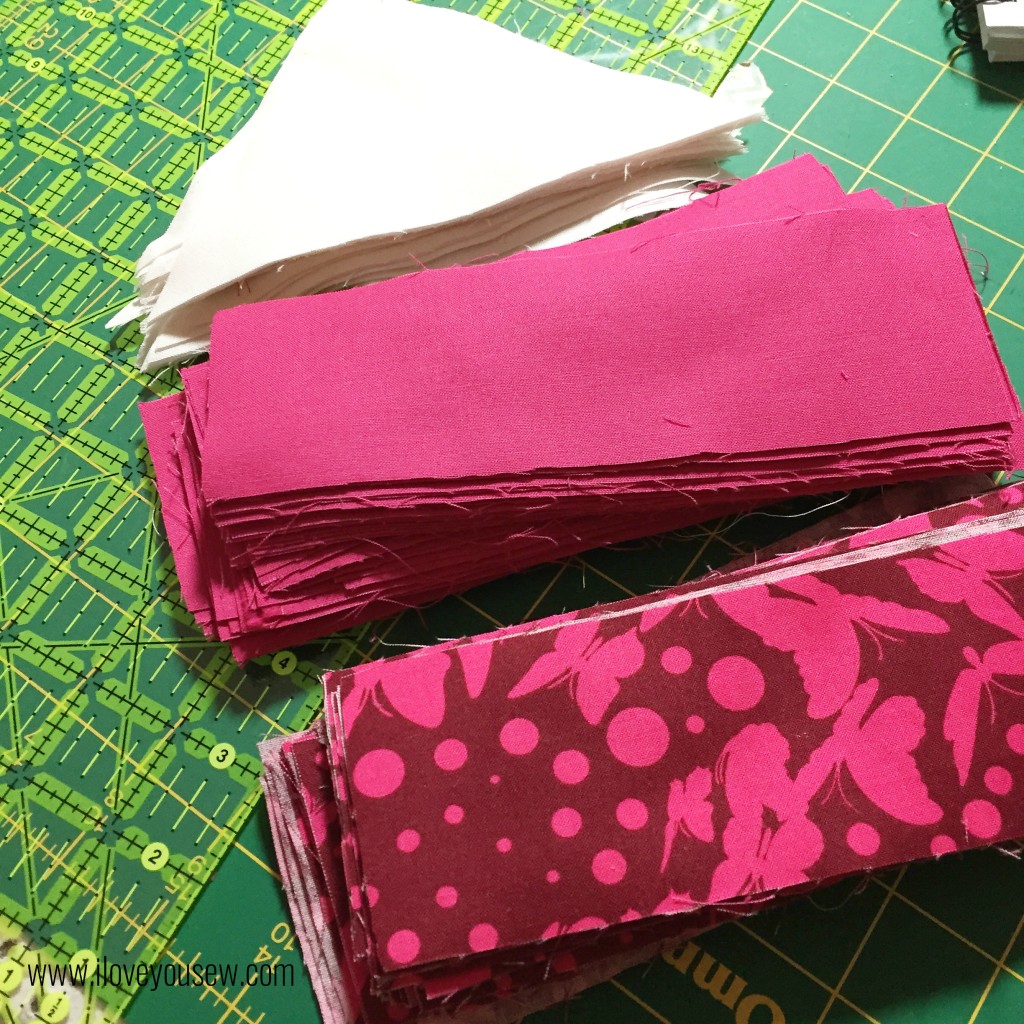
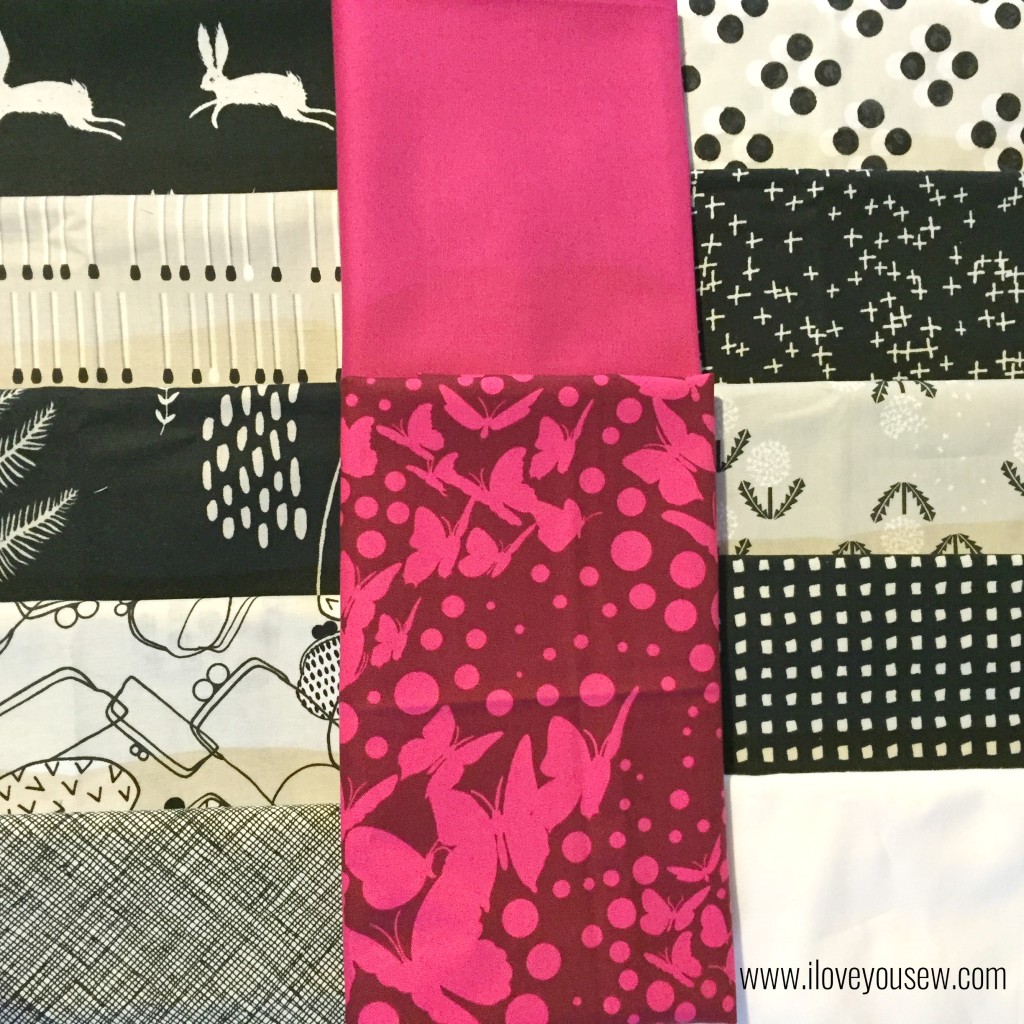
When I received this pattern, I knew I was going to use my Black and White Cotton + Steel bundle.  The 16-patch made for some good mixing and matching of the fabrics for a checkerboard look.  To bring out the stars and add some fun, I chose Tula Pink’s Butterfly Swarm in Jam from her Moonshine collection.  This saturated fuchsia was perfect against the Black and White.  I paired the Butterfly Swarm with Kona Cotton in Valentine to complement, but not compete against the busy fabric.  All of these fabrics were balanced out with Kona Cotton in Snow to make the design of the quilt pop out.  I added Architextures Grid in Black as possible binding, but I’m not entirely sold on it just yet…

PaperPiecingPrep

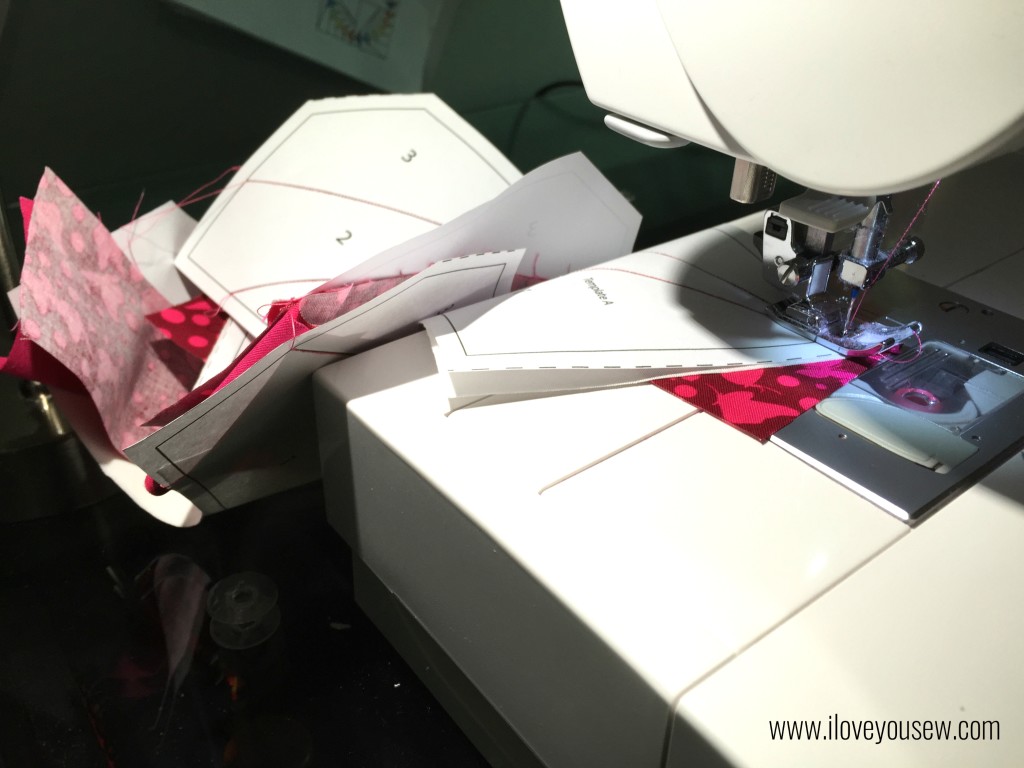
There is a good amount of paper-piecing involved for the stars, but luckily it involves only three fabrics per Star Spoke and they are a generous size.  Becca provides great instruction on the process to help you along.  If you are new to this and need some more help, this is a great video tutorial on paper-piecing as well.

Chain Piecing

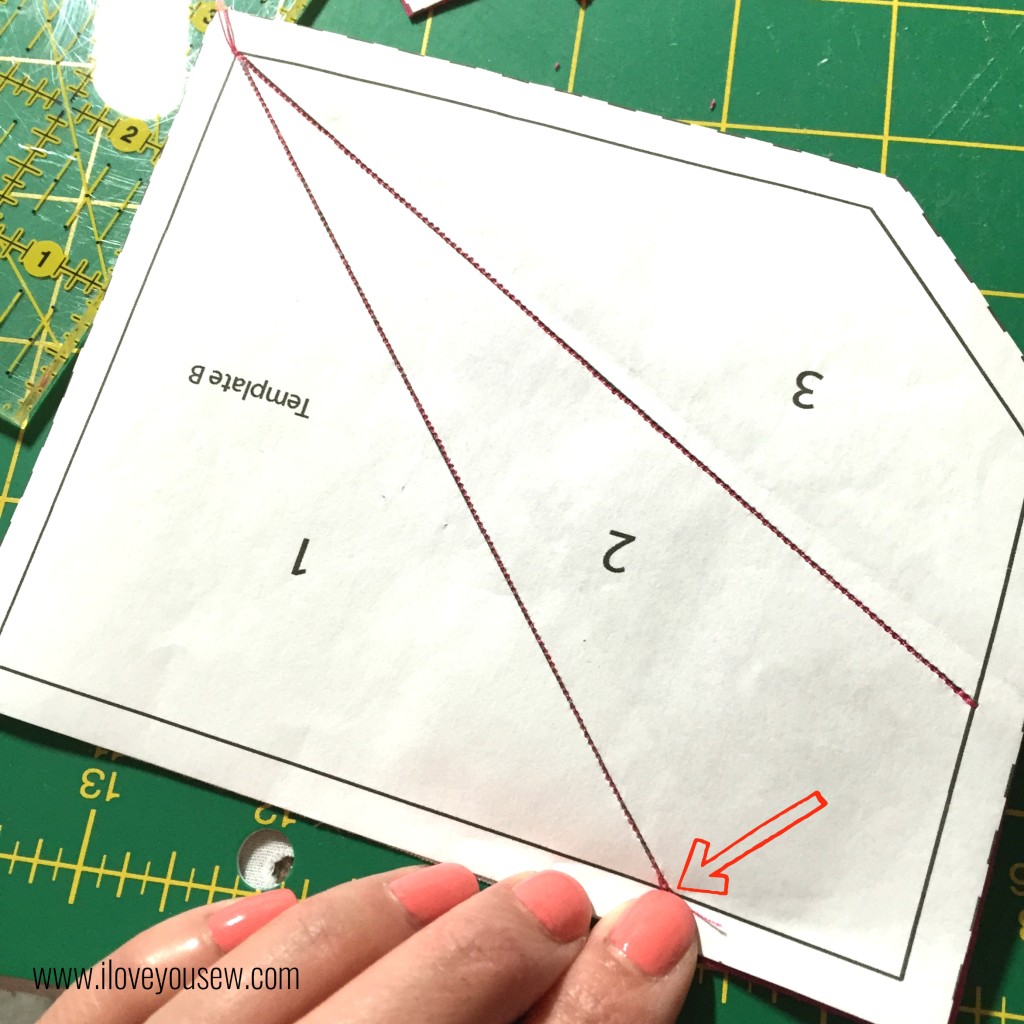
I found that prepping all the fabric at once and setting up an assembly line worked the best for me.  Then I could have a “modified” chain-piecing line.  This is “modified” because you generally do not sew through the seam allowance on paper-piecing templates, so I had to lift the presser foot to pull the templates through vs continually feeding fabric.

Matching Points

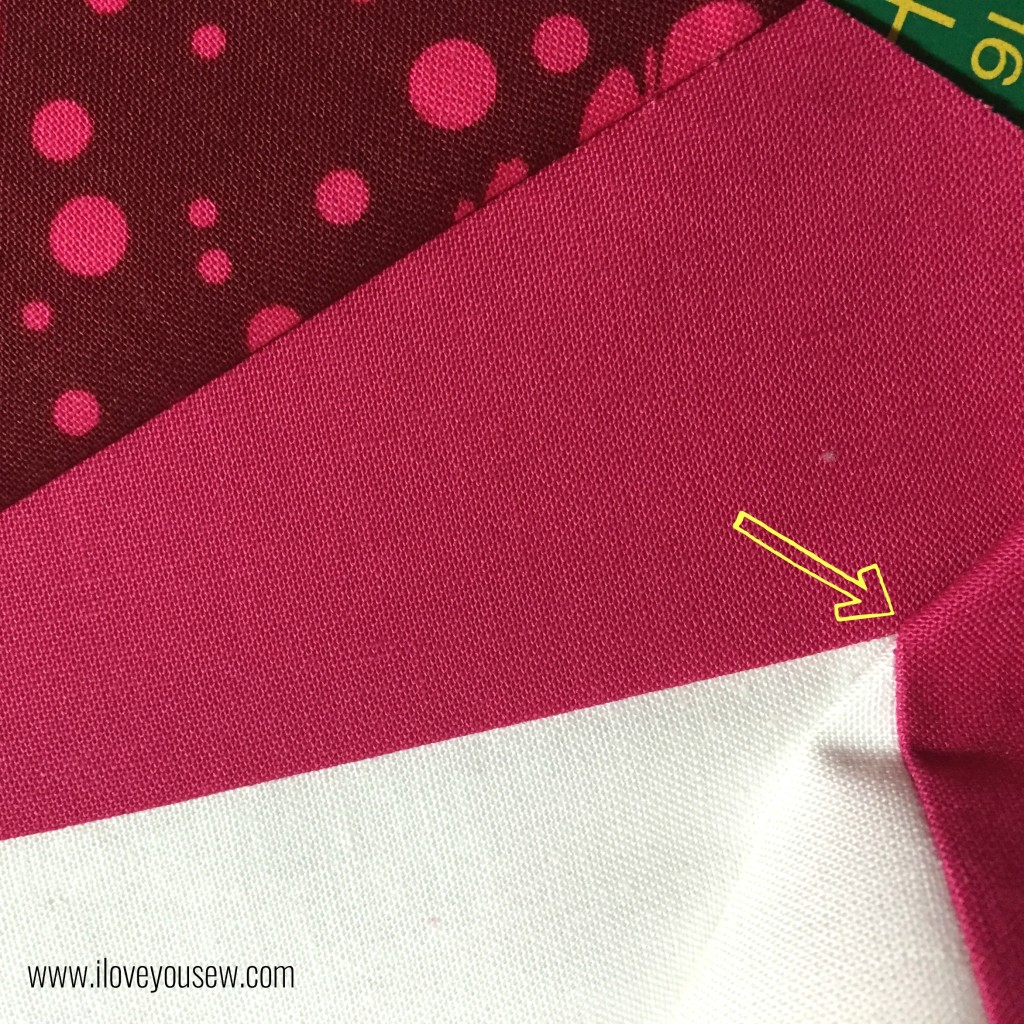
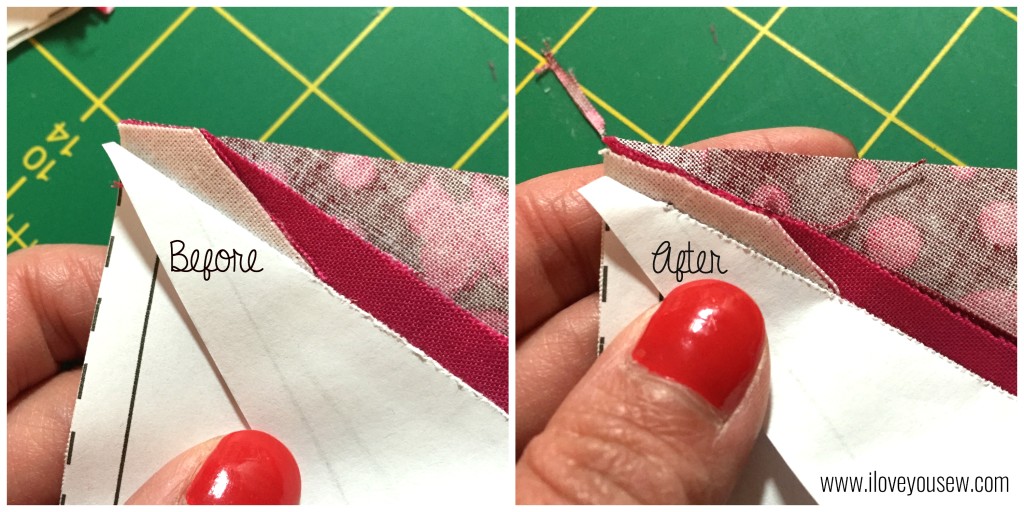
When attaching the spokes together, I decided not to nest the seams to keep the look of the triangles clean (since they were white and you could see through to the seam allowance.)  So to match up the points, I pinched the ends where they met.

Matching Points Preview

Then I flipped over the pieces to check that the points indeed matched.  I pinned the pieces and sewed away 🙂

Grading Seams

A great tip from Becca was to grade the seam allowances of the stars as you assemble the blocks.  This takes out some of the bulk and allows the blocks to lay better for pressing.  The points of the stars get pretty bulky otherwise.

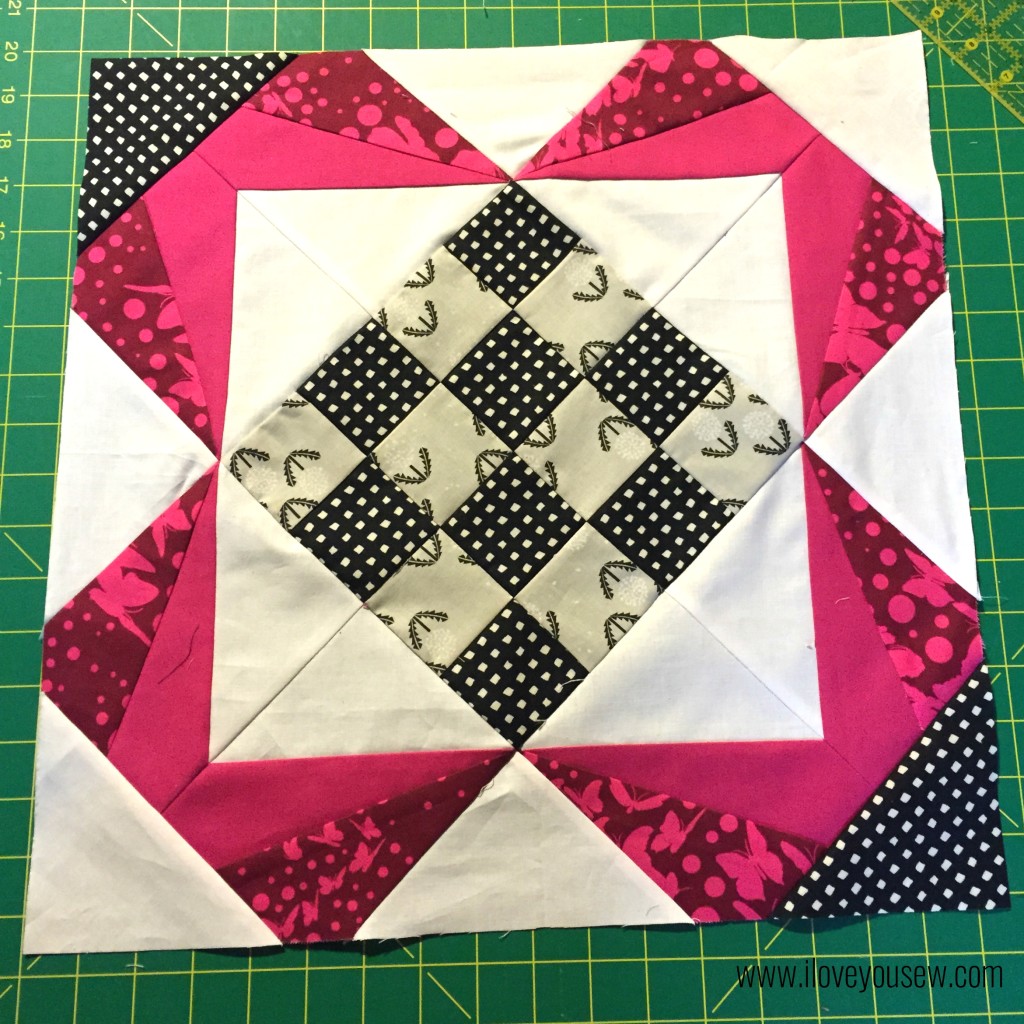
Finished Single Block

So far, I’ve completed the quilt top and am waiting on the backing fabric to arrive so I can quilt this puppy.  I can’t wait to show you more….plus, this will be my first quilt completed on my new sewing machine….eek!!!

***For pictures and the post of the completed “Jacks Quilt,” go here.***


Happy Stitching,

Cristy


The pattern was provided by Bryan House Quilts as part of testing. All material was purchased and selected by myself. All opinions and comments are my own and have not been influenced by 3rd parties.