Love Story {Pattern Testing}

LoveStoryTitleI love Lilly Ella Stitchery‘s paper-pieced patterns ever since I tried her Butterfly Charm Blocks.  When Nicole sent out the request for testers of her new patterns, I seriously could not say no.  I didn’t even know what I was going to sew….all that I knew was that it was gonna be good!
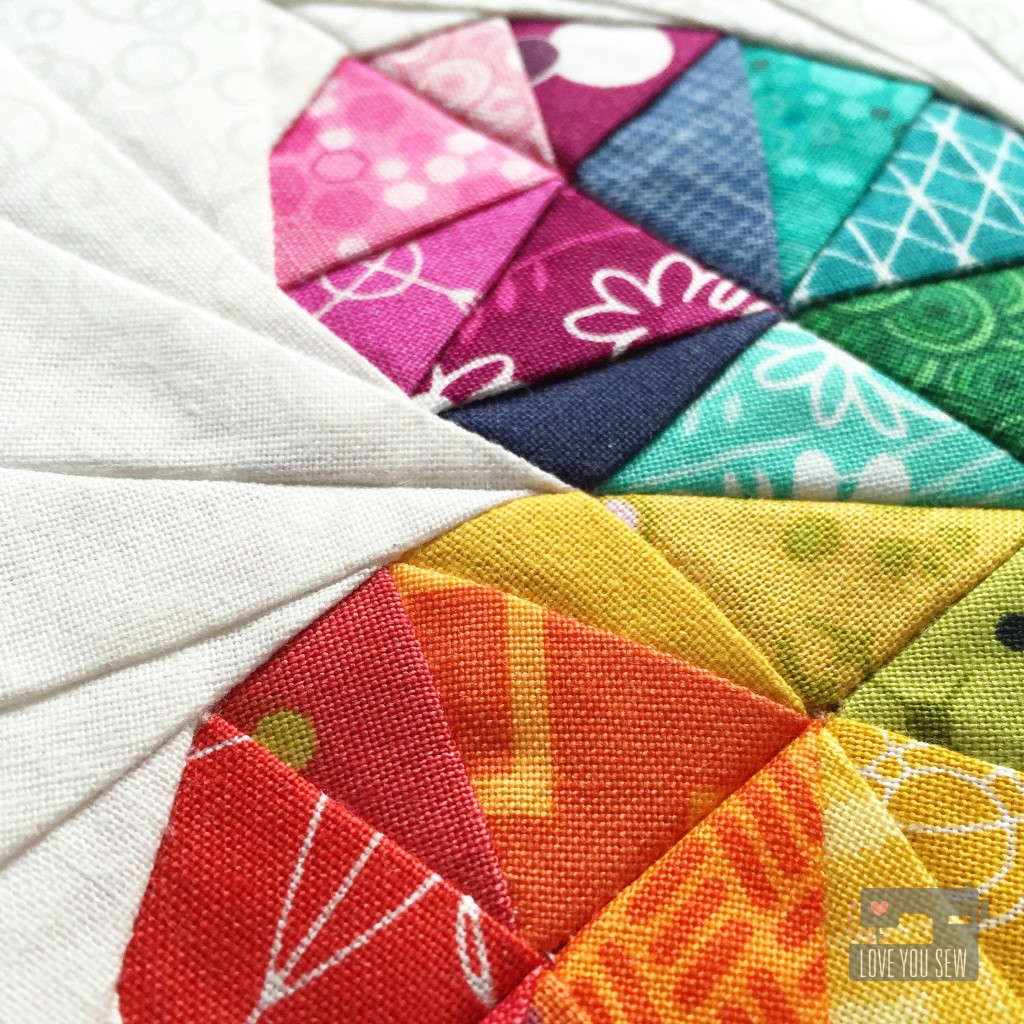
PoetryCloseUpThen these beautiful hearts from Love Story appeared in my email….Oh my mercy!  How gorgeous, right?  The pack includes two patterns – Poetry (as shown above and below) and Prose (as shown in the title pic.)  Both square patterns come in 5″, 10″ and 16″ (finished) sizes.  You can find them over here.
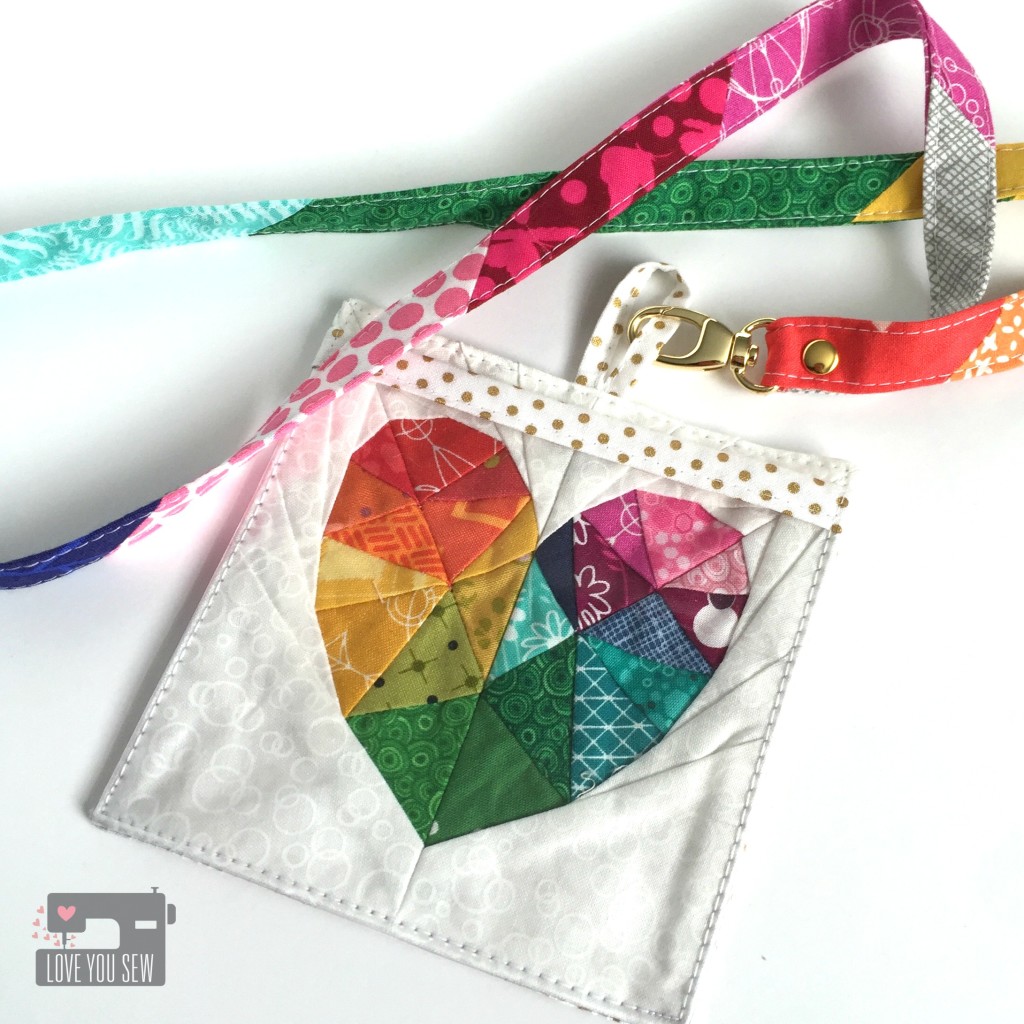
NameTagLanyardMy first attempt was to make this 5″ version of the Poetry pattern.  The piecing in the heart was just screaming for a rainbow color palette.  The pattern and size were perfect for the Name Tag Lanyard Swap for my Central Ohio Modern Quilt Guild.  I used the Swapaholics tutorial and just raised the vinyl window up so the heart would not be obstructed.
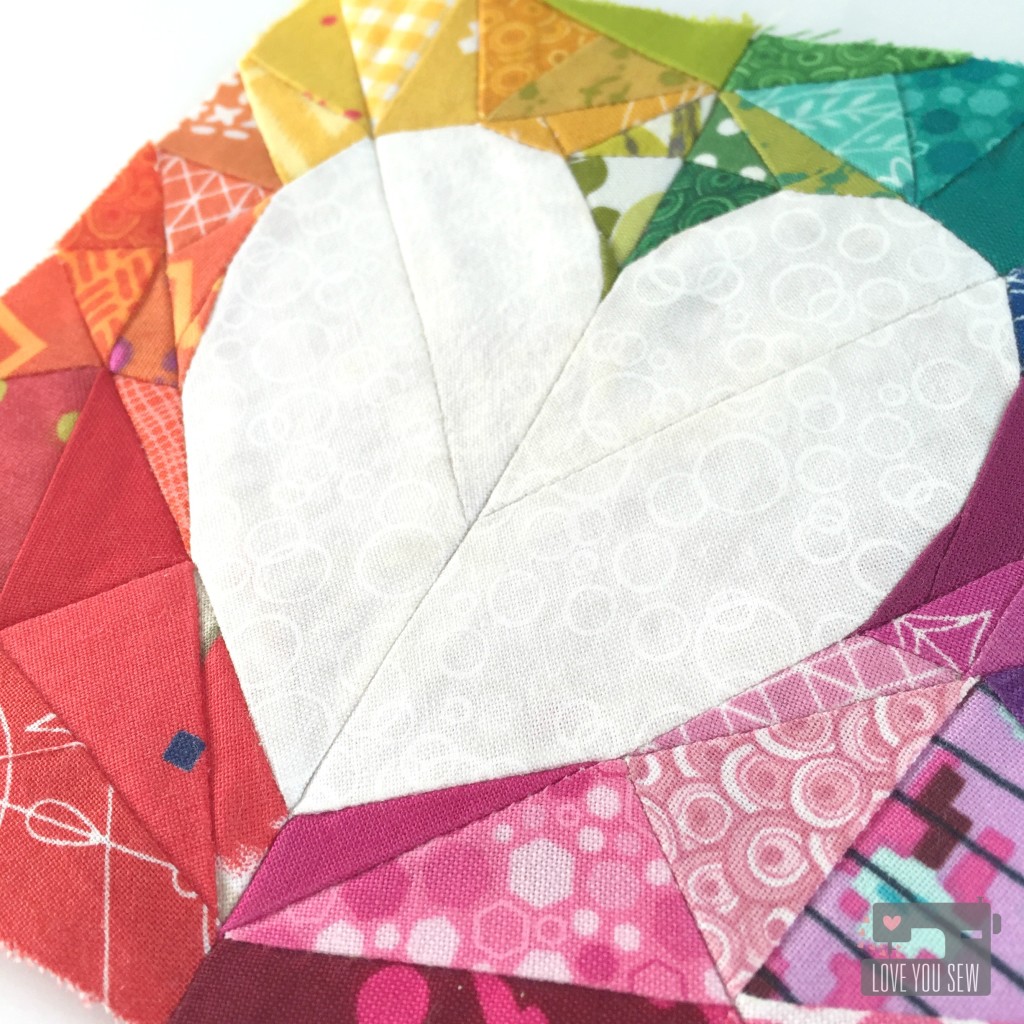
ProseCloseUpNext, I tried out the 5″ Prose version.  Now this was a bit more difficult given the number and size of the paper-piecing.  There are more corners to match up and some bulk to contend with, but it’s all worth it!
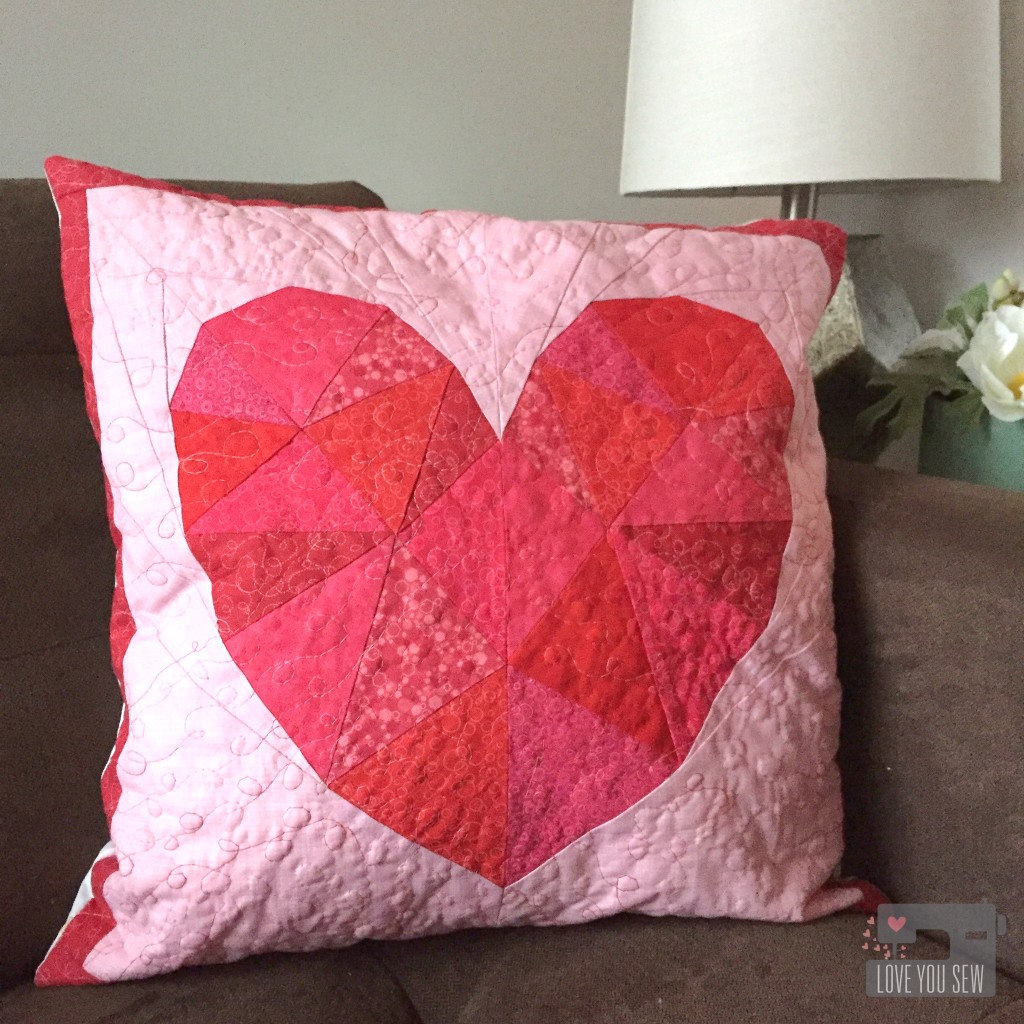
LoveStoryPillowLastly, I used the 16″ Poetry pattern to make a special pillow for Valentine’s Day.  My house is lacking in the home decor department so I’ve been trying to add more handcrafted items in between all the ones I sell or giveaway.  I practiced my free-motion quilting by using some variegated red Aurifil 4668 in a simple loopy pattern.
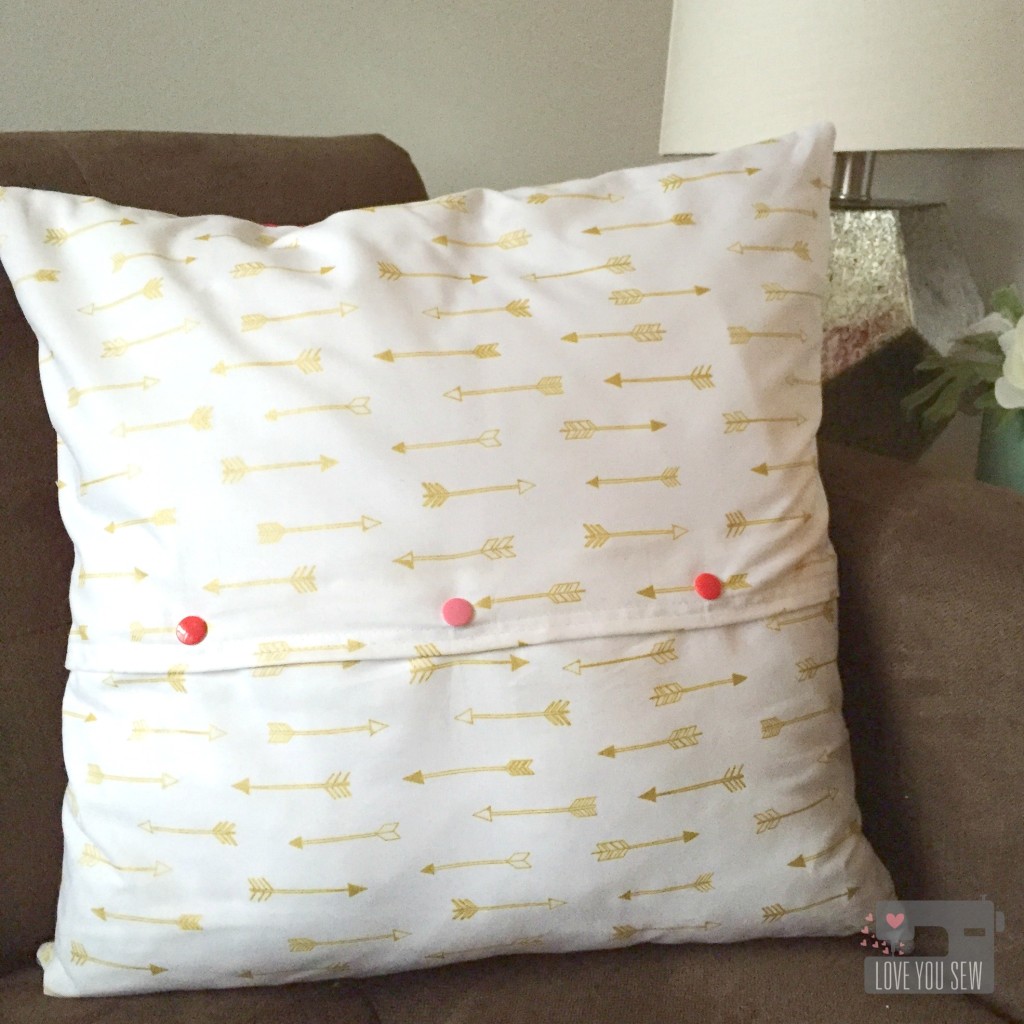
LoveStoryPillowBackA border all around the pattern was added to fit the 18″ pillow form I had on-hand. For the back, I used Arrow Flight from Michael Miller to complement the V-day heart.  Having this in my stash paid off 😉  Since this is intended as seasonal decor, I made the pillow back in two pieces with a 2″ overlap and added KAM snaps to keep the pillow in place.  I’m set for Valentine’s Day now!

What would you make with these patterns?


Hugs and Stitches,

Cristy


Pattern was provided by Lillyella Stitchery for testing but you know projects, thoughts and opinions are my very own.


Hello Bear Triangle Quilt

HBTriangleQuiltTitle

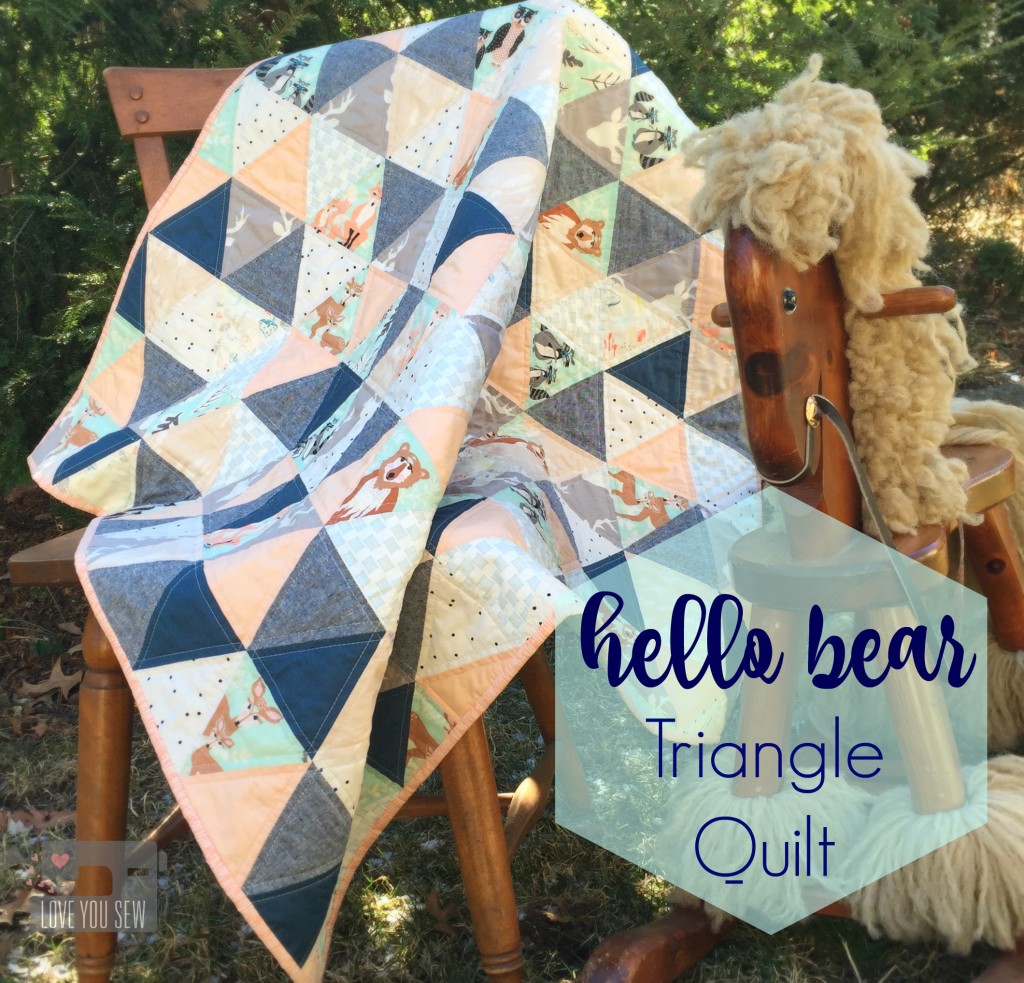
One of my dearest friends is expecting and I knew I wanted to make something very special for her.  The Hello Bear collection by Bonnie Christine for Art Gallery Fabrics came to mind immediately…especially, since I just made the Dwelling Quilt with it.  It’s whimsical and playful with such a soothing palette…and best of all, it’s gender neutral!  My girlfriend wants to be surprised with the baby’s sex, so I chose colors that could go either way.

SizzixTriangleDie

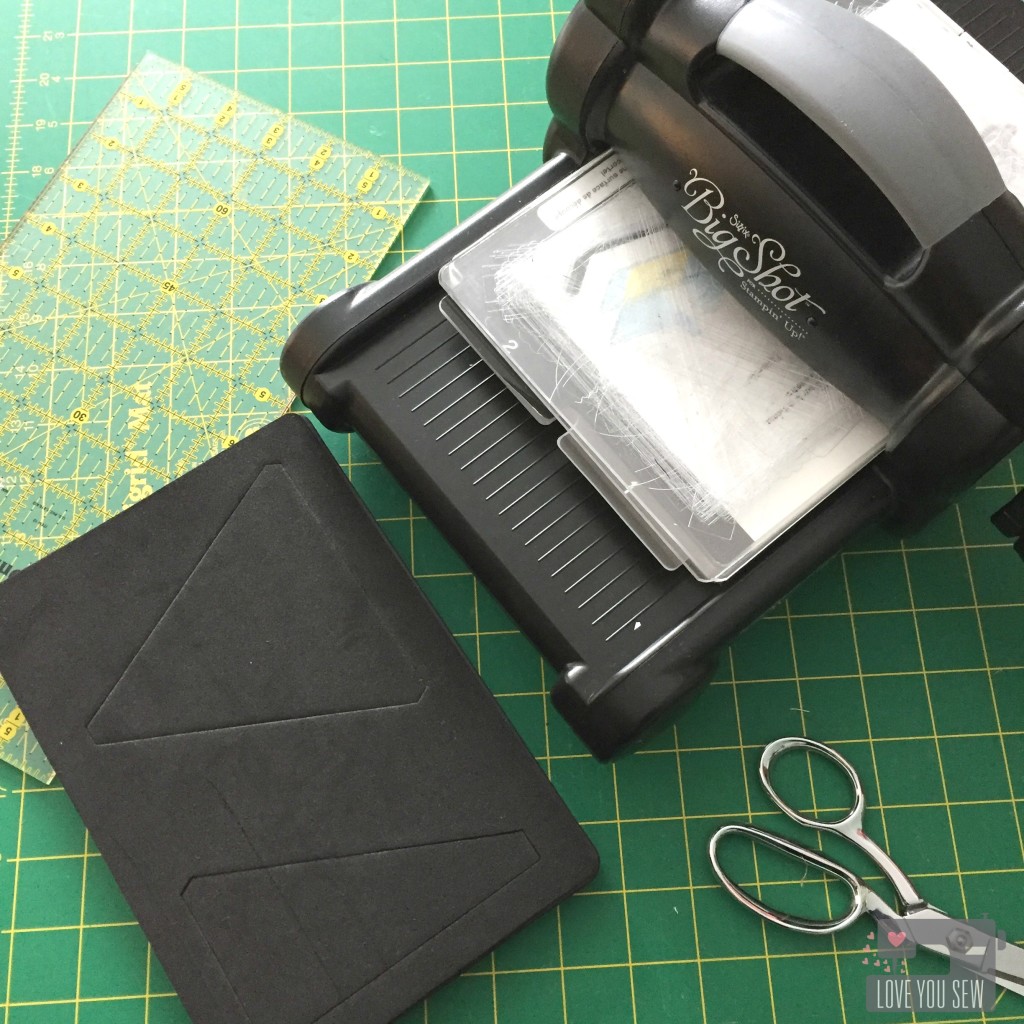
On Black Friday, I picked up several Sizzix Quilting dies, including this 4.5″ Isosceles triangle one.  I made one other triangle quilt awhile back and definitely cut off all the tips as I pieced the top together. There is such a striking look with all the triangles and I knew getting a die to help me cut my fabric would help me keep the point intact!

I have a paper-crafter friend who bought a new Big Shot for herself awhile back.  She then sold me this one for less than half the price….score!  I initially just wanted to use it for paper but quickly found out about the fabric dies.  These are a bit pricey, but I’m hoping to add to the collection as I scout out good sales.  Let me know if you ever see one 😉

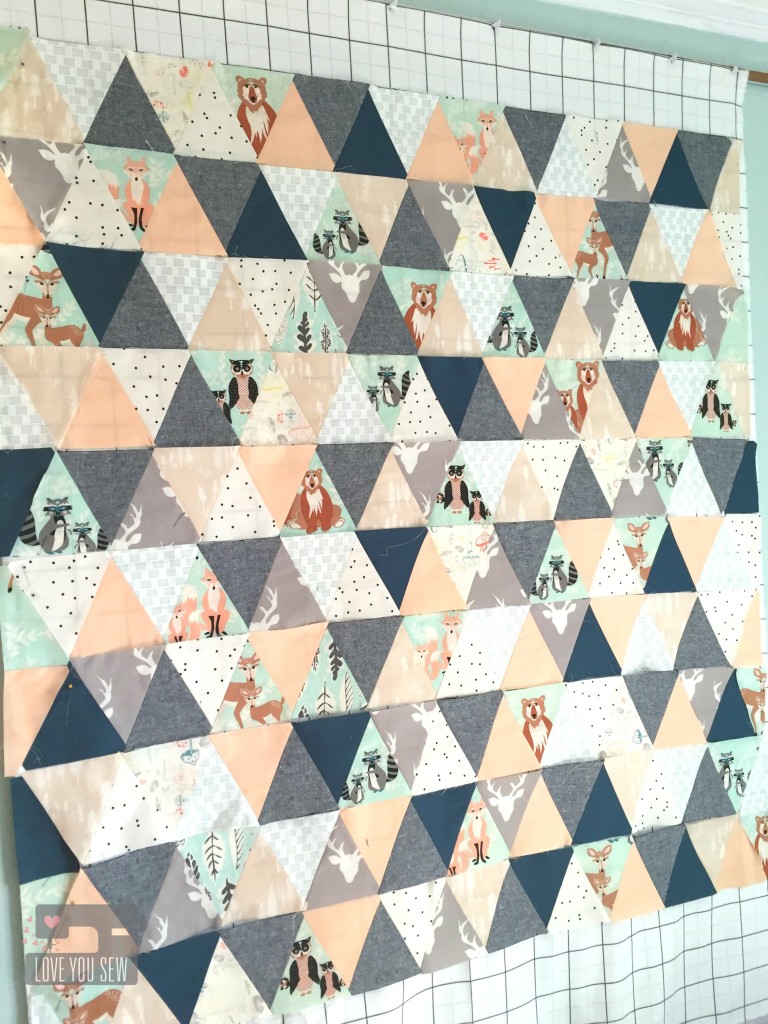
HBTriangleQuiltDesignWall

Since there is a finite width to the Big Shot, some pre-cutting is needed to fit the fabric on the dies.  But since I could cut up to 4 layers of fabric in one turn, this was still the faster way to go.

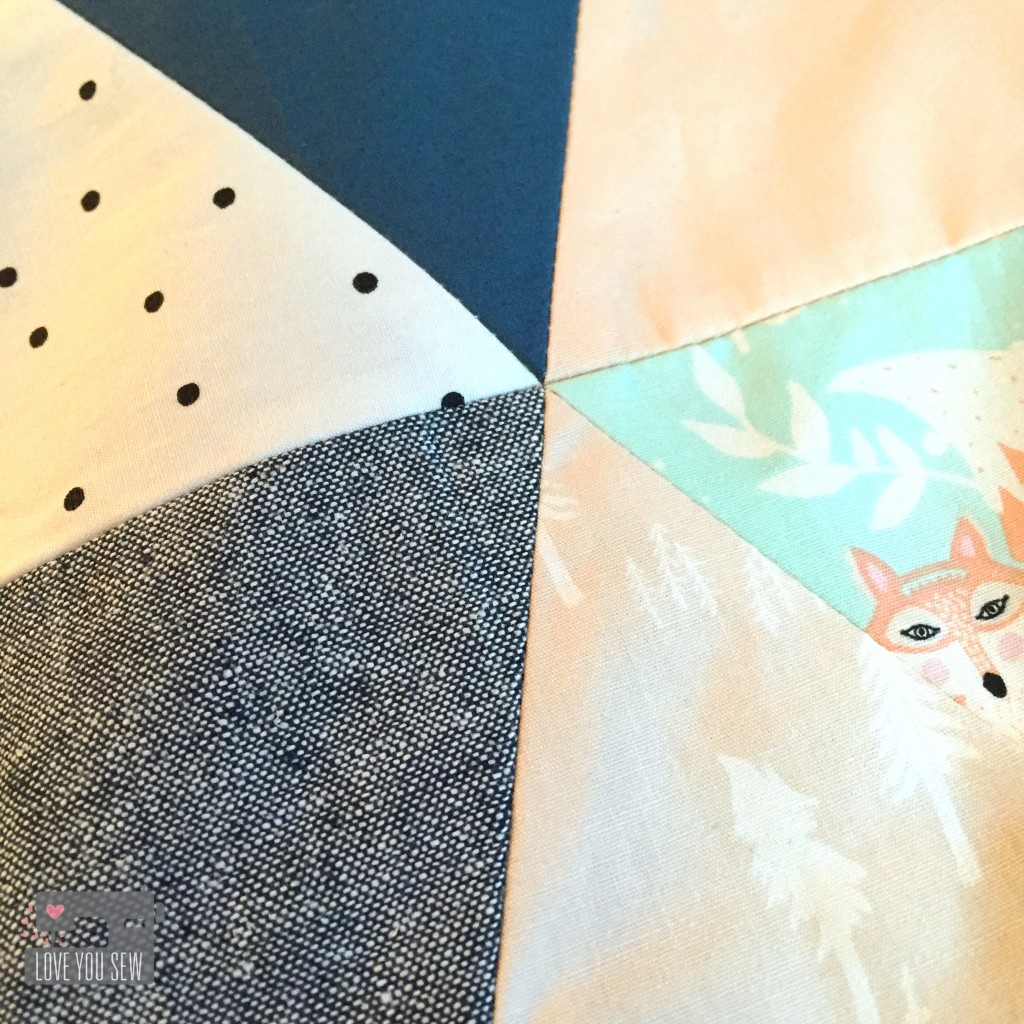
HBTriangleQuiltPointsMatch

The die gives you the perfect notches to make piecing SO much easier and more accurate.  I’m pretty proud of these beautiful points (above!)  And did you know, you don’t have to trim after piecing?  That’s the winning feature for me because I despise trimming.  That is probably my least favorite thing to do…

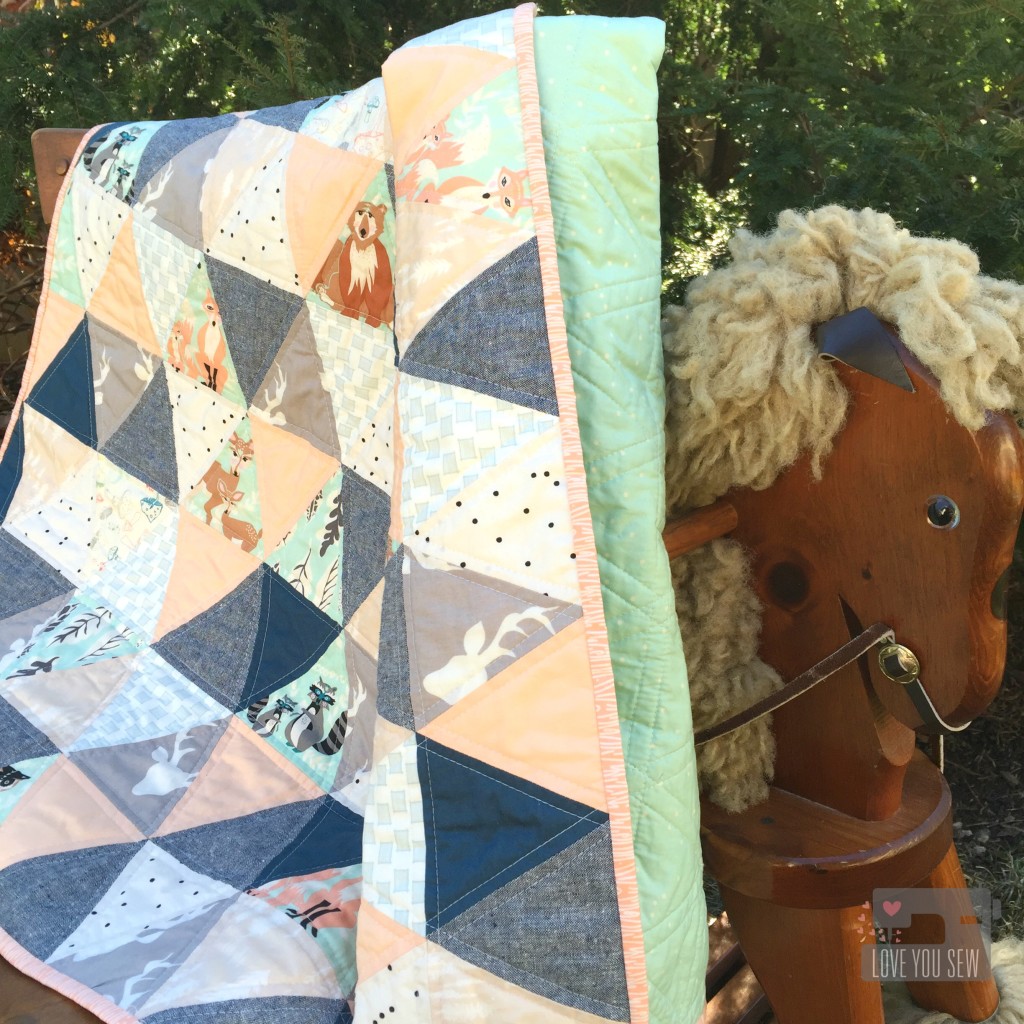
HBTriangleQuiltCloseUp

To add more texture and variety to the Hello Bear fabrics, I used Robert Kaufman Essex Linen in Indigo.  You can also see some solids from Art Gallery’s Pure Elements and I added a splash of Bound from April Rhodes.

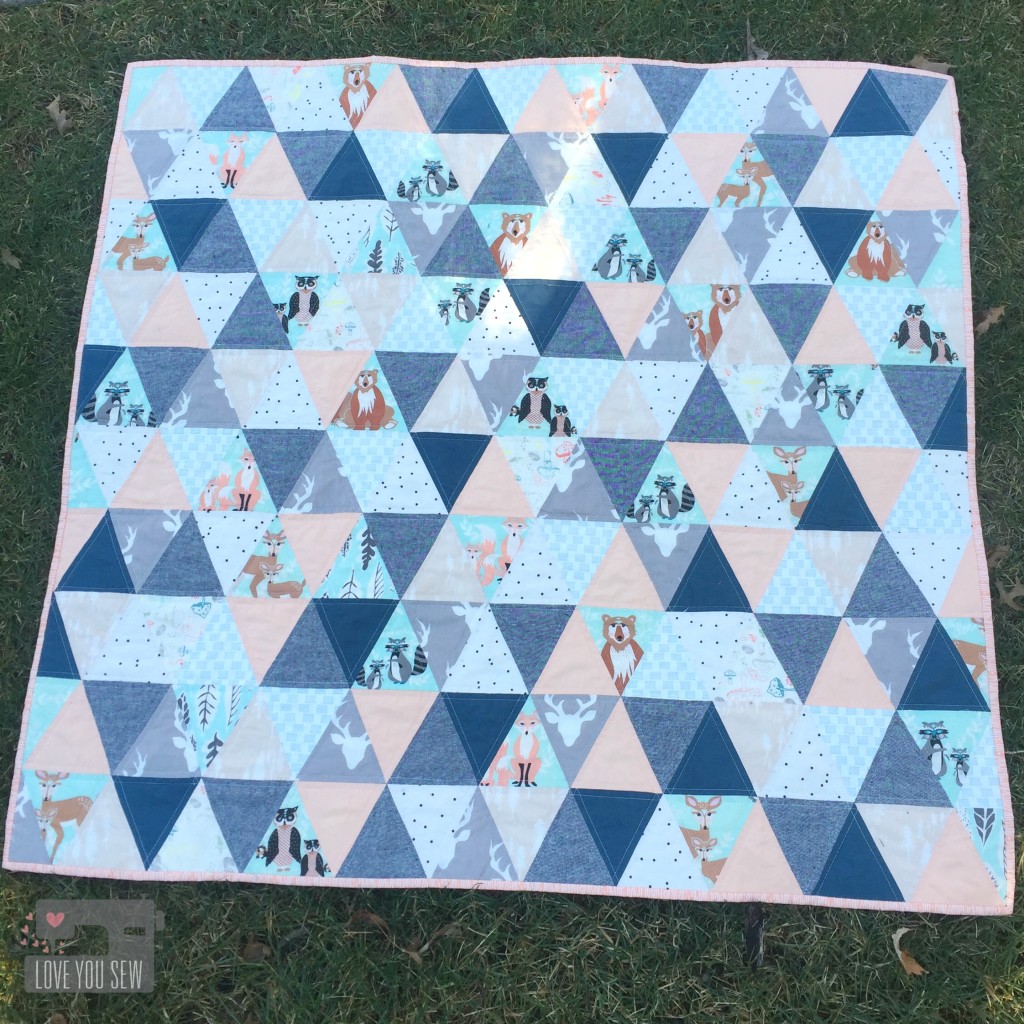
HBTriangleQuiltFullProfile

The finished baby quilt is 40″ x 40″.  I quilted along the triangle edges to not distract from all the fun forest creatures you can see here.  This was such a fun quilt to make as I tried out my new Sizzix “toy”….but it was more special because this is going to such a dear friend.  <3  I can’t wait to see her baby wrapped up in this quilt!!!


Happy Stitching,

Cristy


Vera Quilt Pillow

VeraQuiltTitle

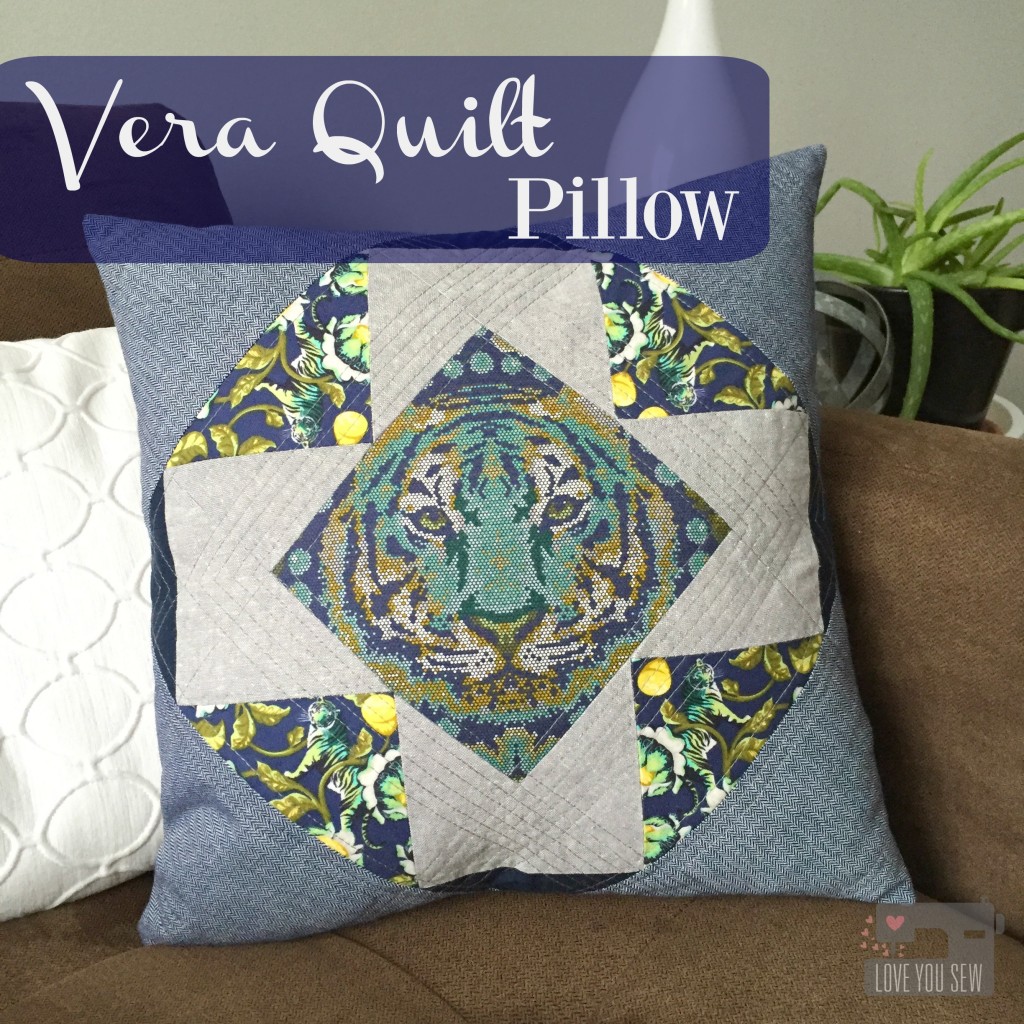
I had the pleasure of doing some pattern testing again for the lovely Becca Bryan of Bryan House  Quilts.  This time it was for her new Vera Quilt which you can find here.  This is a fabulous pattern that allows you to showcase larger prints and gives you the ability to blend fabrics of one block into the next.  This gives the quilt a really unique overlapping look….AND it’s fat-quarter friendly!

BlockwoCorners

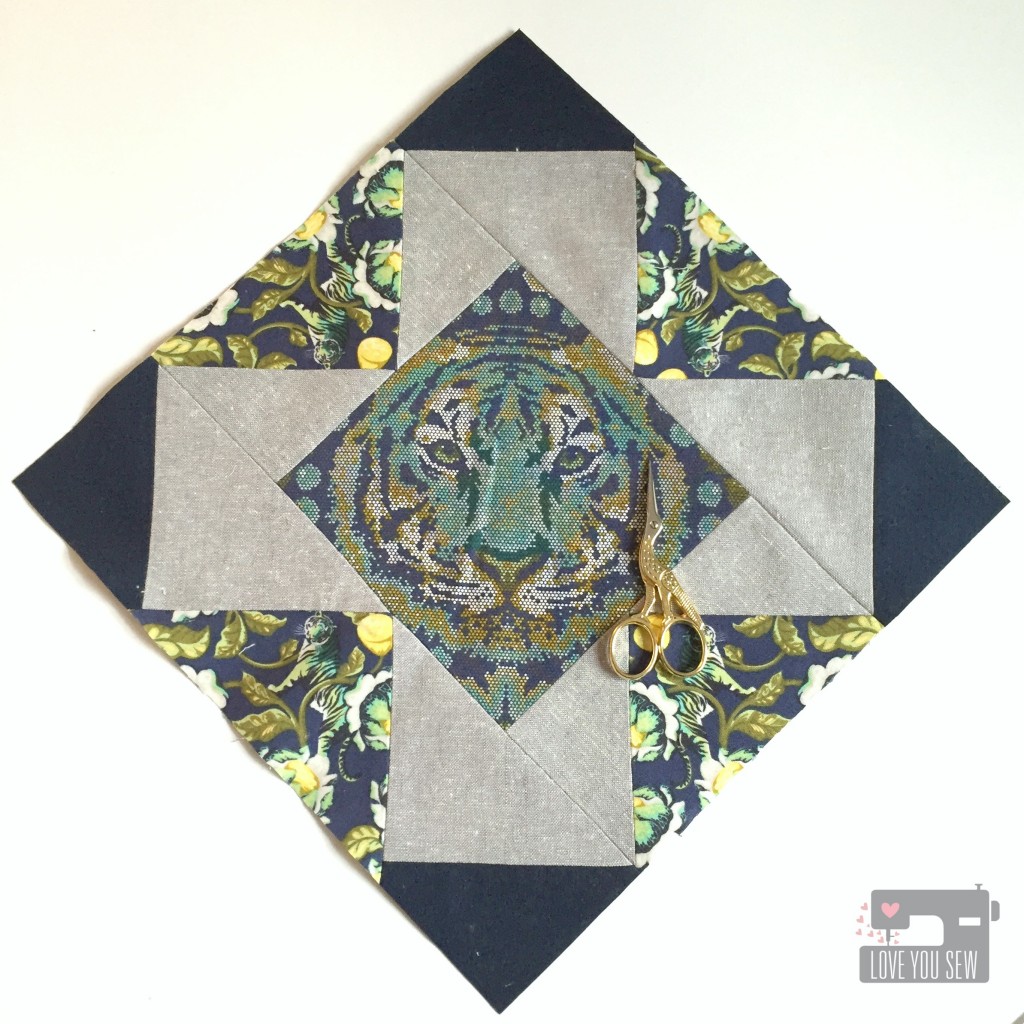
The Vera comes with instructions to make four various size quilts, including a mini.  I decided to make the mini and turn it into a pillow for the house.

BlockComplete

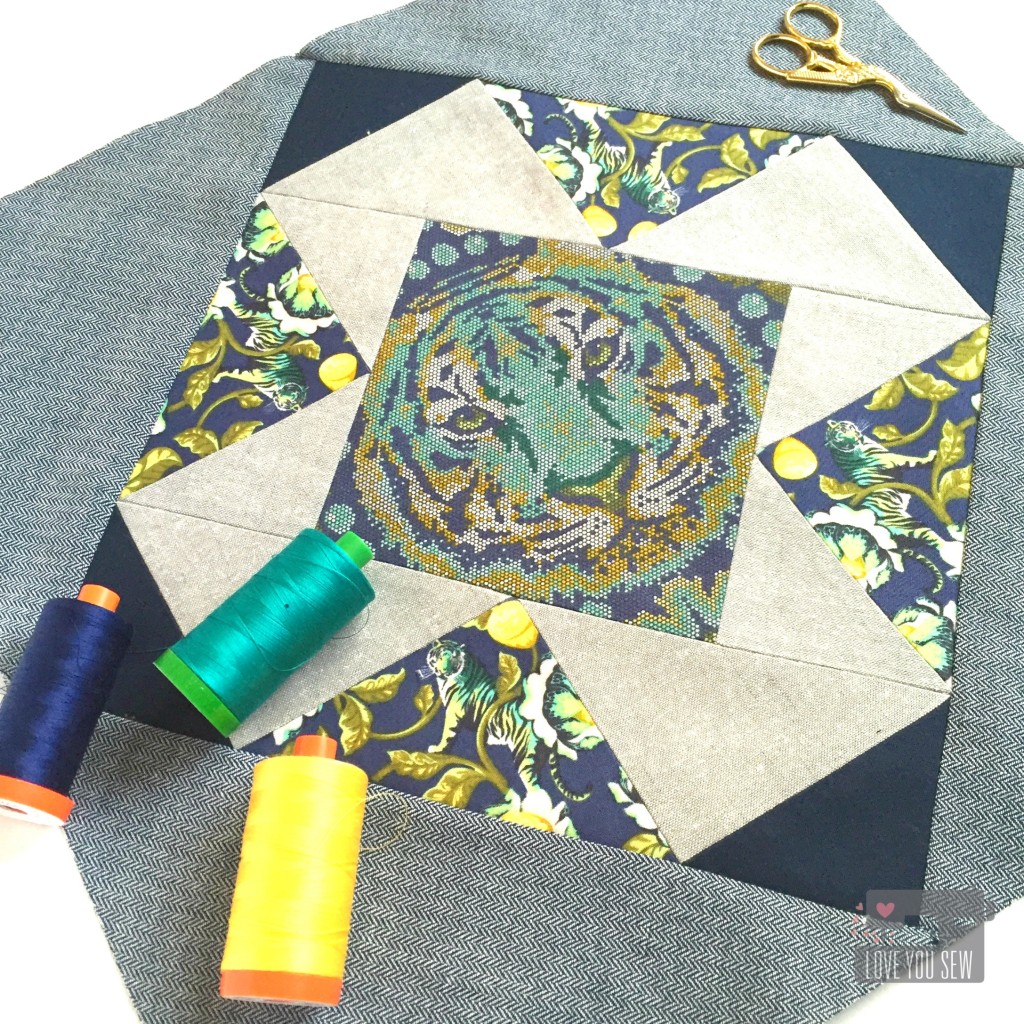
The center square of the Vera Quilt was the perfect size to capture Tula Pink’s Crouching Tiger .  I used some more Tigers, Kona Cotton and Essex Yarn Dyed Linen on the border geese.  For the setting corners, Robert Kaufman Herringbone chambray was used to keep this pillow masculine.  I’ve been using this chambray on everything lately…what’s one of your stash staples?

QuiltingCloseUp

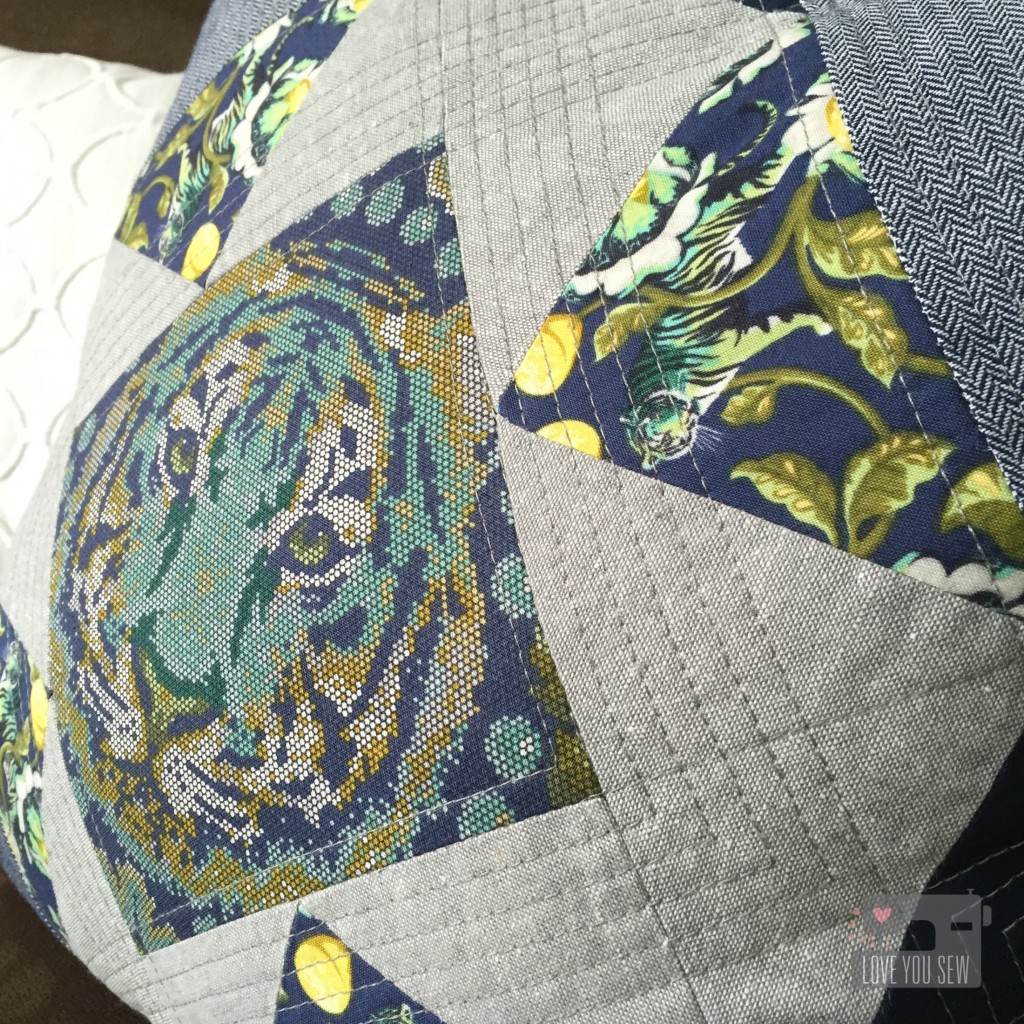
I use Aurifil 2615 for all of the piecing and quilting.  To highlight the center tiger, I echoed quilted all around and left some random spacing for extra interest…straight-line quilting doesn’t have to be boring 😉

This pillow was a quick sew and I can’t wait to make a full quilt soon!


Hugs and Stitches,

Cristy


The Vera Quilt pattern was provided by Bryan House Quilts for testing.  All materials were purchased by myself and all opinions are my own.


Plaid Flannel Cargo Duffle

CargoDuffleTitle

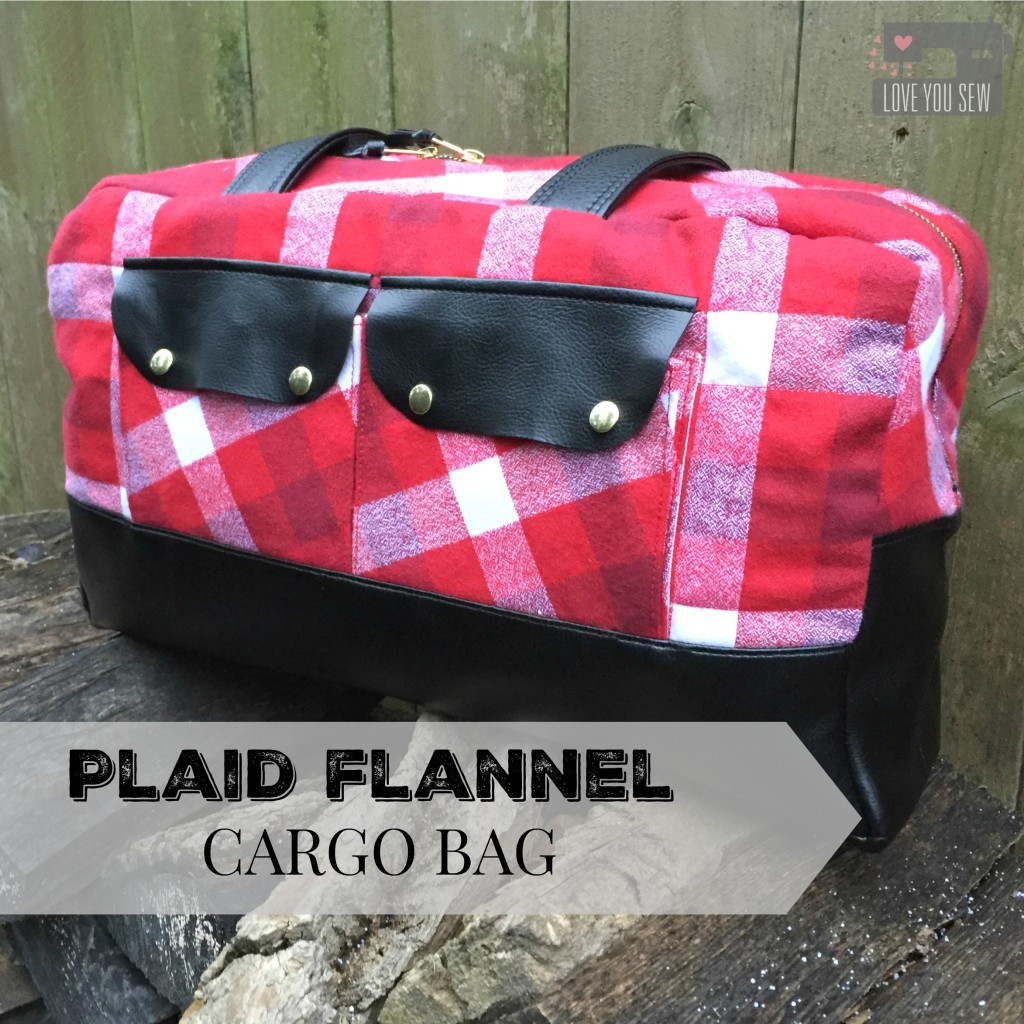
After I made my first Noodlehead Cargo Duffle for Sew Sweetness‘ Pursepalooza shown here, I quickly received a request to have one commissioned.  How many times has that happened to you?  However, the request came from my sister…so you know it turned into a gift instead 😉 Now that Christmas has passed, I can finally show you this version!

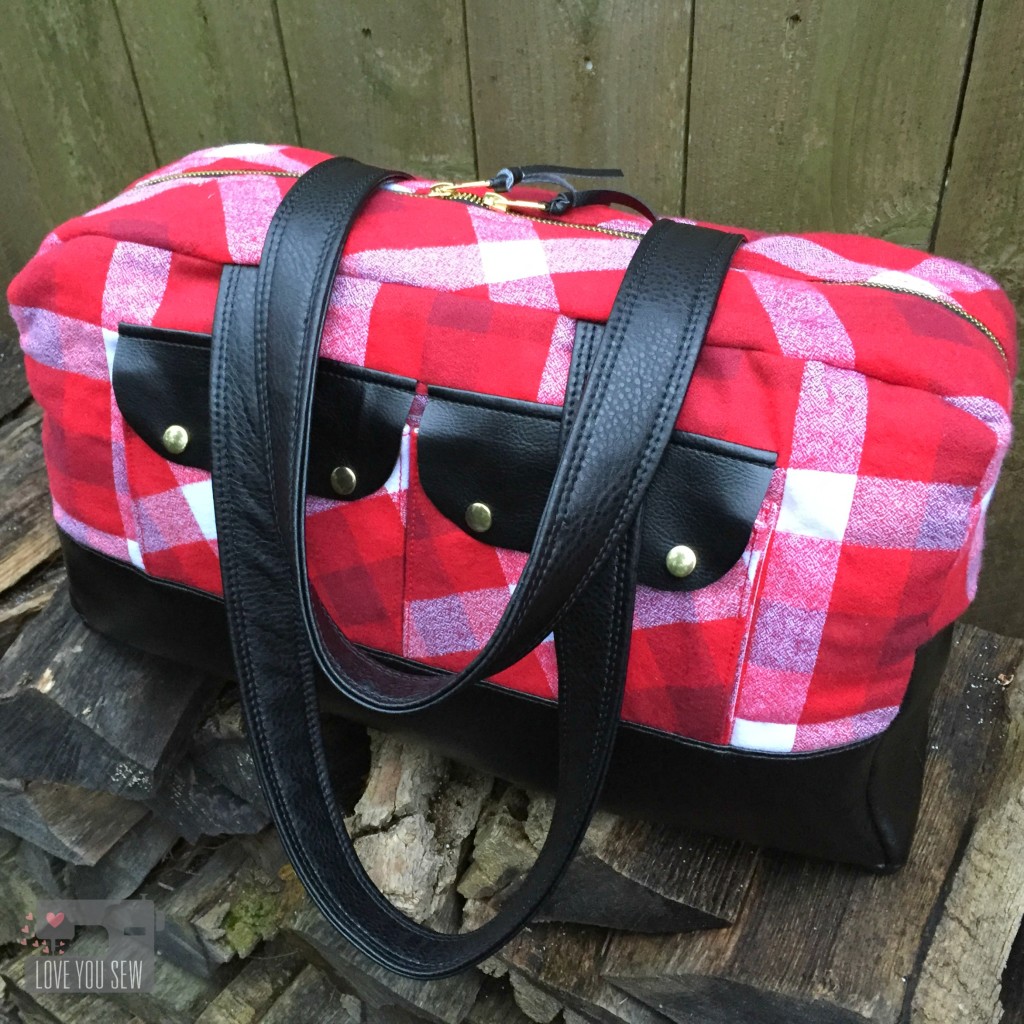
FullProfileWStraps

My sister wanted a plaid flannel just like my original…so of course, I went back to Robert Kaufman’s Mammoth Plaids.  They are just SO soft.  The black vinyl is “suede cloth” purchased from my local JoAnn’s.

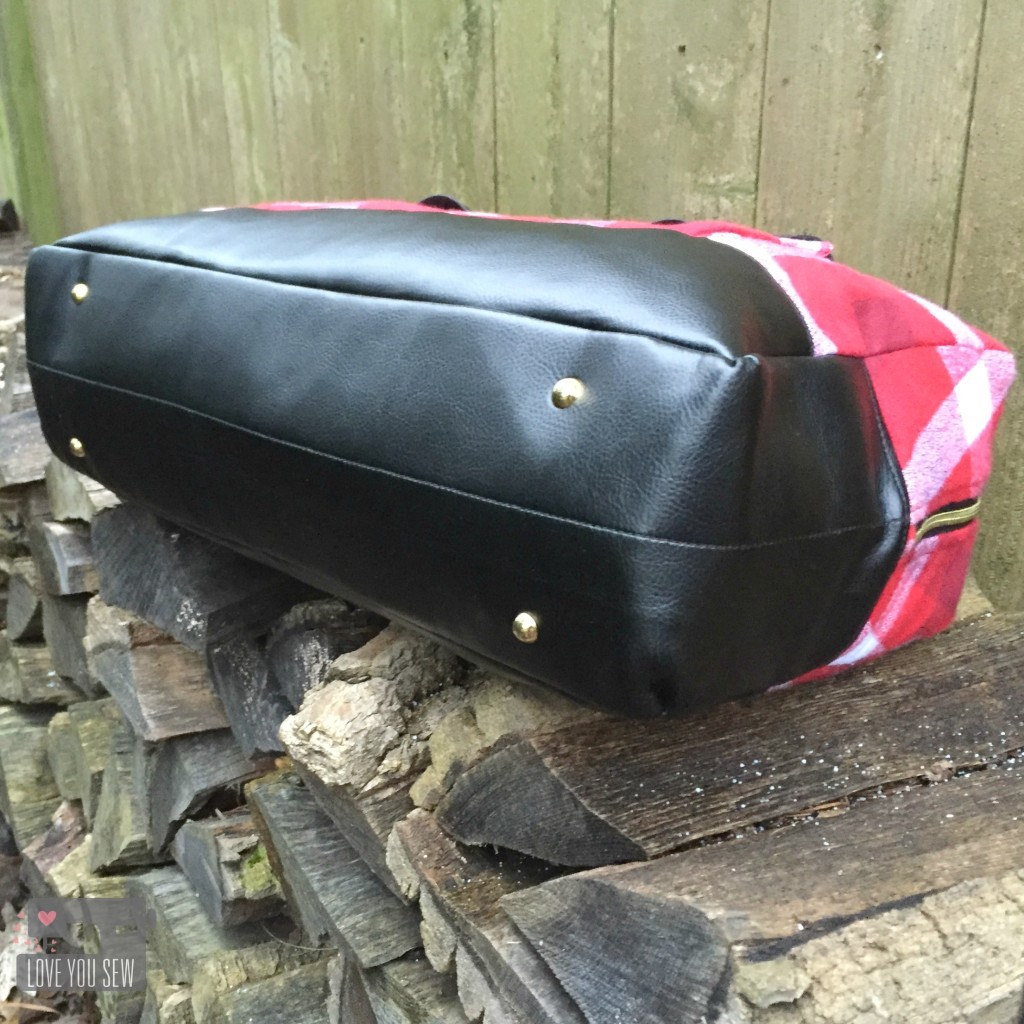
BottomFeet

Purse feet are a great added touch to make a bag look more professional.  These are from Emmaline Bags.  I adjusted the spacing to them vs my original to be a little closer together. They are approximately 14″ apart lengthwise and 1.5″ in from the outer seams.  The pocket snaps are from Tandy Leather.

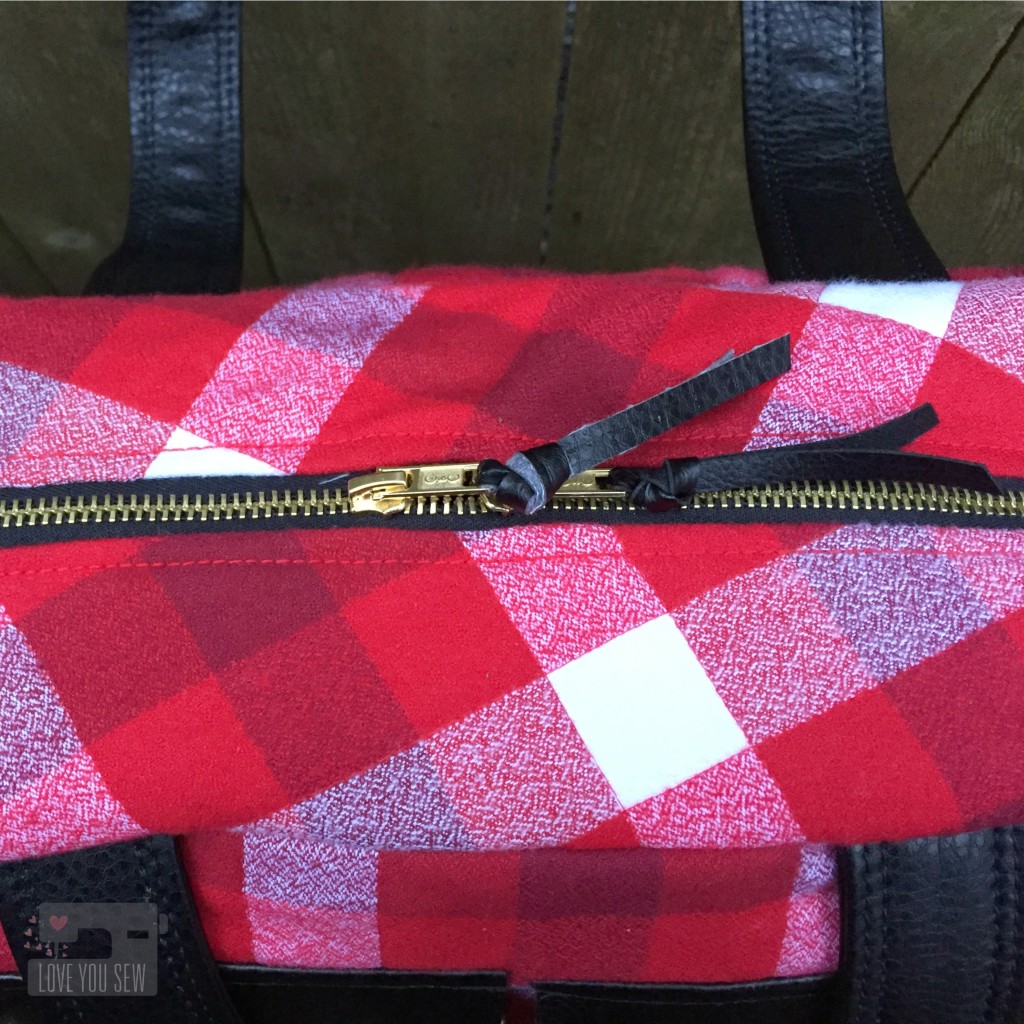
DuffleTop

If I can use a metal zipper on a bag, I always will….they are just so pretty!  The outer zipper is a coverall style by Coats and Clark.  The interior zipper is YKK.

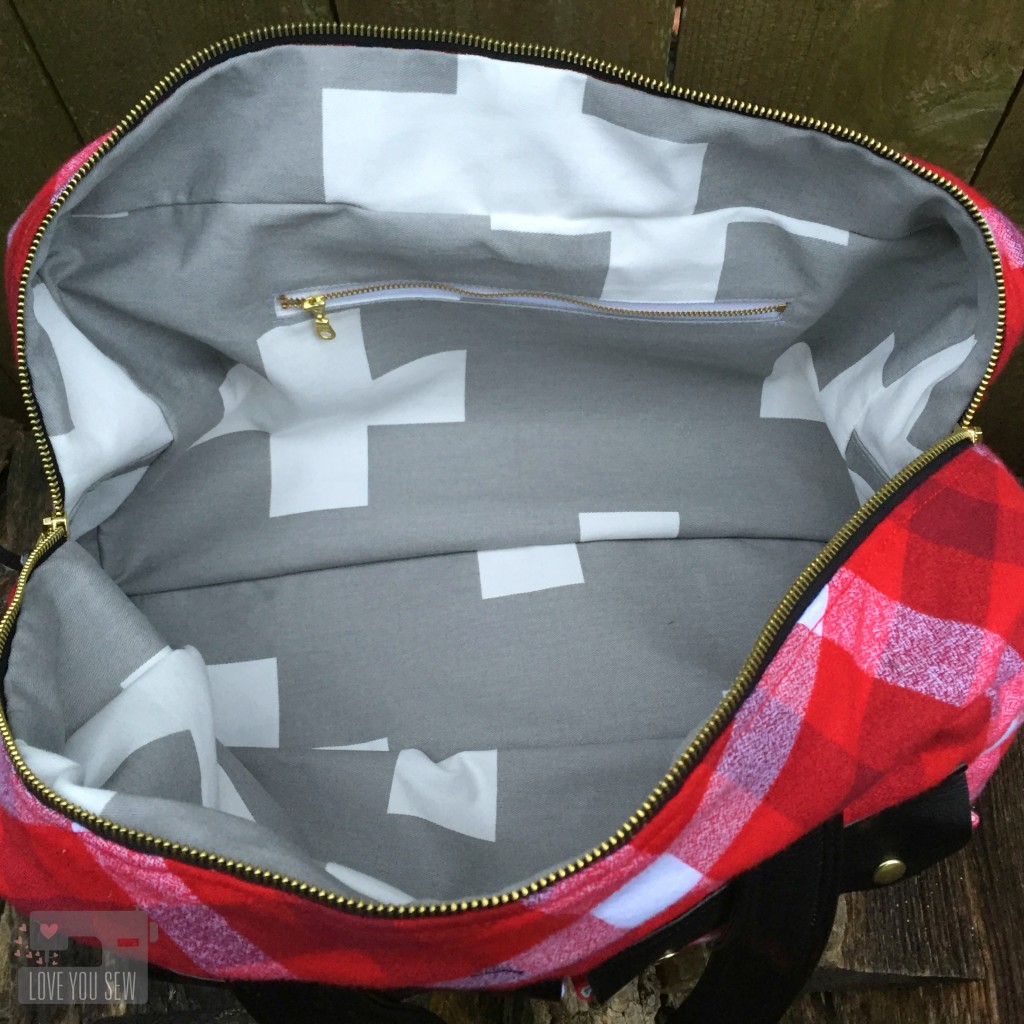
InsideView

The biggest difference with this bag is the interior.  I used this tutorial by Small Town Thread to create a drop-in lining.  I tacked the liner to the bag’s top corners then hand-sewed it to the zipper.  This was just to keep the look clean and keep any extra fabric away from being snagged into the zipper.

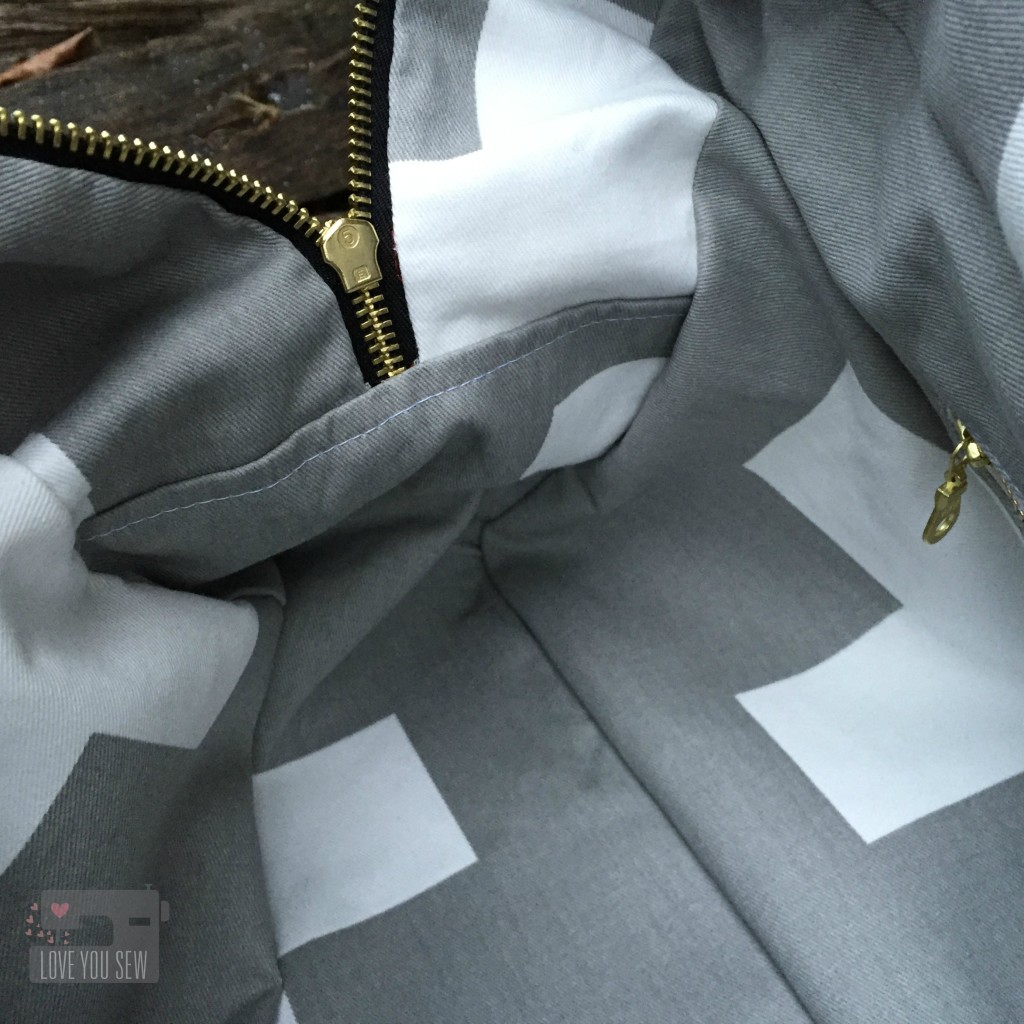
InteriorCloseUp

I use a lot of Premier Prints home dec fabric and this interior fabric is no different.  It is the larger Swiss Cross pattern.  This fabric complements the red and black exterior while echoing the plaid design as well….I really love it 🙂

I’m happy to report my sister loves this bag as well!  She is one of my strongest supporters and also one of my best salespeople.  It is quite flattering that she wanted one of my bags to go alongside all of her designer ones.  Now I’m off to make her another bag….haha!  It never ends, right?!? 😉


xoxo – Cristy


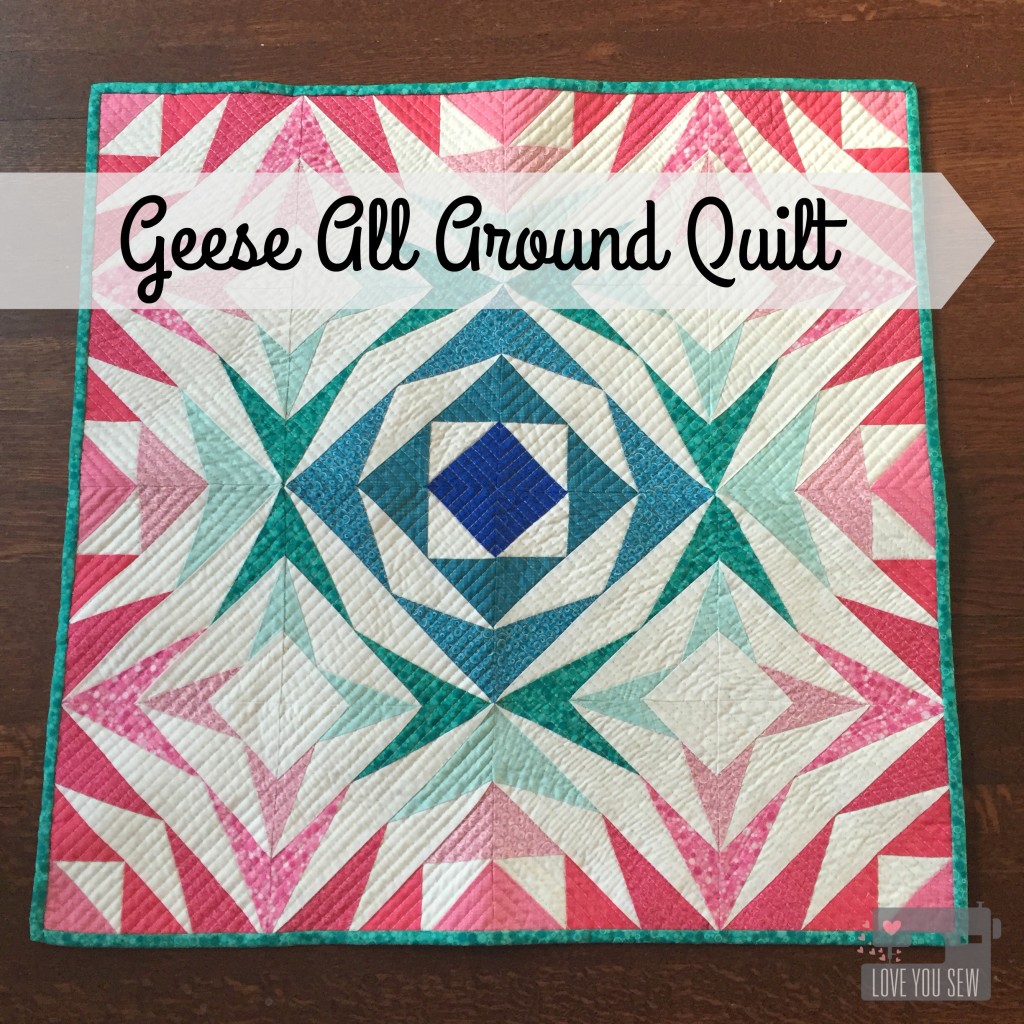
Geese All Around Quilt

Geese All Around Quilt

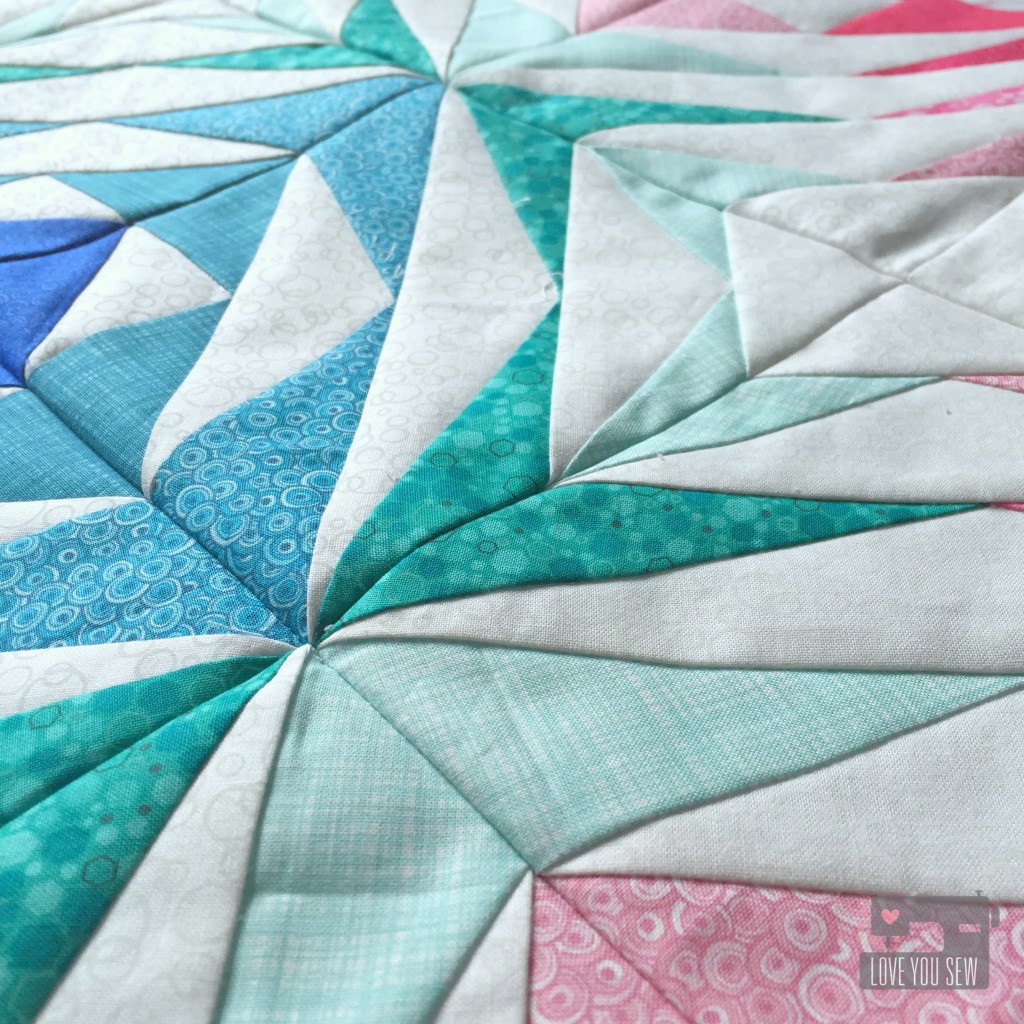
I’ve been on a kaleidoscope kick lately (check out my last one here)…so when I saw this Geese All Around quilt pattern on Quilter’s Cache, I knew it was going to be my next project!

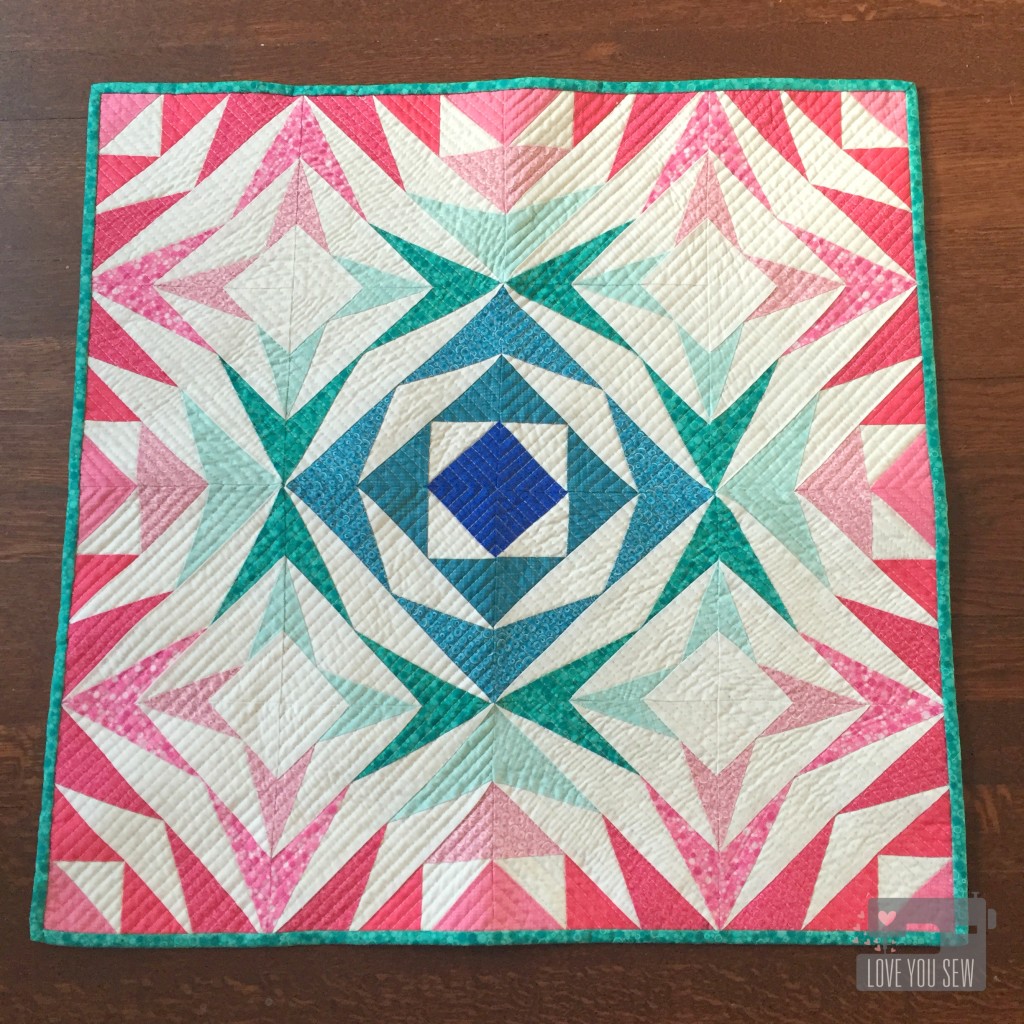
Many of my recent finishes have had rainbow color palettes, so I decided to soften things up and use some blues and pinks this time around.  These Basically Patrick designs from Patrick Lose Studios for RJR Fabrics were just the perfect fit.  There is a mix of Linen, Millefiori, Hexies, and Meandering Loop prints.

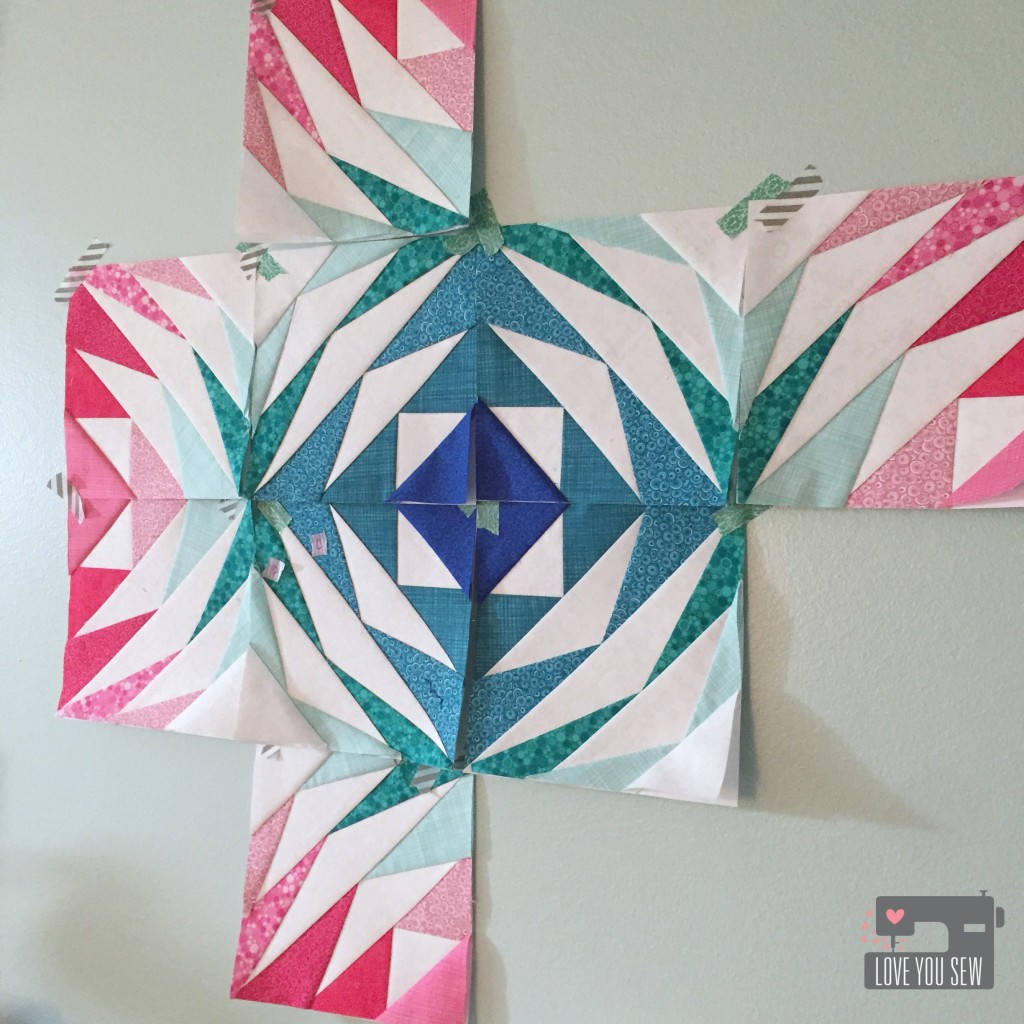
Design Wall

{No design wall = Lots of Washi Tape}

This pattern is paper-pieced and calls for a finished 12″ block.  Don’t make my mistake and think each square was a block.  It’s just 1/4….so instead of initially designing a 48″ x 48″ baby quilt, I ended up with a 24″ x 24″ mini (I sketched and colored my quilt before printing out the template.)  I know I could’ve just added extra blocks to get the right size, but this quilt was all in the design and color for me.  Fortunately, there was no intended recipient!

All Pieced

{All Pieced}

As the blocks are sewn together, there is quite a bit of bulk.  Be sure to grade the seams as you go so you don’t end up with huge lumps as you quilt.

QuiltingCloseUp

{Quilting}

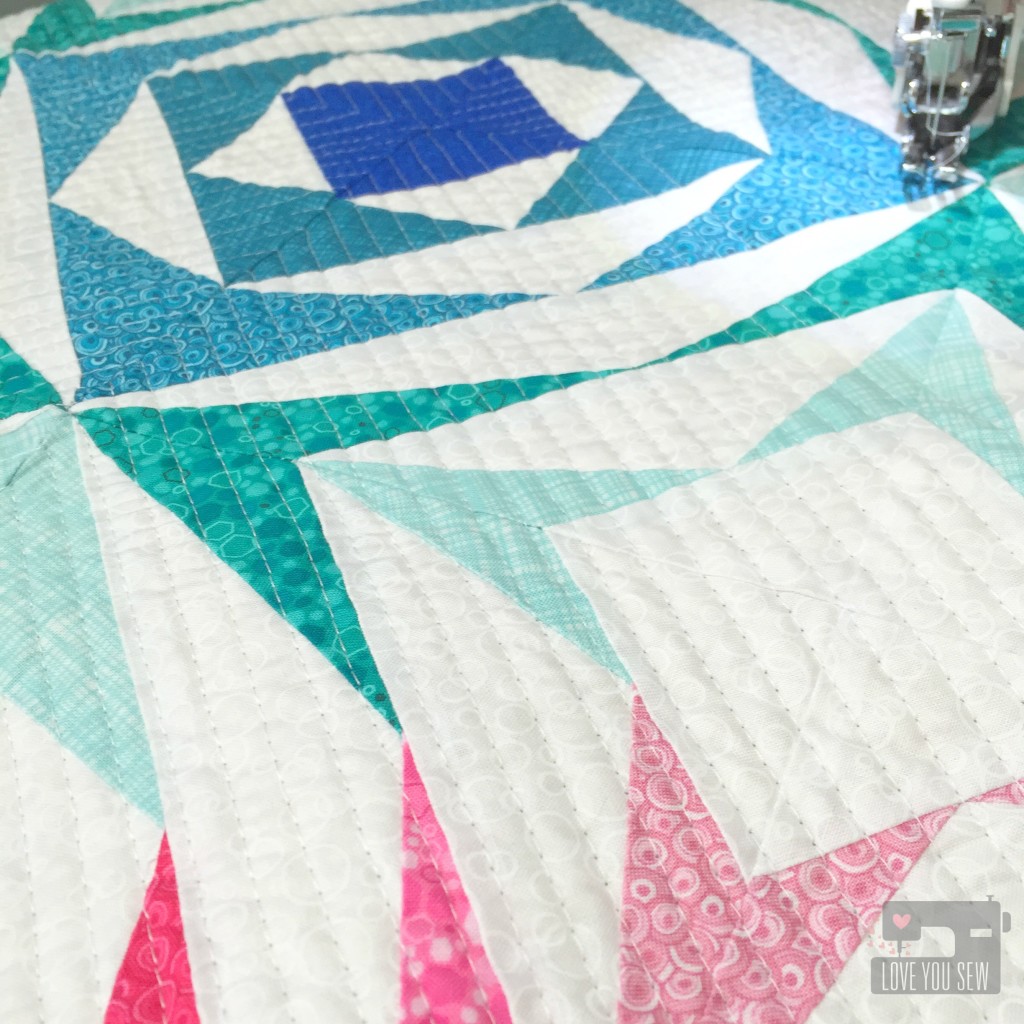
I echoed quilted this piece with 90 degree angles on the bias with my good friend, Aurifil 2021.  The stitch setting is 3.0 to get these nice straight lines.

BackQuilting

{Backside}

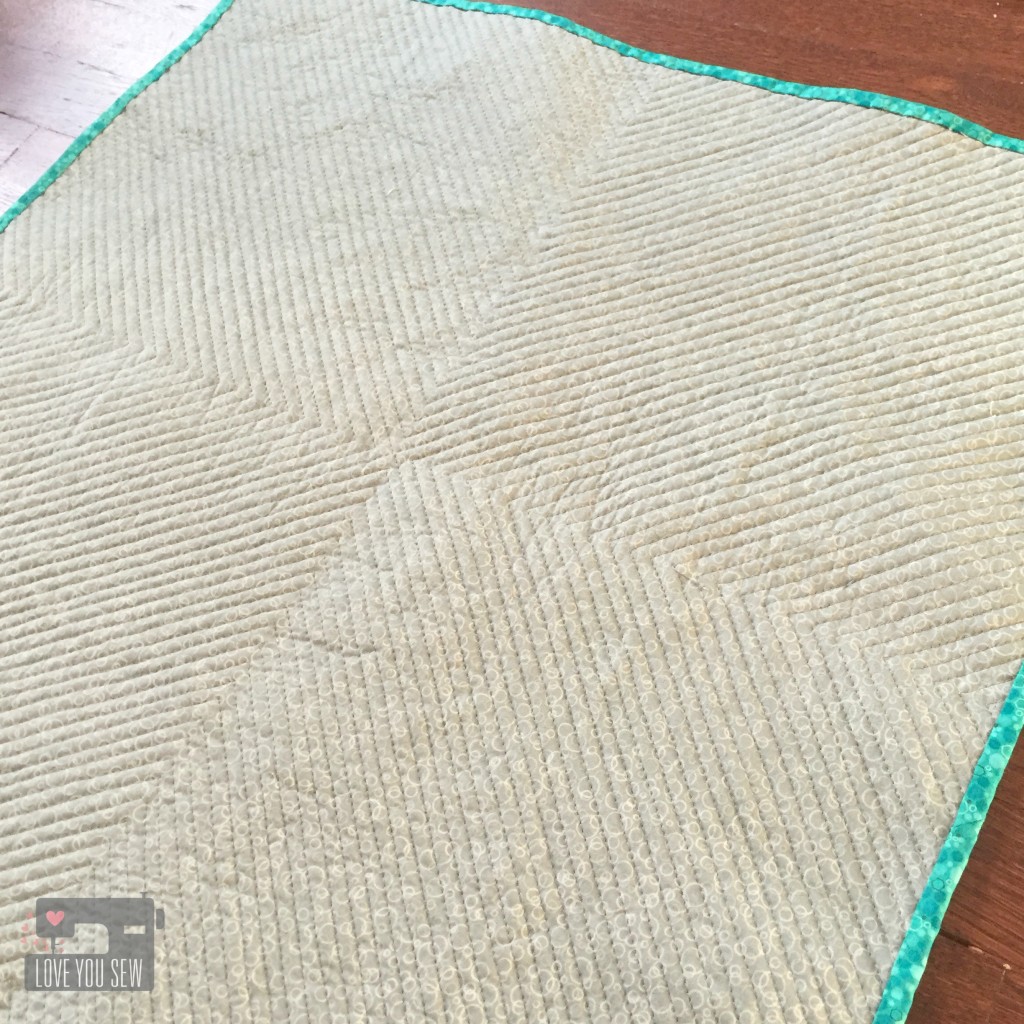
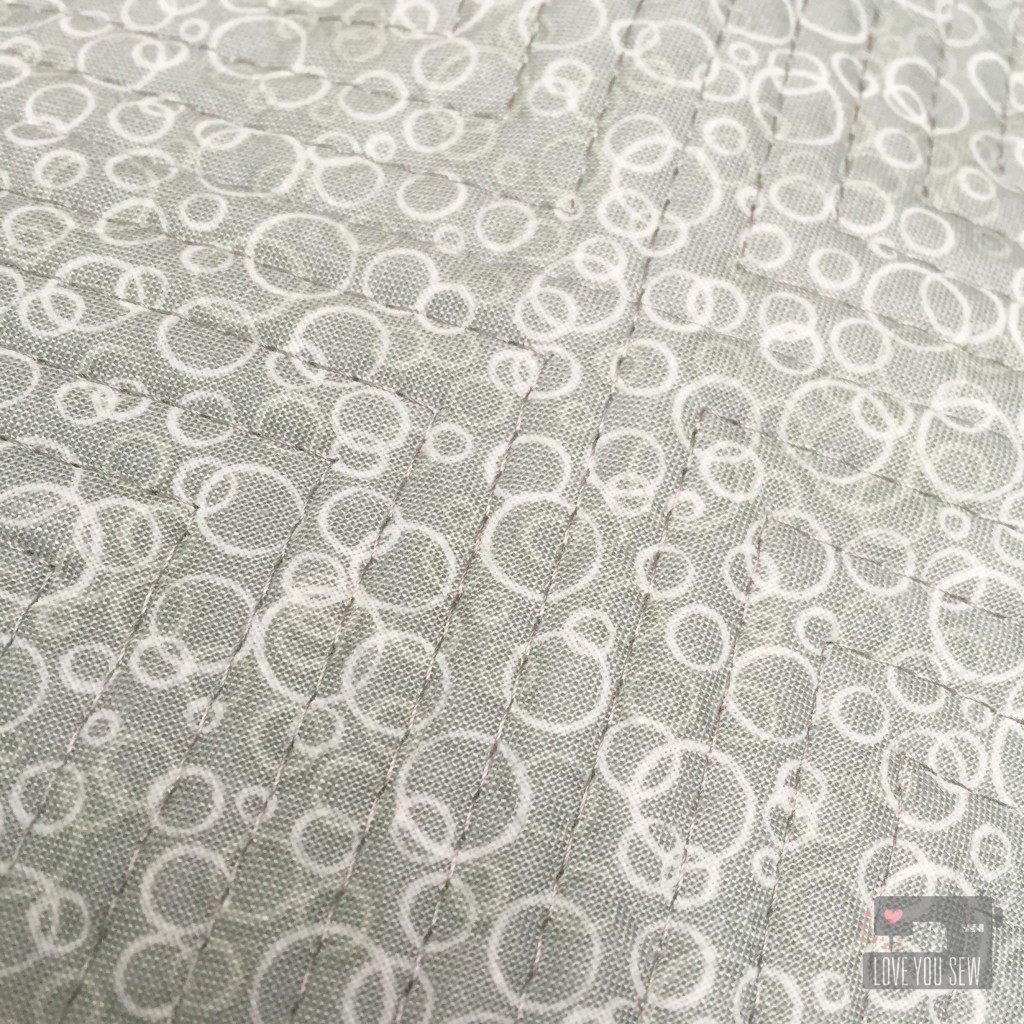
On the back, I used Suds in Seltzer with Aurifil 2600.  Isn’t the texture amazing?  I just love running my fingers over the quilting. The binding is Hexies in Blue Green with it machine attached to the front and hand-stitched to the back.

Back Quilting Close Up

{Backing Close Up}

Geese All Around Full Profile

{Finished!}

This was a happy selfish sew and I’m glad I made the time for it. What was the last thing you sewed for just yourself?
Cheers to Selfish Sews!

Cristy