Tillery Skirt Review

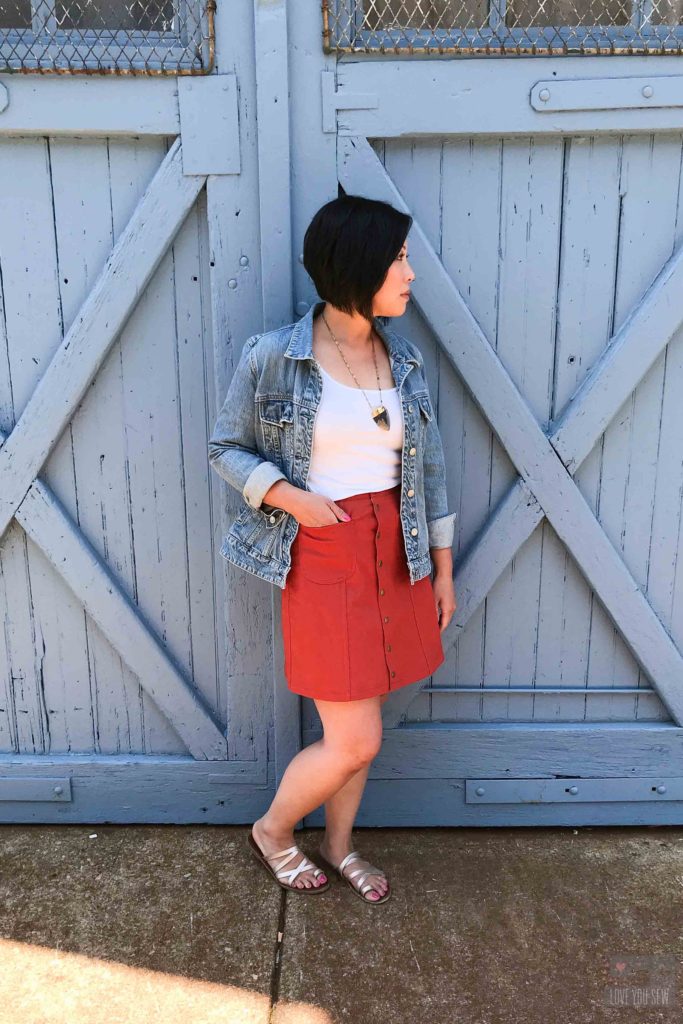
When I went to Texas a month ago, I was hoping to make this Tillery Skirt for the hot weather ahead.  Unfortunately, I ran out of time and did not make it then.  But, I was able to finish this skirt now that central Ohio feels like Texas…at 93*F!  I’m so glad I was able to get this made for our first of many heat waves this summer.

Sometimes shorts just don’t cut it.  My wardrobe was in need of more casual skirts to get me from swim lessons with the kids to date night with the hubs.  So when I saw this digital pattern by Blank Slate Patterns, I knew I had to make it.  The Tillery is a great high waisted skirt with a 70’s vibe making my Boho fashion heart flutter.  Who doesn’t love the look of the flat felled seams?!?

I recently had the opportunity to visit the Imagine Gnats shop and instantly gravitated to this J.Crew overstock stretch twill in Brick.  This rust color is definitely my summer color to go with all the denim <3  It is so rich and complements my coloring.  I can always use the extra comfort of Lycra, so the extra give in the twill makes it perfect for a skirt or pants.

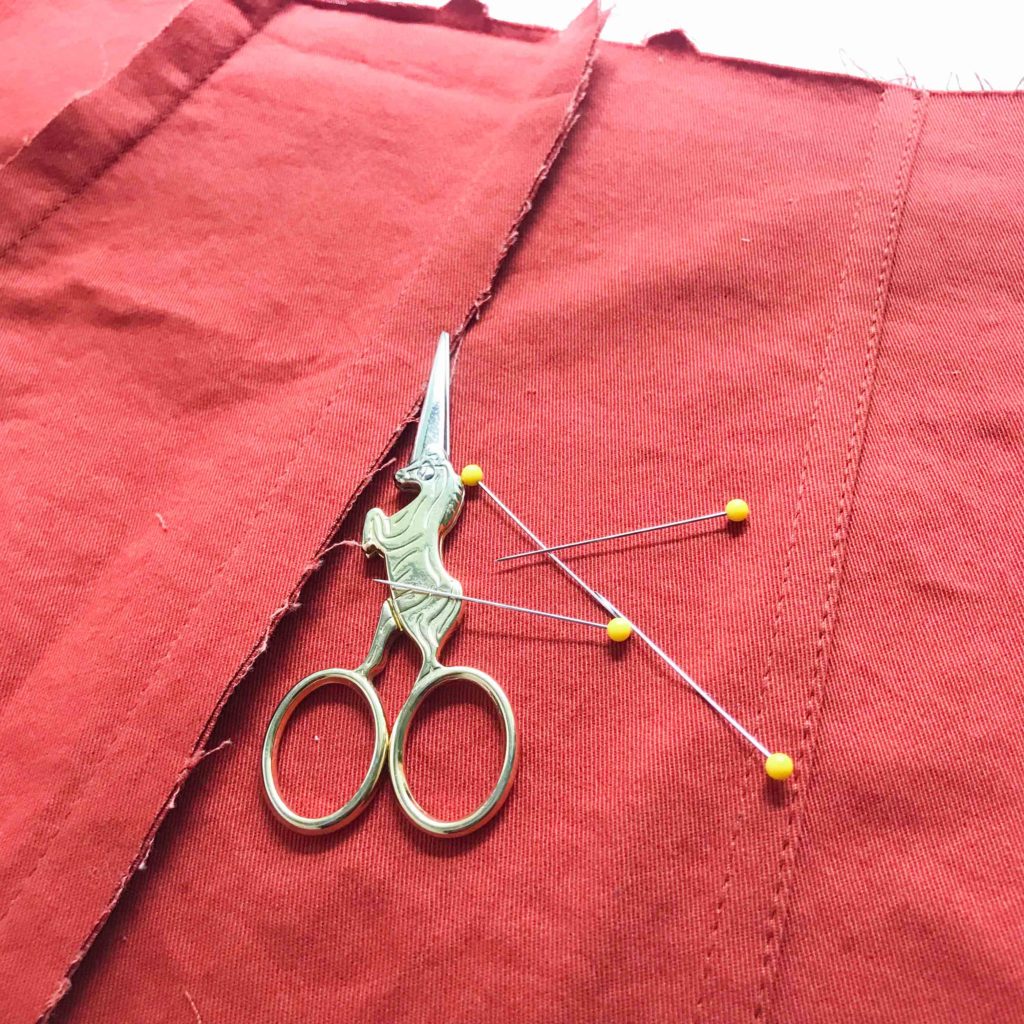
As mentioned earlier, these flat felled seams give the skirt so much design character.  It maybe a little intimidating sewing eight panels to make the Tillery, but it is all worth it.  I never made these kind of seams before, but after watching Melly Sews’ video, the instructions all made sense. TIP:  Baste all panels together to check fit. I ended up grading in a size around the waist.

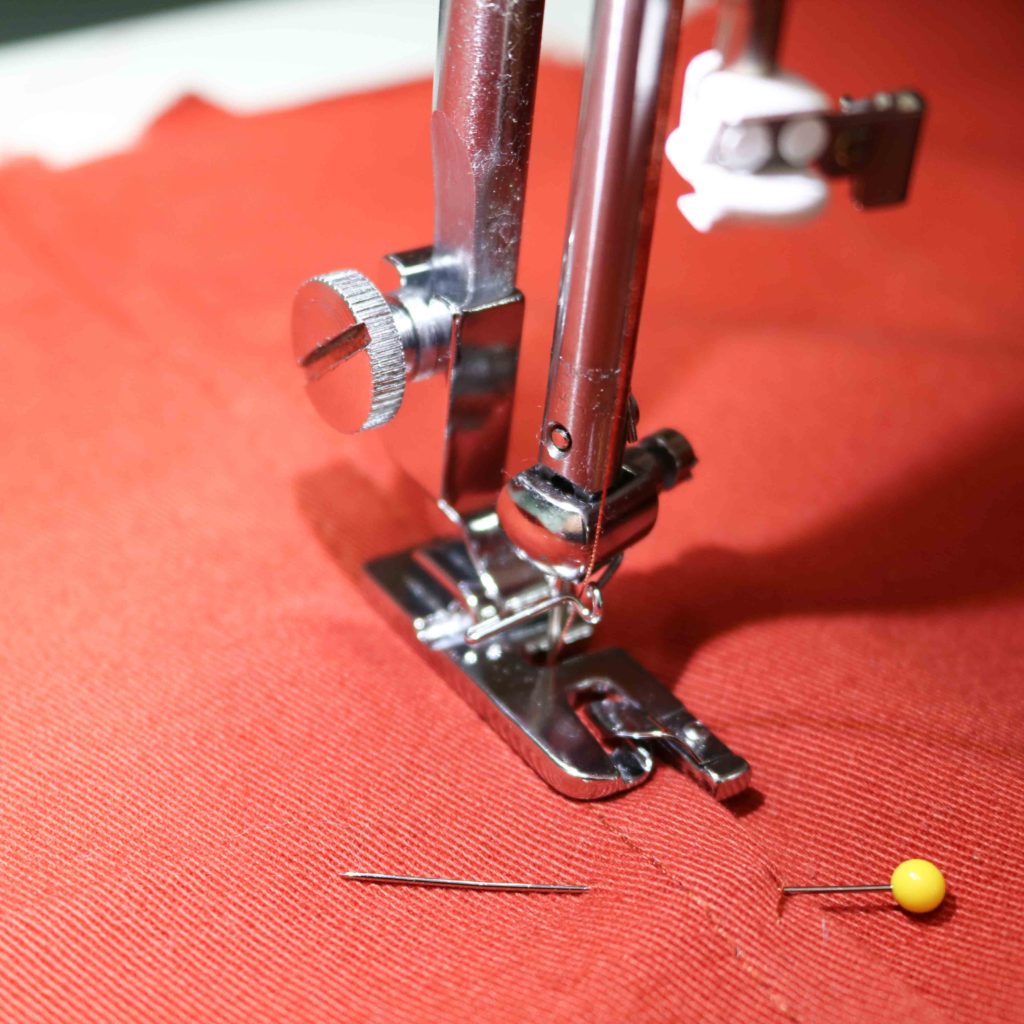
With the seams visible and lots of top-stitching ahead, I used my rolled hem foot to give me an even edge to sew along.  Many machine have an edge or top-stitching foot.  My Juki only came with a few feet and this foot works great to get even spacing.

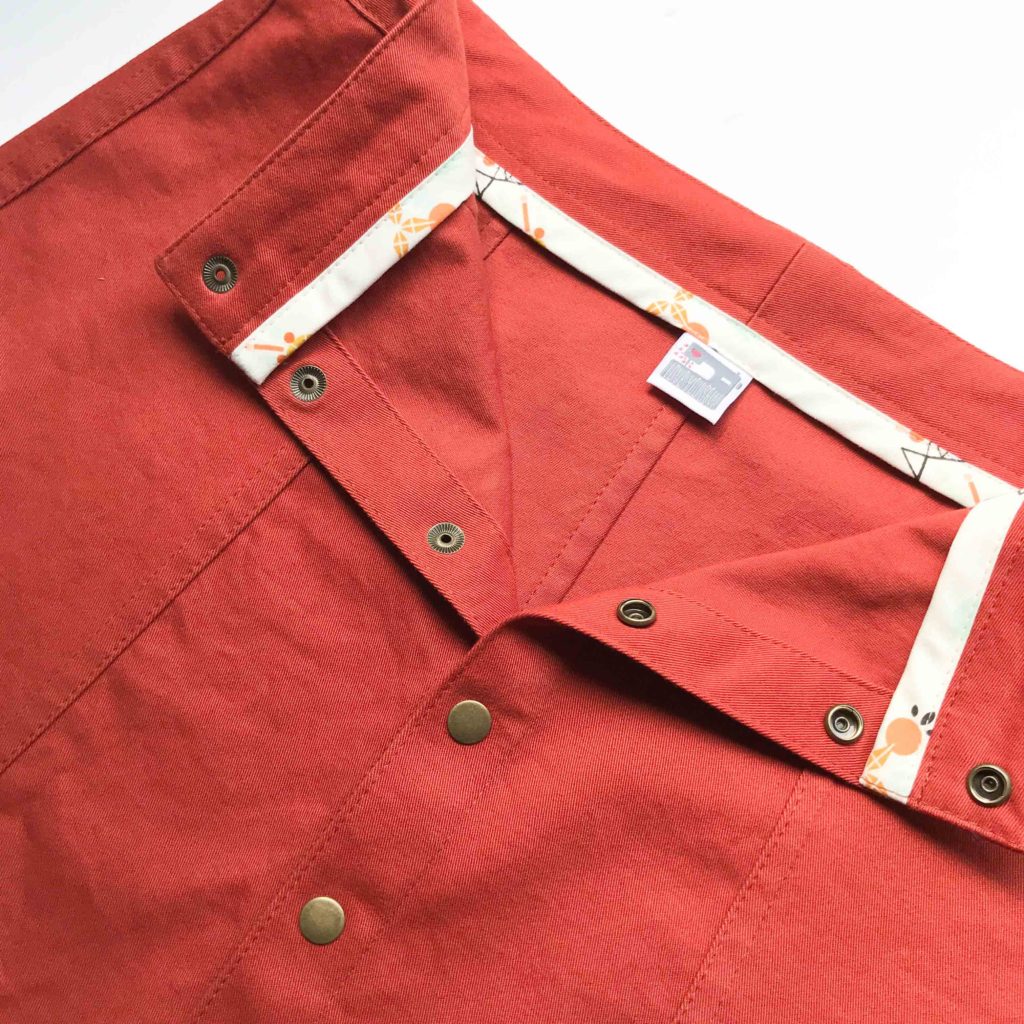
Look at those beautiful skirt guts!  Or maybe lack thereof…  The flat felled seams gives the skirt such a clean inside, so it’s soft and smooth all around.  I used some Wanderer fabric by April Rhodes left in my stash for this extra pop around the waistband.  The little hints of black and mint really bring out the brick color of the fabric.

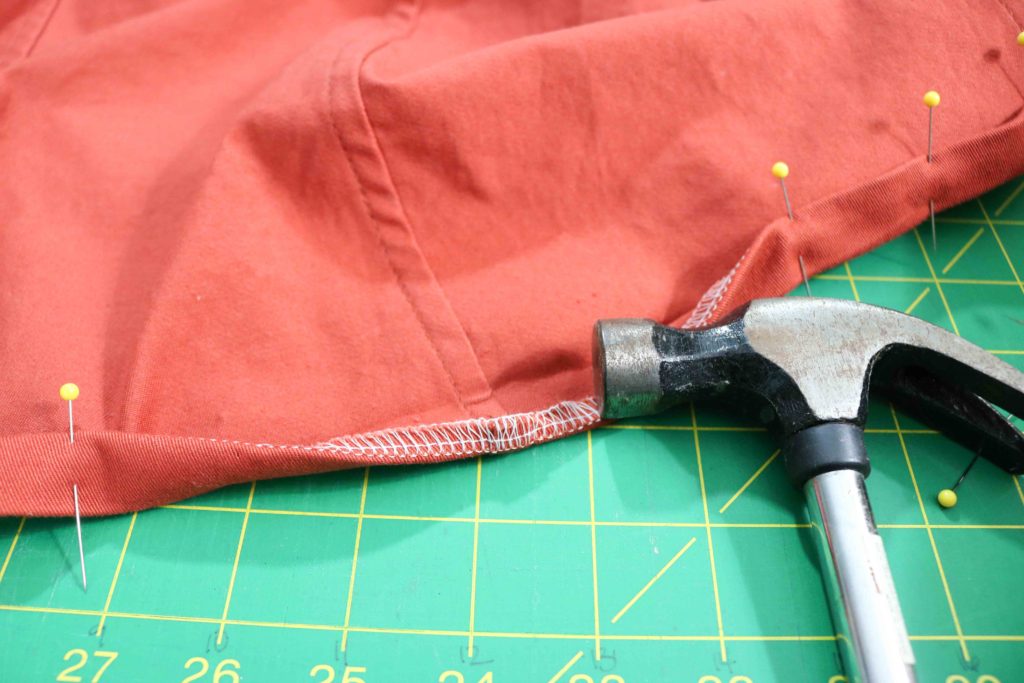
As you can imagine, the hem of the skirt can get pretty thick when doubled over against these flat-felled seams.  My regular foot didn’t even want to go over all of this bulk, so that’s when I broke out my hammer to help flatten them out for stitching.  TIP:  Make sure to test your fabric and hammer to the inside of the hem so you don’t create any “shine” on the front of your skirt.

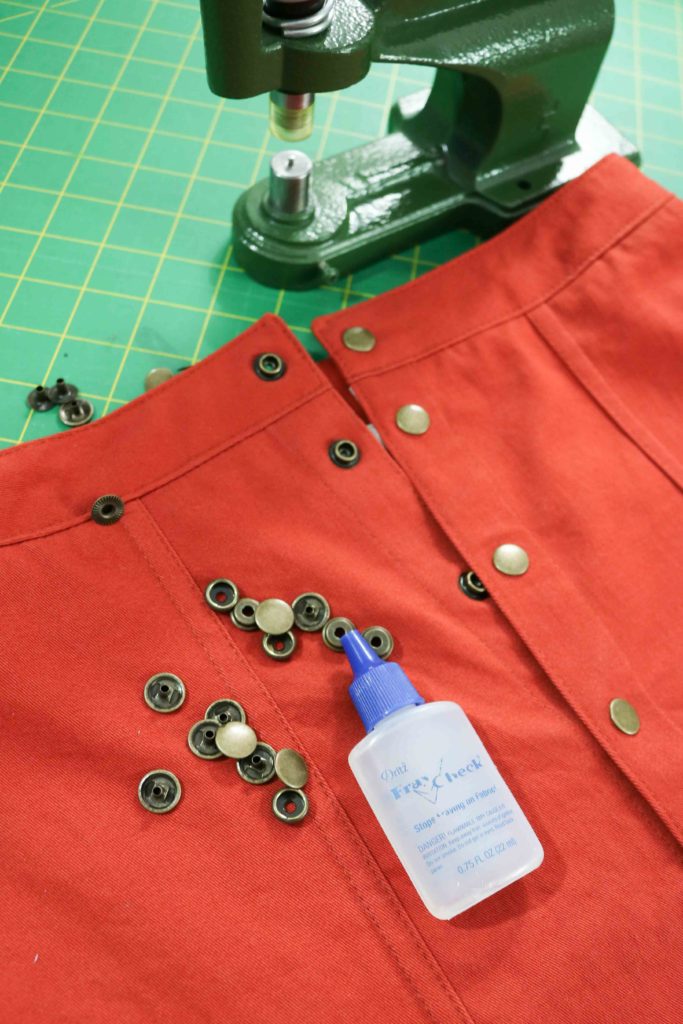
Another beautiful feature of the Tillery are the use of metal snaps.  There are instructions within the pattern with a link to video to help you, if needed.  Fortunately, I already had the snaps and the correct dies for my hardware setter (as the bag-maker you know I am.)  I was able to add these snaps quickly making the skirt look so professional.

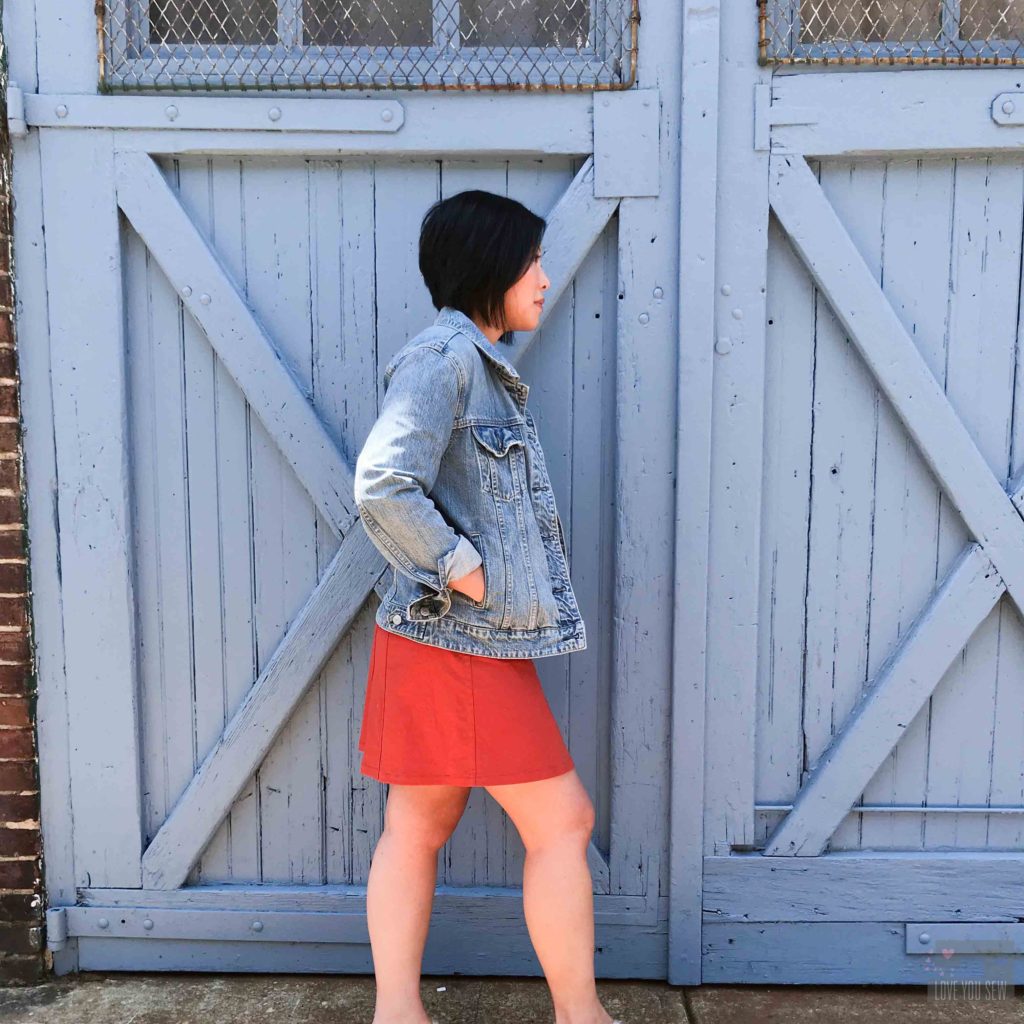
The next time I make this skirt, I think I will grade back in from the hip down.  The waist and hip fit perfectly, but with the A-line cut of this pattern, I feel like I have a little bit too much flare going outwards.  It’s hard to tell in this photo, but the skirt A-lines at every angle (not just the front and back) thanks to some extra booty…

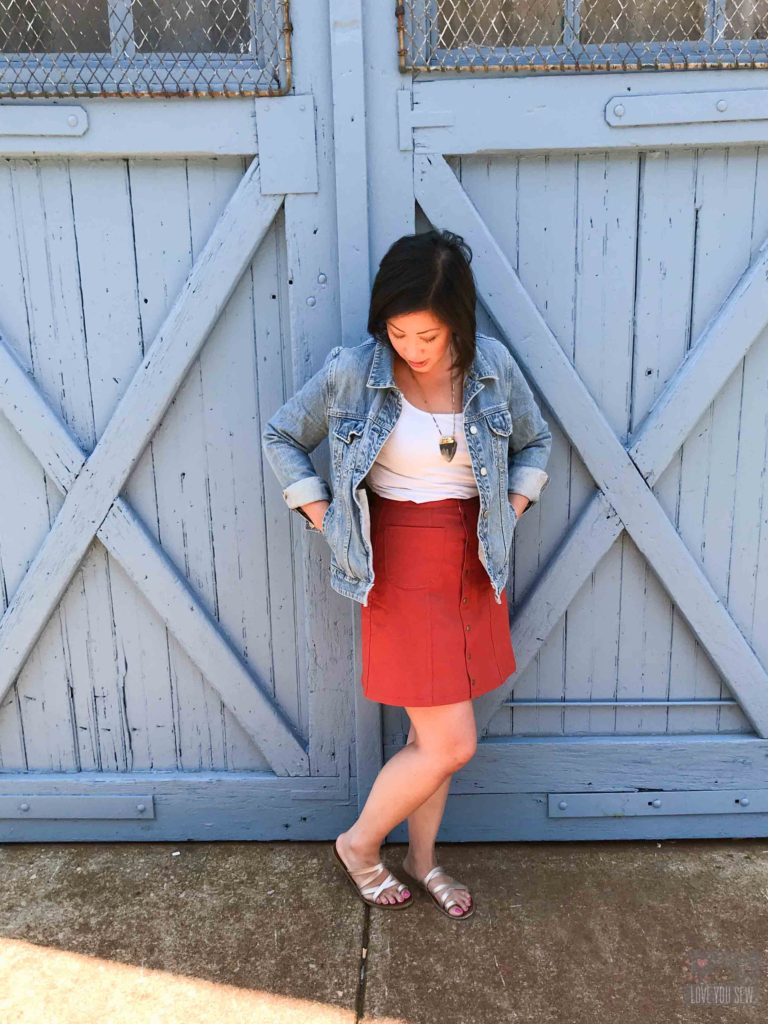
I ended up skipping the belt loops and even contemplated the pockets.  But the pockets really make the skirt and break up the high-waisted silhouette…AKA looking like old school mom/dad jeans!  Who was I really kidding?  Always add pockets.


I’m in love with this skirt and love how it all came together.  The solid fabric really brings out the seams and this brick color is a definite wardrobe staple.  My Tillery will be on repeat all summer long with it’s casual style and it will go with tanks and tees.  This piece will definitely be worn into the fall!

Project Details:

  • Pattern:  Tillery Skirt by Blank Slate Patterns
  • Sizing:  6 in the waist graded out to an 8 in the hip
  • Length: Mini
  • Fabric:  J.Crew Overstock stretch Twill from Imagine Gnats
  • Machine:  Juki TL-2010Q
  • Hardware:  Gold Star Tool Hardware Setter with in-house snaps. Unfortunately, I cannot recommend their snaps.  They bend a little when opening, but not enough to make me remove them all.  Going forward, I’ll only use Tandy Leather Snaps.)


Happy Sewing Friends!

Cristy


This post does include afflilate links for which I would be compensated only if you make a purchase.  All of it goes to keeping this blog as ad-free as possible!

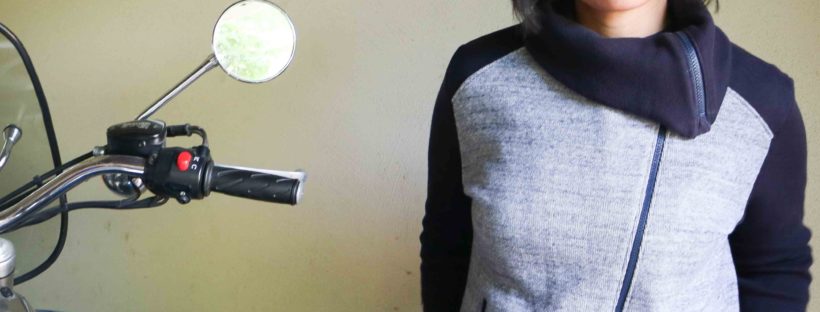
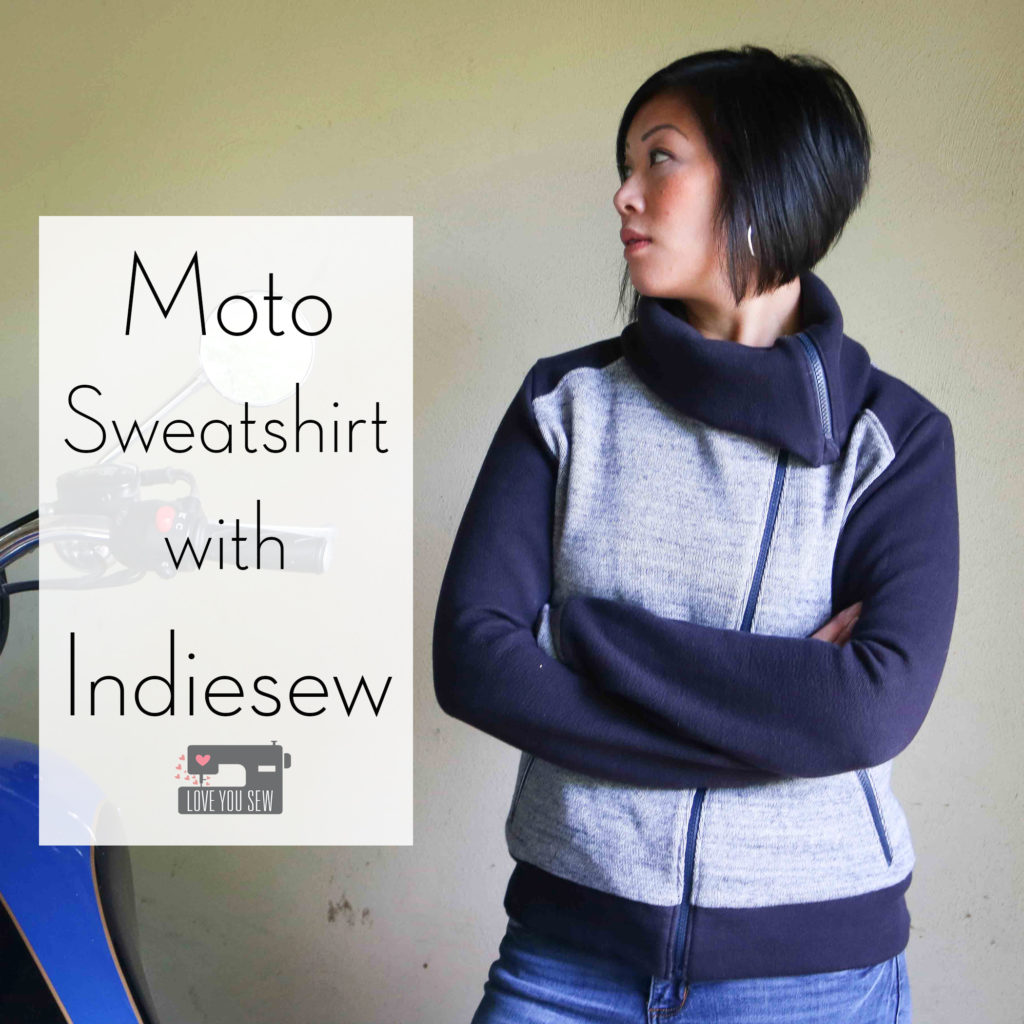
Moto Sweatshirt with Indiesew

What you might not know about me is that I’m an “Old Lady”…a very proud one, in fact.  As you can probably tell, it’s not by age or because I quilt (ha!), but because I love my husband AND his motorcycle.  I really enjoy riding with my guy and even though I haven’t gone very much after having kids, I still love that moto style.  So when I saw this collaboration between Indie Sew and Seamly for the Moto Sweatshirt, I knew I HAD to make this pattern!

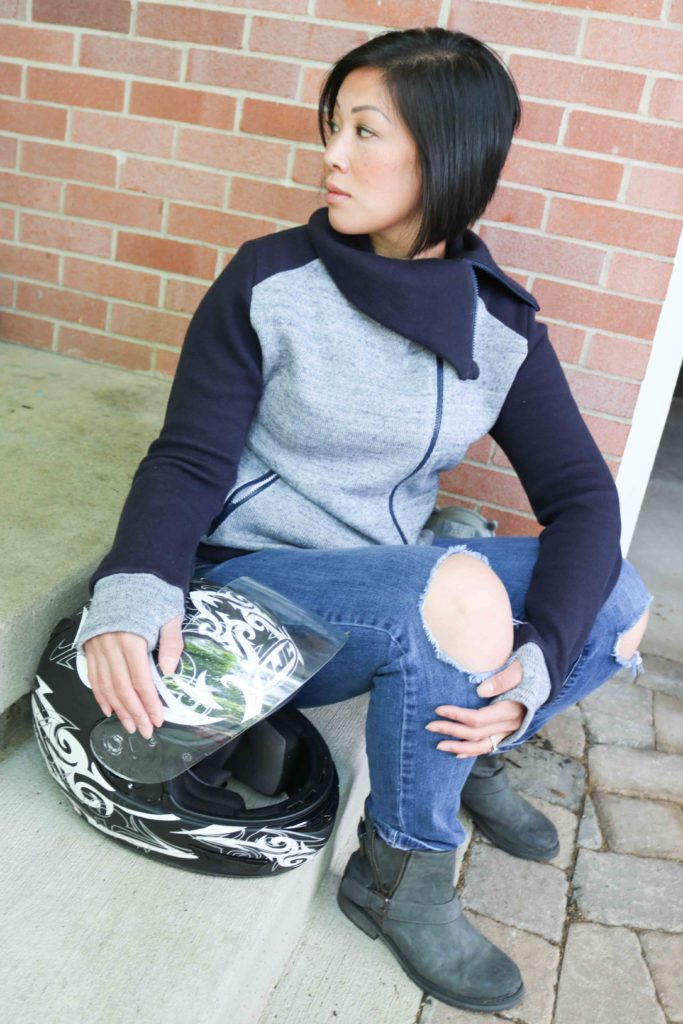
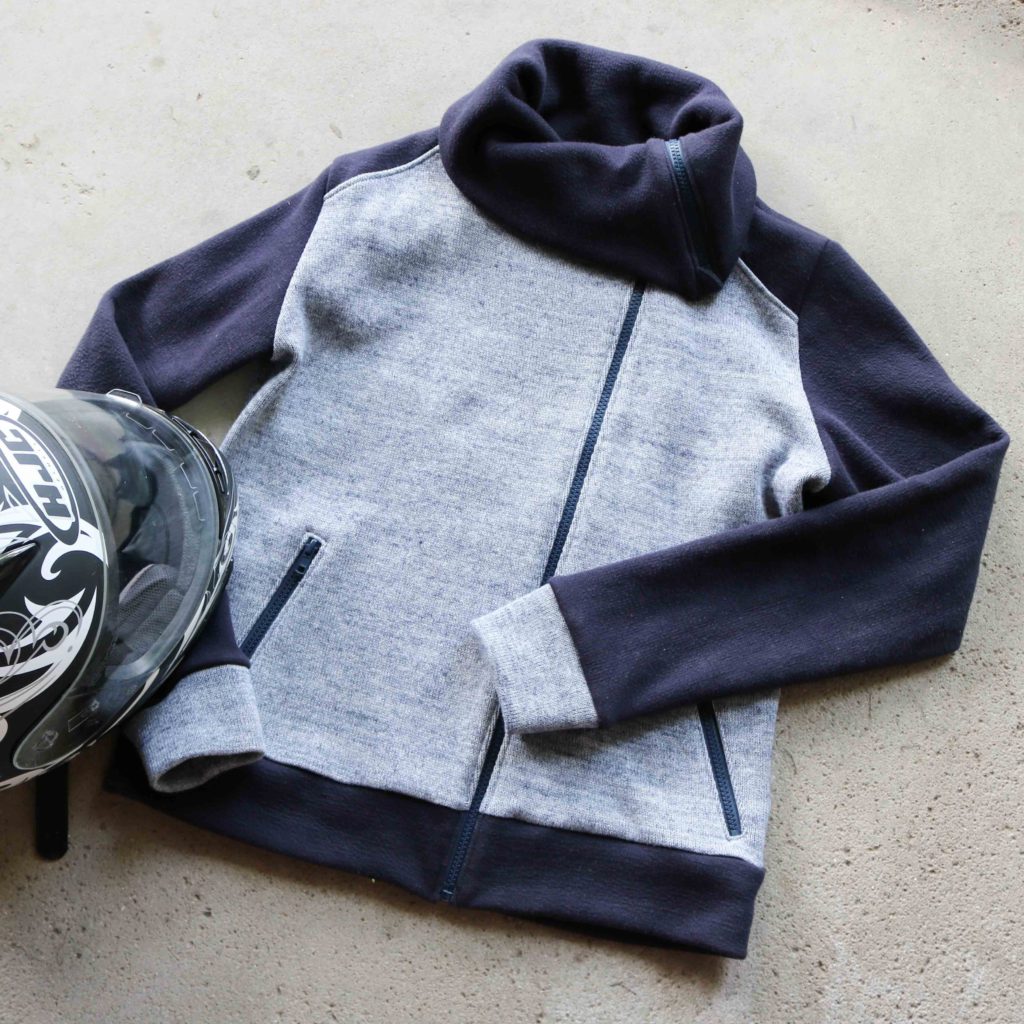
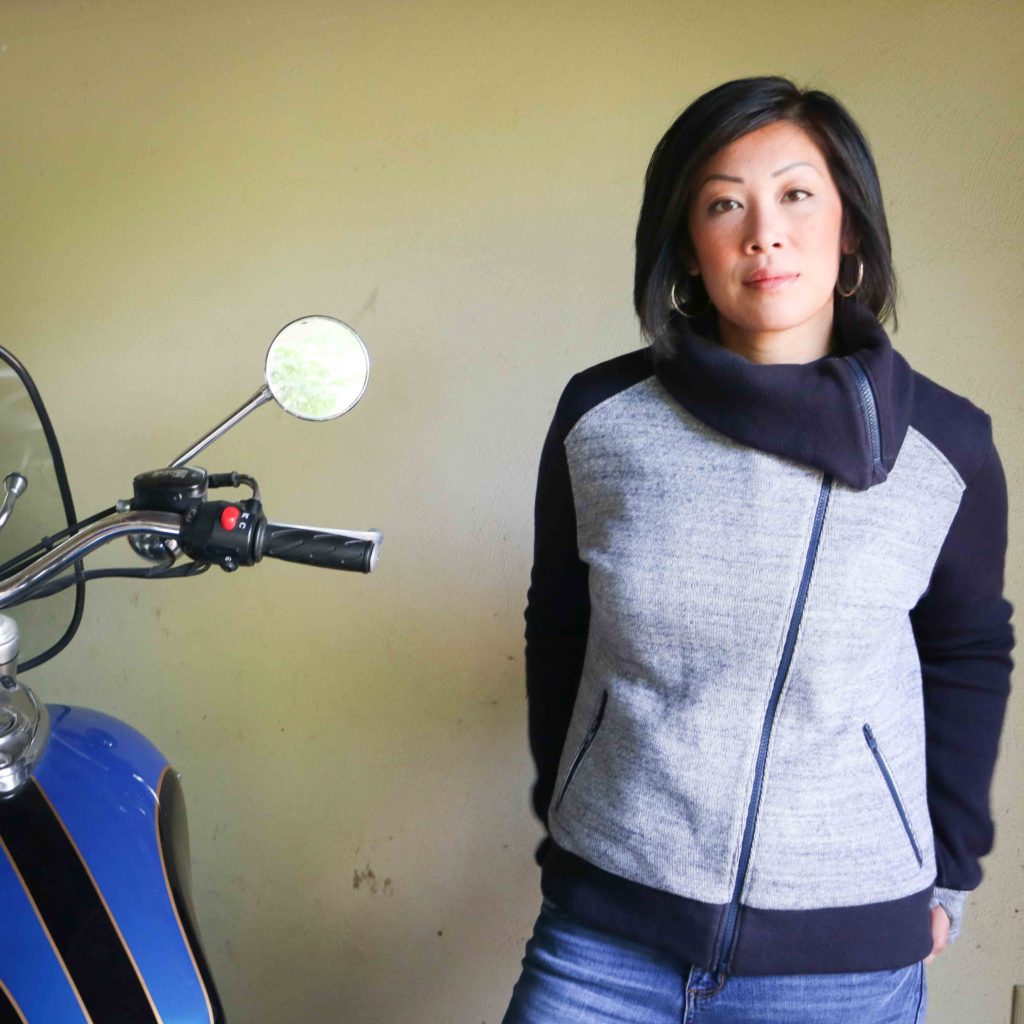
The Moto Sweatshirt is such a great stylish and edgy jacket designed for knit fabrics.  After seeing Allie Olsen’s tester version, I knew I wanted the same double-knit from her shop.  There is so much more versatility with a double-faced fabric (you can use either side of the same fabric) and it is perfect for some color-blocking.  Since this is also a sweater knit, it makes the jacket SO comfy and warm for those cool summer rides.

It’s usually not a good idea to procrastinate with a project, but in my case, it turned out to be the best thing I did..er…didn’t do 🙂  I wasn’t aware there would be a sew-along of the Moto Sweatshirt when I picked this garment to make.  Needless to say, I was so pleased to see it announced and you know I read through every post before starting on my own project.

The first recommendation I took was to make a narrow shoulder adjustment.  I saw how the shoulder seams were low on many of the testers and other versions online.   I’m pretty narrow in the shoulders as a 5’3″ woman and knew this was for me.  However, the next time I make this sweatshirt, I would probably will take in another 1/4″ off the shoulders.  You can read about how to make the simple changes here.

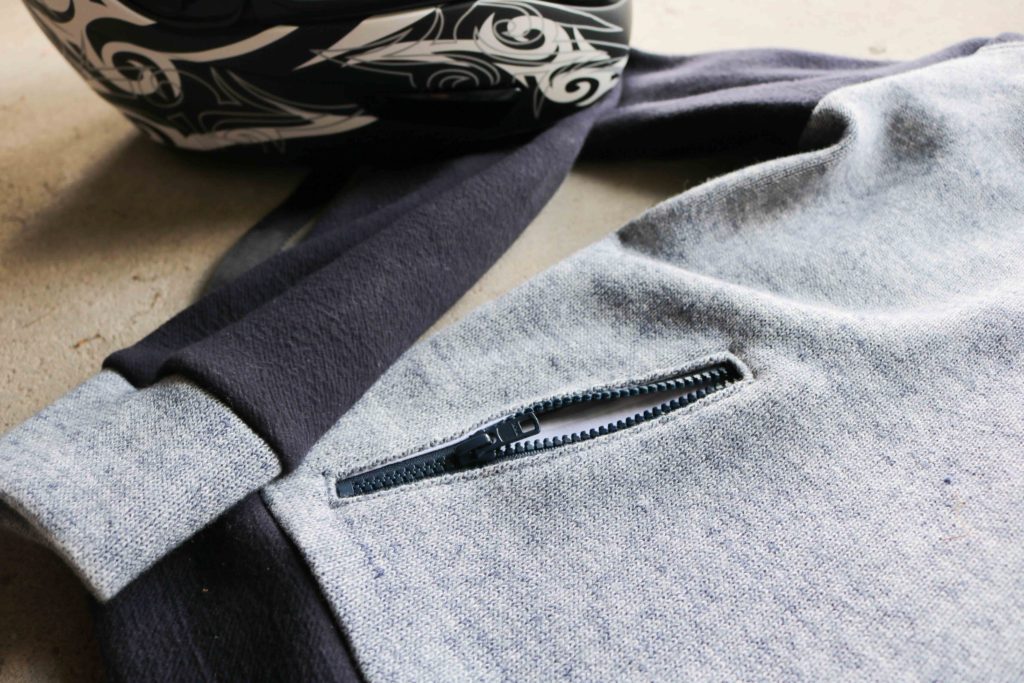
If you have never used a double-faced sweater knit before, it’s thicker than most jersey knits.  That’s why I decided to use a quilt cotton for the pocket linings.  Not only does it provide a thinner fabric to sew through, the woven nature makes it MUCH more stable.  If you have not sewn a zipper welt pocket before, I would highly suggest using the quilt cotton to save the stress and potentially extra time with your seam ripper…

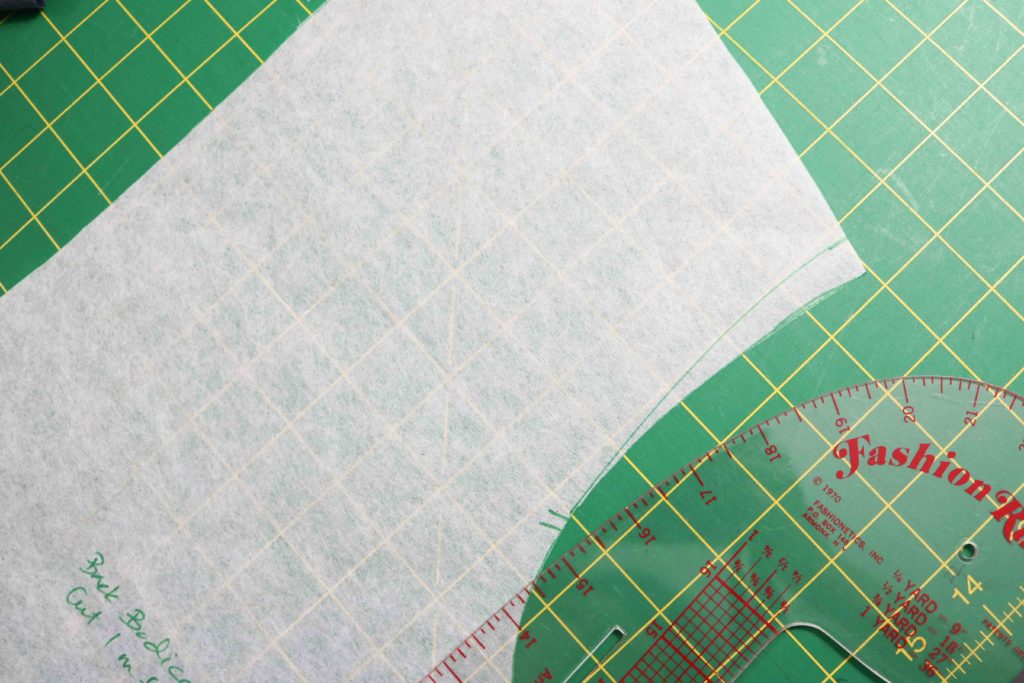
One of the biggest changes I made to the bodice patterns, although still very subtle, is the shoulder accent.  I blocked out each shoulder (front and back) with the dark navy side of the sweater knit.  This is a safety and design feature in many moto jackets in case you may fall off a bike.  I made my own pattern pieces by drawing the shoulder line, cutting out the pieces and then added the seam allowances back in.  I was pretty nervous doing this type of hack, but it worked…after many tests against the original pattern pieces. (It’s always good to check and to re-check!)

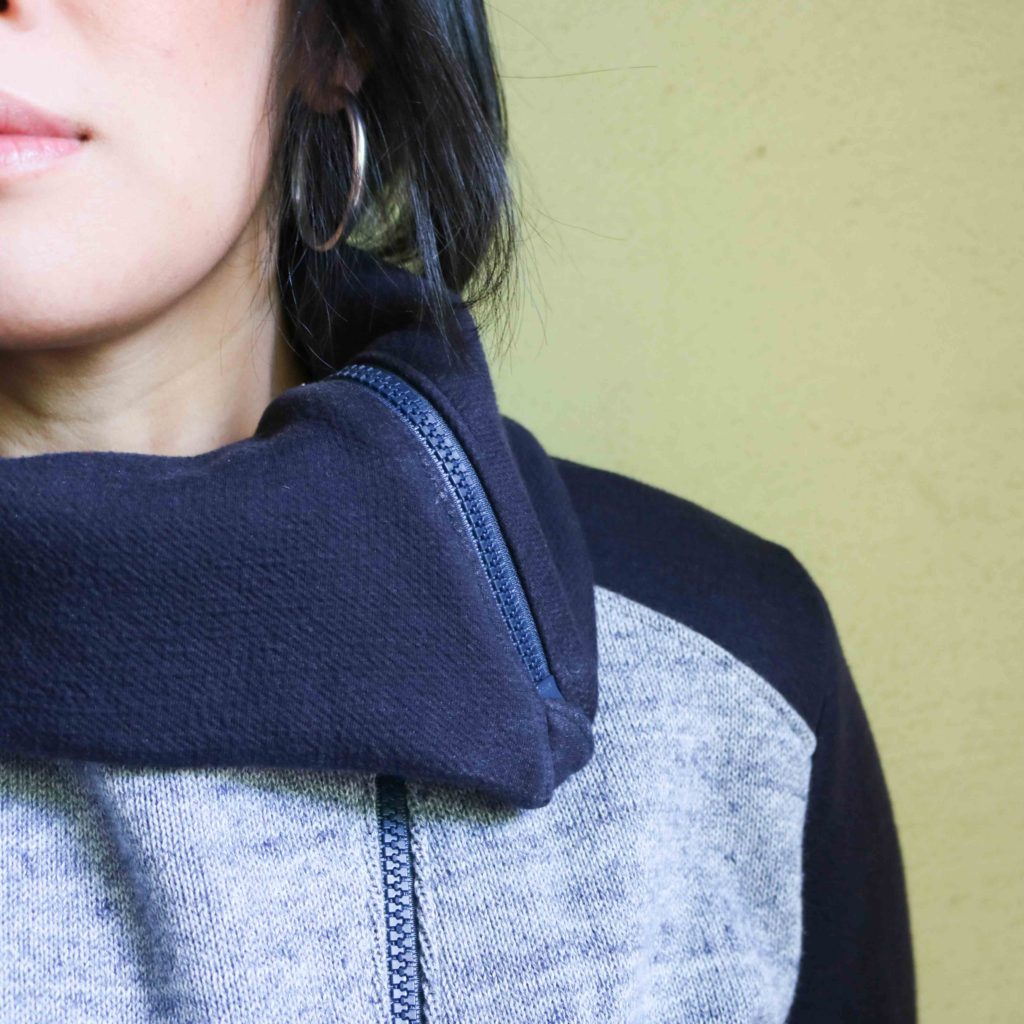
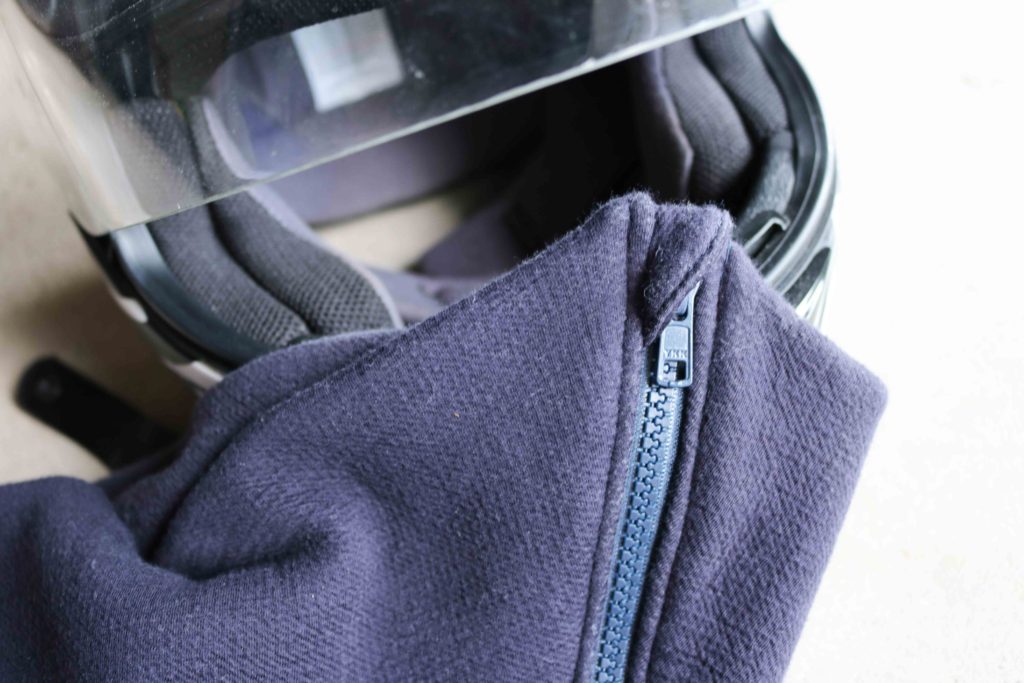
Since I made this sweatshirt for actual motorcycle riding, I wanted to make sure this was safe enough for the road.  The large folded collar is great for sun protection and for warmth, but I was afraid the zipper may have the potential to flip up depending on our speed and weather conditions.  That’s why I made sure to add in a cover for the zipper head.  When pulled all the way closed, the zipper’s pull is completely encased and isn’t dangling down.

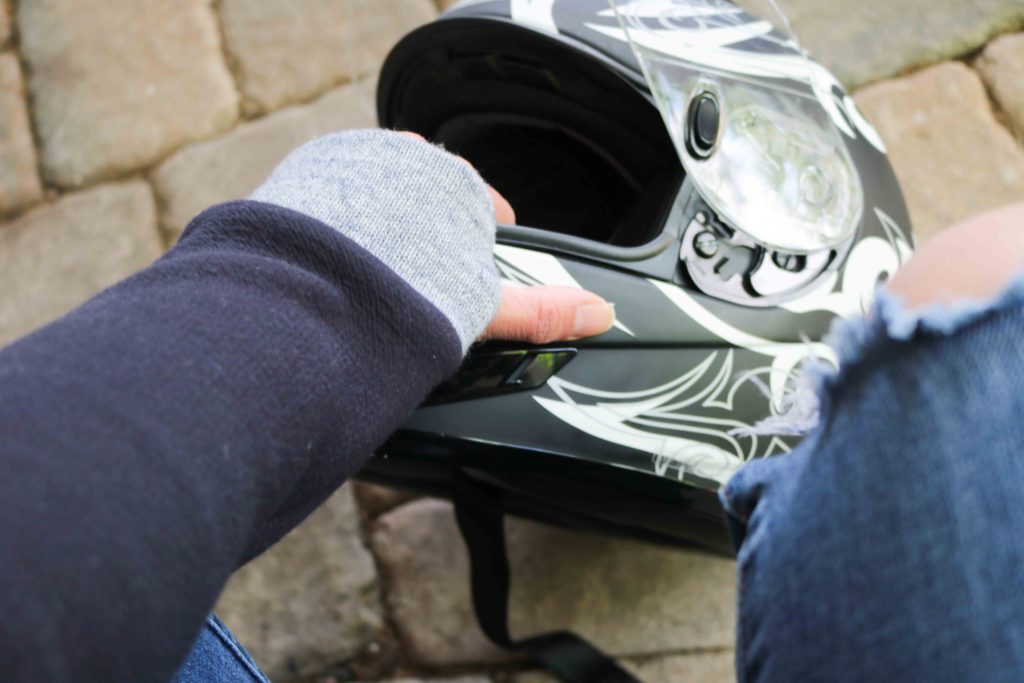
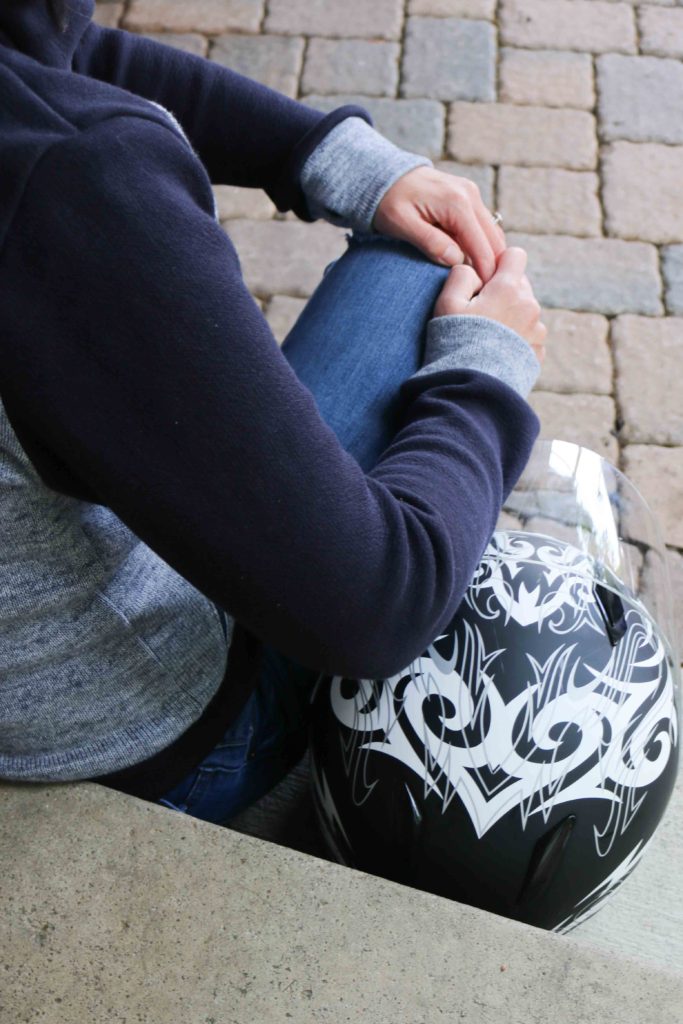
With almost all sweatshirts I make now, I like to add in thumbholes.  They are so great if you are like me and always cold.  But from a functionality standpoint, these are also perfect features to help keep my sleeves down.  Sometimes the air flow can push things back and I certainly won’t let my husband go just to readjust sleeves!

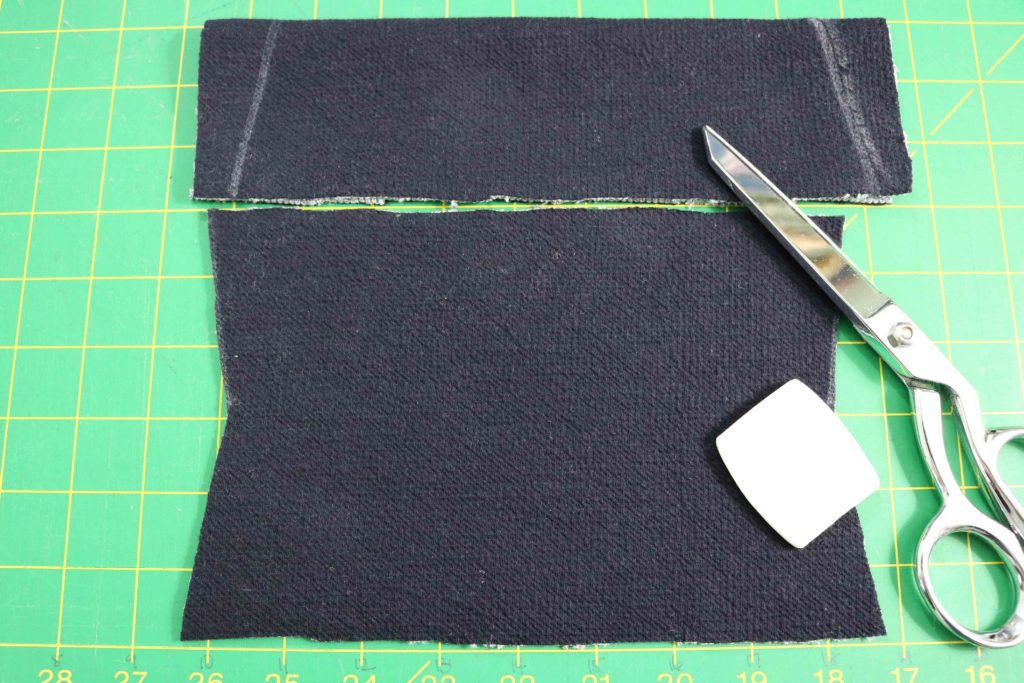
And with that in mind, I made sure to narrow out the entire cuffs themselves.  Again, with air pushing against me as I ride, I wanted to make sure these were more snug on my wrists.  I took 1/2″ off both sides and angled in 1″ where the cuff folds for a cleaner look.

Overall, I’m very pleased with the sizing and fit (after adjustments) with this Moto Sweatshirt.  The instructions and graphics were pretty clear, but it’s always nice to have extra visuals.  The sew-along on the Indiesew Blog was very helpful with showing additional pictures of each step.  I’m very grateful it was available and it made this project go much faster than anticipated. Yay!!!

Project Summary:

  • Pattern:  Moto Sweatshirt – If you want to grab the pattern, click here.
  • Fabric:  Double-Faced Japanese Sweater Knit from Indiesew
  • Zippers:  Molded Plastic Jacket style from Wawak
  • Thread: Gutermann
  • Machines:  Juki MO-2000QVP Serger and Juki TL-2010Q


I hope you enjoyed this review and my hacks to the pattern.  Will you wear your Moto Sweatshirt while walking or while riding???

Happy Sewing, Friends!

Cristy


The Seamly Moto Sweatshirt pattern and Double-faced Sweater Knit were both discounted by Indiesew for this blog post.  But as always, the make is my conception and all thoughts and opinions are my own.

Mending Diaries: Transforming Joggers into Moto Pants

I’m a boy-mom…a two boy-mom, actually.  So when my youngest gets all of his brother’s hand-me-downs, they have already been “well loved.”  Half…okay…most of me is happy to save the money and landfill space to reuse these clothes.  But, the other part of me is sad that he always has to wear clothes with threadbare spots and plenty of grass (among other) stains.  I’ve been trying to think of different ways to mend and patch up his clothes so they look fresh instead of worn.  When I pulled out these pants for my little guy, I knew these would be great patched up as some moto pants.

Before the patching, I assessed the project.  These pants have the jogger style that is still very hip and the neutral fabric is a great ash gray thick fleece.  All of the other parts of the pants are in nice shape.  The elastic waist is still strong and there are no popped stitches.  All in all, these were worth the extra love.  I mended another pair of pants one time only to notice it was threadbare in other spots.  I wish I didn’t waste my time knowing the entire pair of pants were going to fall apart (they were thrifted years ago with several previous owners.)

The damage to this one knee is pretty substantial.  There is the obvious hole, but then the fabric is worn out even further beyond it.  There is even still has a faint ring of deep set dirt.  (My oldest must’ve fell hard in the mud a few years back!)  With such a large area to cover and the fact that these pants are knit, I had to be a bit innovative.  I didn’t want a glaring patch, but knew I needed it to cover this spot…..and that’s when the motocross lightbulb went on.

To get an idea of how the patches would look and create my patttern, I used washi tape to make the shape on the knee.  I made sure to add ample room above and below the hole, while balancing the patch size with the rest of the pants.  I changed my angles a bit, but settled on having the top of the patch angle outwards verses straight knee-caps.  It’s a bit more modern and stylish this way, IMO.

Next I grabbed scraps of Swedish Tracing Paper, a ruler, and a marker to trace my pattern.

As you can see, I traced within the tape and used my fingers to make sure I was within the existing side seams.

After I labeled and cut the pattern out, I cut two pieces of tricot knit interfacing (mirrored) for my patches.

With just a scrap piece of jersey knit, I fused the interfacing following the manufacturer’s instructions.  It’s a bit delicate, so I always use a pressing cloth.

With my ruler, I cut the patch pieces and also stacked them to make sure they matched, trimming as needed.


I laid the patch back in the washi tape marked spot to double check the size.  It’s ok if it’s slightly smaller or larger since the pant leg can be stretched to match.

The patch was pinned in place, but I would definitely use Wonder Tape next time.  (The pins shifted so much while I was sewing and stabbing me in such a confined area of space.)  I matched up the other leg by aligning the cuffs and then eye-balling it.  I know my kid won’t be too critical 😉

As you can see, I had to flip the pants inside out and scrunch the knee area up to the waistband to sew down the patch.  You can see how all the pins can be problematic.  Most of the pins completely moved out of place, so you can see an alternate method to secure the patch is probably better.  I used a straight stitch since that’s the machine I had set up but a nice zig-zag or blanket stitch could work for the applique.

Voila!  It’s like a new pair of pants.  The first time my son wore these, my husband even asked when he got these “new” motocross pants.  You know that great feeling when you can say, “Oh, I just made them!”   I love that you can’t even tell these are patched and just look like a design element.  Most of all, my little guy loves that he got a special pair of sewn pants AND that’s the best feeling of all!

There are a pair of designer yoga pants I may try to patch with this technique.  Would you try this on your next mend job?  Let me know if you try it out and how it works!

Project Details:


Go get than mend on!

Cristy


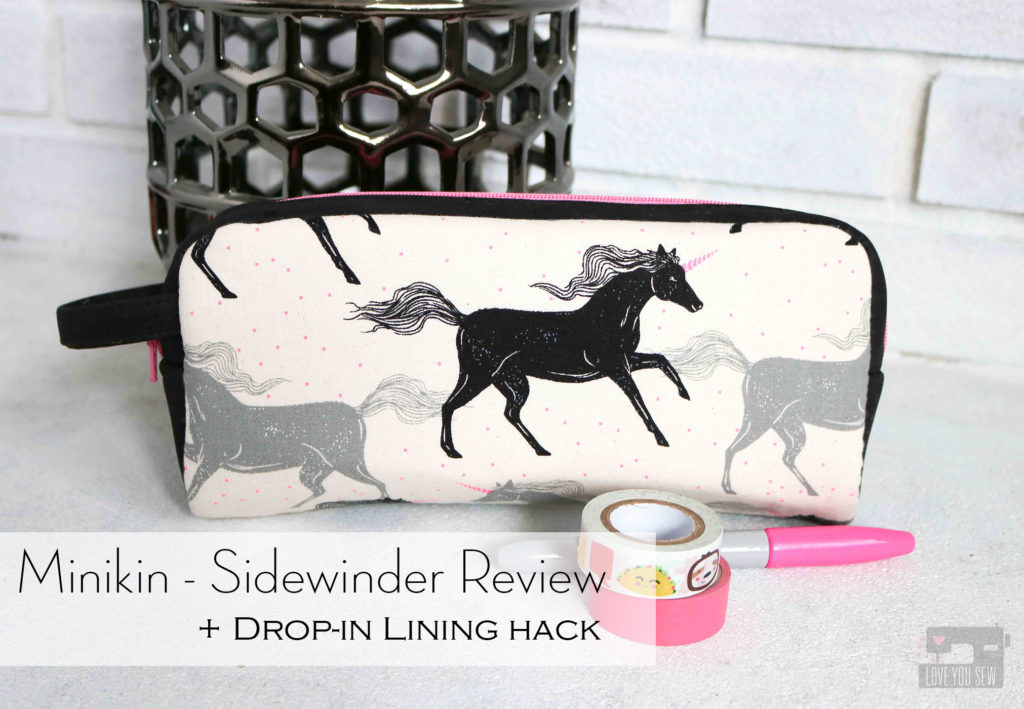
Minikin Sidewinder Review – Plus Drop-In Lining Hack

It is no secret I love Sew Sweetness patterns by Sara Lawson.  I’ve come to really trust her instructions and I love all the innovative ways Sara constructs her bags.  She has written quite a few patterns and has a nice variety of large bags down to small accessories.  You can read about a few of my makes below:

  • Aeroplane Bag – here
  • Crimson and Clover Traincases – here and here
  • Trompe le Monde Bag – here
  • Appaloosa Bag – here

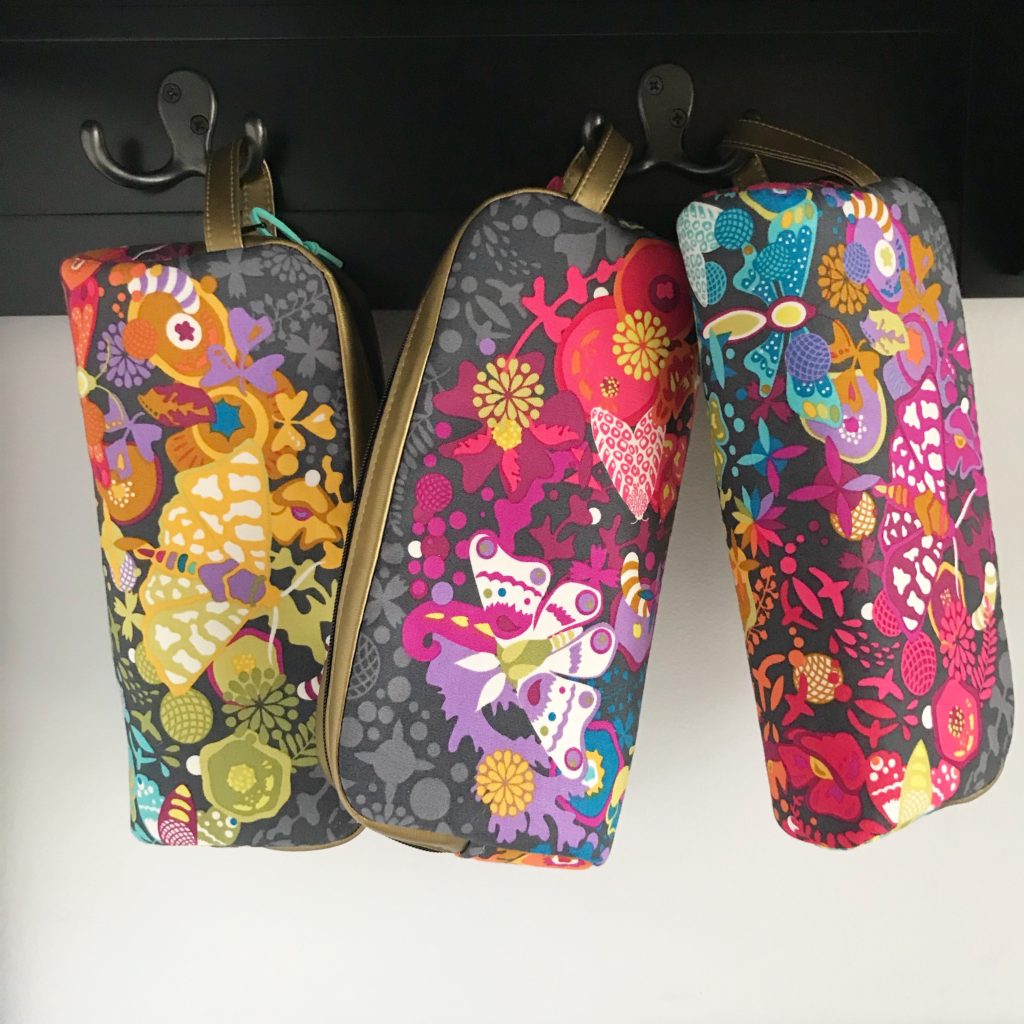
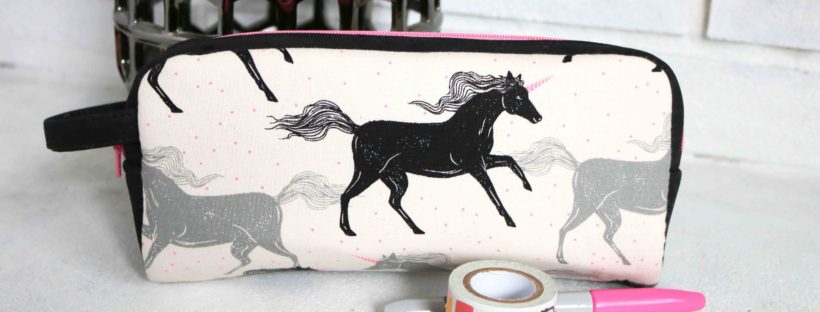
Right before Halloween, Sew Sweetness released a whole collection of 12 small accessory pouches and bags called the Minikins.  These were all designed to be quick sews which use mostly fat quarters.  There are many bags patterns out there which can take several hours and even days to complete.  Sometimes you just need to be able to complete a project in one sitting to feel accomplished and these definitely do just that.

The real bonus is that this pattern collection also comes with 12 step-by-step videos!  How amazing is that?!?  These are great if you are a novice or even like me, who may need help around a few steps.  It’s great to watch them just to pick up some of Sara’s tricks.

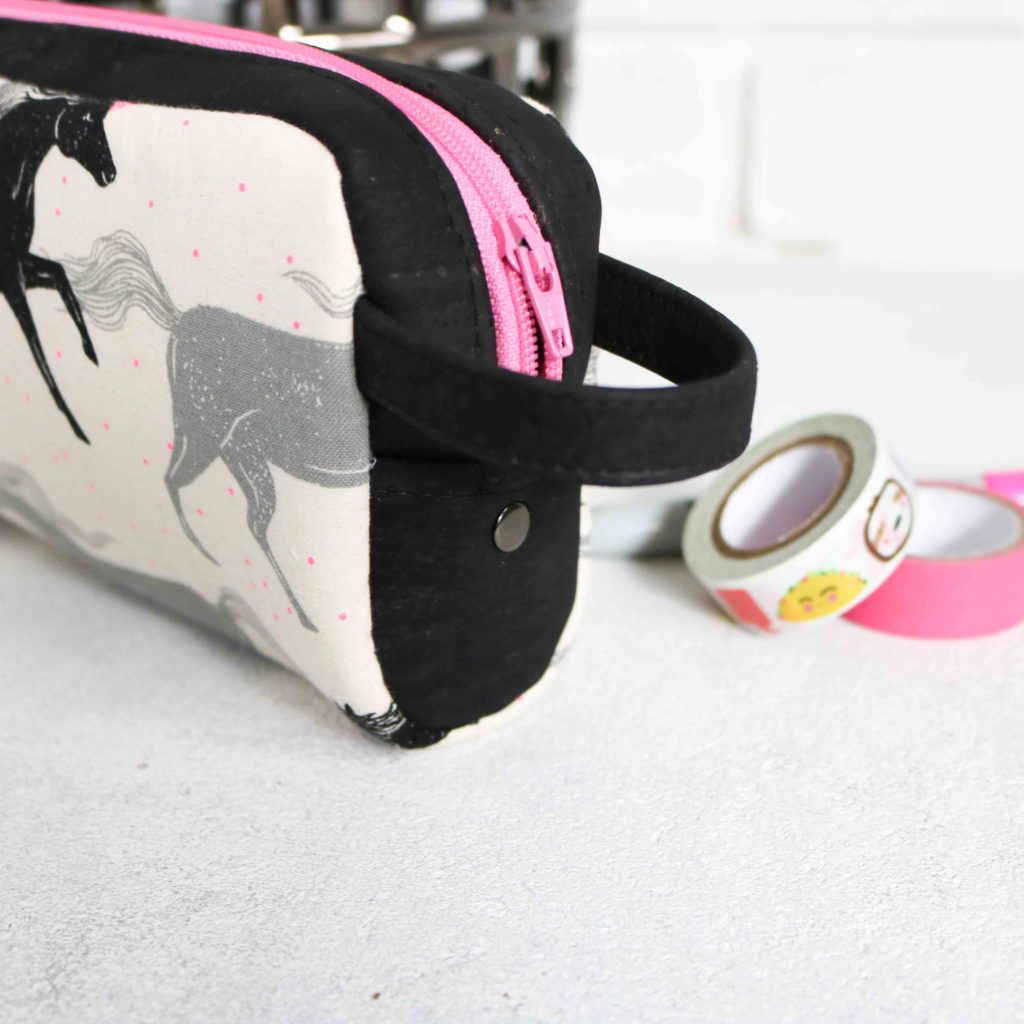
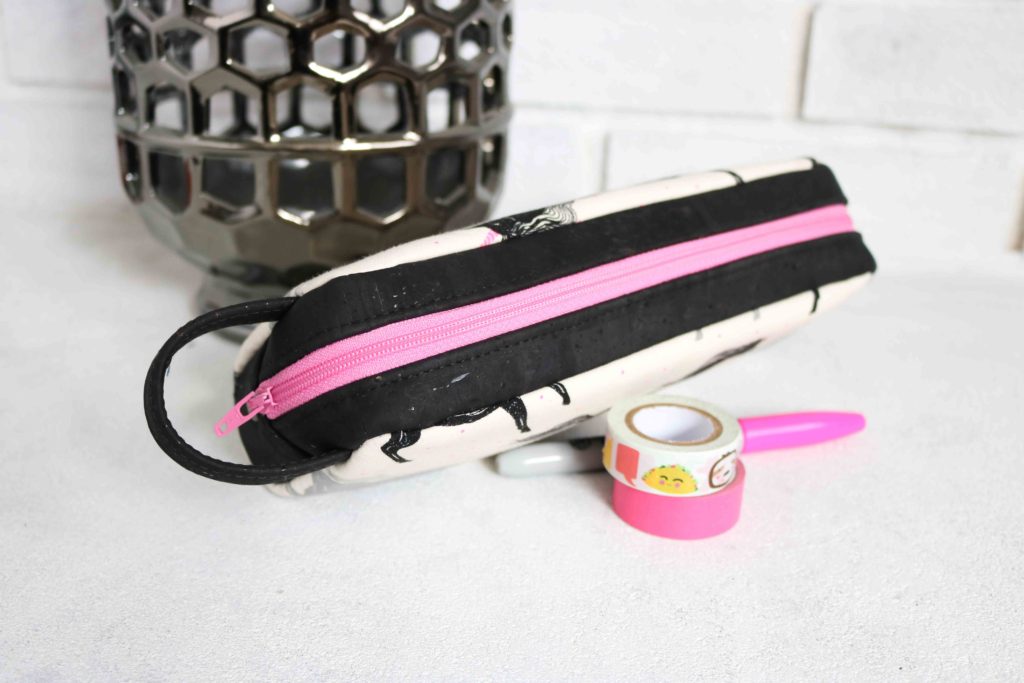
It was so hard to pick which Minikin I would make first.   But since I was heading into heavy craft market mode, I wanted this project to be THE quickest.  So, I selected the Sidewinder because of the curved-no seam-bottom.   This looked perfect for someone short on time and you just need non-directional fabric.  (For these unicorns, I did piece together the exterior because of the direction.)

For all of my Sidewinders, I used the recommended Annie’s Soft and Stable, but also interfaced all the quilt cotton (exterior and interior with Pellon SF101 for added structure.)  The Pellon SF101 on the exterior fabric helps prevent extra stretching and puckering when basting with the Soft and Stable.

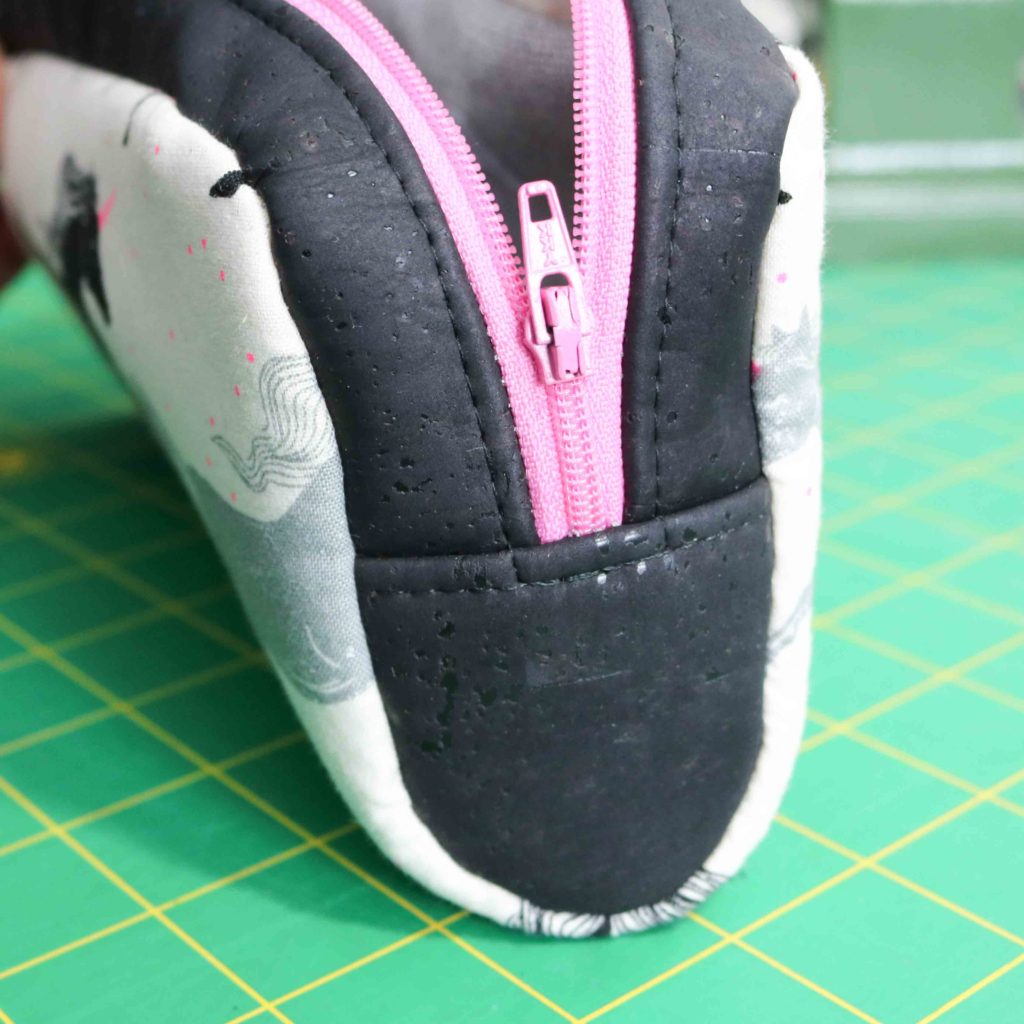
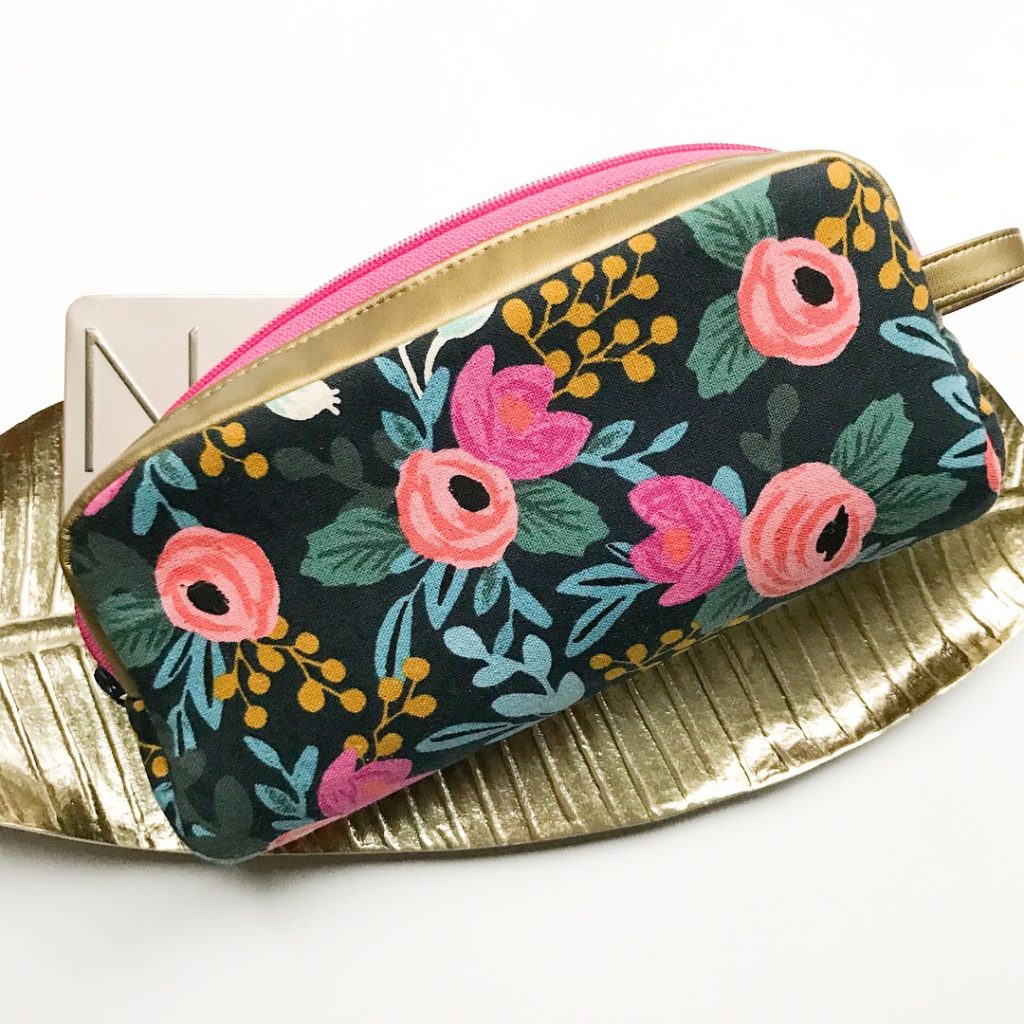
For all of the gussets, I used either cork or faux leather, all found in the Sew Sweetness shop.  It’s nice to find so many substrates all in one place.  (Gotta love that flat-rate shipping too!)  It helps amplify the bag design and really make them look professional with cork or faux leather.  The corners get a little tricky, but you can muscle through it and use Sara’s technique in her video.

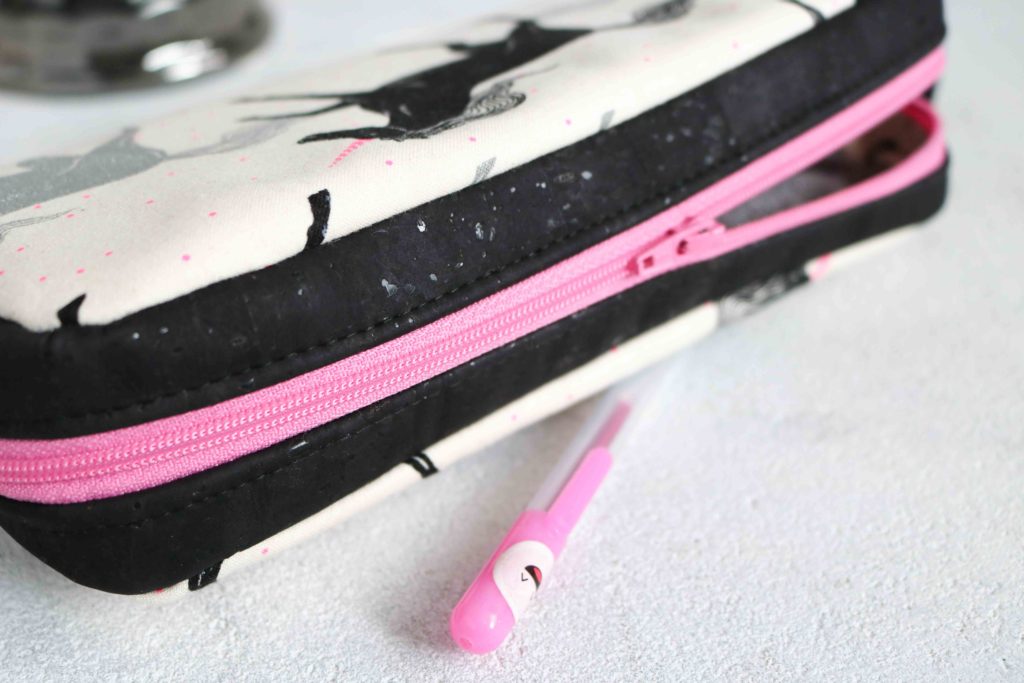
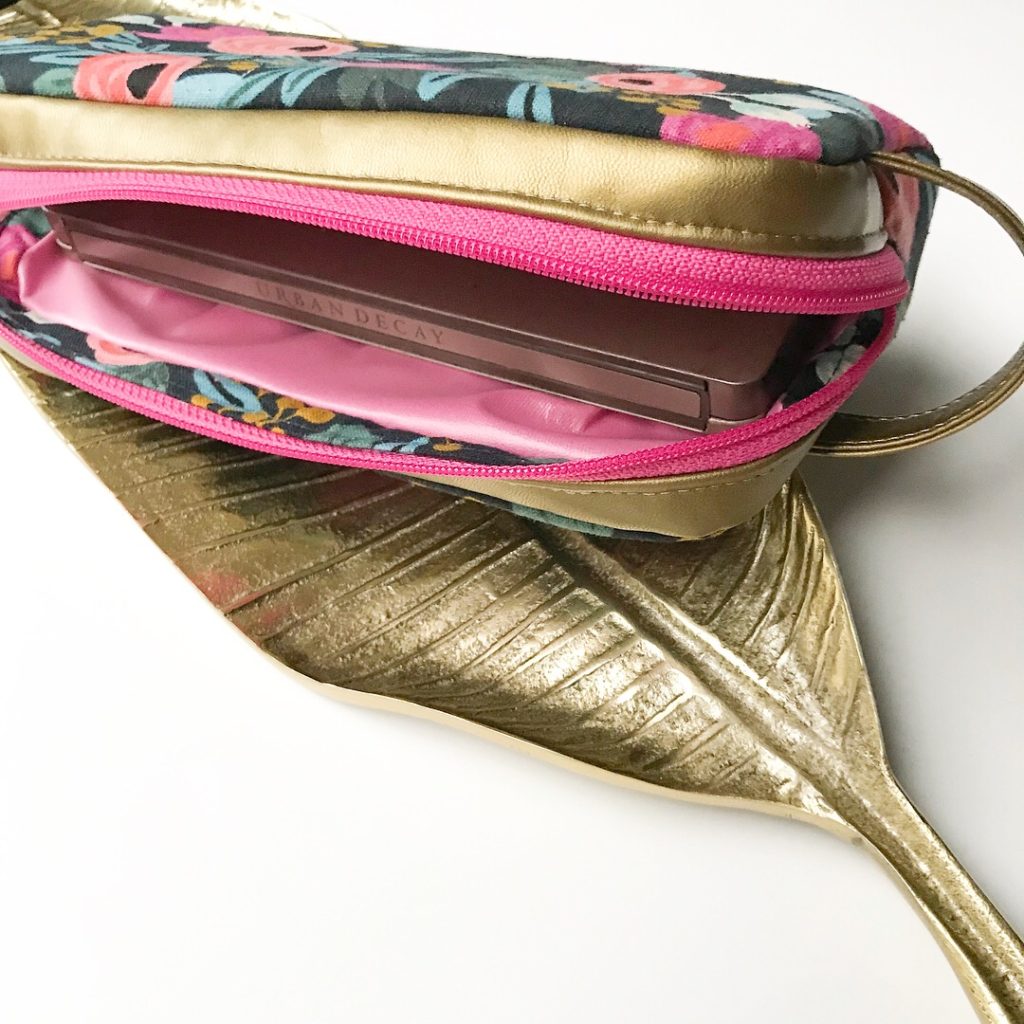
This pattern and some of the other Minikins make use of a drop-in lining.  This is when the lining and bag exterior are constructed separately and then joined together (usually through top-stitching around the zipper.)  Even with all the bags as I have made….I’m terrible at attaching  drop-in linings!  I can’t get my seams to match up so my stitching consistently catches all of the lining…grrr…  I tried pins and even glue basting the linings.  But when I have to maneuver around end of the zippers, something always manages to shift.  I’ve also spent an absurd amount of time trying to hand-sew in the linings…and this girl just doesn’t have time for that!  So, that’s why I devised my own lining hack.

{Edited to reference the step #’s per Sidewinder instructions.}

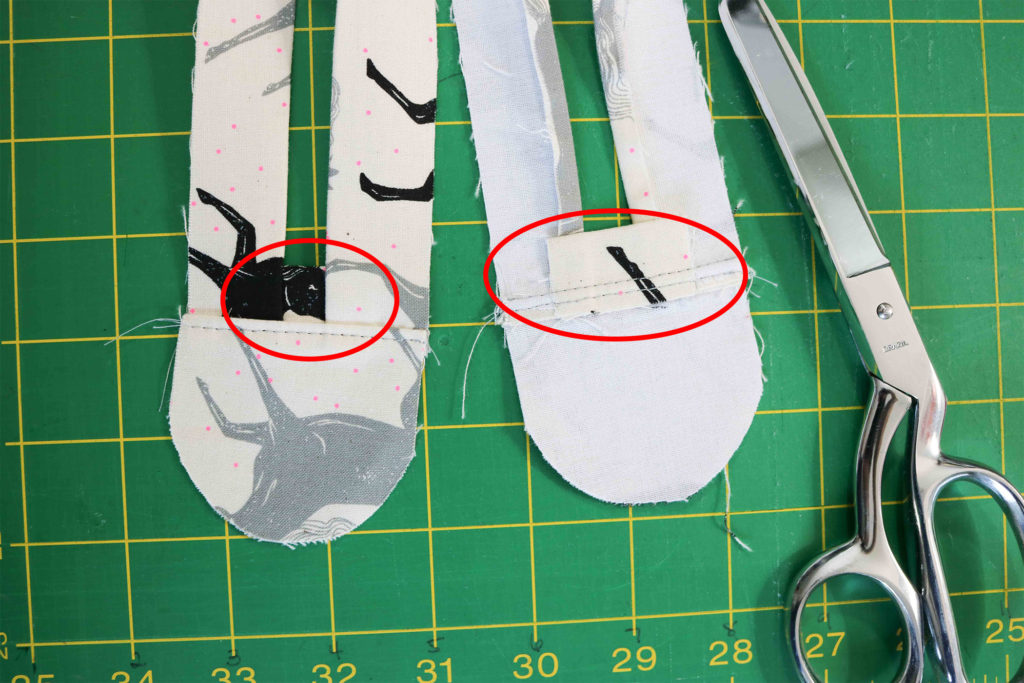
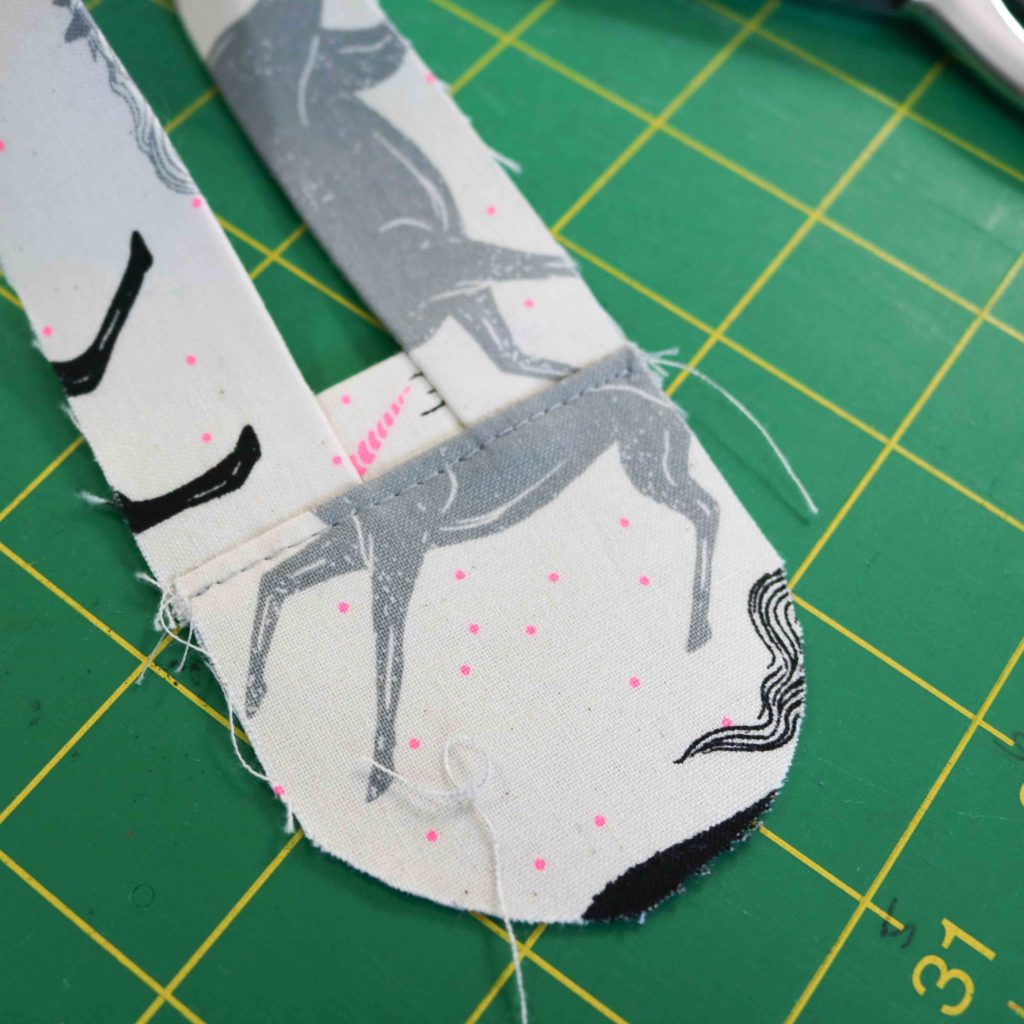
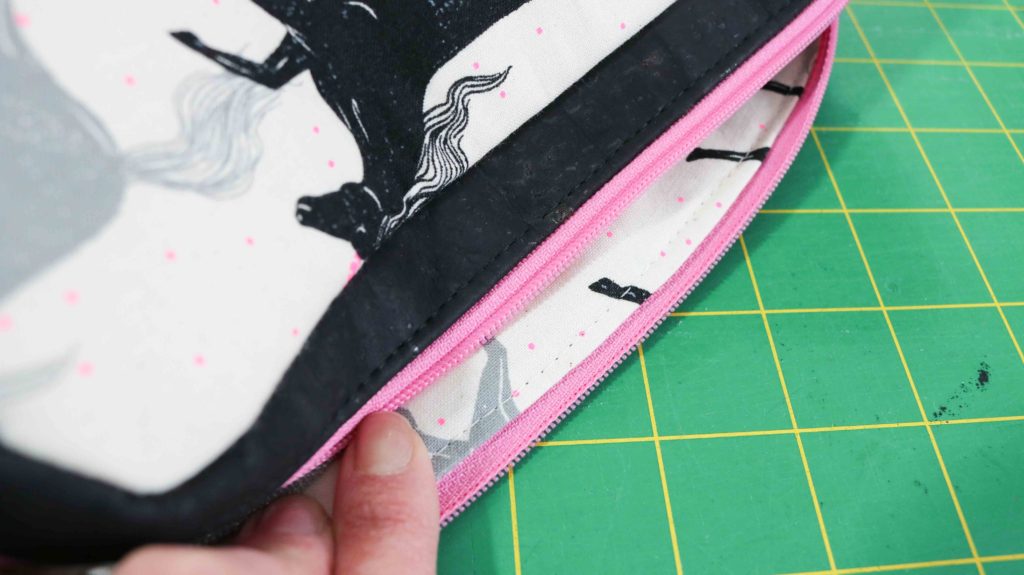
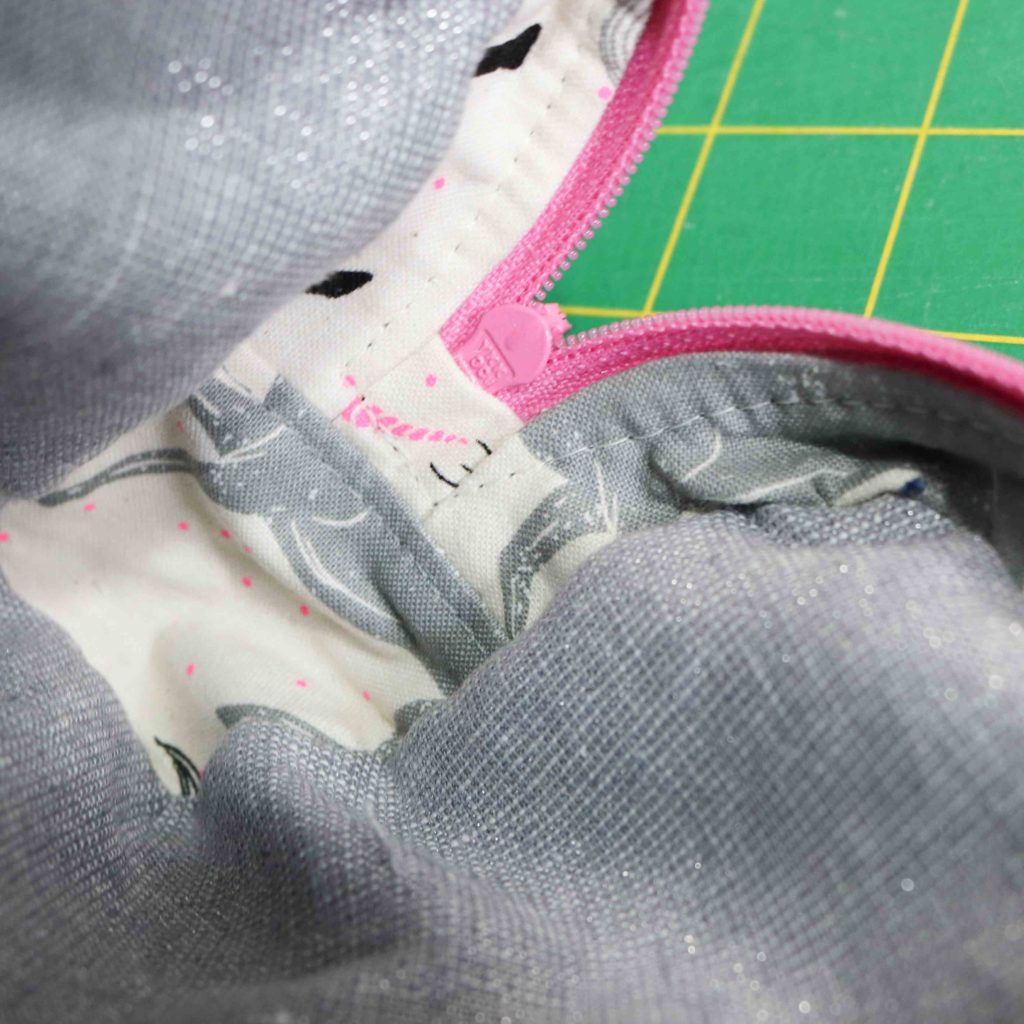
In step #5, skip the top-stitching.  Complete step #7 per instructions, stopping before you top-stitch the Lining Side Panel down.  With left over scraps, I cut approximately (2) 3″x1.5″ rectangles and folded each in half lengthwise.  Each rectangle was centered and placed behind the zipper openings as shown in the red oval. Continue with the instructions to top-stitch the Lining Side Panel, along with these extra rectangles.

This method provides me with about 1/2″ of extra lining for my stitching to catch on either side of the zipper.  The rest of the lining and exterior are completed as instructed.

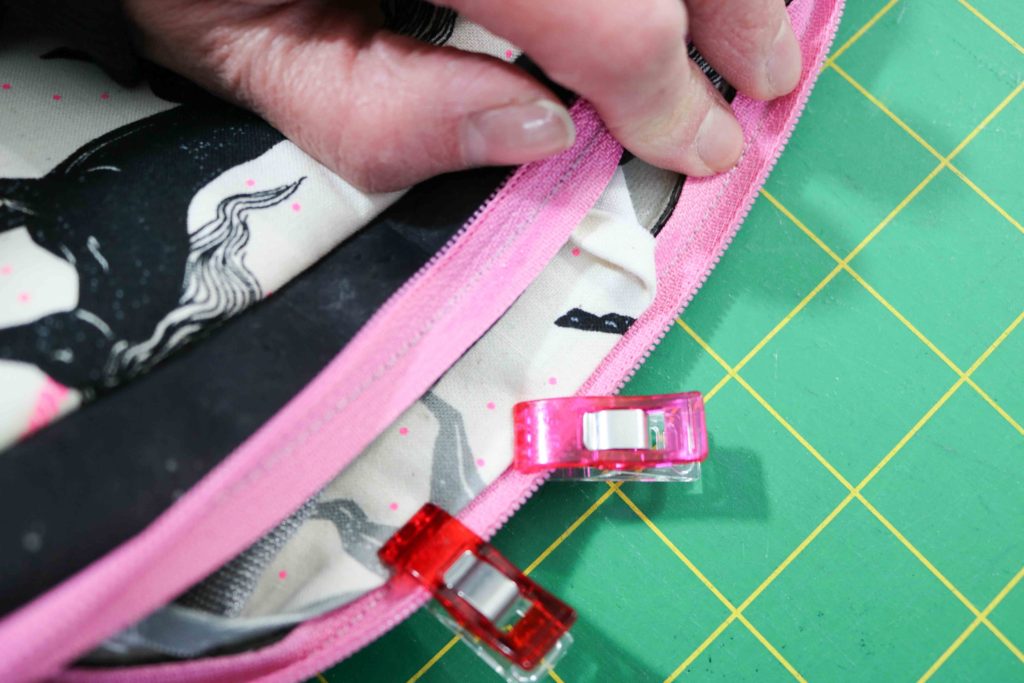
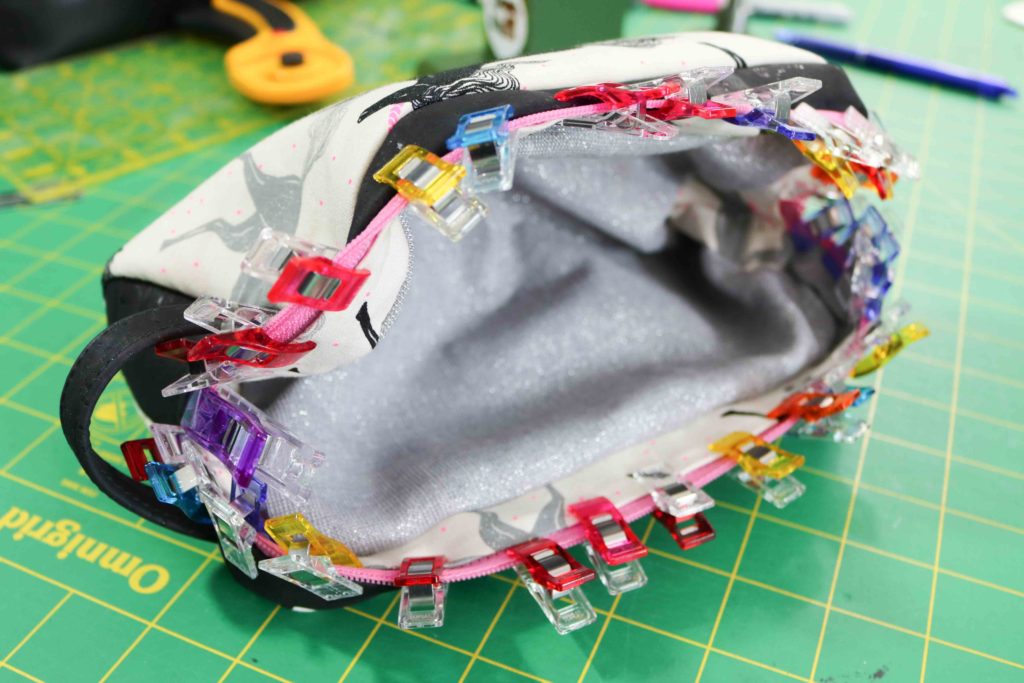
As personal preference, I glue baste the lining to just barely covering my zipper stitches and use clips to hold them into place until the glue dries.

 There is no such thing as too many clips, right?!?

With a larger needle (16,) I top-stitch around the zipper with the exterior panels facing out.  You can see how it catches the lining below.  Using a thread to match the lining helps to hide any wonkiness 😉

I use this method to have one line of stitching versus the method in the pattern.  Personally, I like the cleaner look, but there is no structural difference.  I’ve seen others create two parallel lines of stitching for a nice detail as well.

 You can see at the zipper ends, my sewing isn’t perfect, but I am able to always secure the entire lining no matter how much wrestling I have to do with a bag. The extra lining fabric give me a nice cushion!

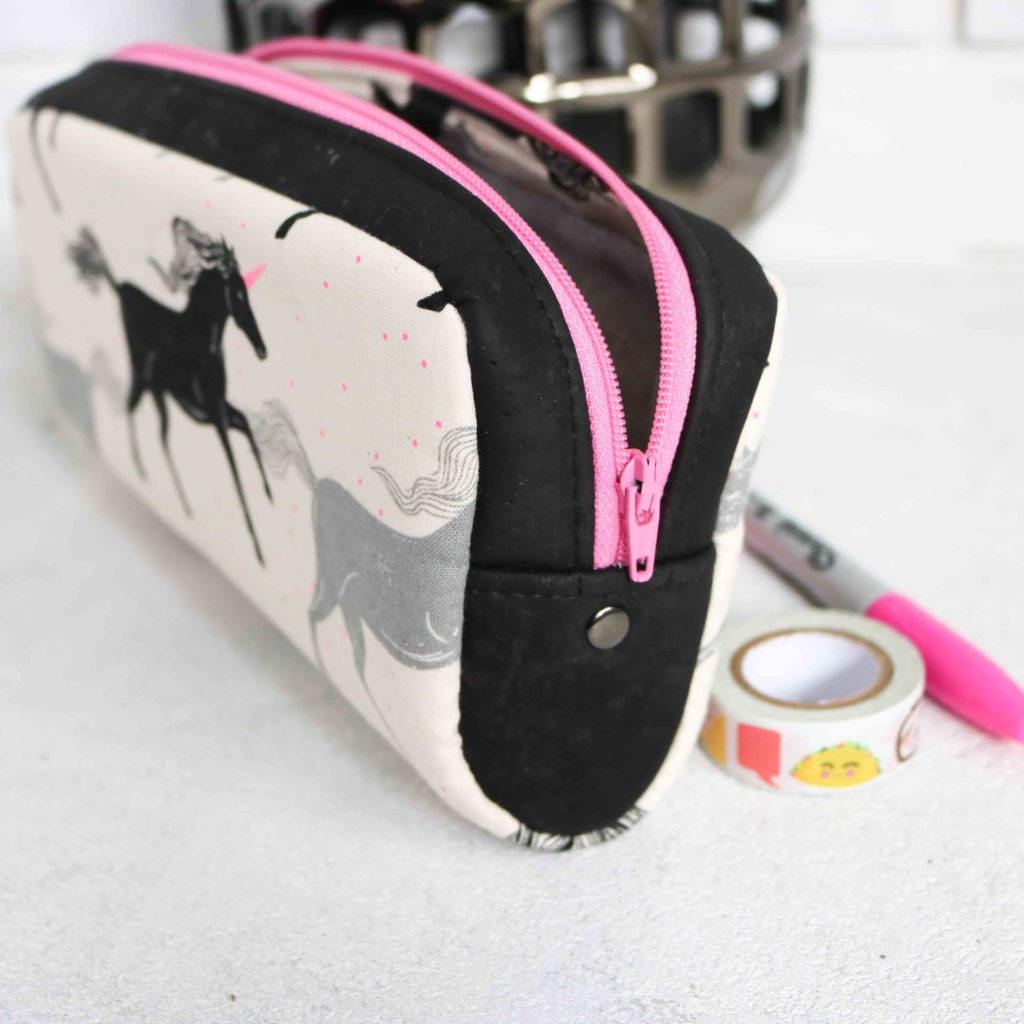
I finished the Sidewinder with just a rivet to add a little extra polish to the pouch.  A little hardware goes a long way to make your project look professional.

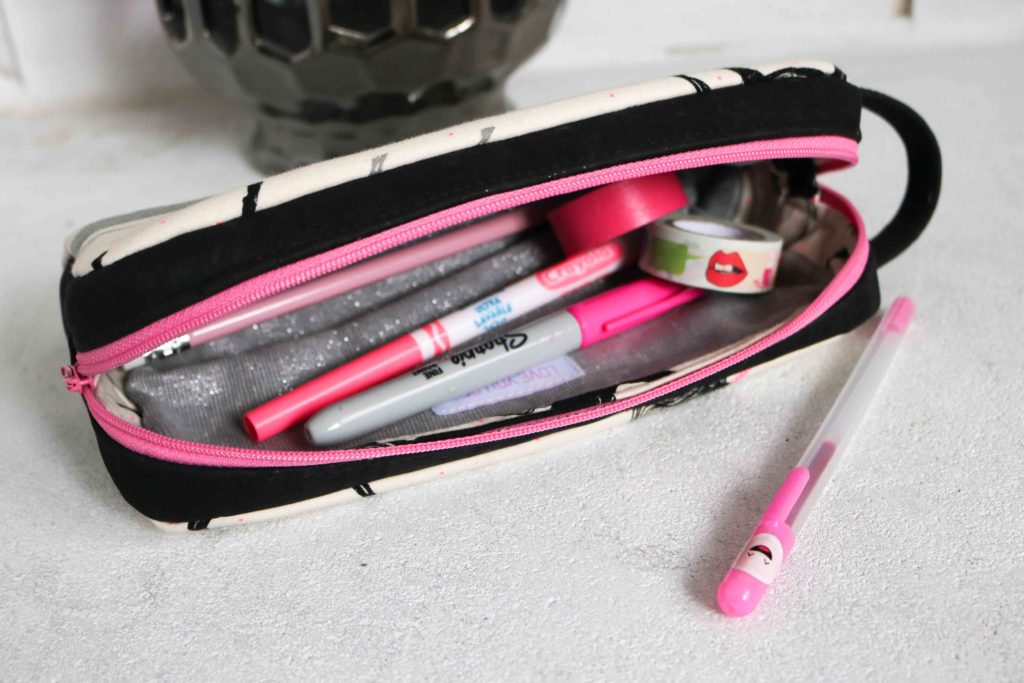
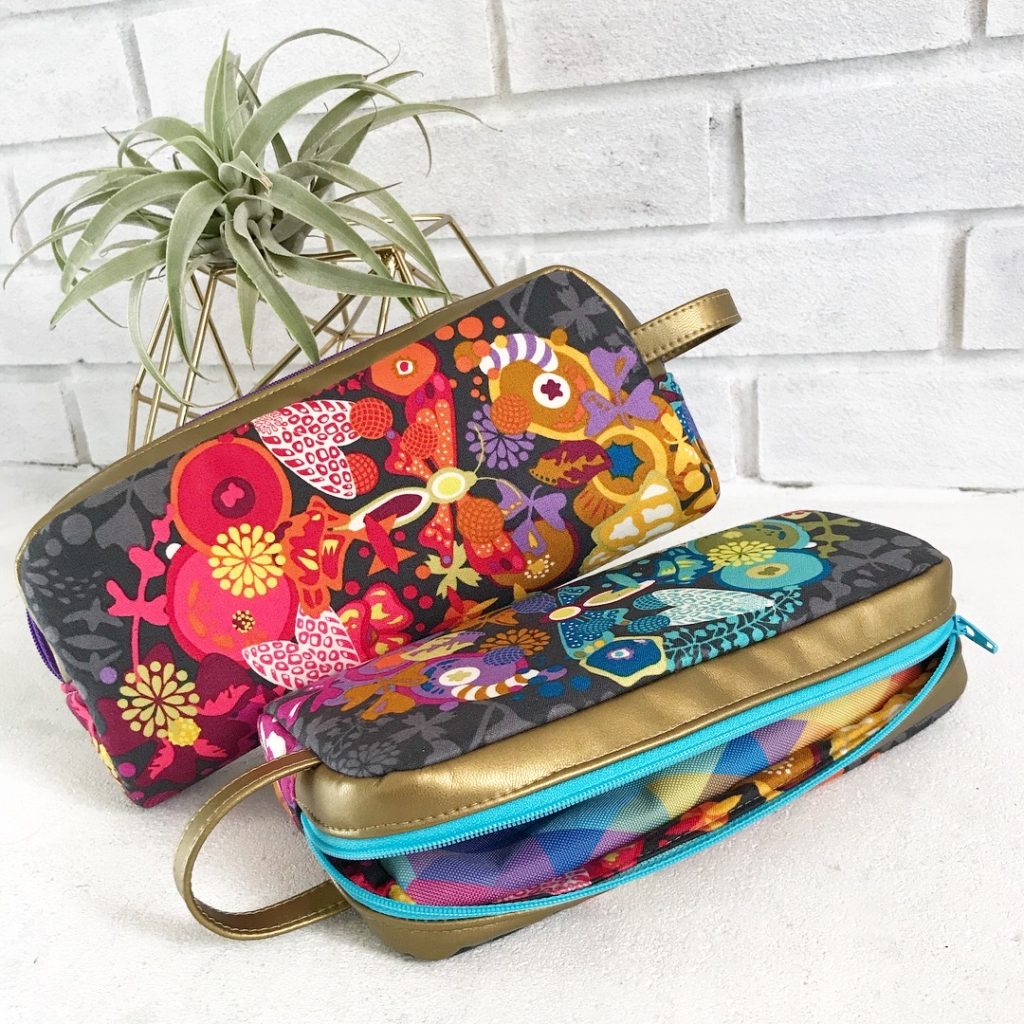
This is great fast sew that has so much visual appeal for being a “pouch.”  It definitely set my products apart from other craft market vendors and I’m SO happy for that!  Check out a few of my different versions below.


Project Details:


Have you tried out the Minikins yet?  I hope you like my drop-in lining hack and let me know how it works for you,  if you decide to try it out!


Keep Sewing Along,

Cristy


Please note this post DOES include affiliate links and I have received the pattern free as part of being a Sew Sweetness bag tester.  I was not required to write a blog post and you know all words are my own.  


Sora Sweater :: Review

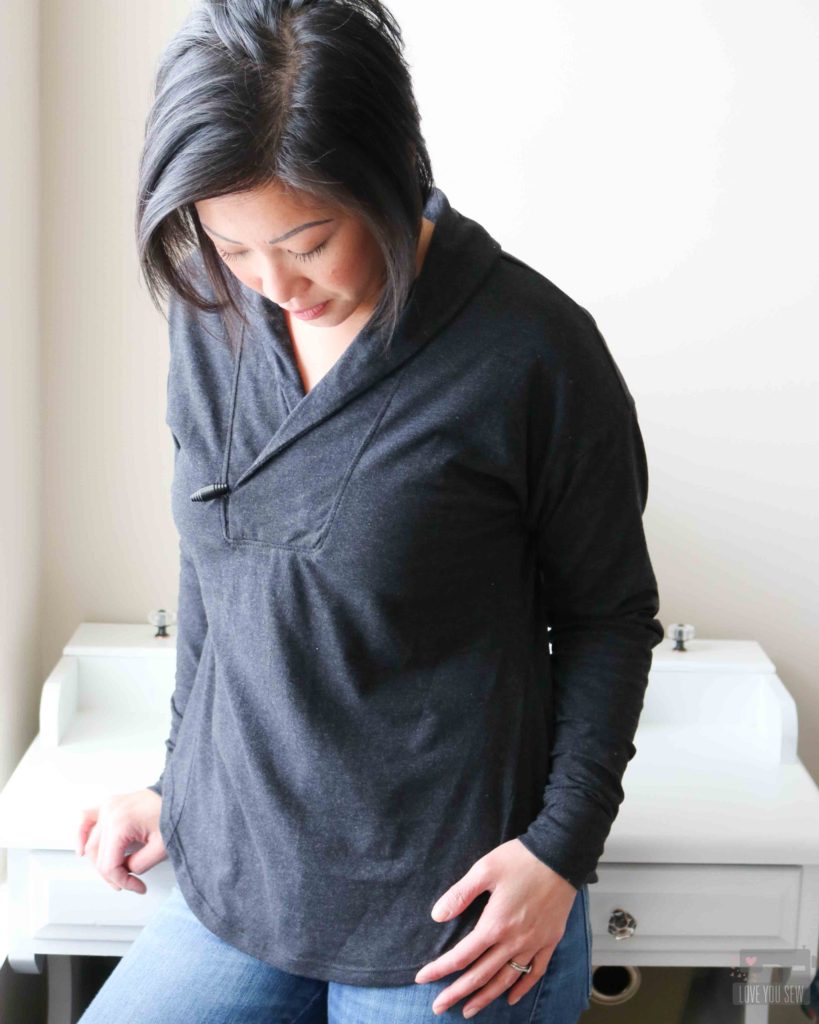
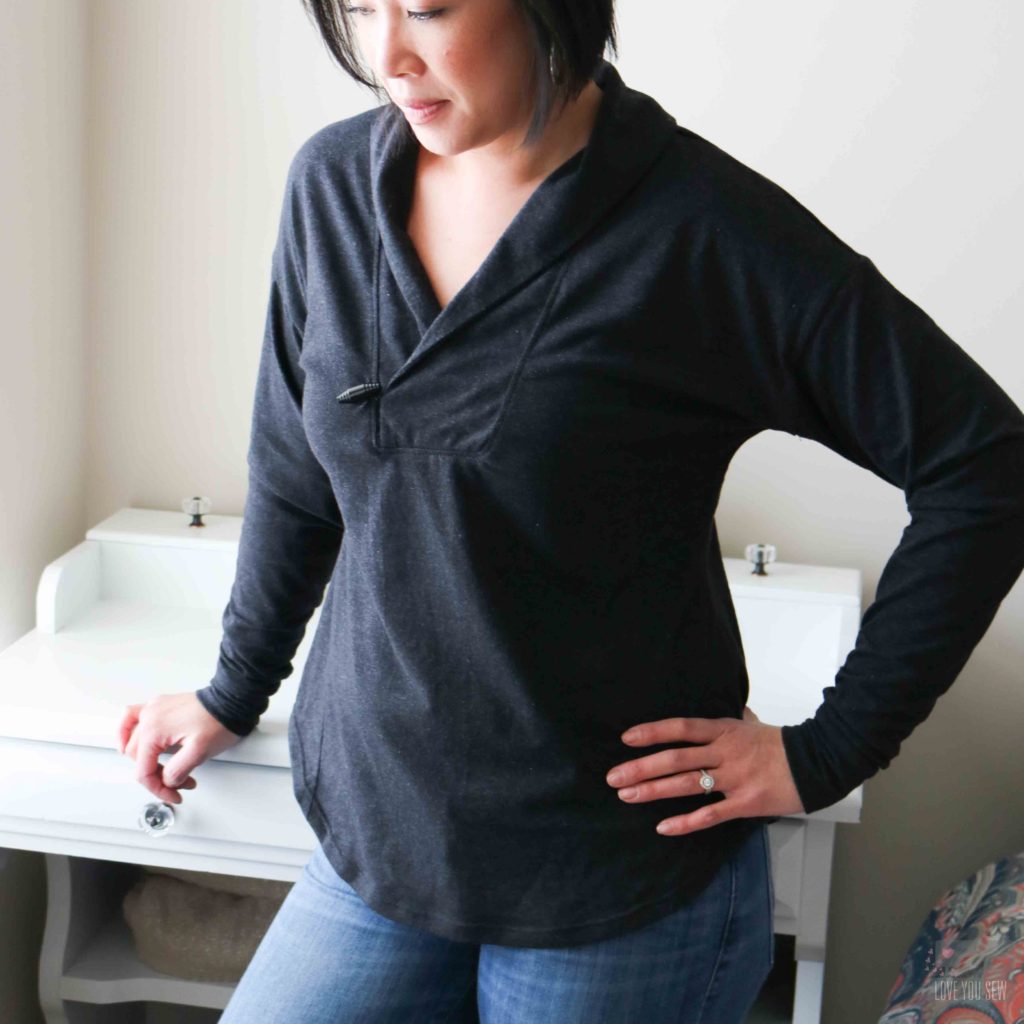
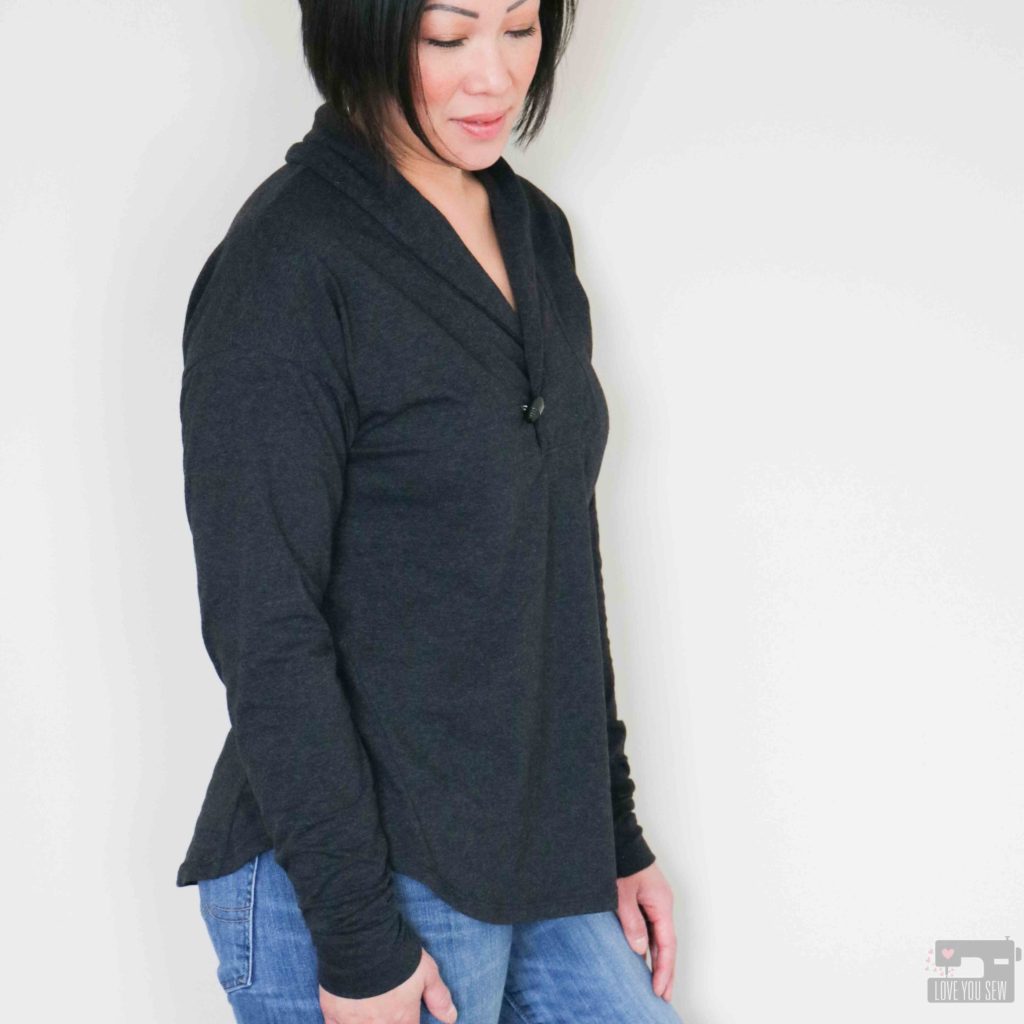
As a member of the Blank Slate Patterns Sewing Team, I get to see and test out patterns before you do.  (Yeah, it’s a pretty amazing gig…)  This last release with this Sora Sweater (aff link) certainly did not disappoint.  It’s a beautiful pullover and cardigan pattern for knits with a great relaxed and casual design available from XXS to 3X sizing.

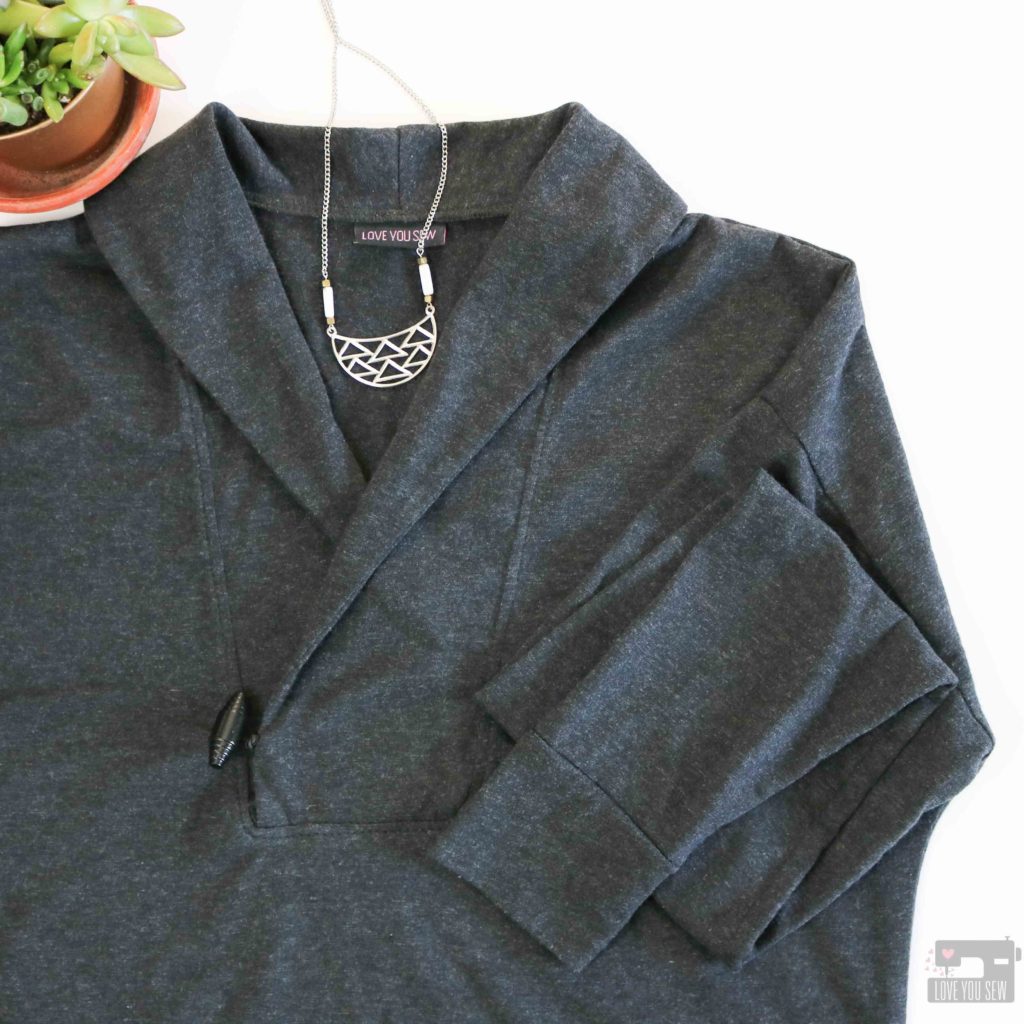
For my first sew (and yes, there are other versions floating in my head,) I decided to make the pullover view with the shawl neck.  It took me a minute to wrap my head around the construction, but I made it through pretty well for my first run.  I like to live on the edge (ha!) and not muslin with companies I’ve sewn with before.  Luckily for all of you, Melly created a video to get you through this step and you can find it here.

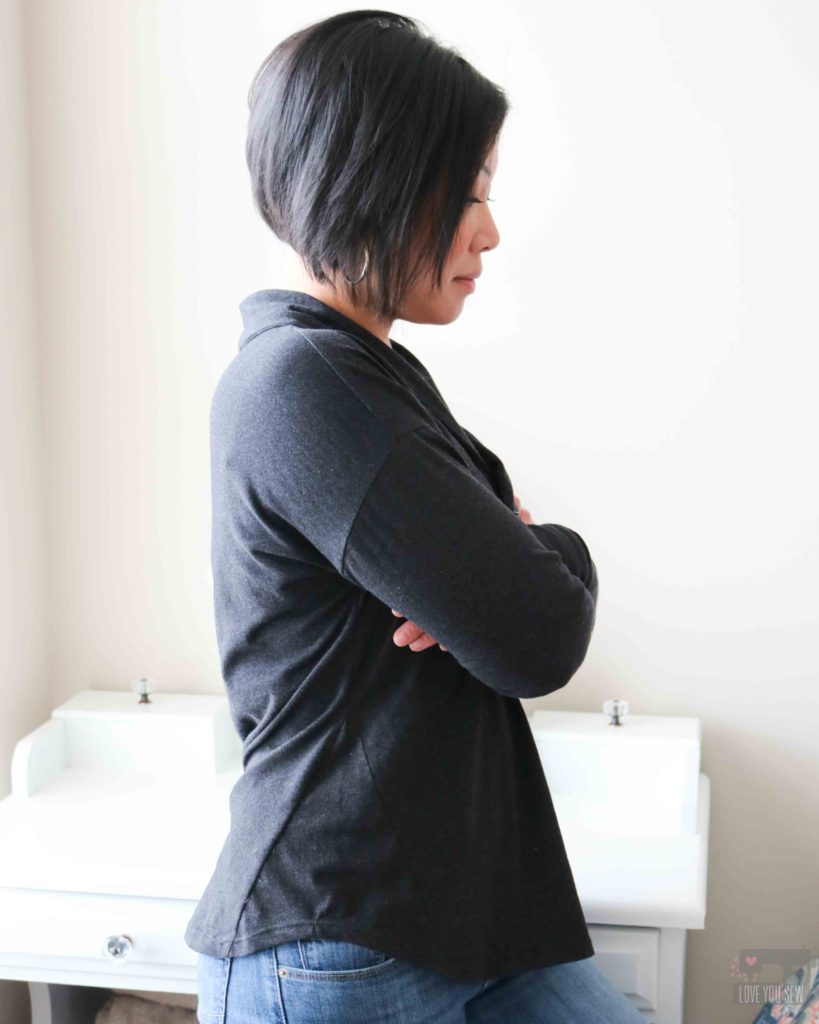
The other great feature of this top is the side gusset.  I’ve never sewn one into a top before, but absolutely love it.  It adds fabulous shape around the hips without adding volume all-over the garment.  The front of the Sora still sits nice and straight.  You can find the tutorial in the same video above.

I used a lightweight  Eco-knit made from 50% recycled fiber and 50% organic cotton.  This dark peppered gray is a nice neutral and will go with so much in my wardrobe….especially my blue and black denim jeans!  This fabric was a great find from the Instagram of TrashN2Tees .  I don’t know if Jenelle will offer the buy again, but you should check out her website.  She is an inspiration for the upcycle and textile re-use world.

I opted for the long sleeves with my make, but you can make a short sleeve version for some layering or to just wear alone.  The sleeves are drafted to be a bit longer….which I really appreciate given the style of the Sora.  With comfy cozy types of tops, I tend to pull down the sleeves to warm up my hands a bit and are perfect for just that.  If you aren’t sure what you like, you can always sew them as the pattern says and take off an inch or two if they are too long before adding the cuff.

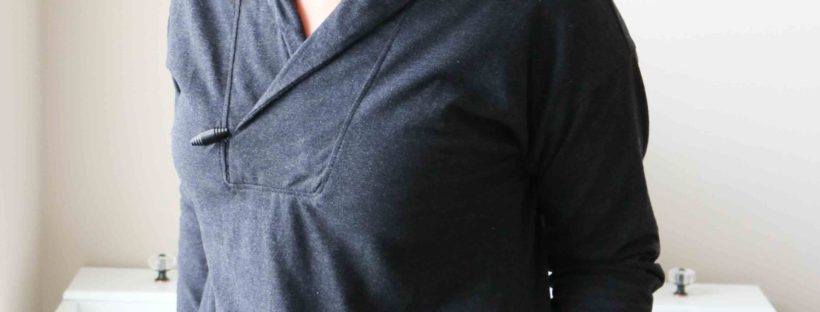
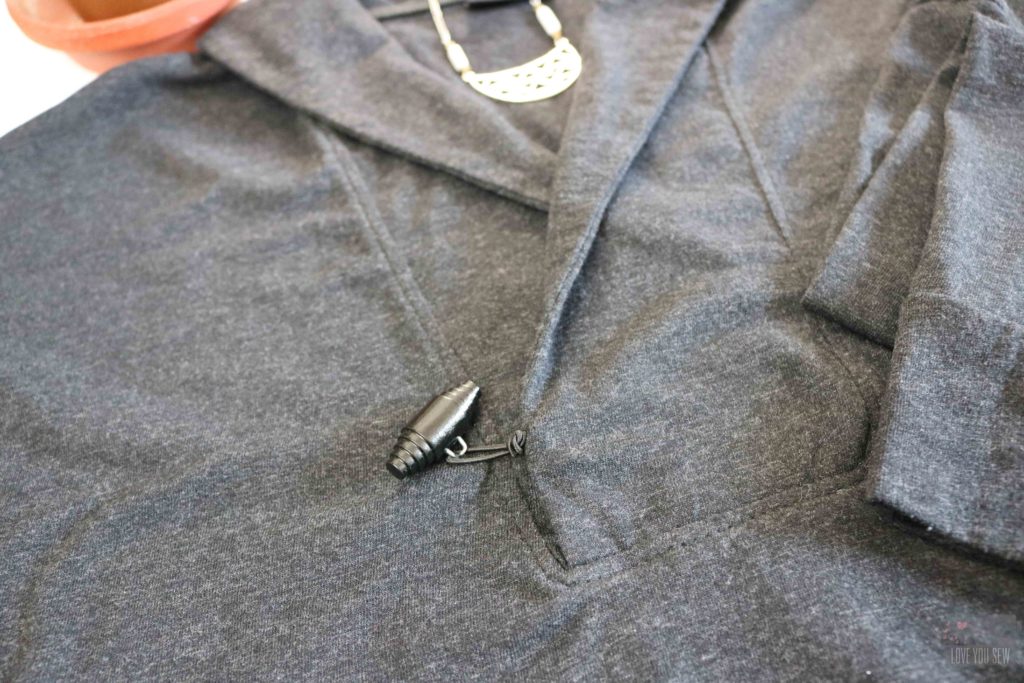
To add to the casual factor, I modeled my Sora after some menswear versions with the toggle.  I sewed in corded elastic which I looped so it could wrap over the toggle.  If you see other versions of the Sora pullover, you’ll notice that the shawl neck overlaps with the left side over the right.  But, I already sewed in the elastic and had to have the right side over the left as you see here.  So if you want to add an embellishment, remember my mistake and plan for the correct side!  TIP:  Use a small piece of fusible interfacing behind the toggle or button to keep the knit from pulling open.

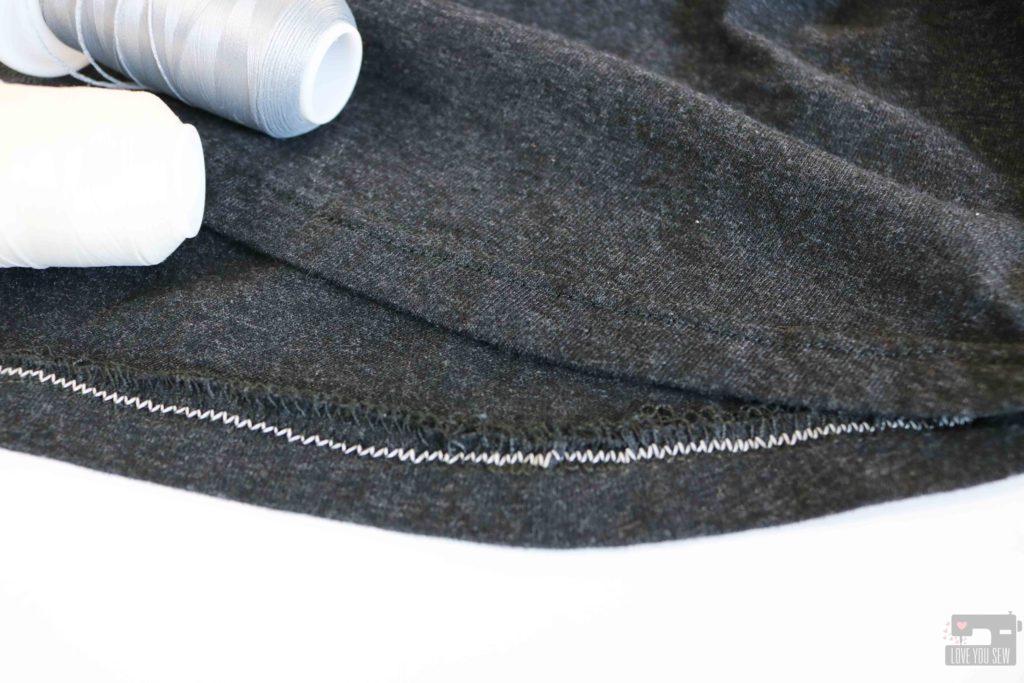
The shirt-tail hem is folded up with a nice clean finish.  I serged the raw edge and then used my twin-needle with wooly (aka bulky or smooth) nylon in the bobbin.  You can see I have grey in my stash but was too lazy to wind another bobbin when I already had the cream color ready to go.  (Hey, you can’t stop me when I want to get a shirt finished!)  I love using wooly nylon in the bobbin of my domestic machine and also in the upper loopers of my serger for extra stretch and stress forgiveness.

You can find other versions of this pattern using #SoraSweater on social media and you can find it for purchase here (aff link.)

I hope you are enjoying my continual quest for a handmade wardrobe and this top definitely fits into the basics I need and will wear for years to come.


Happy Sewing!
Cristy


*This pattern was provided to me as part of the Blank Slate Patterns Sewing Team, but I was not asked to blog about it.  Any affiliate links are noted.  As always, all opinions and words are my own.