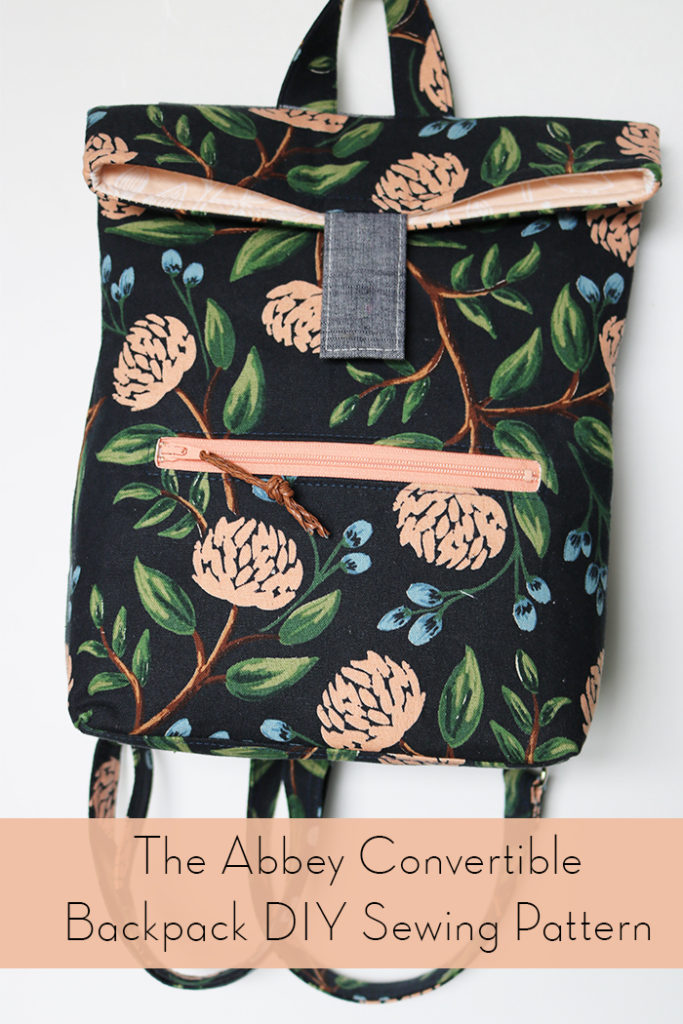
Abbey Convertible Backpack DIY Sewing Pattern

I’ve been on a long pattern writing break and look at me….I have two out in less than a month!  It might be all the inspiration I’m feeling or maybe it’s the fact that I’ve learned quite a bit more about designing now 🙂  It really is a combination of all the above along with clearing my plate of other sewing commitments so I can focus!  You can check out the FREE Kelly Waist Bag pattern  just released a few weeks ago here and keep on reading for the long awaited Abbey Convertible Backpack

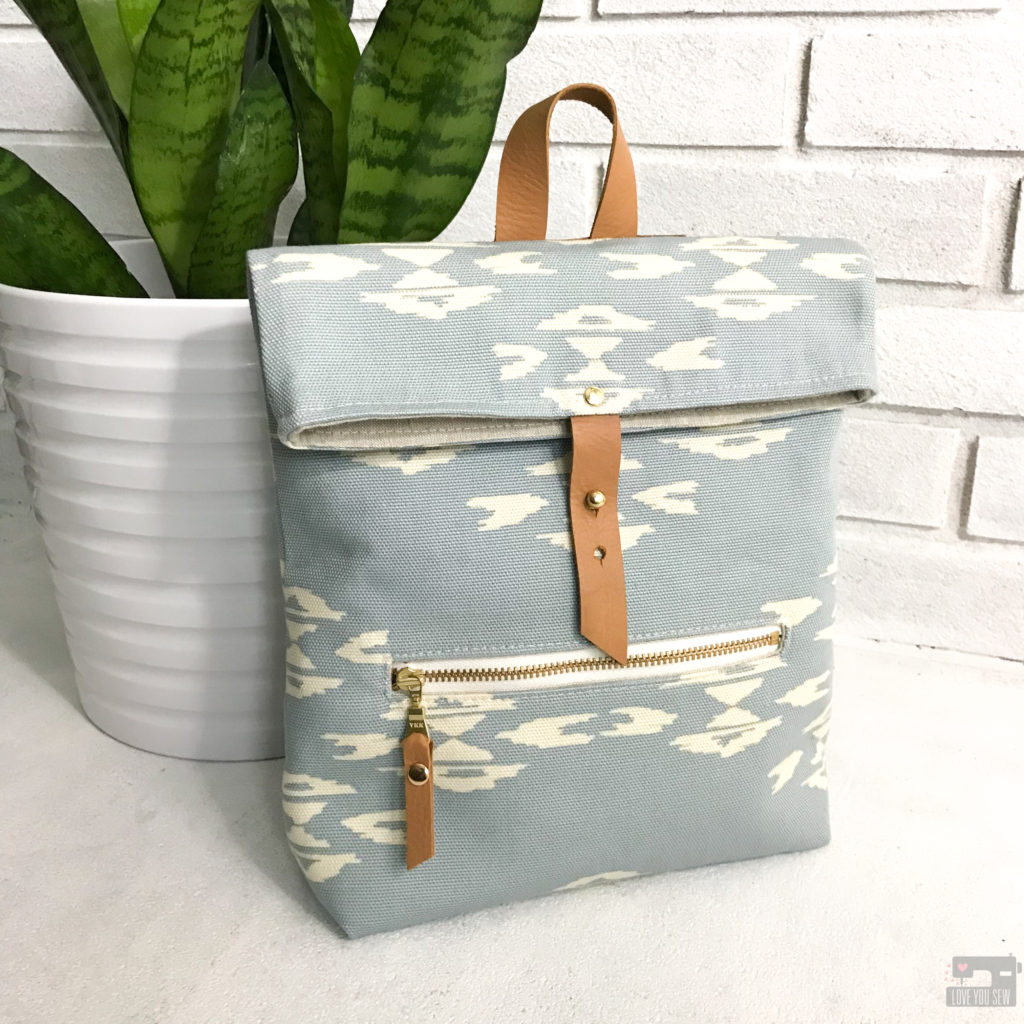
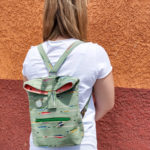
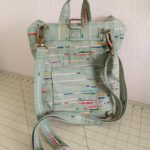
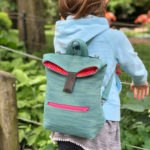
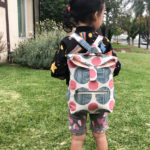
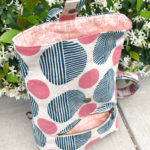
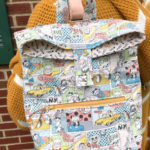
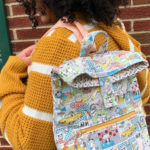
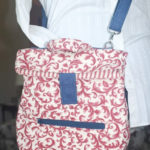
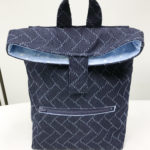
Abbey Backpack by Love You Sew

At the end of 2017,  I was looking for a fun bag idea for my toddler niece.  But since she’s a little fashionista, I wanted to make her a “non-kid bag” and more of an “adult-bag”….just in a miniature size. With boho style hot at that minute, I remember seeing so many hiker style backpacks around with southwestern prints.  I had this great canvas fabric in my stash from April Rhodes and knew it would be perfect for my niece.
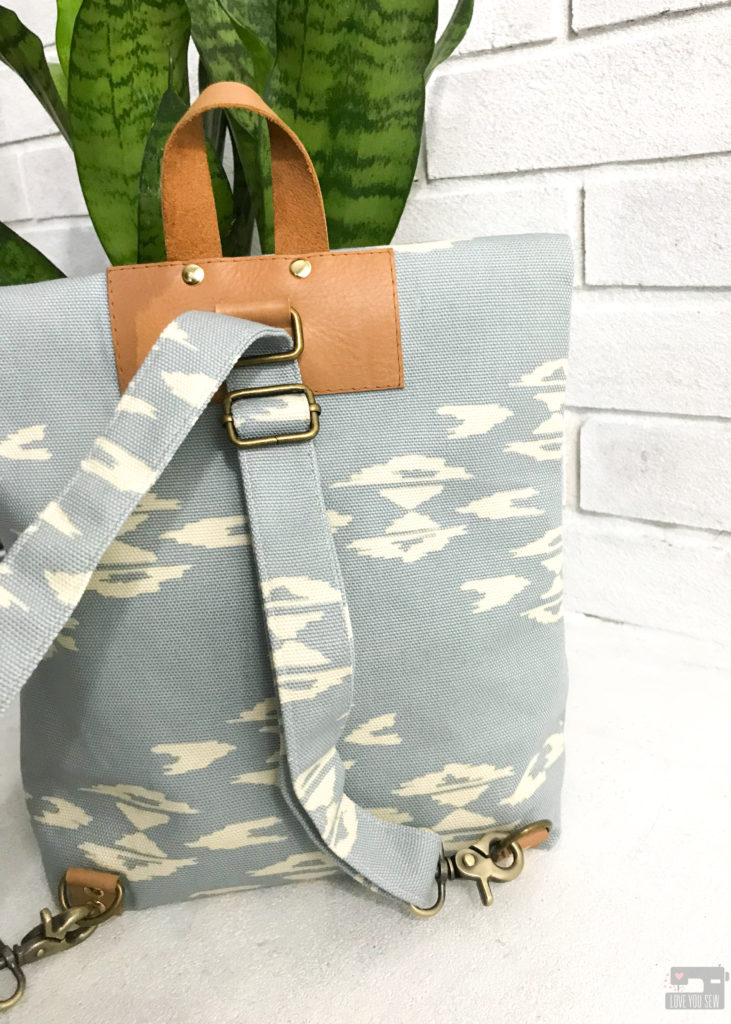
I made this little backpack just thinking it would be a one-off project — that was until I posted it on my Instagram.  That’s when all the comments and inquiries flooded in.  I had at least half a dozen people wanting to buy it.  But no, it was only for my niece. <3  Although I didn’t want to sell the actual bag, I knew I had a great design…especially as a kid-size bag that’s modern and something an adult might like….
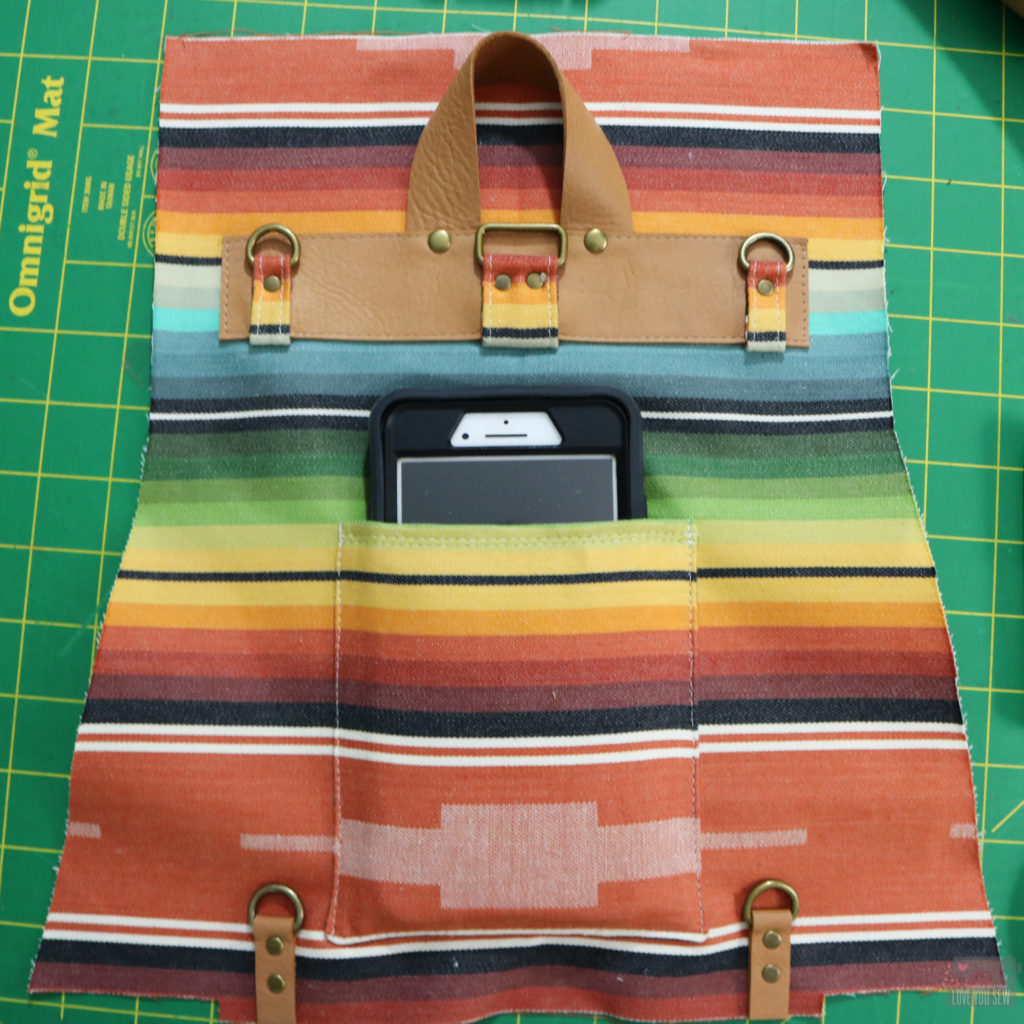
Fast forward a year after learning to use some proper drafting software and I was set to tackle the longest and most involved bag I’ve written to date.  From the first design, much has changed.  The body is slightly larger and more pockets have been added inside and on the back. The most significant change is the additional hardware to make the Abbey a completely convertible adult bag too!
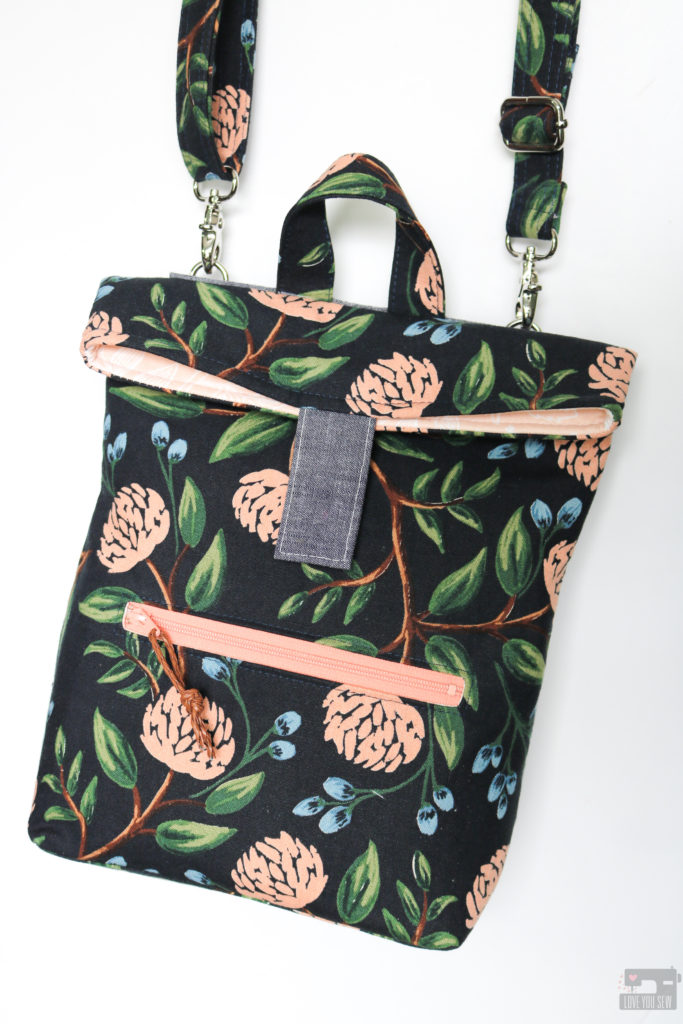
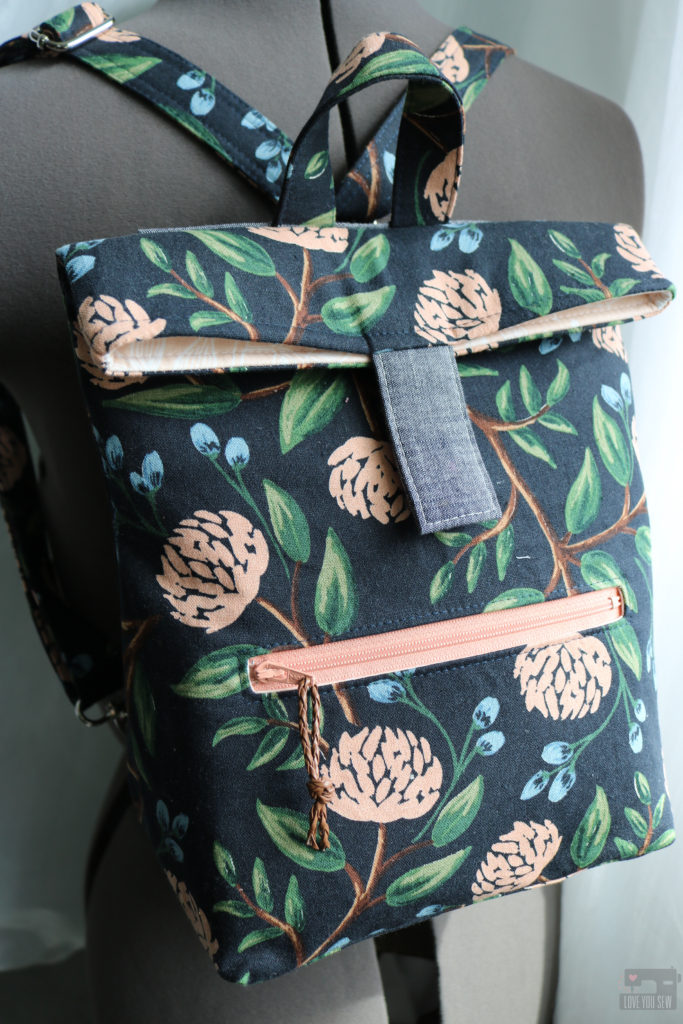
Abbey Crossbody by Love You Sew

With a quick switch of the swivel clasps from the lower connectors up to the top ones, the backpack changes to a cross-body!  This allows the Abbey to be such a versatile bag and can change with you depending on the situation.  ‘Sometimes you just want your bag out of the way and sometimes you need all the access to it — I get it!  Additionally, the Abbey also has these features:

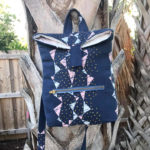
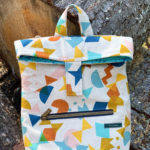
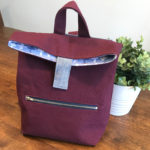
  • Convenient front zipper pocket for keys, chapstick or change
  • Magnetic snap tab closure for easy access to the main compartment
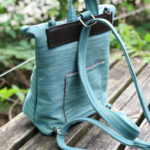
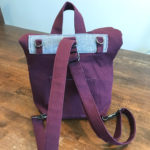
  • Back slip pocket – perfect for your phone, boarding passes or concert tickets
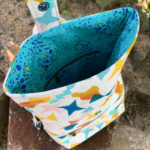
  • Interior zipper pocket to keep valuables safe
  • A generously sized adjustable strap which can be used for the backpack or crossbody
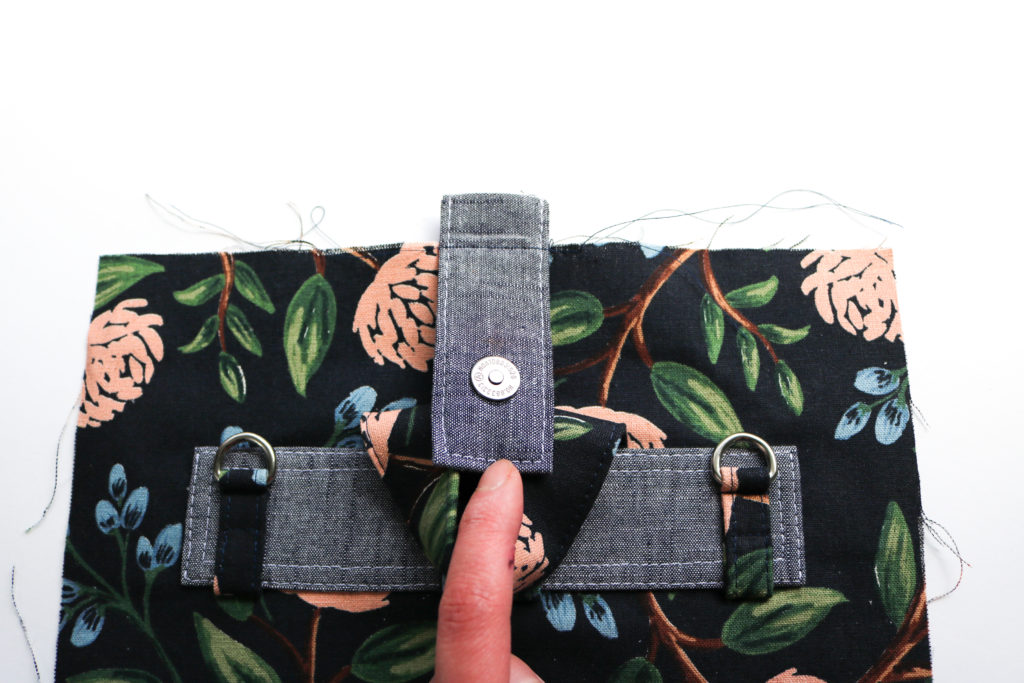
As a bag-maker, you will love having this unique design which you can (of course) keep, but also gift to friends and family, both young and mature.  I’m thinking some mommy and me versions would be so cute!  You will also learn some great techniques such as:

  • Installing magnetic snaps (with my tips to prevent the prongs from wearing through your fabric!)
  • Using three different types of interfacing for a structured, yet pliable bag
  • Creating zipper welt pockets
  • Making an adjustable strap
  • Construction style which leaves a clean and seamless base.
  • And I’m already working on some hacks to leave you with more options and ways to customize each bag you make 😉
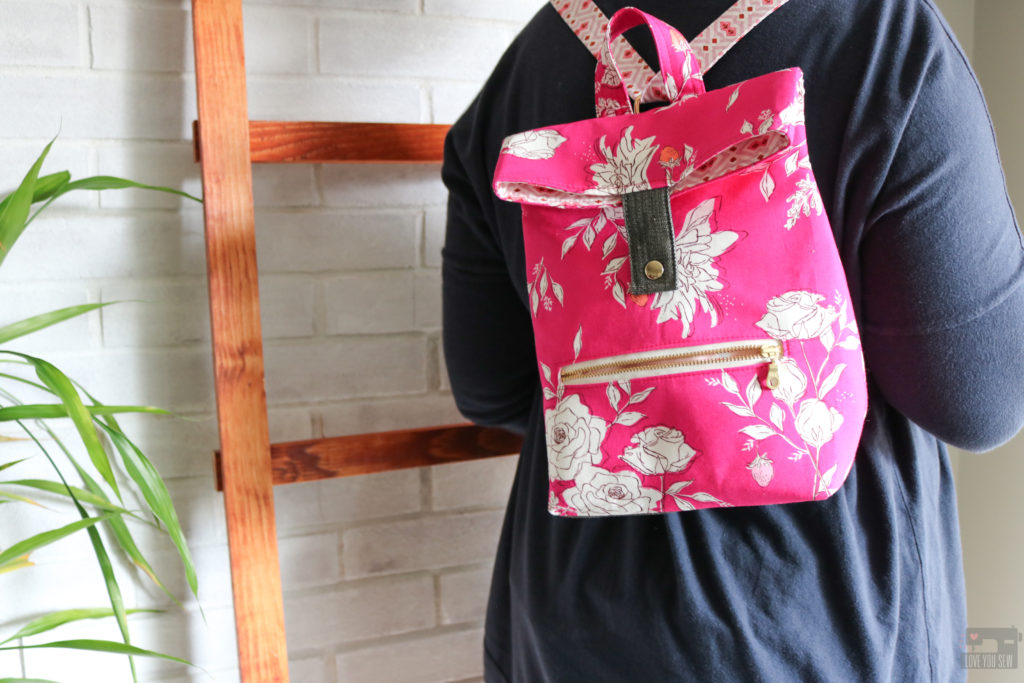
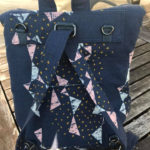
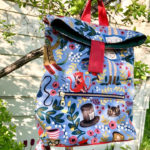
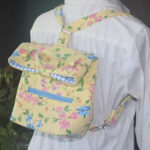
Sonata Abbey Backpack

For some inspiration, you can check out my Sonata Fabric Showcase Tour here.  These were both prototypes as I was testing out interfacing combinations and still checking out which features to keep in the pattern.
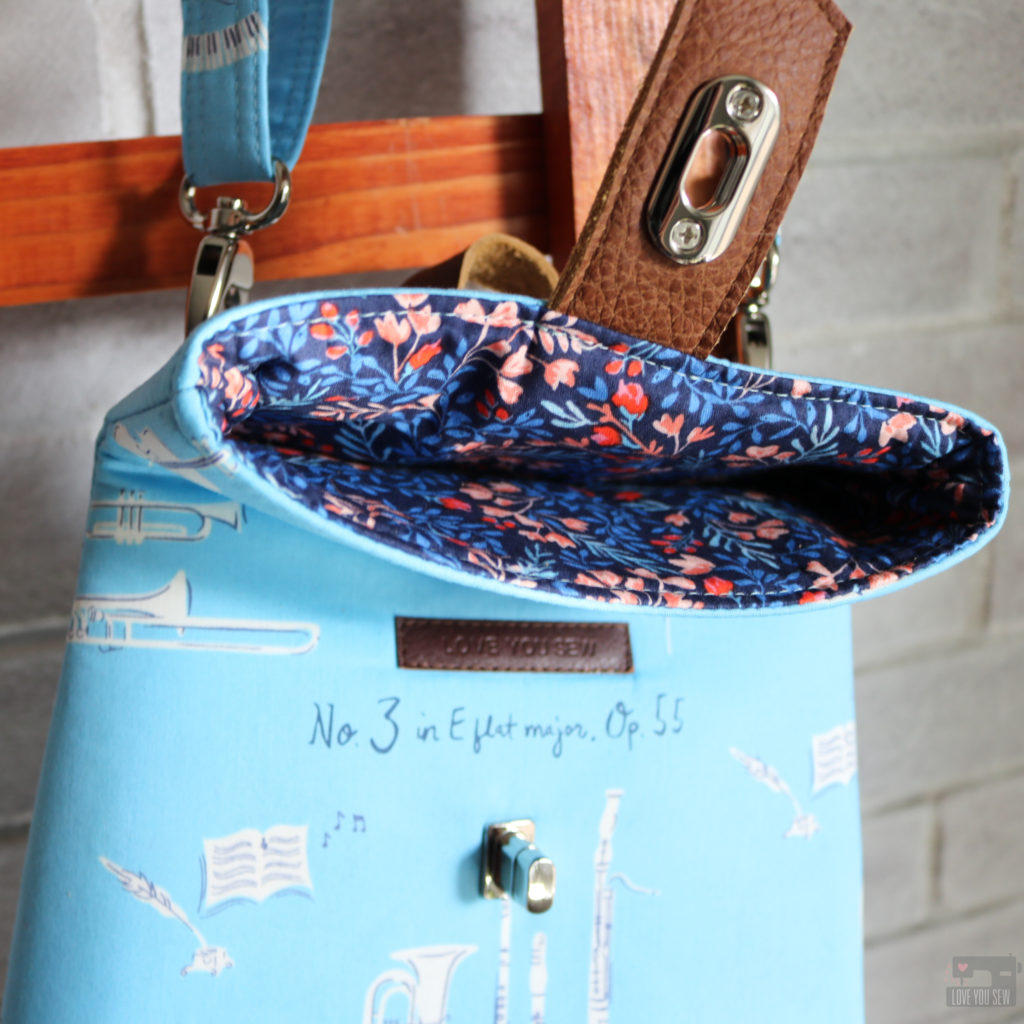
  • The blue bag used foam interfacing which I thought was just too much.  The bag was not able to fold very well.  However, it uses leather accents which I do include in the cutting table.  (I will write a blog post for the zipper frame soon!)
  • For the pink bag, this was a test to see how quilt cotton would hold versus the recommended canvas.  It still had great shape and pliability, but some structure is lost.  Once the bag is filled up, it’s not that noticeable though.  This version is the lightest weight and great for using all of those cute quilt cotton prints for little ones.

If you need even more inspiration, you have to check out all of these amazing creations from my tester group.  These ladies are absolutely amazing and I could not make this pattern without all of their help!  You can click through each image below to direct you to the maker.

Pattern Summary:

I hope you enjoy this pattern as much I do!  Happy Sewing!


Cristy
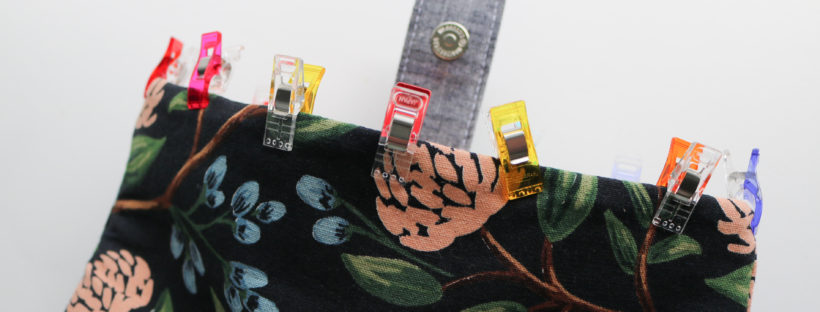


Kelly Waist Bag and Clutch

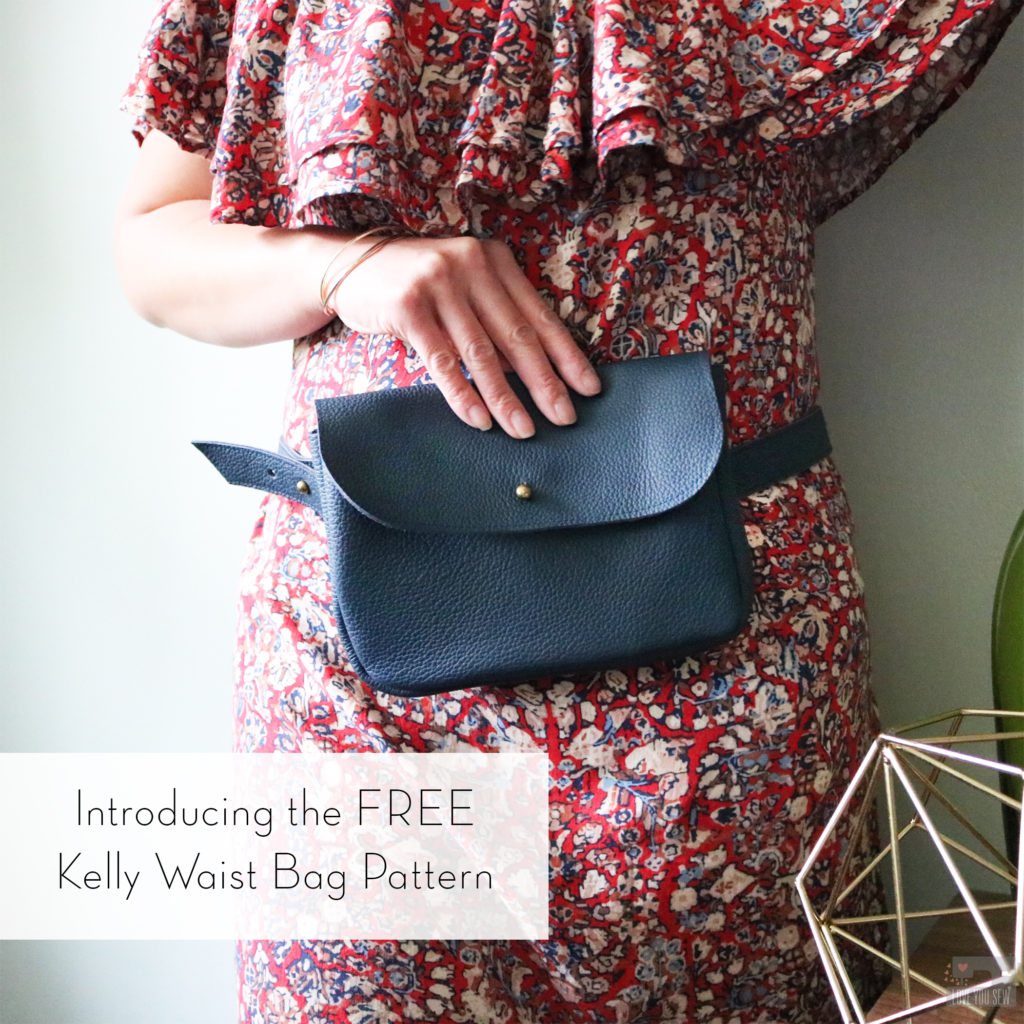
Introducing the FREE Kelly Waist Bag Pattern

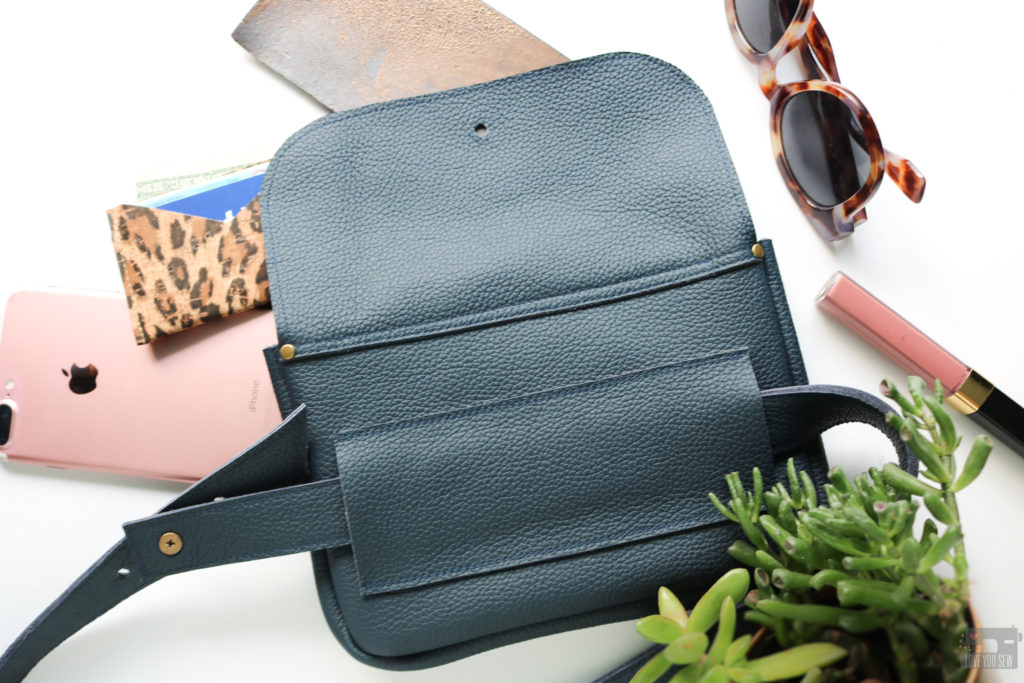
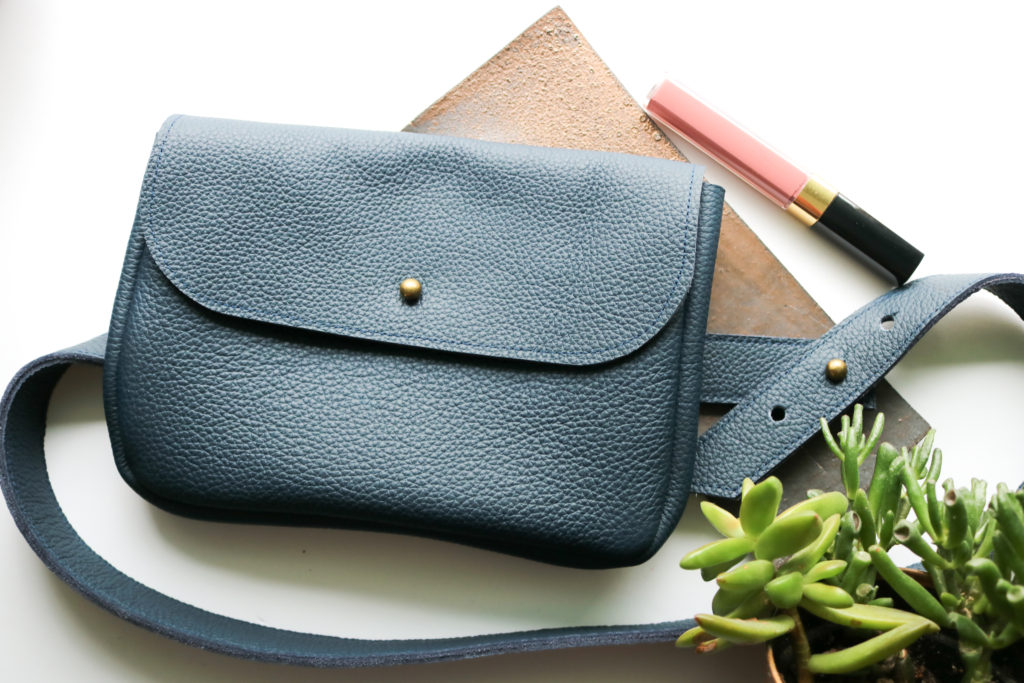
It’s such an incredible feeling when inspiration hits at the right time and the creative juices are just flowing.  That’s what happened when I paired this beautiful leather from Measure Fabric with  my idea for a simple and sleek waist bag.  I was able to quickly design, prototype, tweak and write a full pattern within 48 hrs (muuuuch different from my usual practice of taking months to write a pattern!)


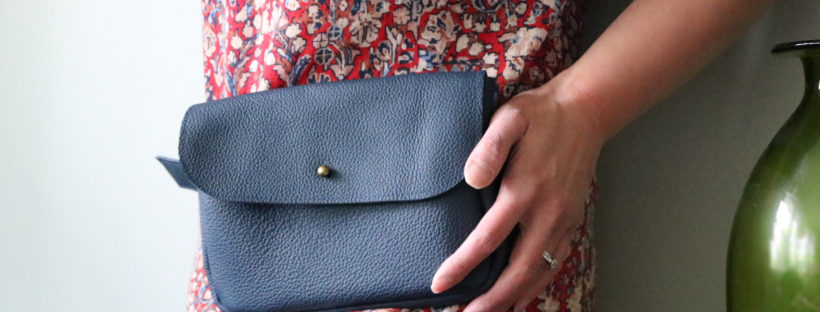
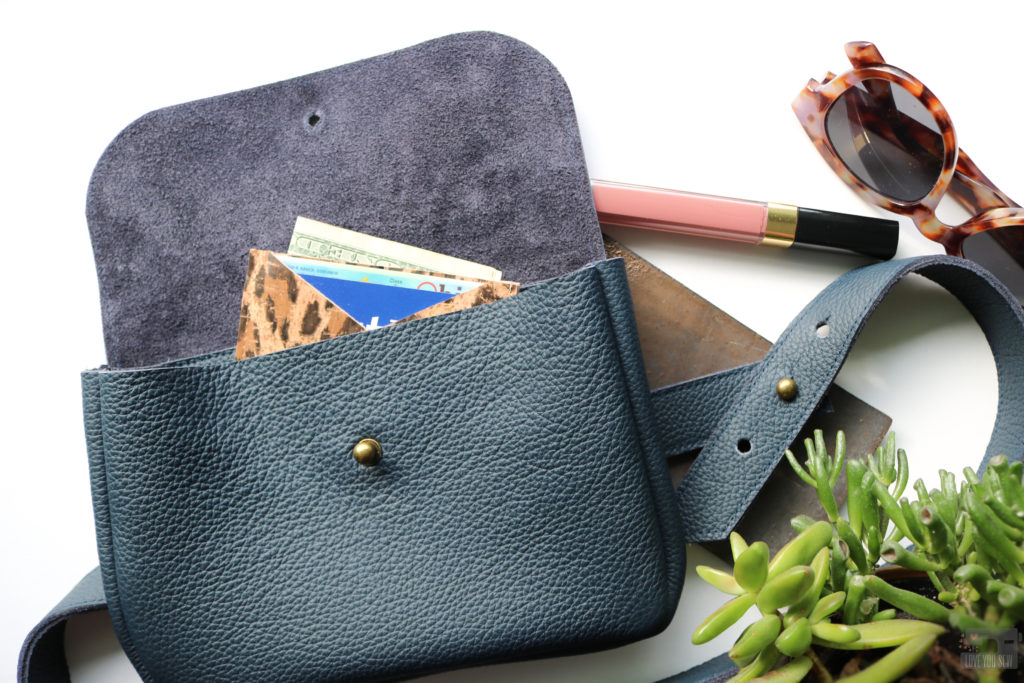
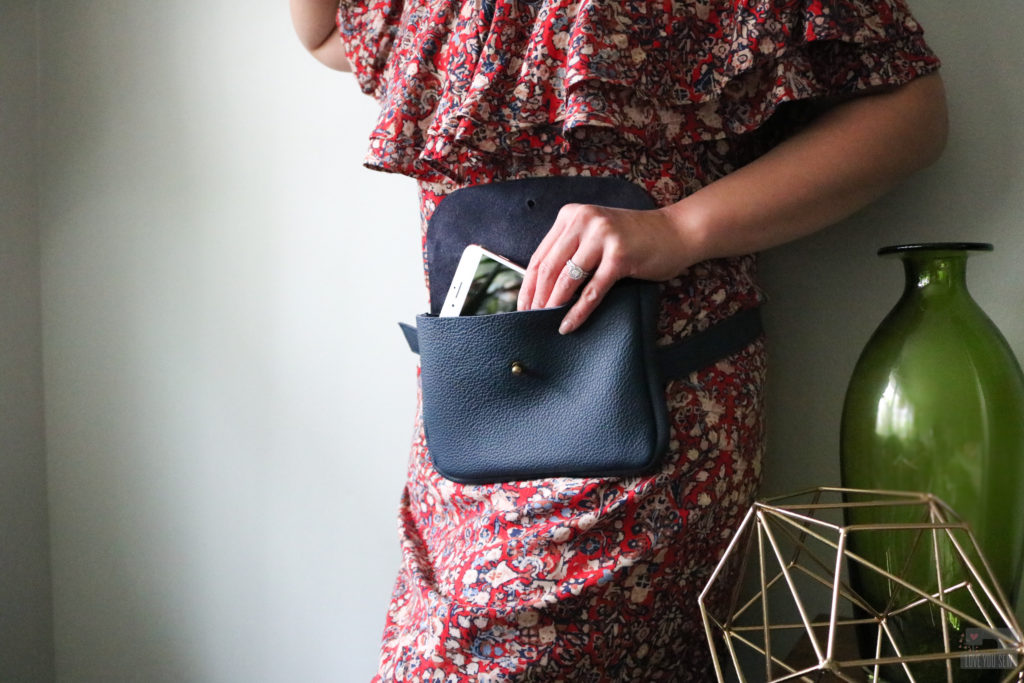
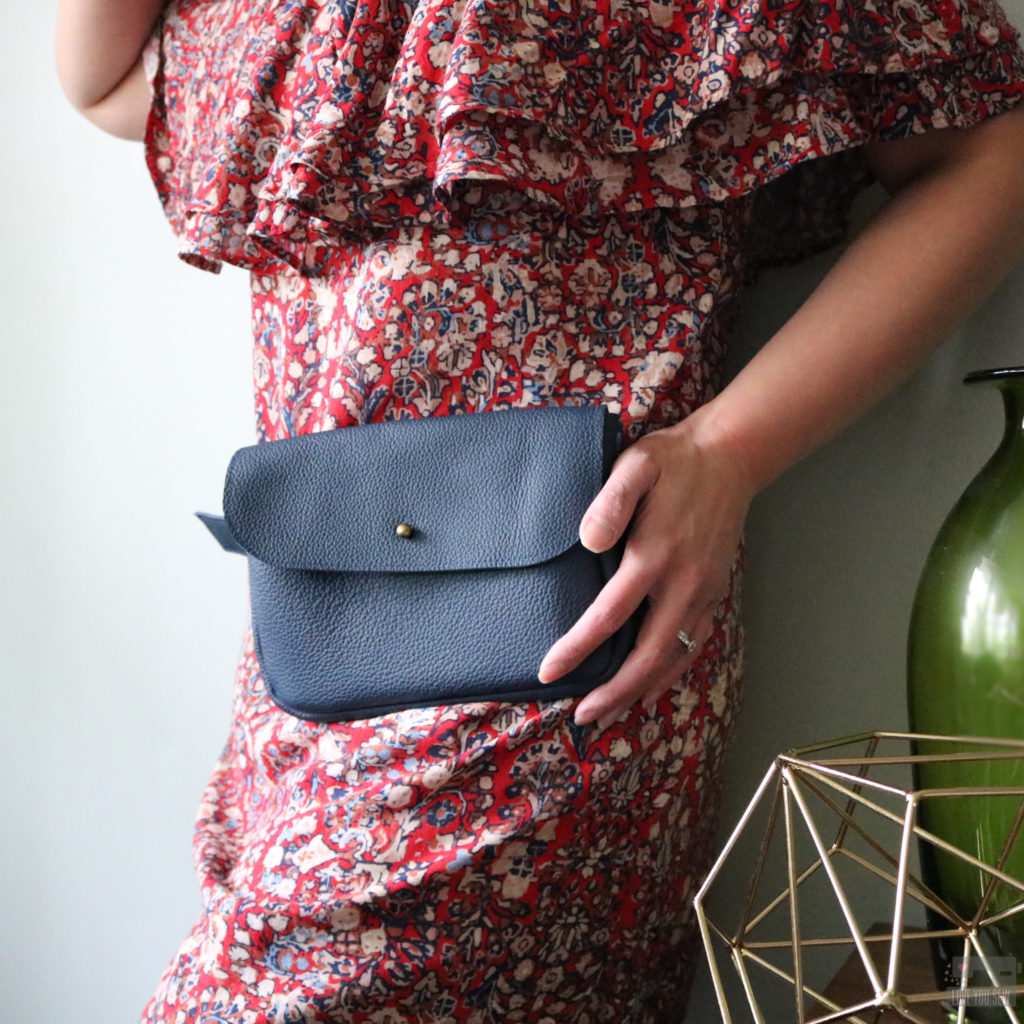
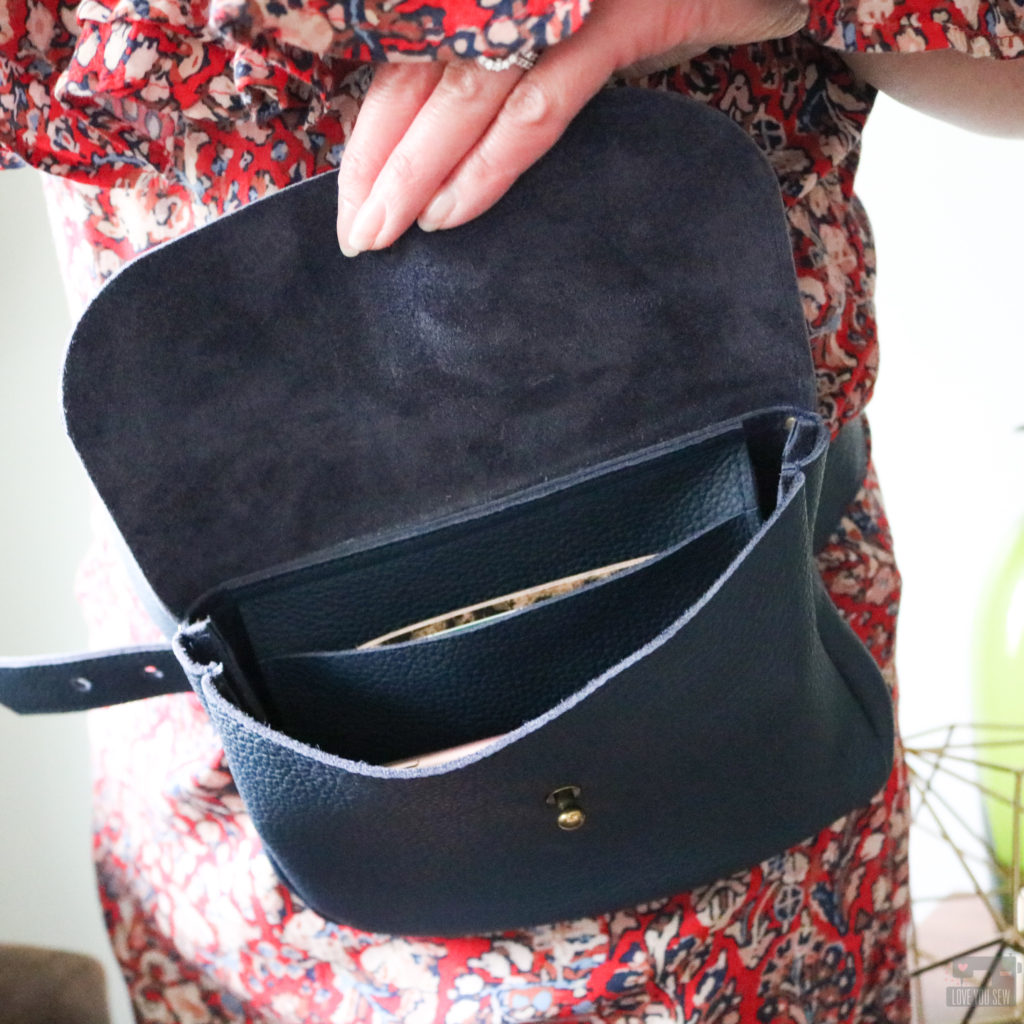
Whatever you call them – waist bag, fanny pack, belt bag, hip bag….wearing a bag around your torso is the hottest bag trend right now.  Although the classic 80’s throwback style is probably the most popular, I wanted to have something with cleaner lines to match my fashion tastes.   I also wanted to make sure if I’m making a bag (especially in leather,) it can last beyond the current trend.  So I designed a minimalist raw edge leather bag which can convert to a clutch, simply by removing the belt.

Leather

Initially, I thought I would make an envelope style clutch when I first saw this leather on Measure Fabric’s website.  I thought the leather might be a little too difficult to sew on my machine.  I figured I could use a bunch of rivets to origami it altogether since I already fell in love with the top-grain texture and beautiful neutral navy color.

Thanks to the miracle of videos on Instagram, the shop ladies were able to show me the leather’s softer hand.  The hide is approximately 2mm thick, but is still pliable enough to shape and can hold some weight.  You can check out their entire selection here. Get ready to drool over all the beautiful hides!

Bag Features

Named after one of my awesome nieces, this waist bag is all about having some freedom.  Whether you want hands-free options to wrangle the kids like me, or to attend the latest festival concert like Kelly (oh to be in my twenties again,) this is your bag!  It’s small but mighty with plenty of great features:

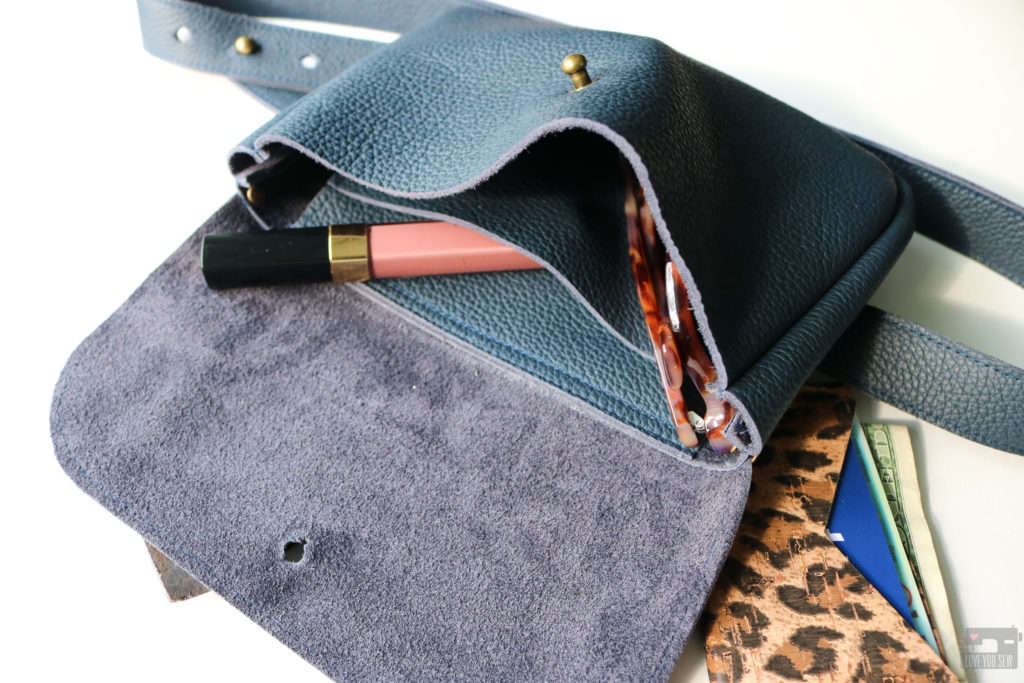
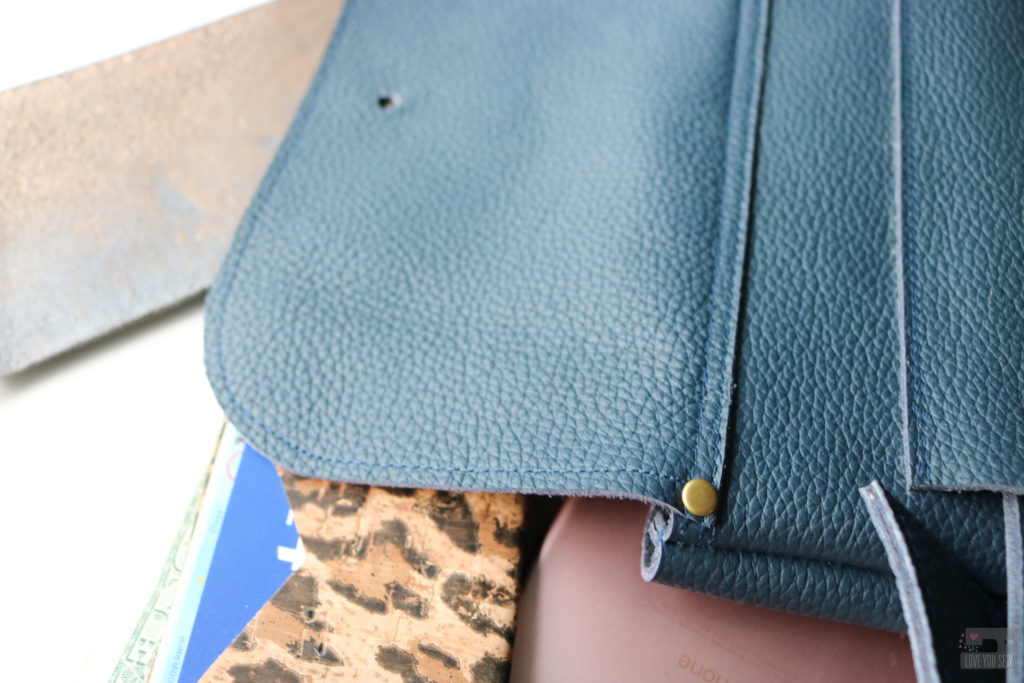
  • Slip pocket – Perfect to stowe away cash, ID and/or a Shuffle Cardholder
  • Simple screw on button stud – There is no need for fancy hardware or tools.  But feel free to make this your own!  You can find them on Amazon here or here and on Etsy here. (aff links)
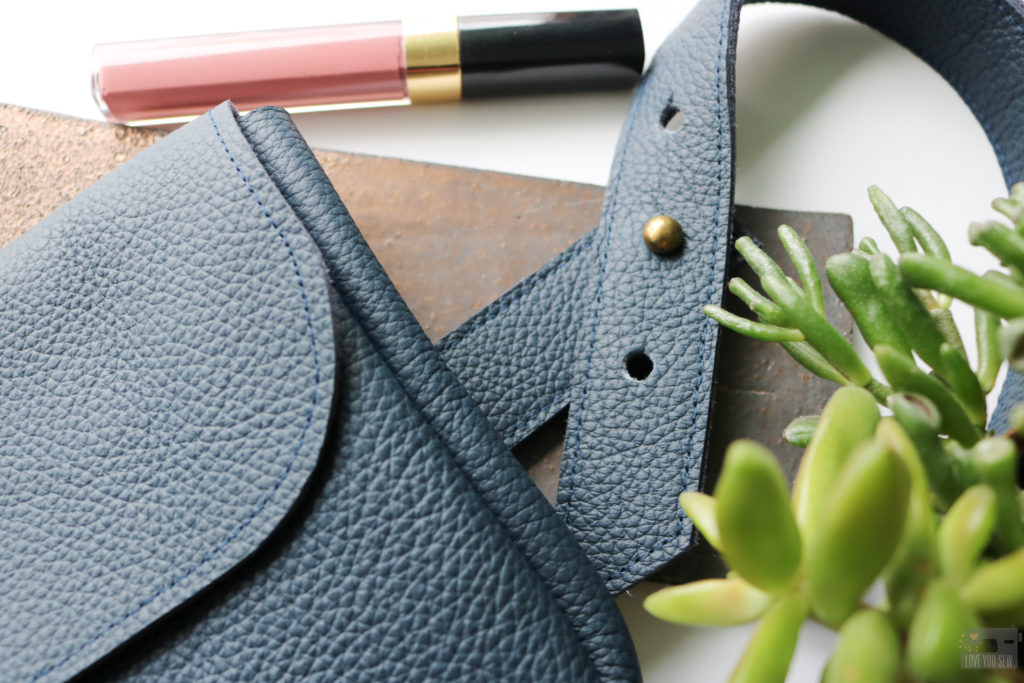
  • Adjustable belt design – Whether you wear this with just a tee or over a bulky sweater, the belt can change with you.
  • Convertible to clutch – Simply remove the belt and you have a perfect leather clutch for a night out or use it as a pouch in a larger tote.
  • Able to use any belt – The belt guide is generously sized to accommodate most belt widths.  You can use your own belts to mix and match, creating different looks.
  • Fits many arena and public venue bag guidelines – With finished dimensions of 8″ x 5″ x 1″, the Kelly conforms to many stadium and concert bag regulations.  It’s the right size for your phone, ID, cash, with room to spare for keys.

Sewing Tips:

  • Leather and some vinyl are not self-healing.  Needle holes will be permanent, so work slowly and use clips instead of pins.
  • Use a leather needle with leather or a heavy duty (16 or 18) needle with cork or vinyl to handle the extra thickness.  Machines vary, so don’t forget to TEST before making the bag!
  • With thicker substrates, leave long thread tails to manually tie off with double and even triple knots.  Don’t try to back-stitch because your machine may not like the bulk.
  • A walking foot is great to get even stitches without sticking and a Teflon foot prevents sticking as well
  • Use a stiletto tool like this or carefully notch into the gusset 1/8″ to help maneuver around the curves. (aff link)
  • For punching the holes, I love this tool with a softer plastic bed vs a metal bed.  You get a cleaner cut through the leather. (aff link)

|| Click Here for the Kelly Waist Bag + Clutch Pattern by Love You Sew ||

#kellywaistbag #loveyousewpatterns 

Print at 100% or Actual size

Please share your projects on social media with the #kellywaistbag and #loveyousewpatterns tags.  I would LOVE to see what you do with the pattern.  Don’t forget to give me a follow and tag me @loveyousew_ so I don’t miss it!

Enjoy!!!


Leather for this project was provided by Measure Fabric.  All thoughts and opinions are always my own.  There are also affiliate links in the post for which I would receive a small commission only if you decide to make a purchase.

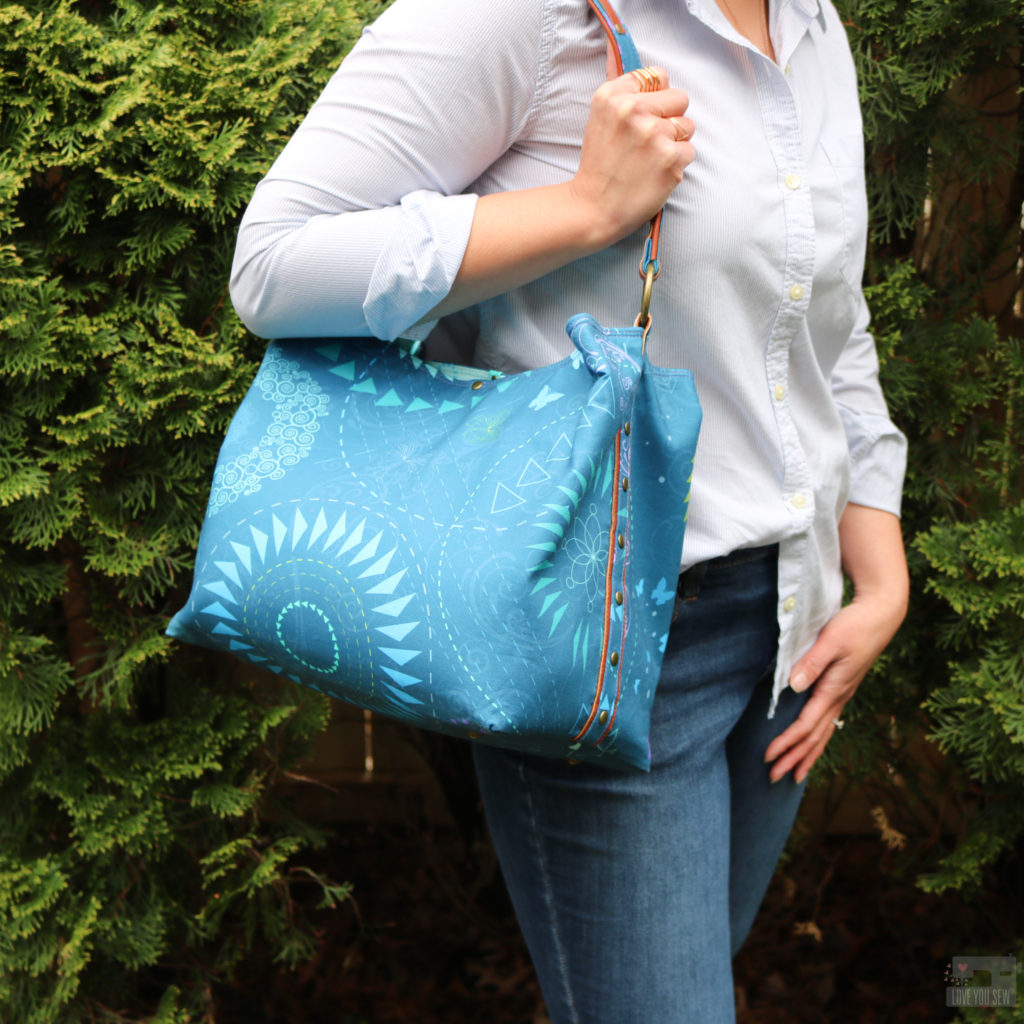
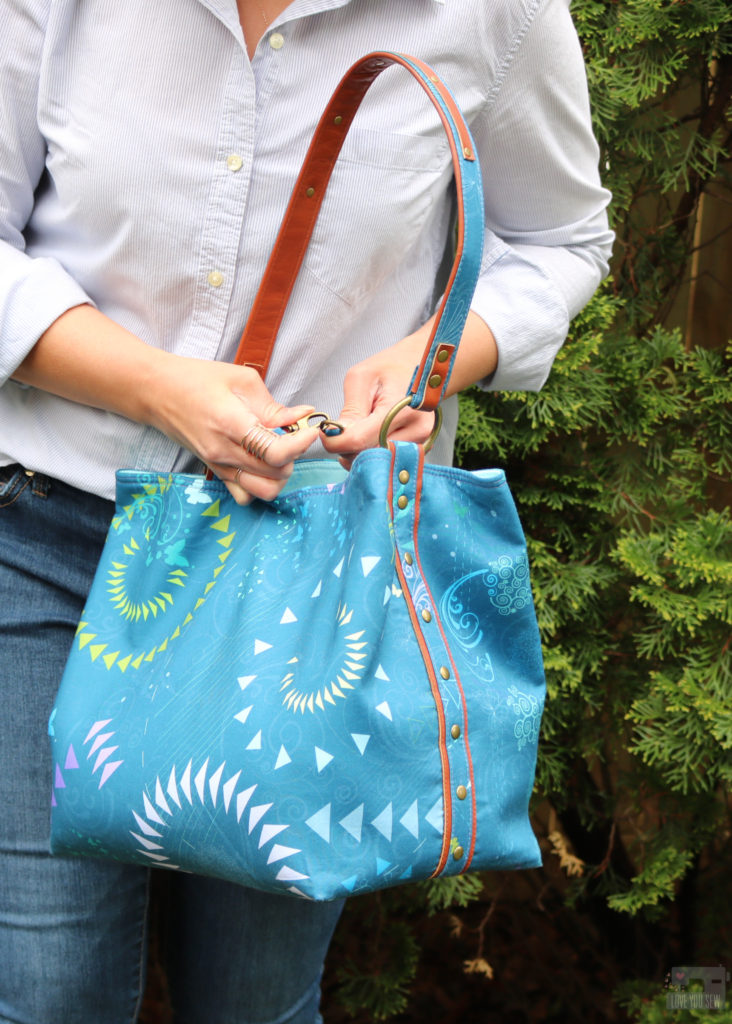
Paradigm Showcase Tour – DIY Bucket Bag

I am SO ridiculously happy to be kicking off the Paradigm Showcase Tour for my very dear friend, Sarah Thomas of Sariditty.  This woman does it all.  She is an incredible long-arm quilter who is known for her signature “sketchbook” style with improvisational designs.  She lectures and teaches a ton of quilting classes (with which I have actually assisted) and she is also a product designer with a line of sewing rulers and sewing tools.  (Sis is even a pilot!!!)  It’s no wonder, that “Fabric Designer” is one of her newest titles.  You can learn more about Sarah and her work in the  Paradigm Lookbook here.
Within the quilting social media world, Sarah and I have worked together through many other blog tours and only recently, were able to meet up IRL at QuiltCon to share all of our love of sewing (and an Air BnB!)  So when Sarah told me about her debut collection of fabrics, I was over-the-moon happy for this woman!  And when she asked me to be a part of her Showcase Tour, you know I was game.   It truly brings me such crazy joy to help such a thoughtful person who has really helped me navigate the industry side of sewing.
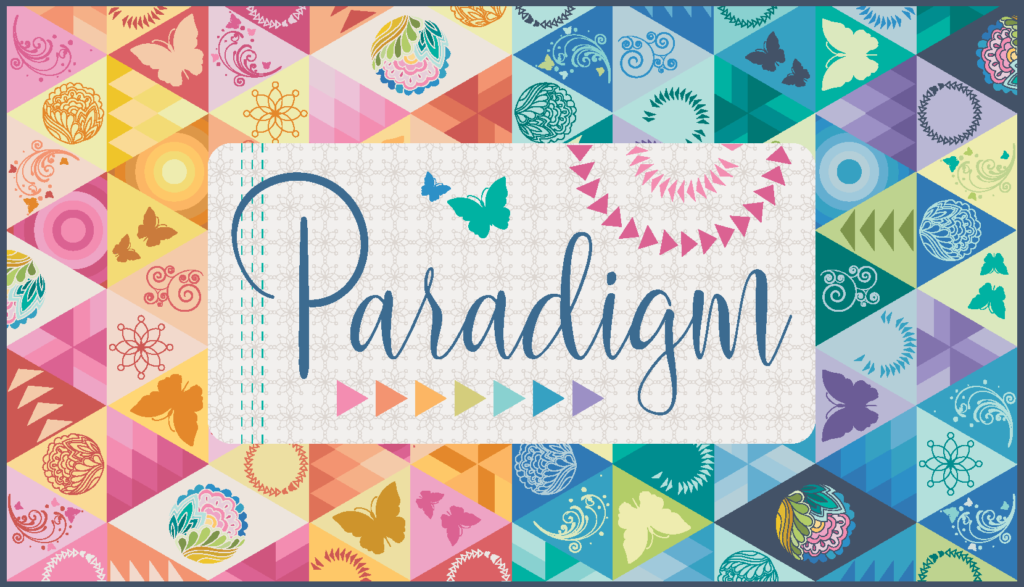
I could go on about Sarah, but will focus on her fabrics now 🙂  Paradigm fabrics are 100% cotton and digitally printed through Hoffman California Fabrics.  What really blew my mind was the incredibly innovative production style with this collection.  There are 23 different fabrics in Paradigm, but only 7 different bolts because the fabrics are either printed by the yard, half-yard, or grouped by fat-quarter as seen here.  This allows for all the fabric in less SKUs…which in my pre-sewing supply chain management job, is so clever!
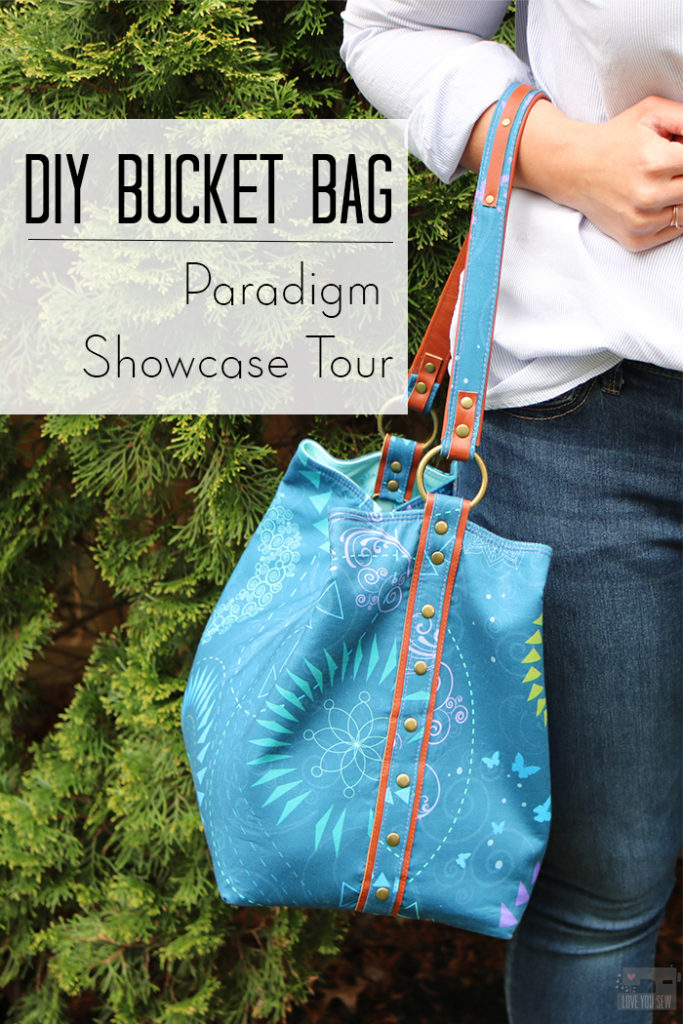
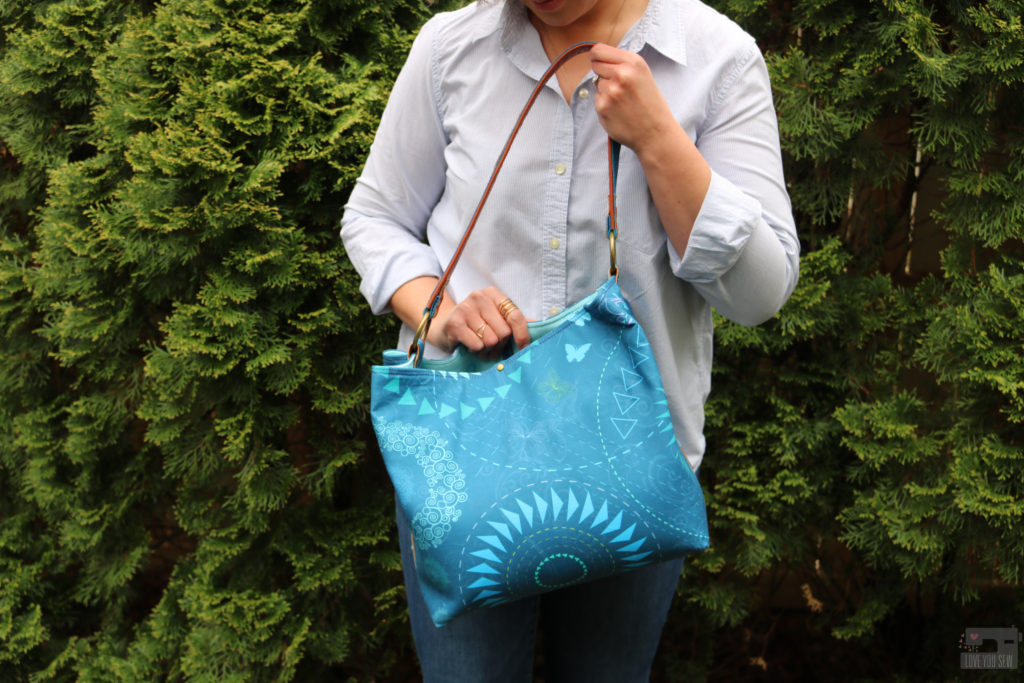
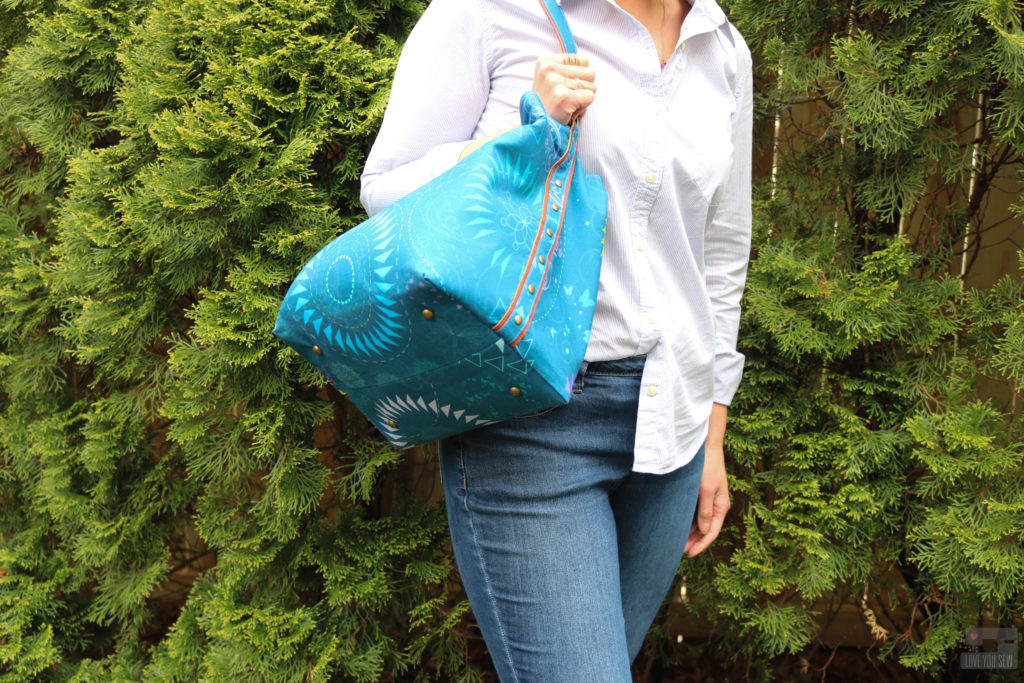
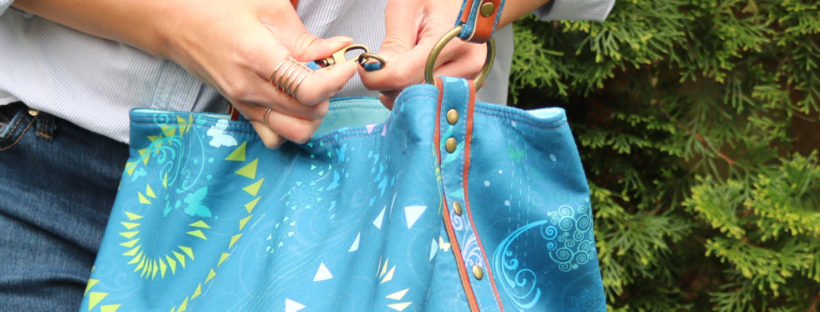
But what I really love about Paradigm fabrics is that this line IS completely Sarah.  If you follow her quilt designs and pattern motifs, you see her love of geometric shapes, vivid color and there is always a butterfly close by.  So when I wanted to make a Bucket Bag (pattern to be published in the fall) for the tour, I chose this gorgeous focal print in Denim.  It has all of the swishes and spirals found in her quilting along with all the flying geese found in her piecing — all Sariditty!
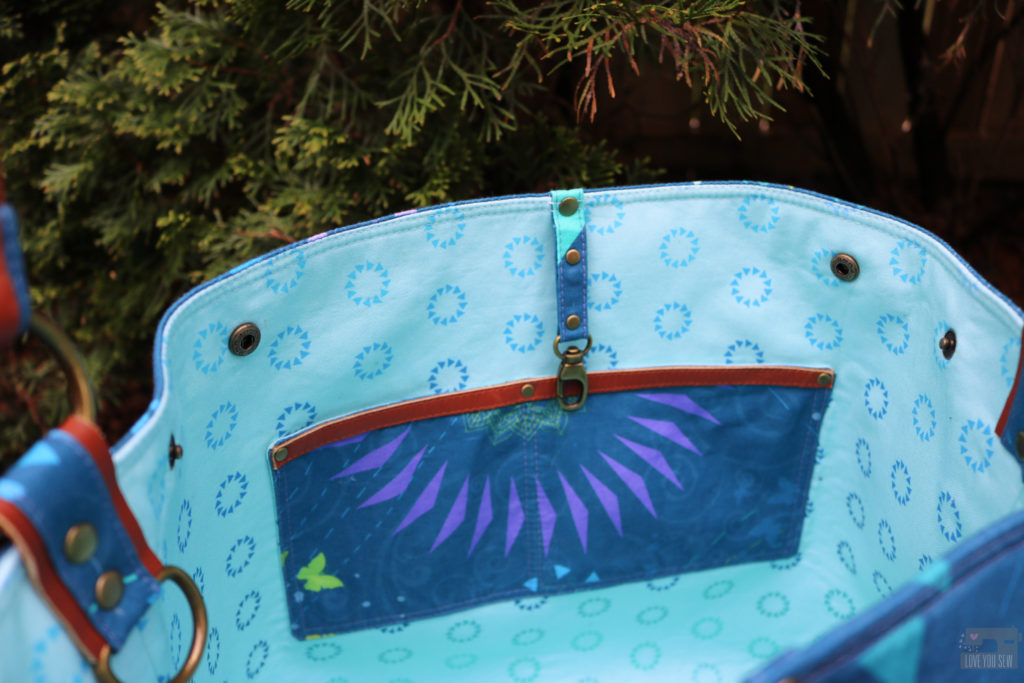
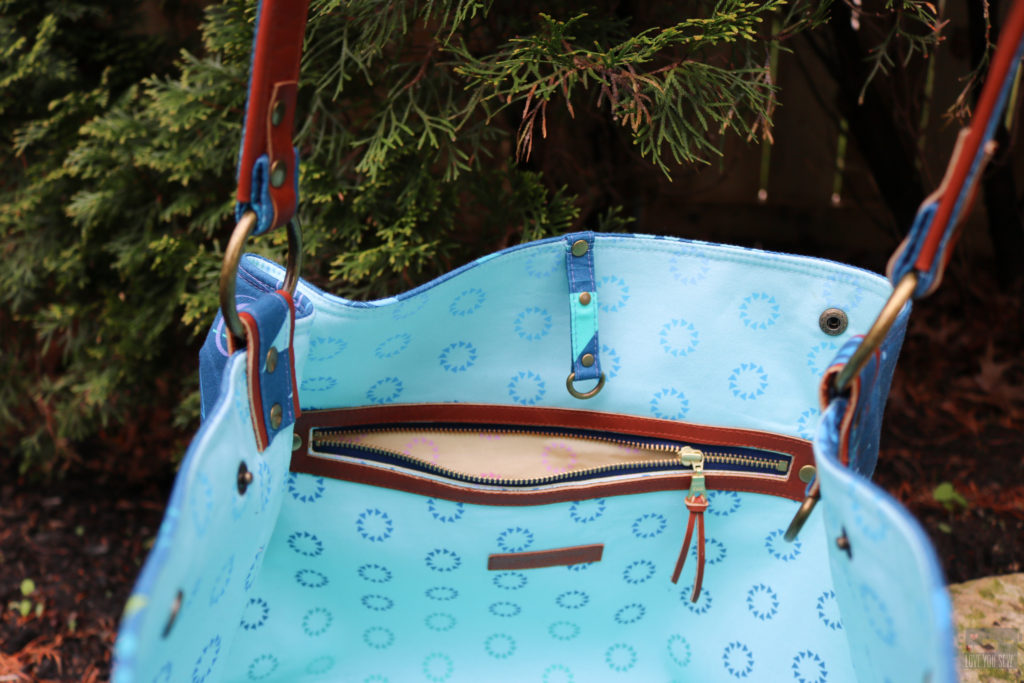
For the interior, I used the half-yard bolt of Tidepool which is split with both the blue and yellow colorways of this design.  The flying geese in each print moves across different color values — from a light periwinkle to deep navy.   The changes give a lot of visual movement and why I thought it would make the perfect lining fabric.
To make sure I utilized this bolt, I used the yellow half of Tidepool as the pocket bag and interior of the slip pocket.  The triangles change from a light pink to a deep rust on this color way.  I love opening the zipper and seeing the fun pop of color to complement all of the blue.
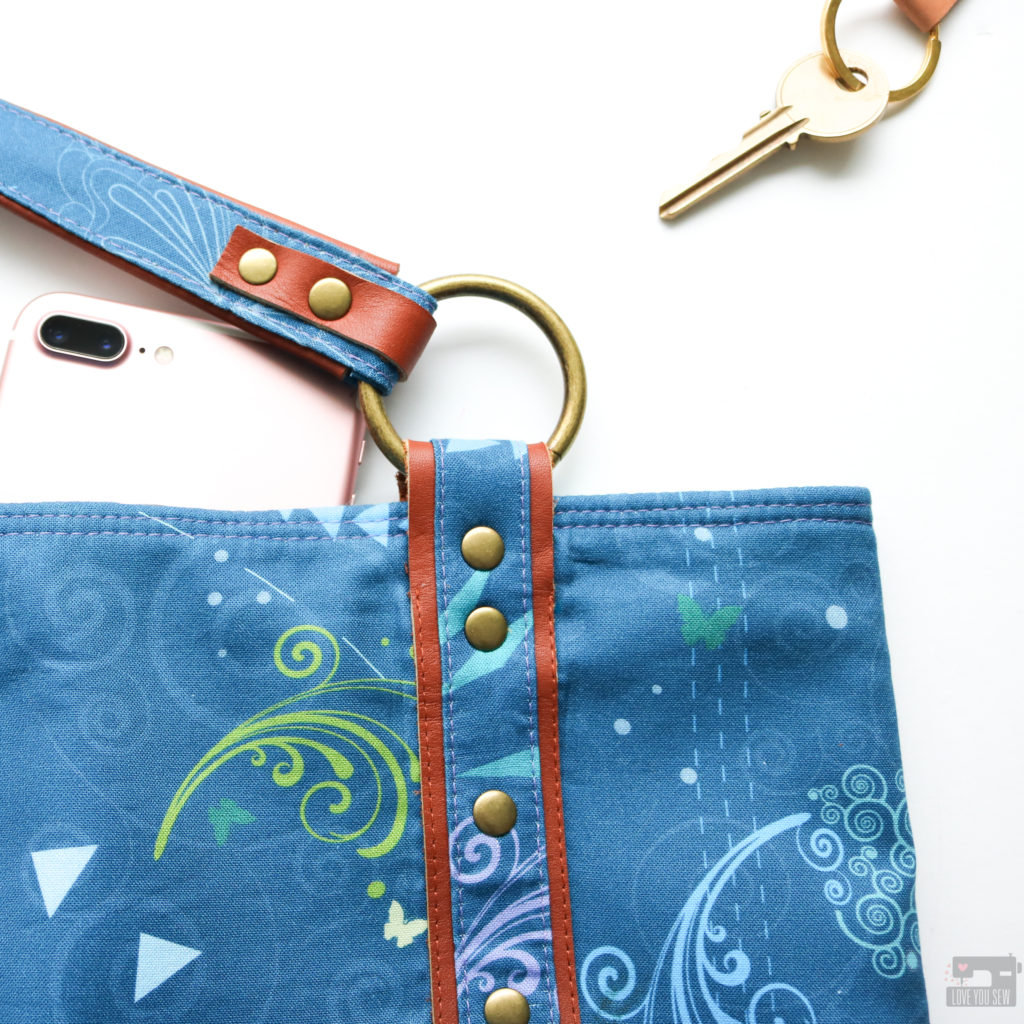
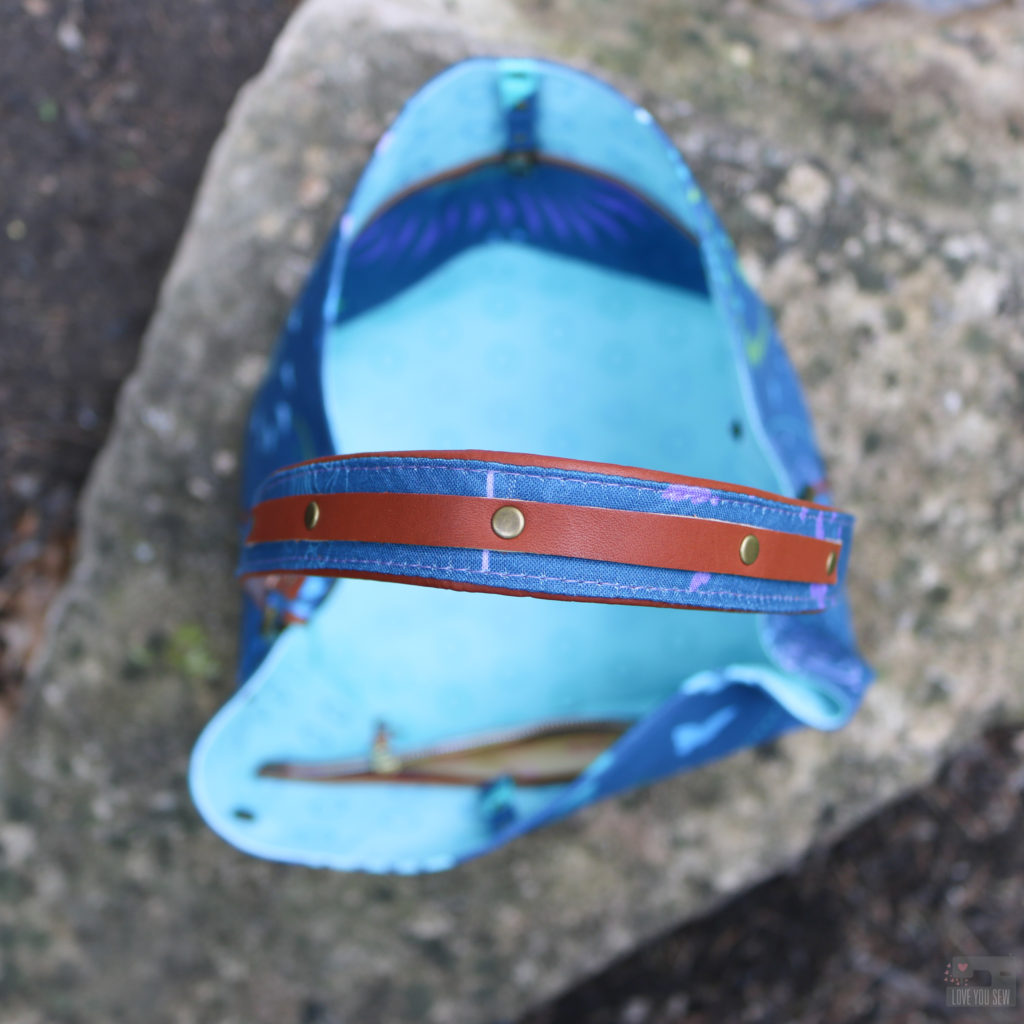
When making bags, I love to mix in some other substrates with all of this quilt cotton.   I couldn’t help but pull out this gorgeous chestnut colored leather out of my stash to help accent and bring out the beauty of Paradigm both on the inside and outside of the bag.
And of course, there is the purse hardware.  With all the lovely pops of chartreuse, teal and violet, antique brass hardware was definitely the right choice to work with all of these fabrics.  I used rivets on the outside to work with the designs on the Denim panel and circle rings to echo all of the flying geese and swirls as well.
This bag is ready for our next quilt adventure and I hope you get to check it out in May at Quilt Market 😉
The party is just getting started so don’t forget to visit all of the other incredible makers on the Paradigm Showcase Tour through May.  Click through to the makers below or follow along on Instagram via #paradigmshowcasetour #sariditty.

Schedule:

22 April – Cristy Stuhldreher @loveyousew_ (You are here)
23 April – Rebecca Bryan @bryanhousequilts 
24 April – Hilary Jordan @byhilaryjordan
25 April – Tiffany Sepulveda @sewtiffany 
26 April – Karie Jewell @kariejewell 
27 April – Jen Timko @jentimko
28 April – Cheri Lehnow @tinkerellen
29 April – Karen Miller @redbirdquiltco
30 April – Karen O’Connor @ladykquilts
1 May – Nicholas Ball @quiltsfromtheattic
2 May – Nicole Daksiewicz @modernhandcraft
3 May – Nichole Vogelsinger @wildboho 
4 May – Kate Toney @toughkittencrafts
5 May – Sheri Cifaldi-Morrill @wholecirclestudio 
6 May – Karen Tripp @karenthediyaddict
7 May  – Isabelle Selak @southbaybella
8 May – Elise Kwon @eliseandemelie
9 May – Jessica Kapitanski @sallietomatopatterns
10 May – Suzy Williams @suzyquilts 
11 May – Sarah Thomas @sariditty


Fabric was provided for this blog post.  All thoughts and opinions are my own – I really do adore Sarah. 

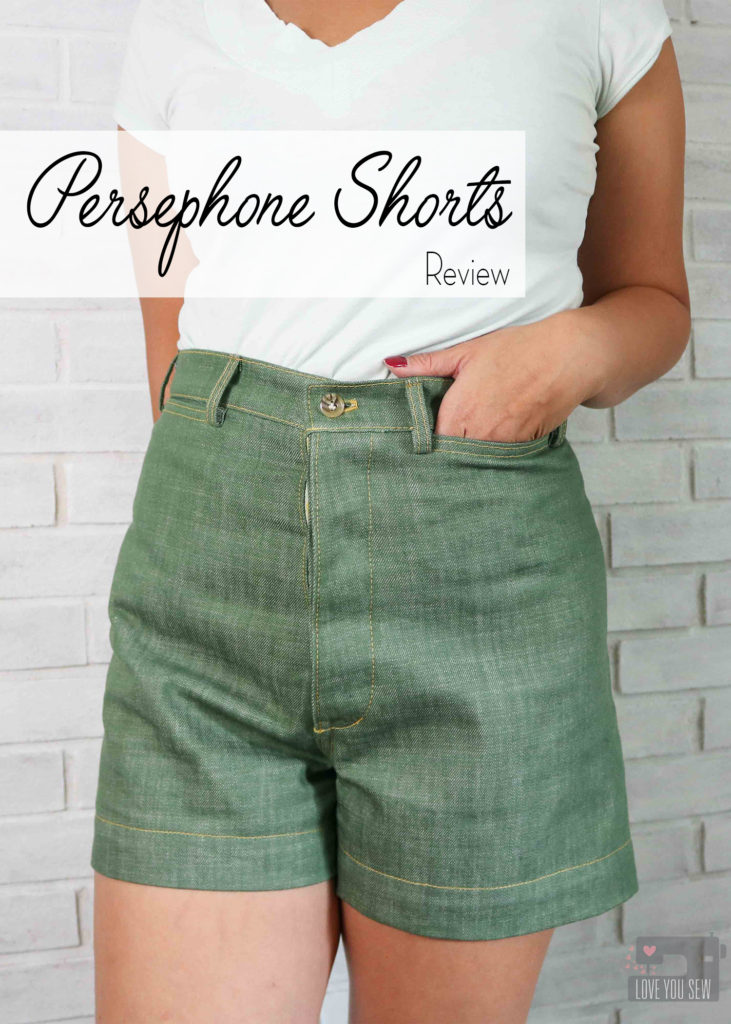
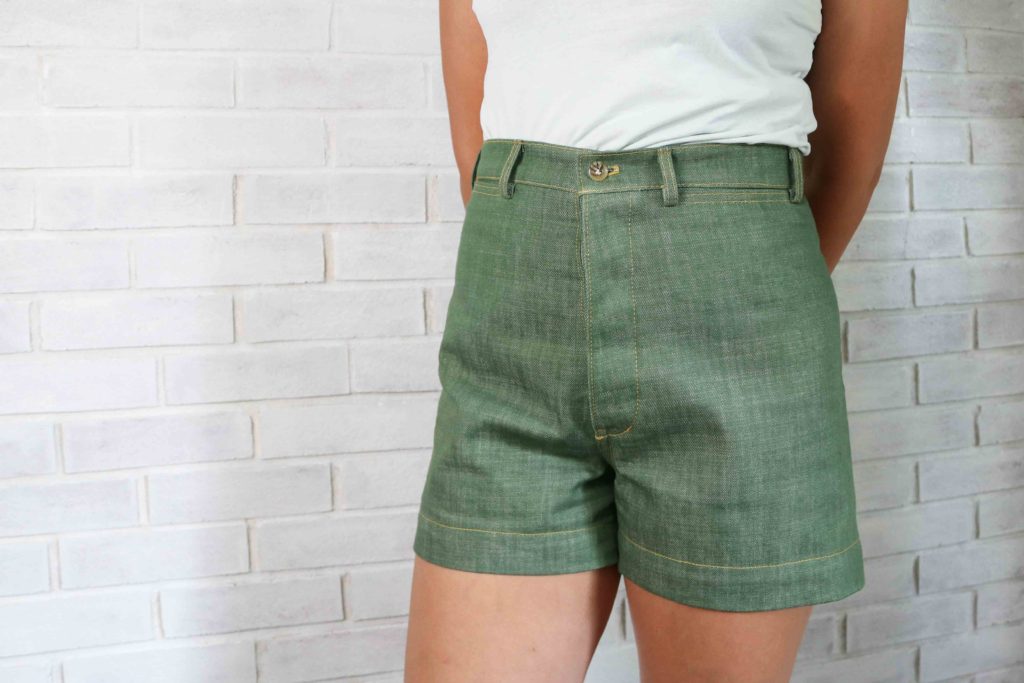
Sewing the Persephone Shorts

Like everyone and their mama, I scooped up the Persephone Pants pattern by Anna Allen Clothing last summer. I made these shorts last summer as well…and even took the pictures…but this post was left on the back burner while I had other blog deadlines to fulfill. While pulling clothes for our spring break trip, I was reminded inspired to finally finish this review — especially for all of you who are heading into shorts season as well!

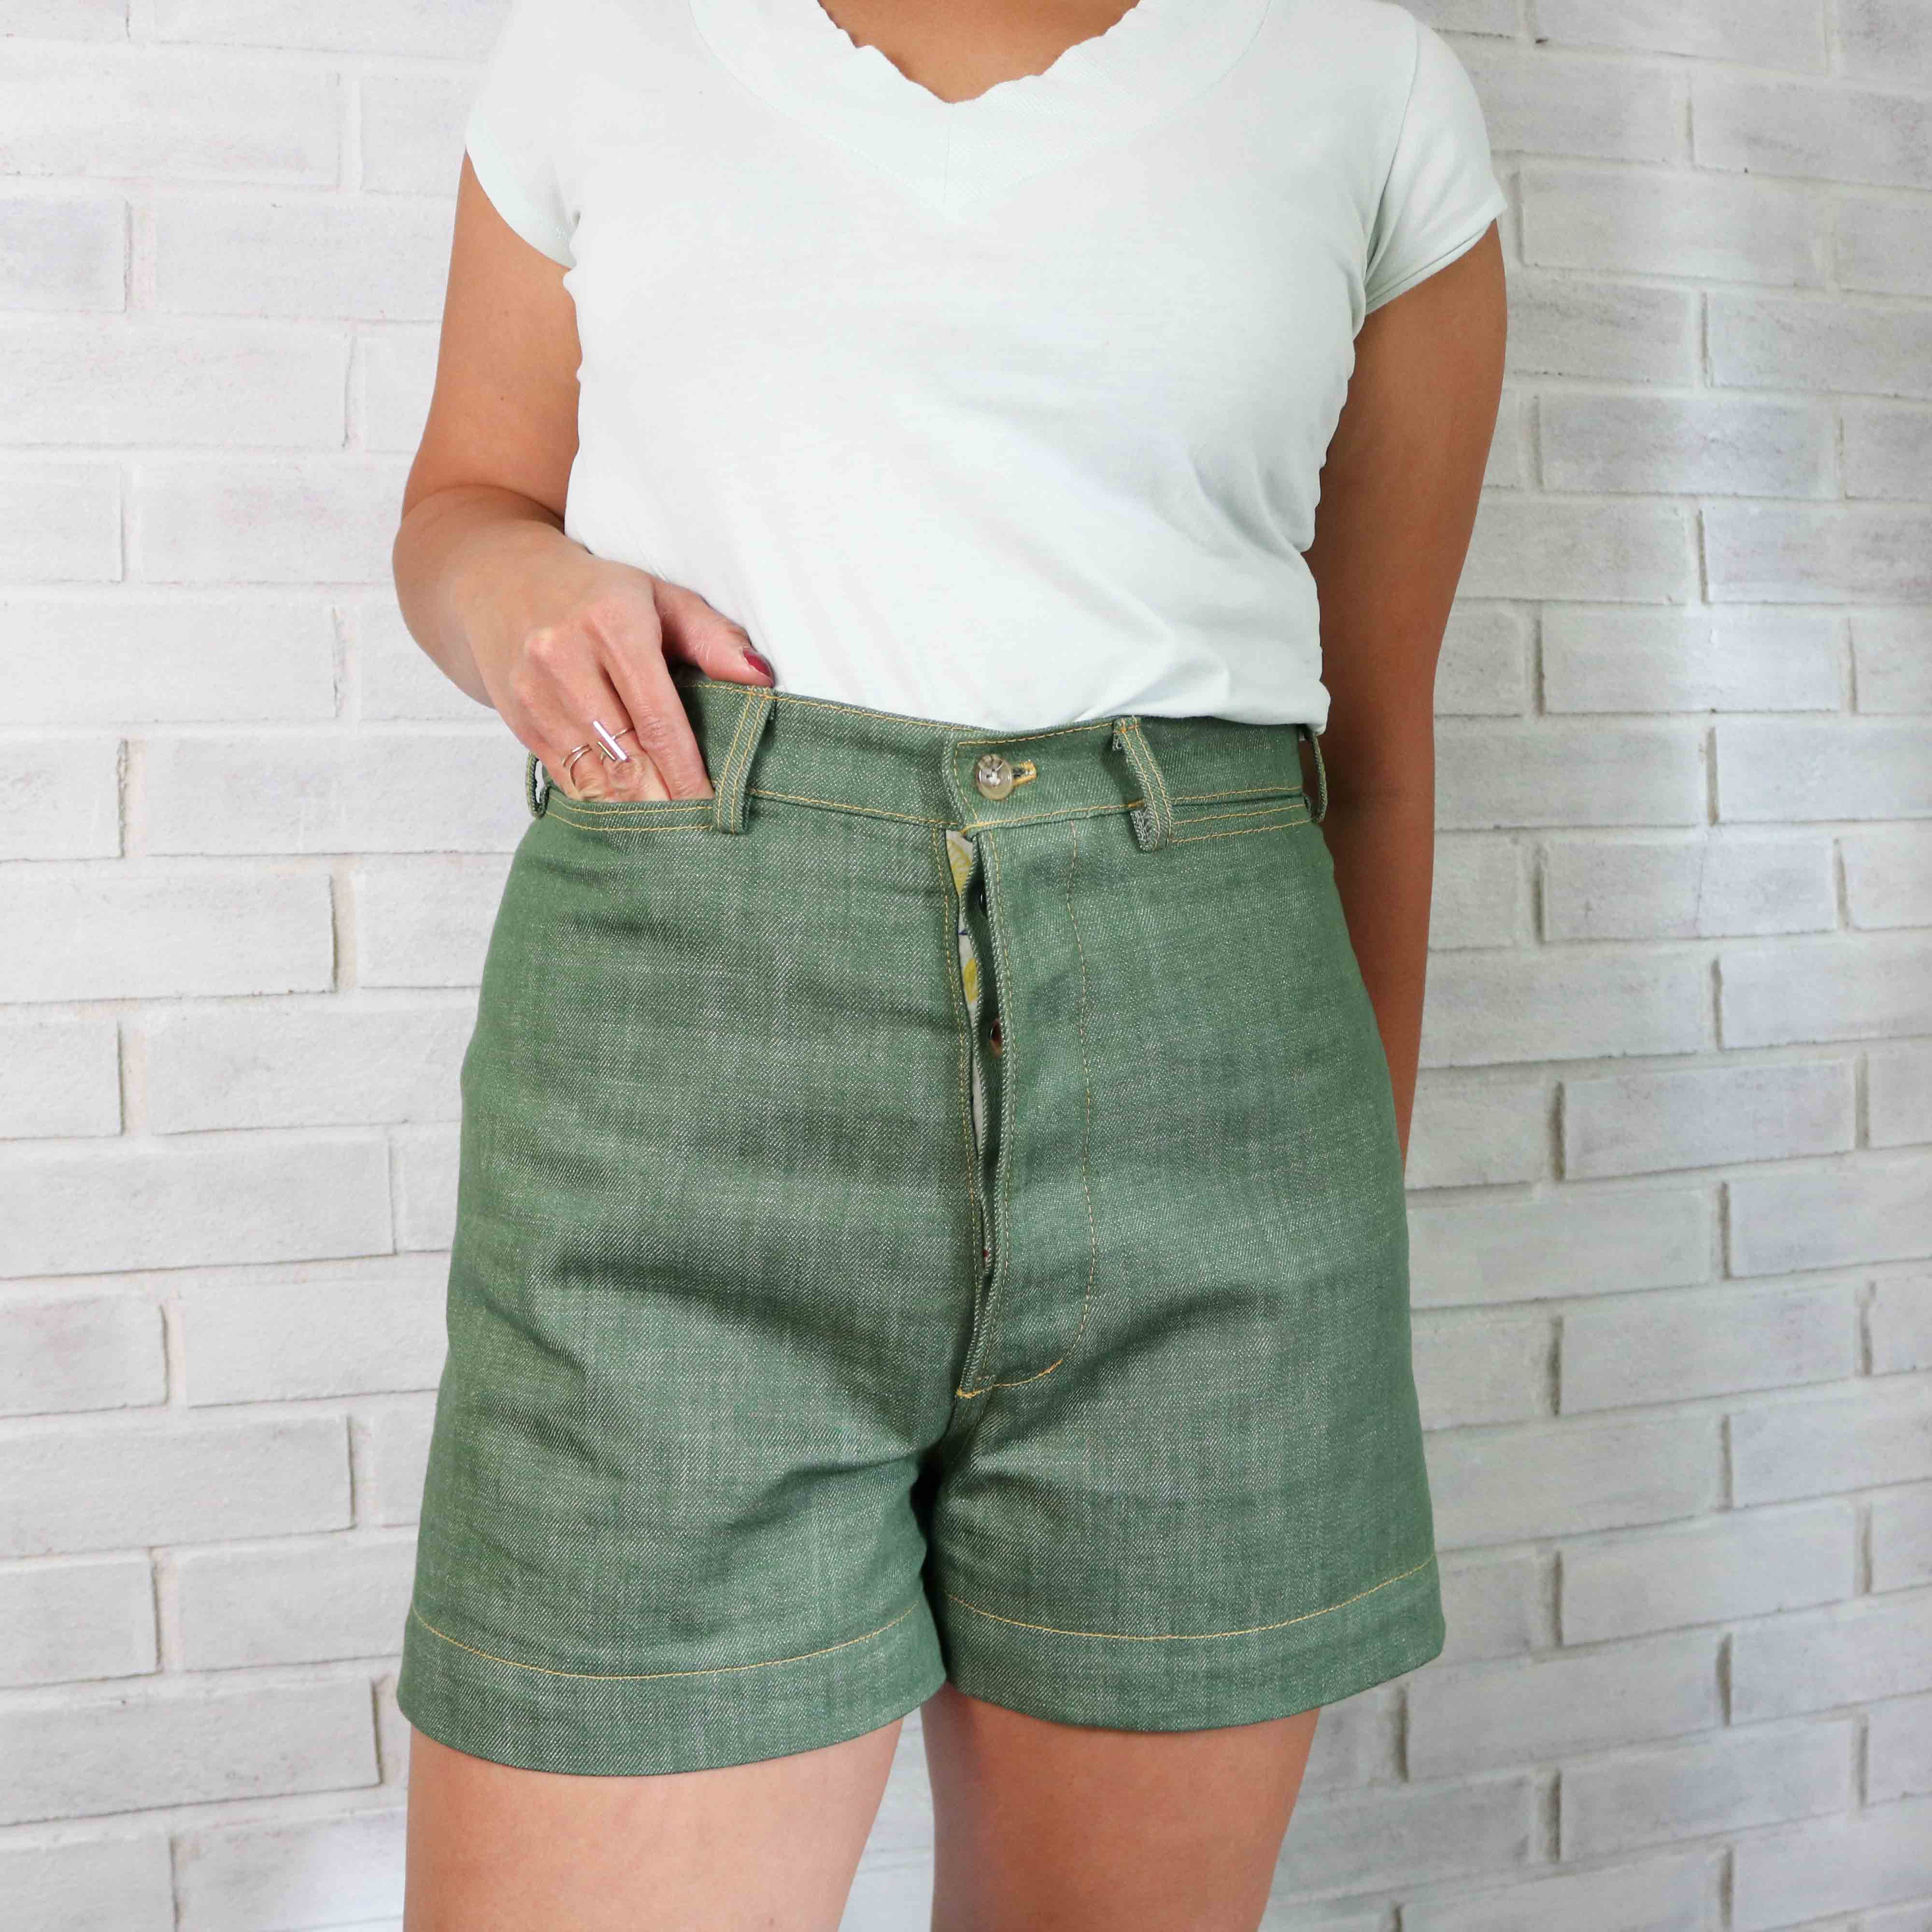
The inspiration behind this pattern were the wide-legged, high-waisted sailor pants from the 20-40s. The Persephone drafting is unique in that there are no side seams which made fitting a little different, but still doable with a muslin. These shorts are my wearable muslin since I could work on the fit around the waist and hips, but save all the fabric from the legs.

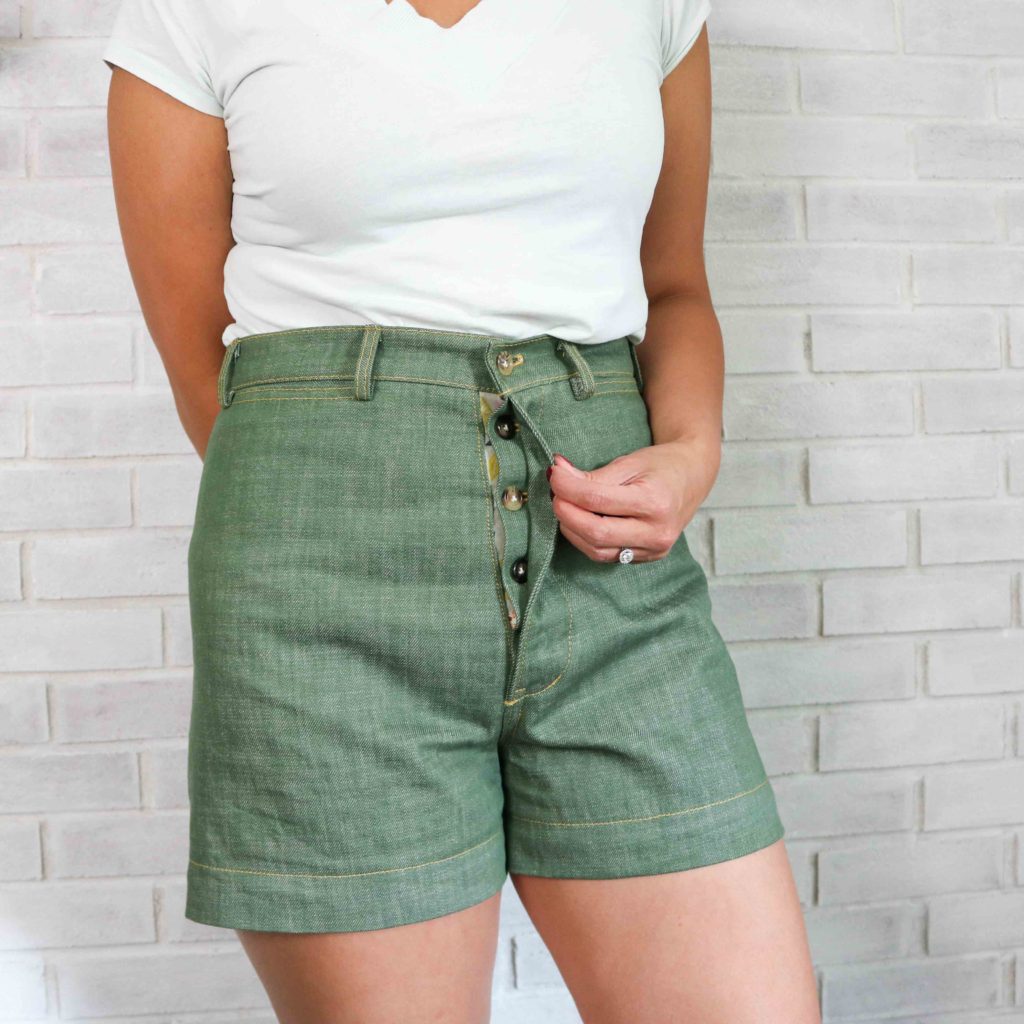
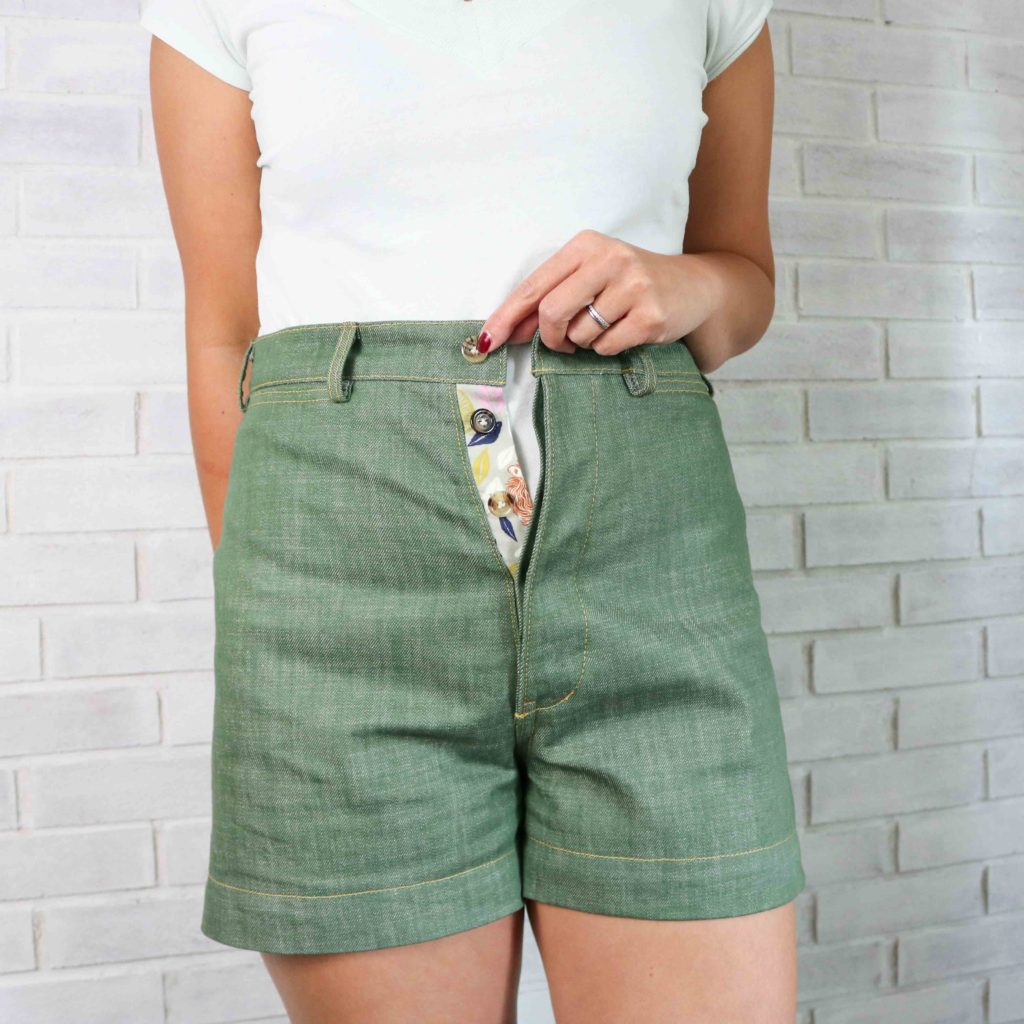
These pants feature a hidden button fly, but Anna released the zip fly expansion pack after I made these. When I make the full pants, I would like to use a zipper to make getting them off and on more easily. Also, I’ve been getting creasing at every space between the buttons, so I think a zipper will help smooth that out.

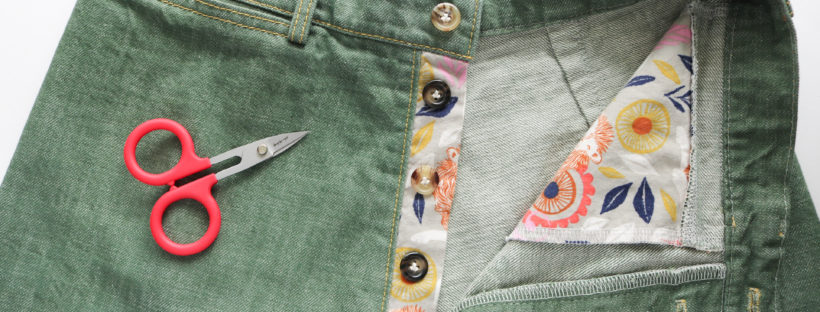
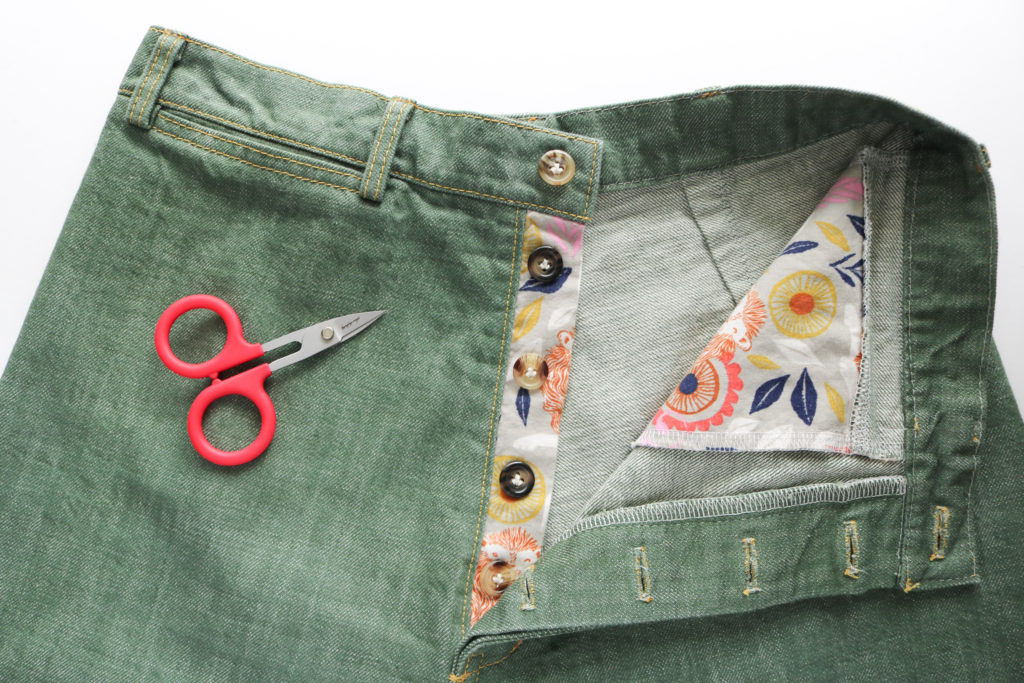
With the hidden button fly, I figured I could also get a bit crazy with the buttons. I’m still working through my MIL’s old stash and couldn’t find five matching colors in the same size. But I did find five with the same size and just alternated the colors.

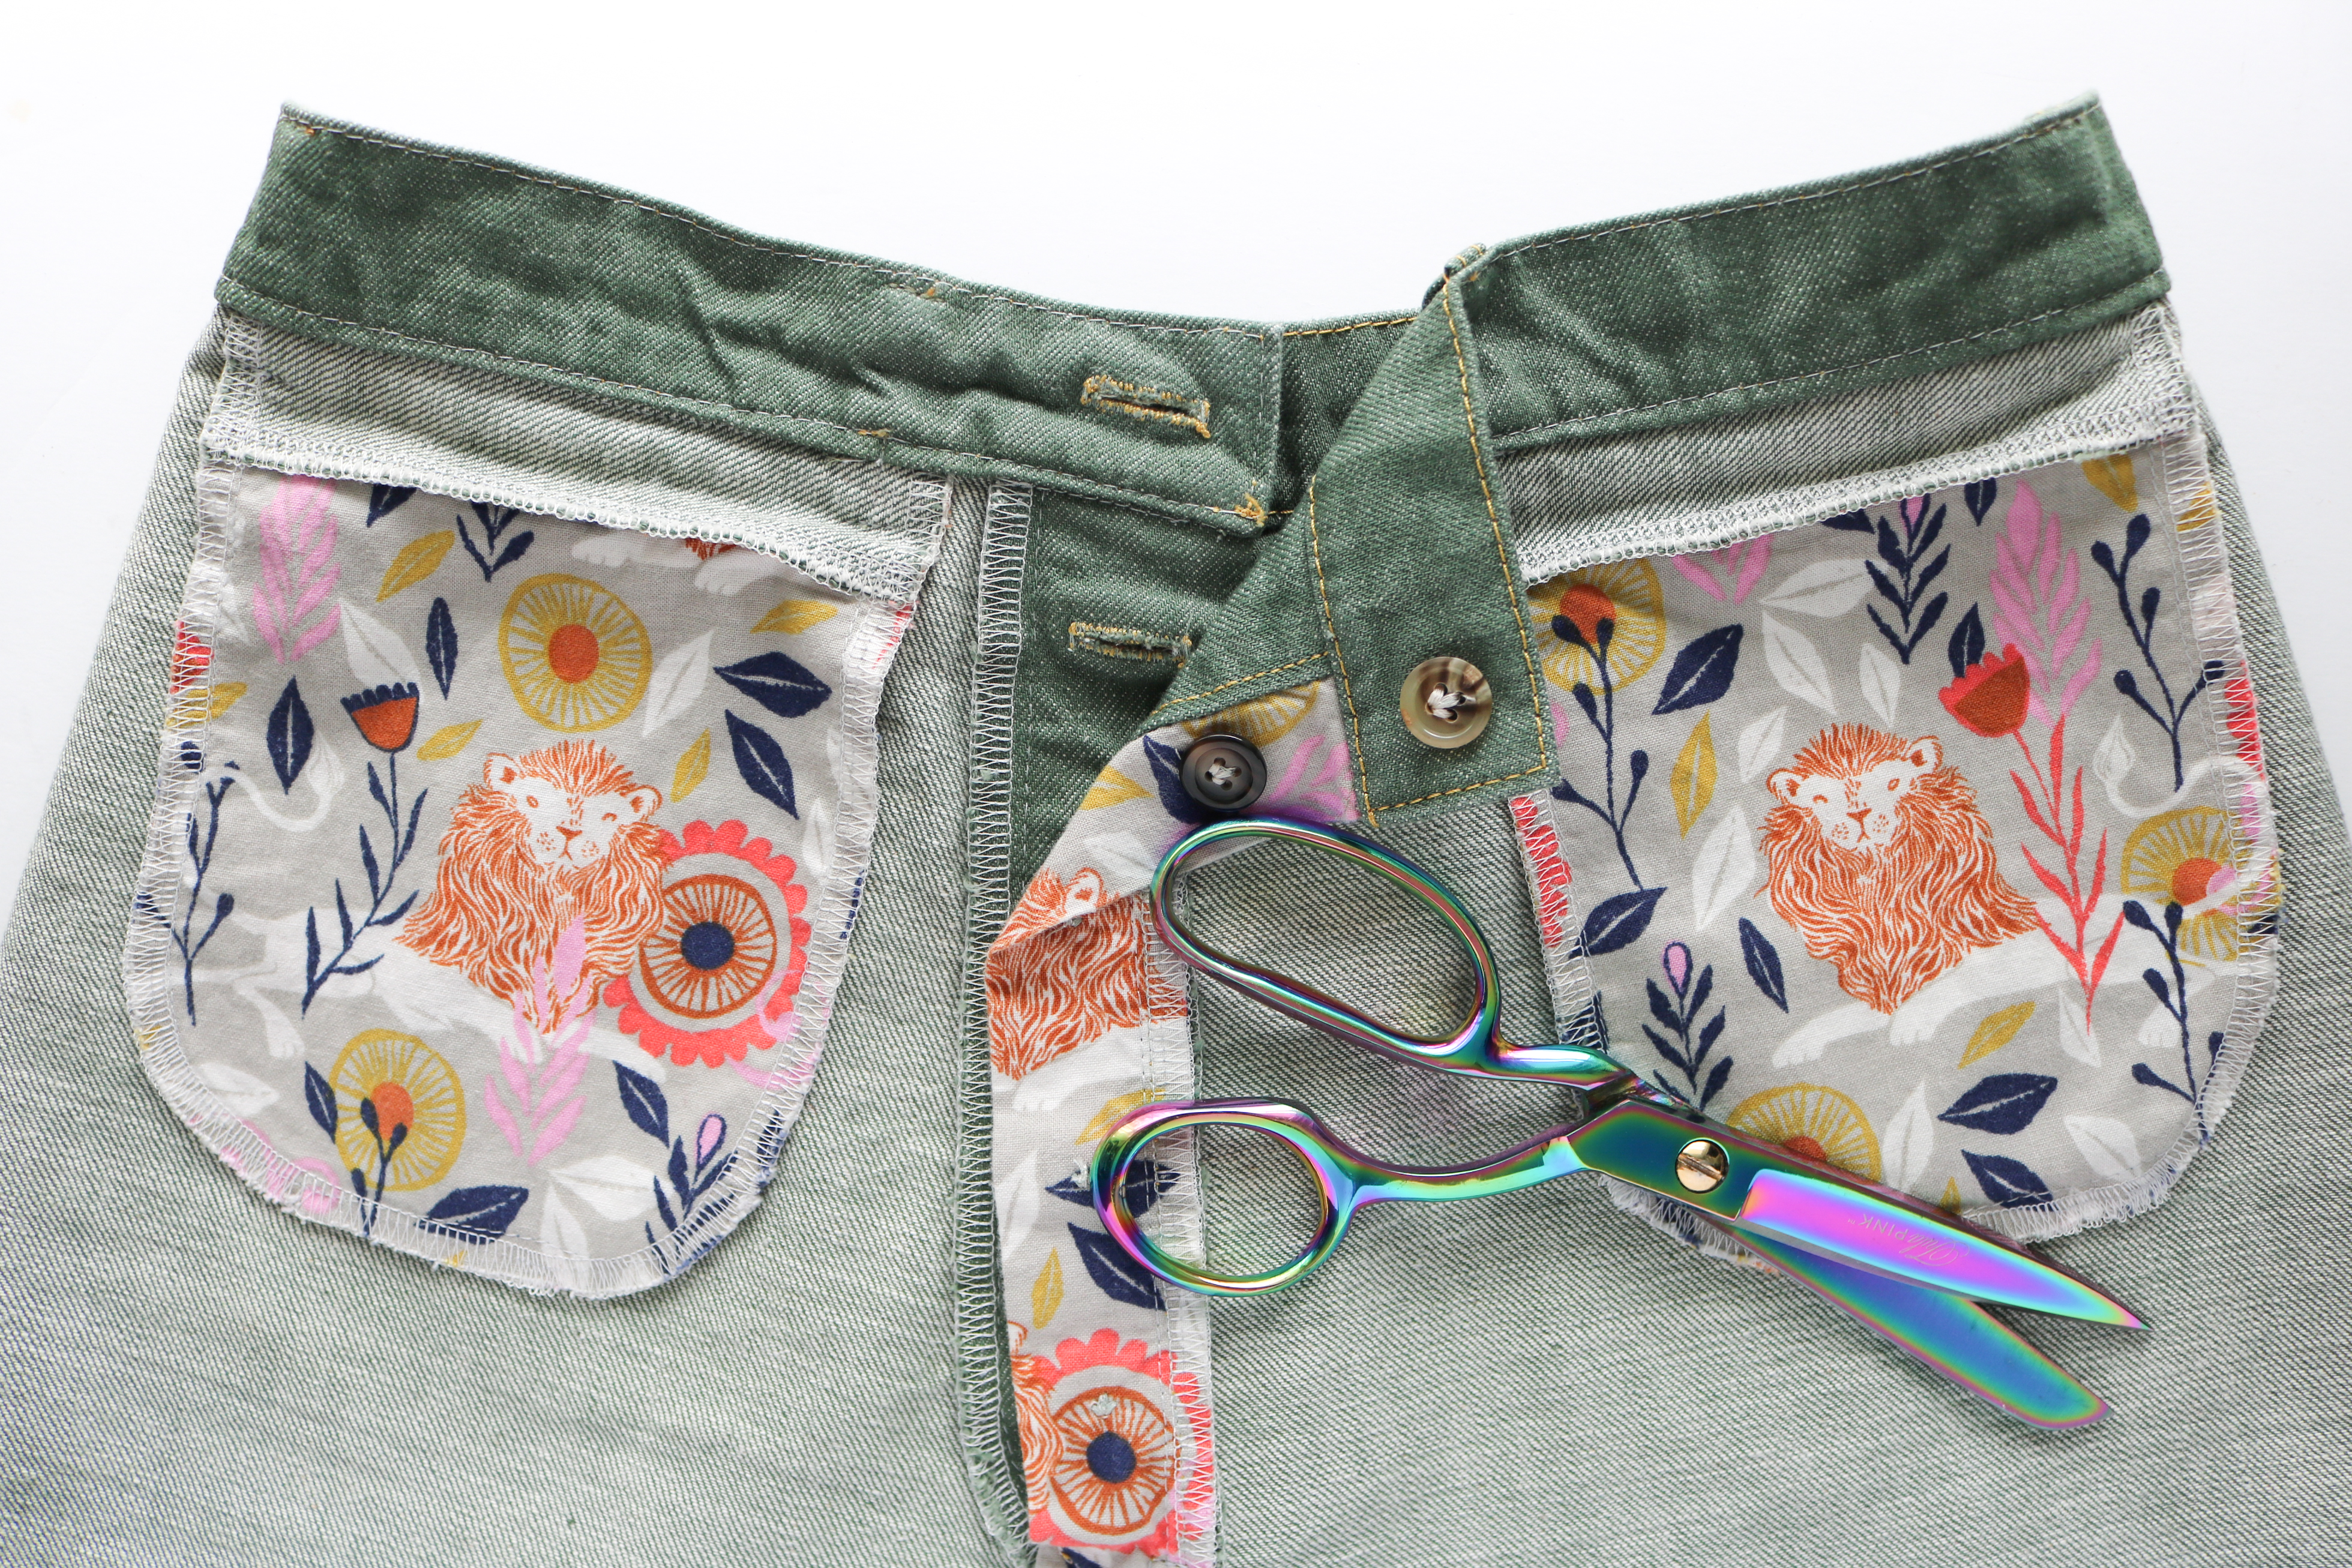
Even though these Persephones were a muslin, I still wanted them to be fun…and you know I love surprise garment guts! With this great Olive Cone Mills denim, I reached into my quilt cotton stash and found this print by Sarah Watts. The colors go so well with the denim and who doesn’t love some lions?

I used the quilt cotton on the fly facing as well as with both in seam pockets. You can see I fussy cut the pockets and love how they turned out. However, these are pretty small pockets and can only hold a small set of keys or some chapstick. I’ll still keep them in my next pair, but will add some back pockets for more storage.

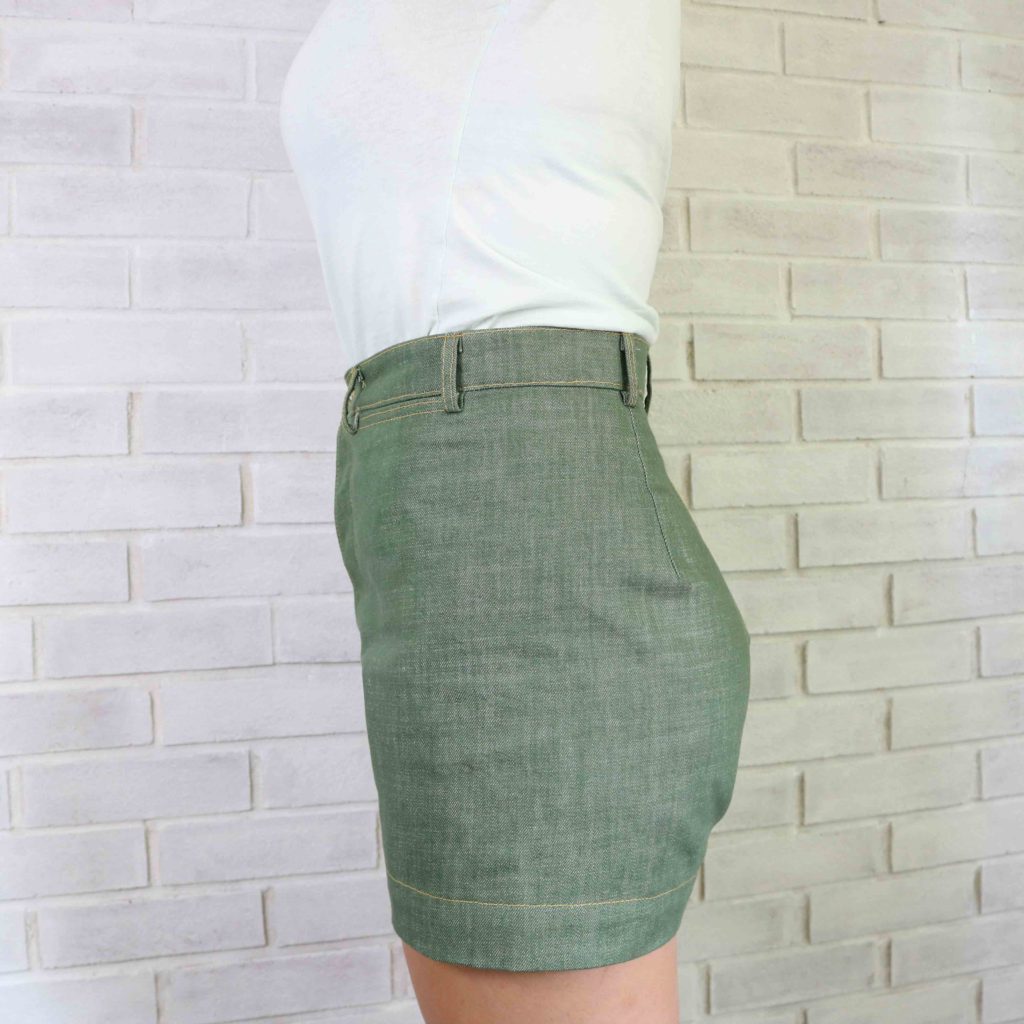
With almost all pants, I know my measurements run between two, if not three sizes. I cut a size 8 in these Persephone shorts and graded the hips out to a 10. I left the rise as it was drafted, but at 5’3″, the top of the waistband sits about 1 1/2″ above my belly button. Although, I love the super high-rise look, the pants push a bit too high when I sit. Next time, I will reduce the rise by ~1″.

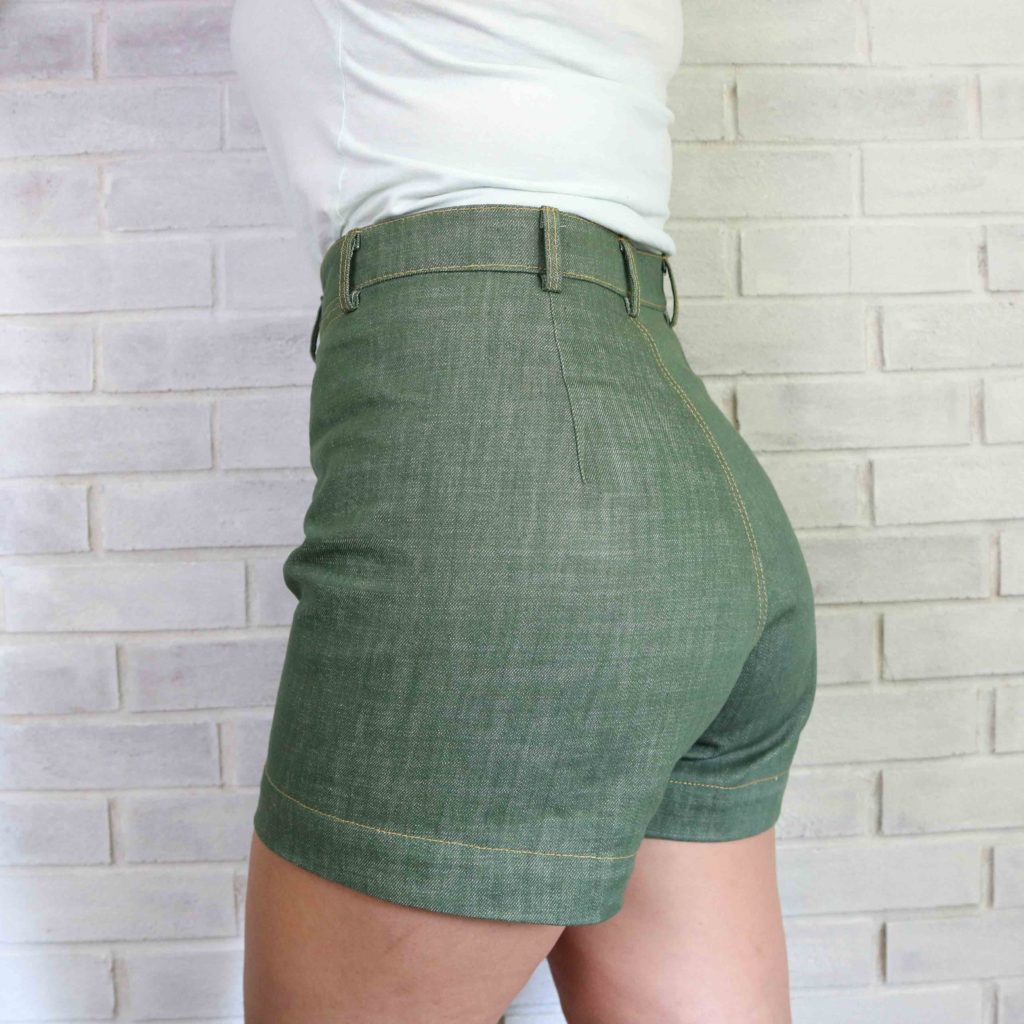
My fit issues are always around my booty. There was lots of back and forth with baste fitting going on, but I was able to work out the following:

  • Increased each dart on the fold by 1/4″ (1/2″ total) which was 1″ taken out of the waist overall.
  • Low buttocks adjustment – Extended each dart by 1 3/8″ to where the curve is extended out the most. I had to do this after seeing the dart poke out rather than sit smoothly on my backside.
  • Took an additional 1/4″ out of the center back (1/2″ overall)
  • Scooped out the seat by 1/4″ to reduce wrinkling around the back thighs. But since I already cut the fabric, I couldn’t compensate and add 1/2″ to the crotch length. You can see there is a slight “wedgie” effect since I didn’t lengthen the seat. But after a year’s worth of wear, this non-stretch denim has really molded to my shape. The fabric has actually relaxed more in the seat and I’m not seeing (or feeling) that wedgie anymore! Not all fabric is as forgiving, so I’ll definitely make sure I add in the extra fabric with my next make.

Overall, I LOVE the fit of these Persephone shorts. I have always had a hard time finding RTW shorts with room for my thicker thighs…especially when seated. The wide cut gives me so much ease around my thighs while the high-waist provides such beautiful shaping.

I have a whole winter’s worth of bottom weight scraps and can’t wait to make a few more pairs of these shorts for the summer ahead! Are these in your summer sewing queue?

Happy Sewing!

Cristy

Project Summary:

  • Pattern: Persephone Pants by Anna Allen Clothing; Shorts View
  • Fabric: Olive Cone Mills Denim from Imagine Gnats
  • Lining: From the August fabric collection by Sarah Watts for Cotton + Steel
  • Thread: Gutermann Denim for Top-stitching and Gutermann all-purpose poly for piecing and tacking the carriers.
  • Machines: Juki TL-2010Q, Singer Quantum Stylist (for buttonholes), and Juki MO-2000QVP

This post may contain affiliate links for which I may receive a very compensation. These payments help to keep the website up and running. Thank you for your support!

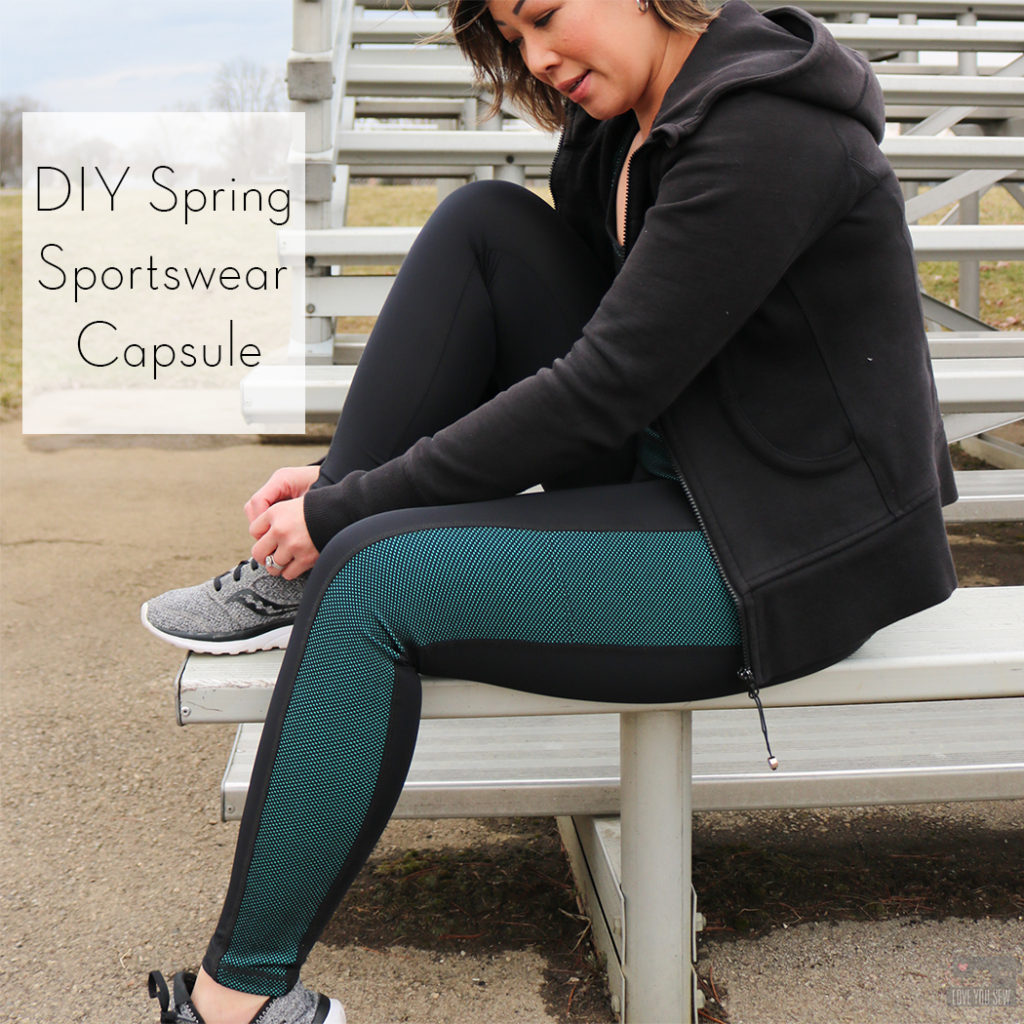
DIY Spring Sportswear Capsule

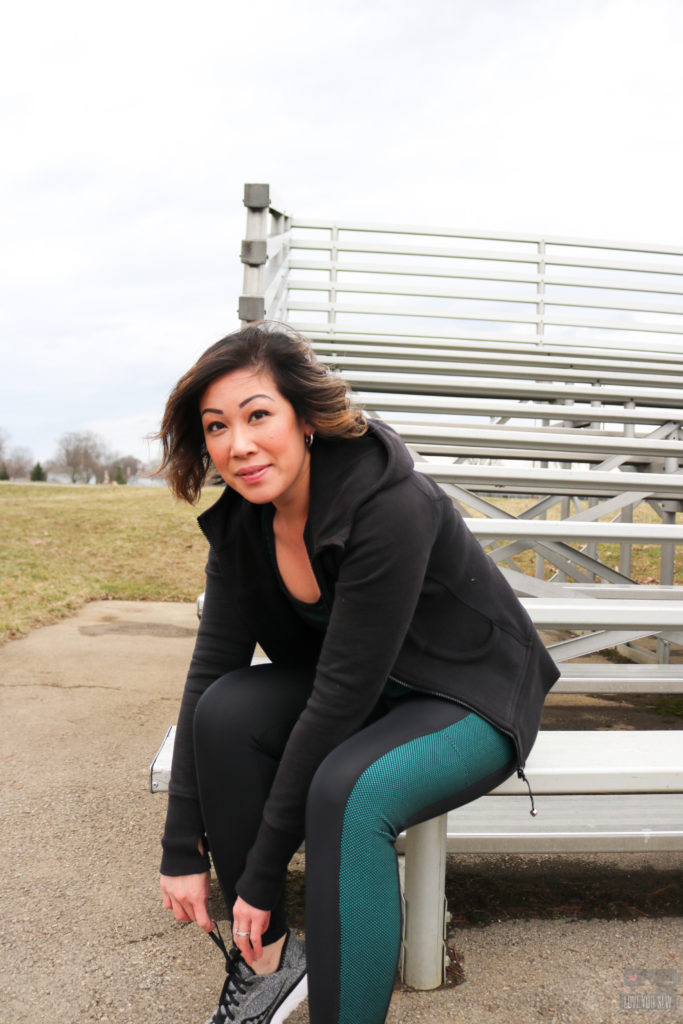
At the beginning of the year, I made a promise to myself to get more physical activity into my life. Working from home is absolutely wonderful for its flexibility and the fact that I could work in my pajamas all day.  However, it can easily become the norm and the motivation to leave really drops low…especially when you sit behind the sewing machine for a good part of the day.  So, I started to take Zumba classes at a local studio and really love the energy of the people and how they keep me motivated to keep coming.  Since I go a few times a week, I’ve quickly realized how dated and worn out my sportswear was.

Fabric

To keep up with all the jumping, squats and salsa moves, I was in desperate need of just about all workout clothing.  I figured I could make a whole capsule to mix and match with my current gear.  I’m fortunate to have my friends at Pine Crest Fabrics help me in my quest.  They just launched several lines of new performance fabrics and I got to try out two of them.

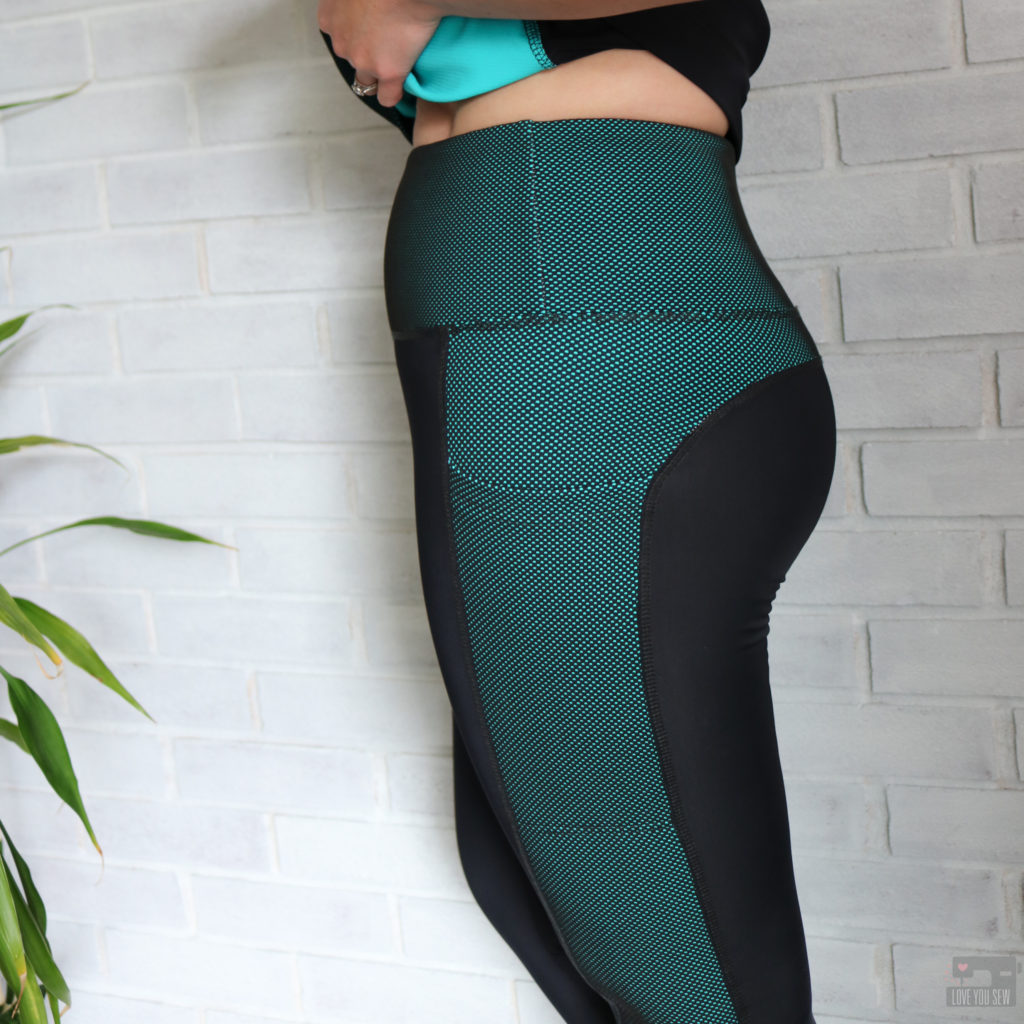
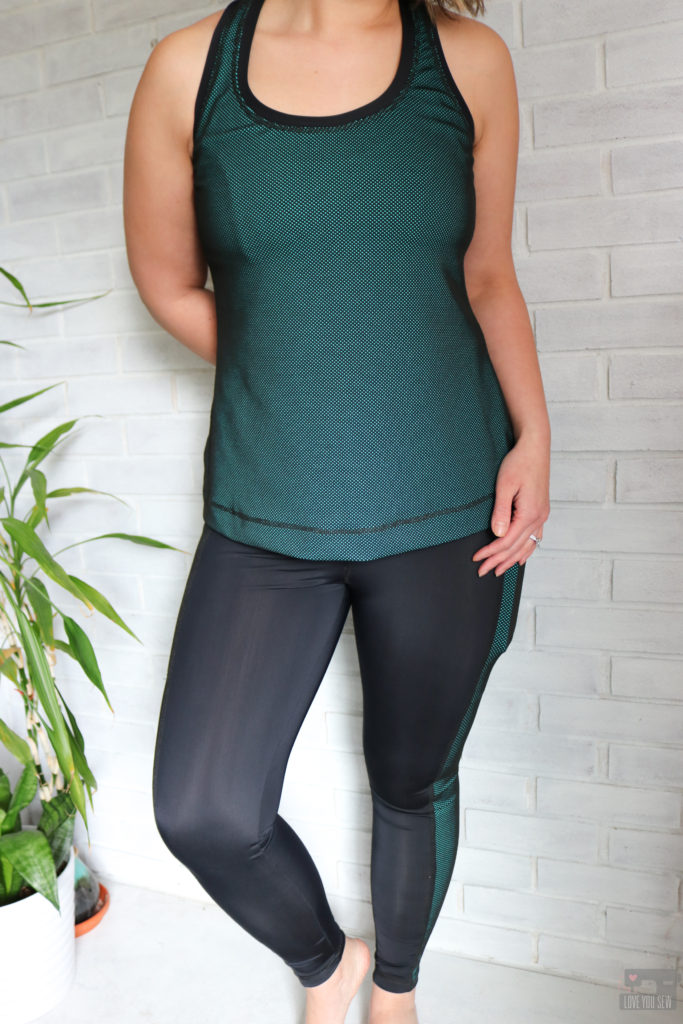
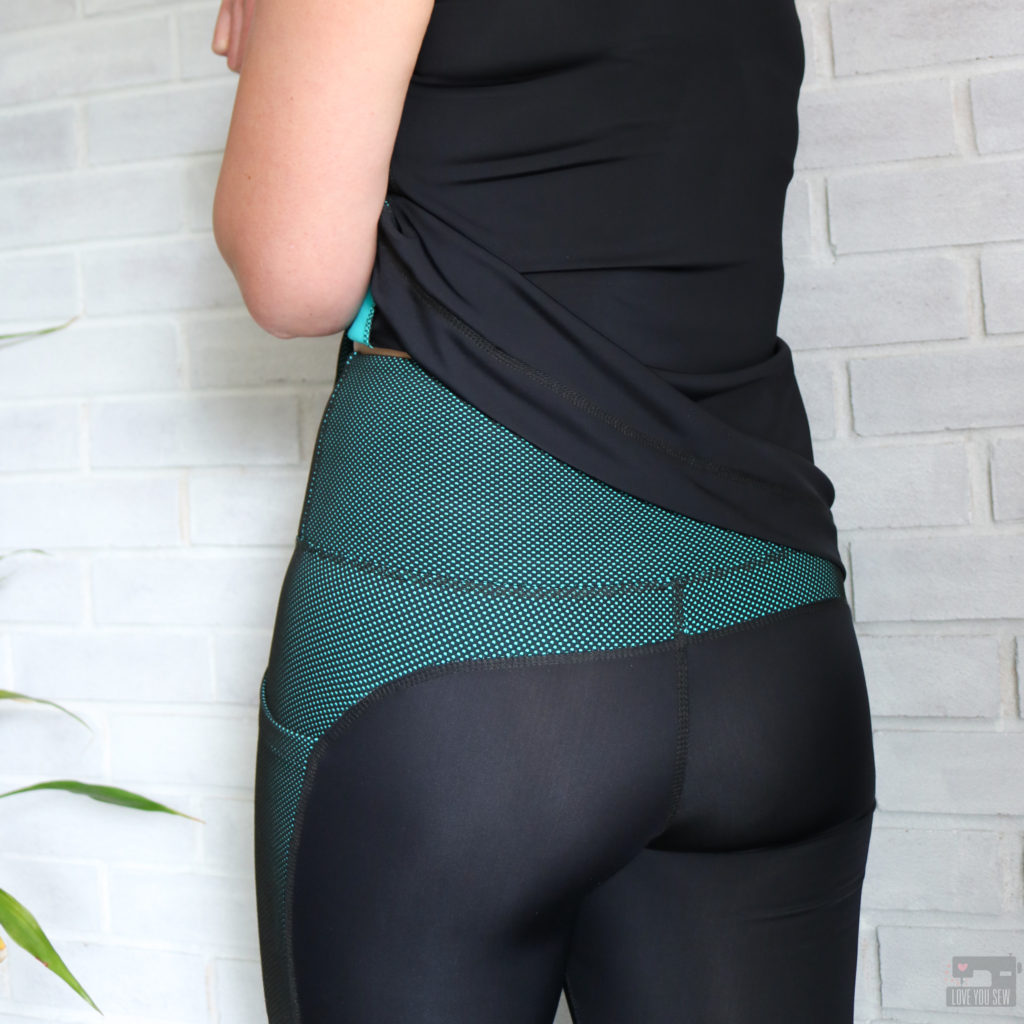
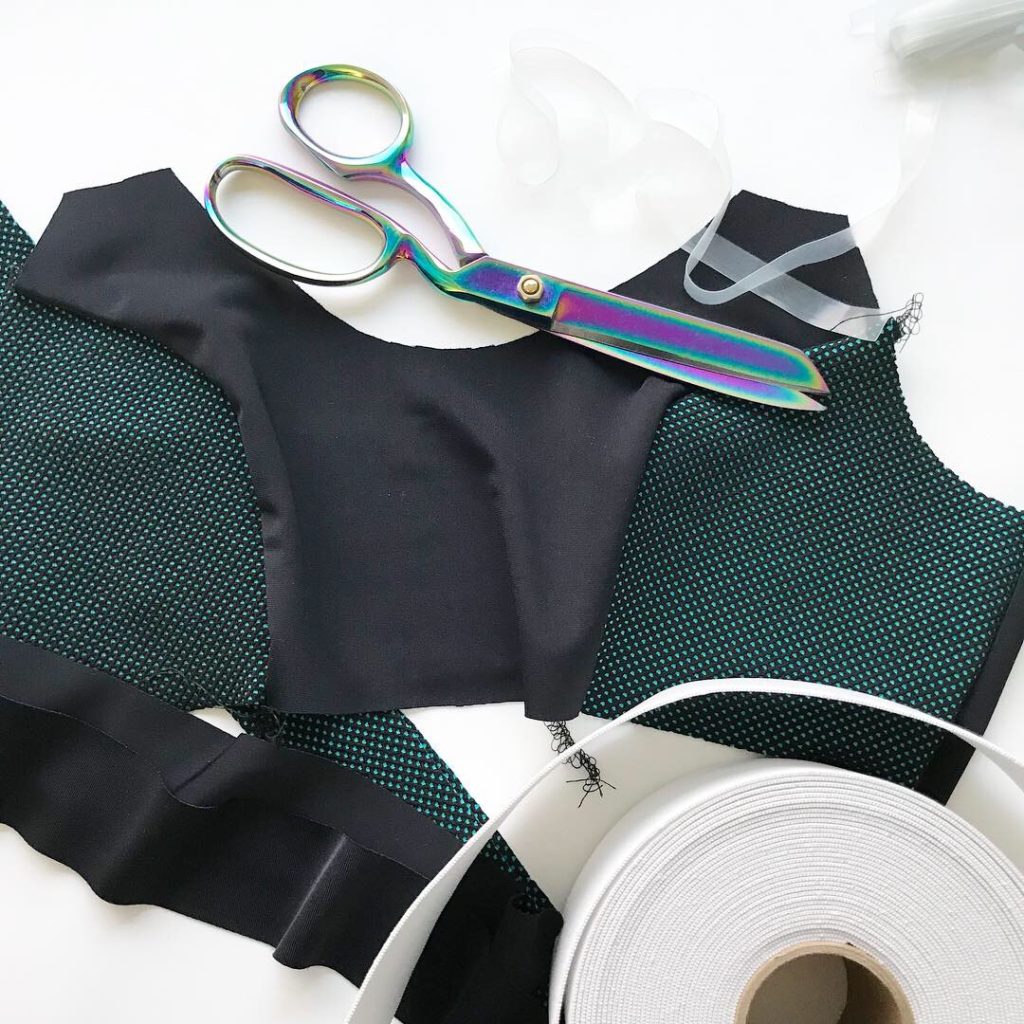
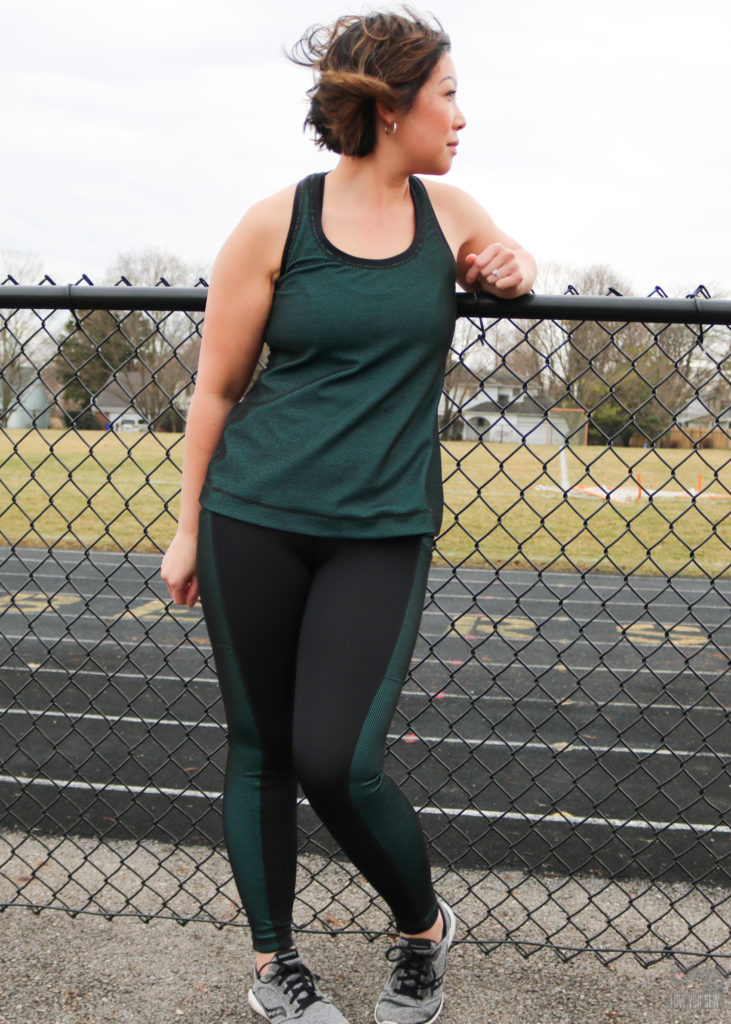
First up is this new luxury line of Textured Web Spandex available in five different colors.  I chose the Mint colorway since I don’t have any green in my workout wear.  (I swear I initially wasn’t drawn to the Philadelphia Eagles’ color combo!)  This nylon/poly/spandex blend consists of a base fabric (you can see that this one is actually turquoise) and then there is another layer of the web netting overtop — which makes it come off much more green.  I was really shocked to see the turquoise on the backside of this fabric!

With the Textured Web Spandex having two layers, its a bit heavier at 350gsm (around 10oz per sq yard) and makes it absolutely perfect for that compression feel.  I want certain things to stay put as I workout 😉  With four-way stretch, this fabric is incredibly comfortable and very soft to the touch.

I paired the Mint Web with Pine Crest’s Valor line of recycled performance fabrics in Black.  What’s really special about this fabric is that it’s made with Repreve fibers — which are created with recycled plastic bottles.  I was surprised to see that 88% of this fabric comes from Repreve.  Many times companies tout how they are using recycled material and it turns out to be a minor component…but 88% is huge!  As I make more sportswear, I’m so happy to see this is an option.

The best part is that it feels just like the other Pine Crest fabrics I’ve used before (Viper and Olympus base cloths.)  It is 260 gsm (around 7.5 oz per sq yard) and is more of your typical weight in performance fabrics.

Patterns

When I was planning out the pieces of my capsule, I knew I wanted some good leggings and a sports bra designed specifically for physical activity and not just for loungewear.  I definitely wanted the “ath” and not the “leisure” when picking out patterns.  I went to Greenstyle Creations for their sewing patterns and became a member of their Facebook group.  After joining, I quickly found out the members were definitely working out in their makes and I felt very comfortable purchasing their products.

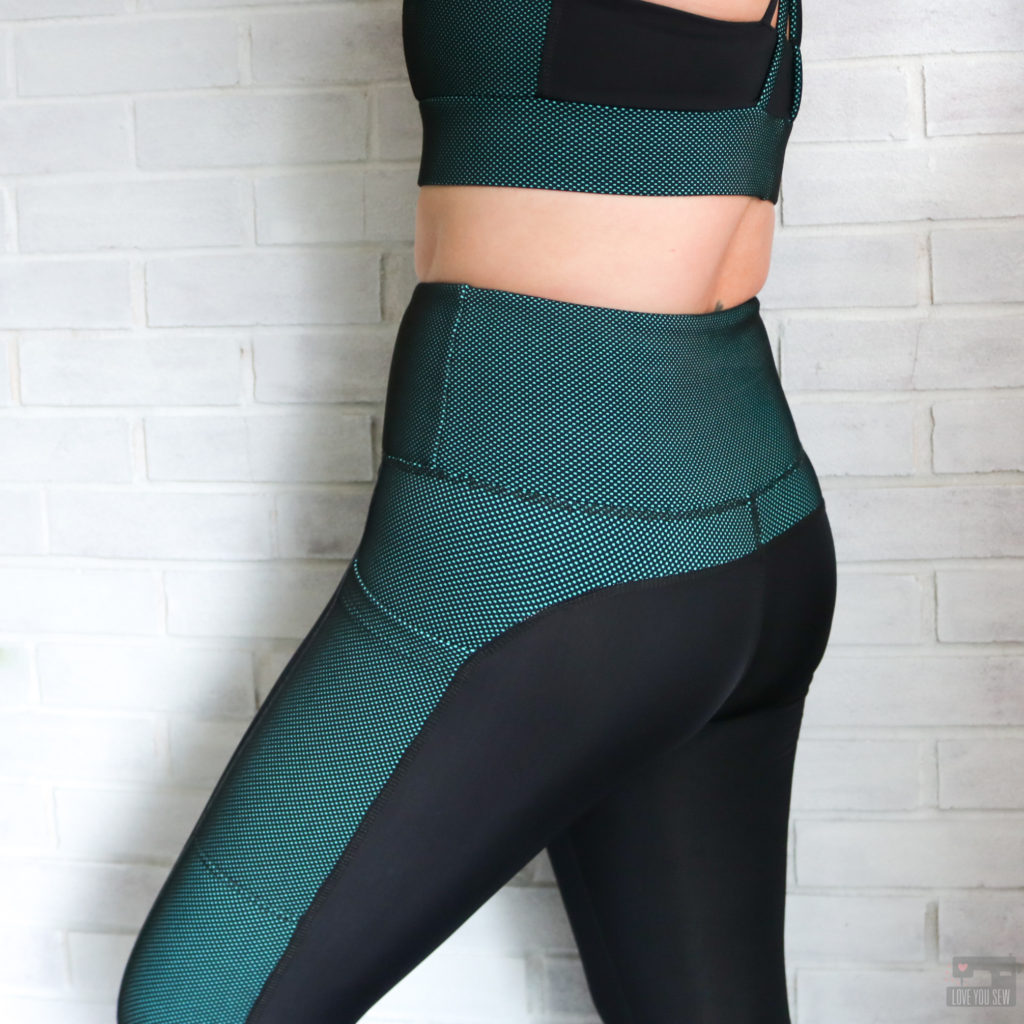
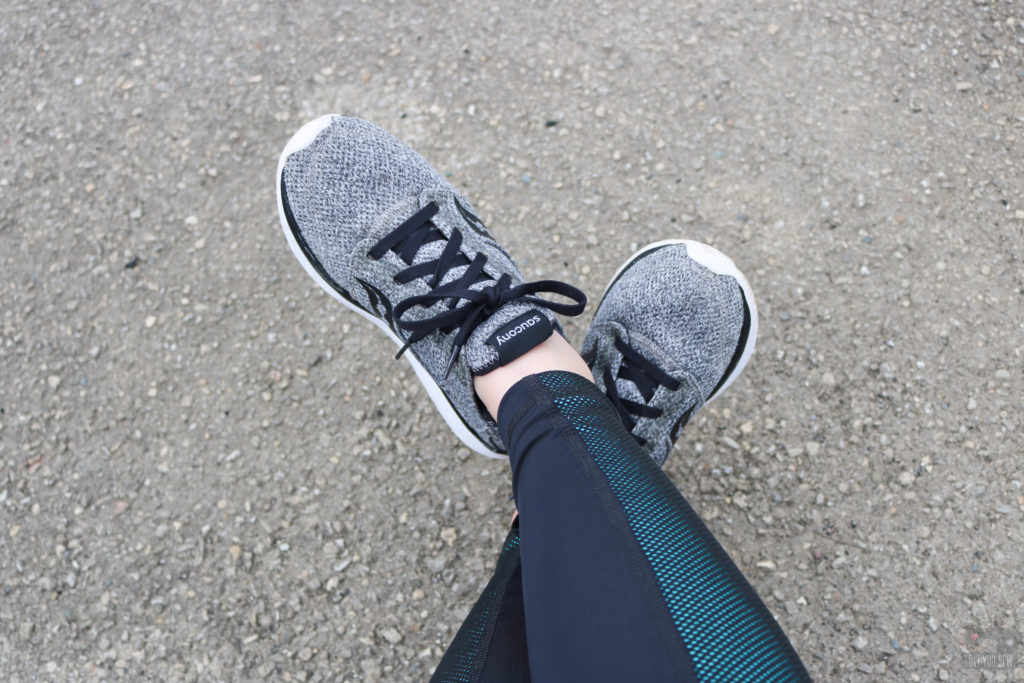
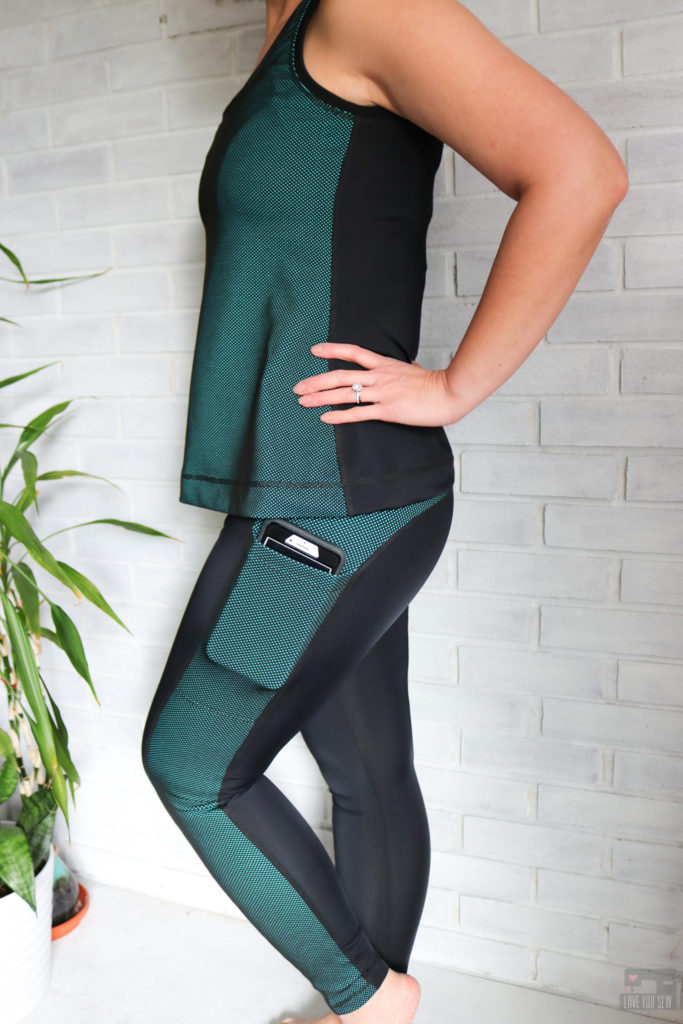
I first sewed up the Stride Athletic Tights with my new Juki coverstitch and serger.  While I love my new leggings, the process to learn my coverstitch machine was loooongggg.  (I’ll save my thoughts on it for a separate post.)  This pattern can be sewn on a regular machine and I highly suggest joining the FB group so you can see all the incredible examples which only use a standard sewing machine — It can be done!

Based on my measurements, I am a medium in the hips (40″)  and fall between a small and medium in the waist (28 1/2″.)  I cut a medium, and then cut the waistband right between the small and medium pattern lines.  Since I made the high-waisted version, I would grade to a small at the top of the waistband since my body narrows out even more there.

With the regular length inseam being 29″ and me being a 5’3″ shortie, I knew I had to shorten the pattern from the start by 1 1/2.”  I like my leggings to hit right above my ankle and just don’t like the bunching from RTW versions that are generally too long for me.  I used the shorten/lengthen line to adjust and then had to hem the tights another 2 1/2″ after finishing them.

Even though I skipped the muslin, I would suggest you make one if you are newer to performance fabrics.  I did switch up the order of assembling the Strides, however, so the last seams sewn would be the inseam and waistband.  I machine basted those seams for fit and saw a little bunching under my backside (and yes, I did pop a few stitches but was still able to see fit.)  The bunching told me to let out a little ease through the inseam and I sewed it at 1/4″ vs 3/8″ as directed.  That little bit helped smooth out the back wrinkles perfectly.

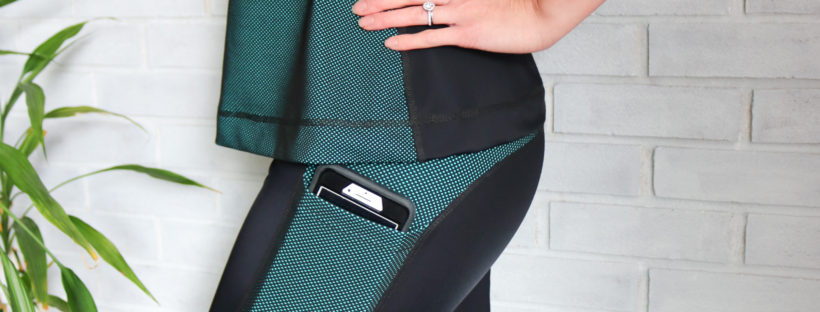
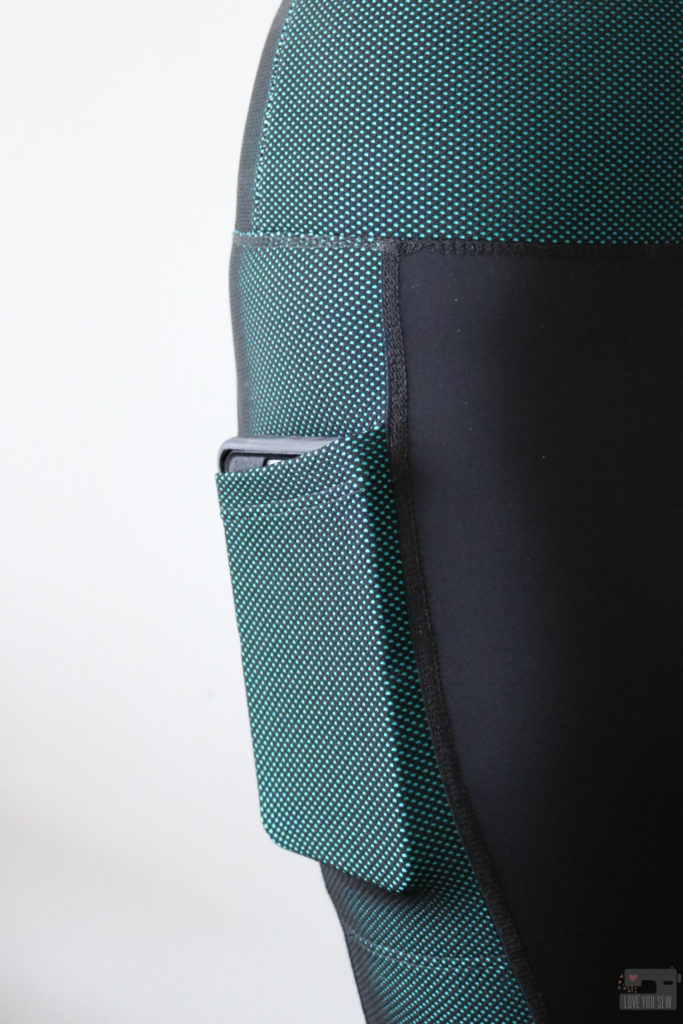
What I love about this pattern are the generous side pockets for your phone/music/keys and the inclusion of extra elastic inside the waistband.  This helps the waistband, and thus the leggings, from falling down.  Some people from the FB group use power mesh inside and that’s something I’d like to try out with the next pair.

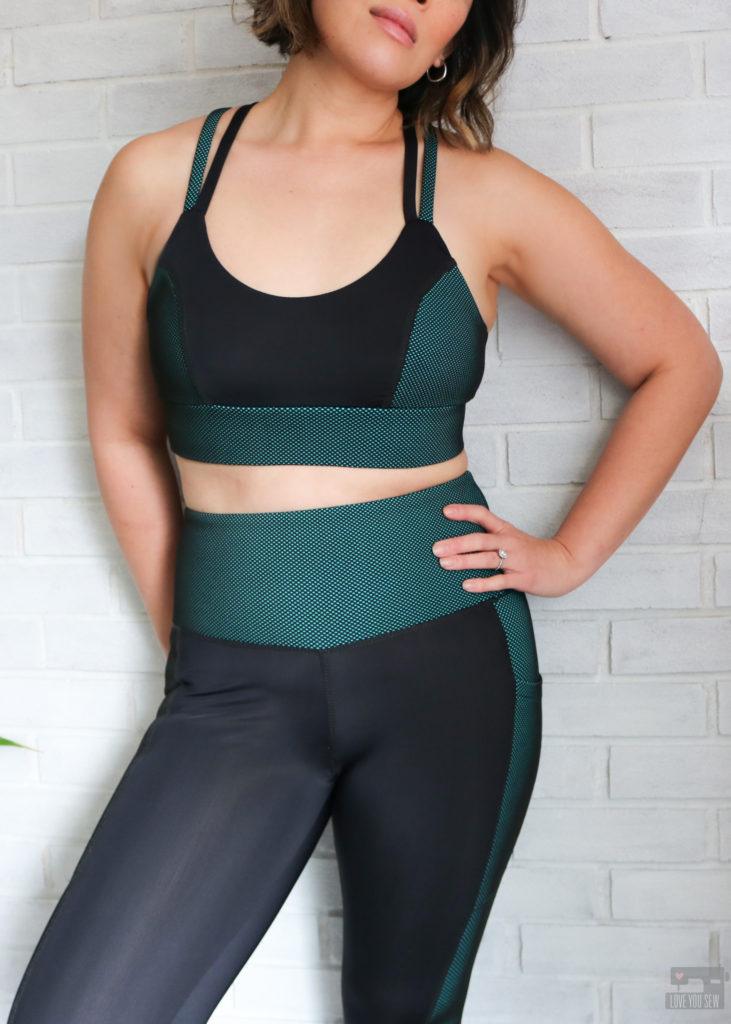
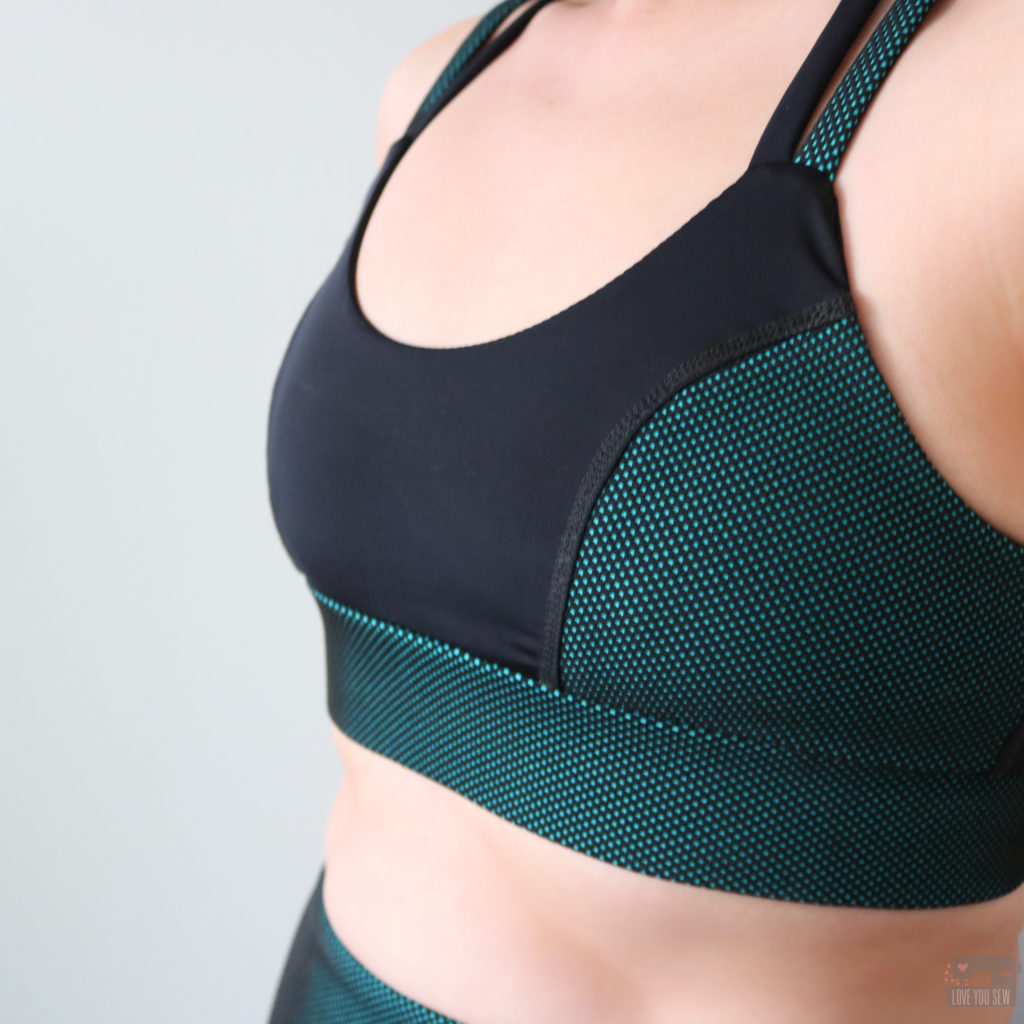
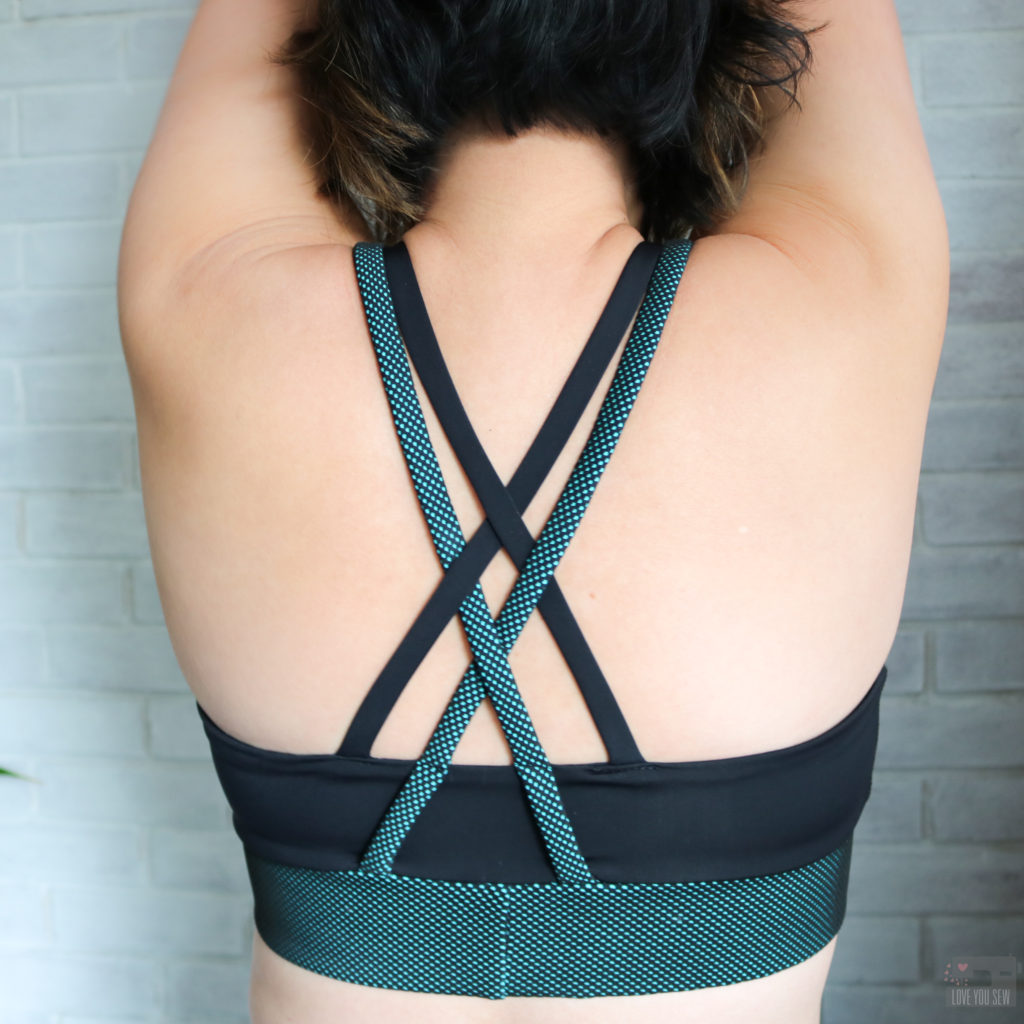
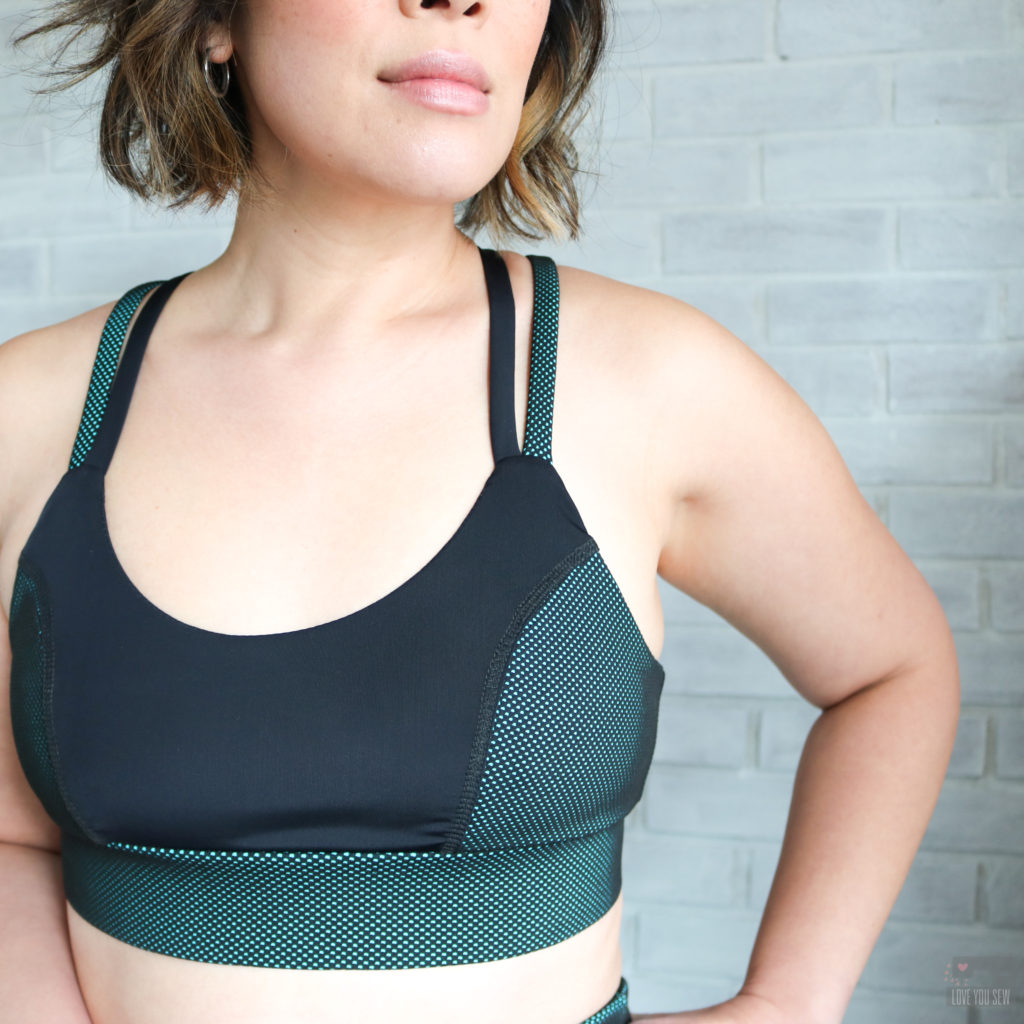
The other pattern I picked up from Greenstyle is the Power Sports Bra.  This is a soft sports bra with a ton of different options, including racerback, adjustable straps, back closure and can be nursing friendly!  I love the double criss-cross back and went with that version along with the 2″ wide elastic band since it’s what I had on-hand.

Normally, I wear 34/36 B in underwire bras but made a 32 band and a C-cup.  Trust me….I read the sizing chart and didn’t think this was right.  I thought I would move more toward an A-cup than a C.  But again, I went back to the FB group to search sizing posts and there was a post about someone else not believing the sizing chart (and she had a 3-4 cup difference!!)  She followed it and had a bra that fit.  So, I put my full trust in the designer and went ahead making the bra (since I wasn’t going to make a muslin….see the bad habit here, friends???)

The only adjustment I made was shortening 1″ off of both longer straps.  The short ones didn’t need it.  This Power Sports Bra has a great fit and it holds well for light-medium activity.  I feel very secure in it, and that may also be due to the heavier Textured Web Spandex.  The FB group did mention that you may want to use power mesh as part of the center if you want more hold.  I’ll try that out to see the difference….since I will definitely be making more of these.  I think the U-back is next 😉

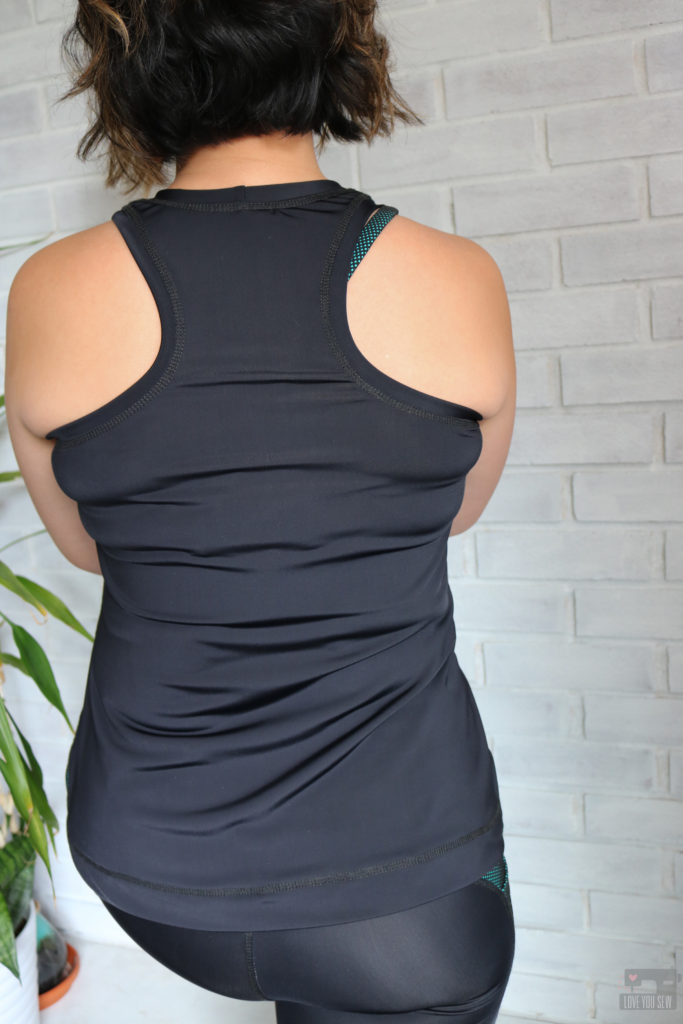
The last piece of the capsule is the Rumi Tank by Christine Haynes.  This is one of my TNT (tried ‘n true) patterns and have been wanting to make a workout version of it with the great racerback.  You can check out my other jersey knit versions here and here.  With this version, however, I used the Textured Web Spandex on the front and then the Valor on the back for a fun color-blocking look.

I made a size 6 and grade out to 8 in the hip and usually use the size 8 length.  Since I have to lift my arms a lot in Zumba class, I extended this length an additional 2 1/4″, but also made a 1.5″ hem (for extra weight to stay down).  I also increased the neckline up by 1/2″ to cover up the ladies as I move through squat and lunging motions.  I’m pleased with these adjustments to keep things a bit more modest and like a good TNT pattern, I love how it turned out!

I hope you are inspired to make some of your own workout wear.  It’s an amazing difference to have something that actually fits through so much activity and you’re not constantly tugging at the waist or having sore breasts.  Fabric that breathes and keeps you comfortable is also key!


Get that workout on!

-Cristy


Project Summary:


Fabric for this post was provided by Pine Crest Fabrics.  All sewing patterns and notions were purchased by myself.  As always, I keep it straight with you.  All comments and opinions are my own.  There are affiliate links in the Project Summary for which your purchases help to maintain this website.  As always, THANK YOU for your support!